
Welcome to the intersection of rugged practicality and sophisticated elegance. If you are planning a wedding, a milestone anniversary, or a lavish holiday feast, you already know that achieving a high-end, magazine-worthy aesthetic usually comes with an eye-watering price tag. Velvet table runners are the ultimate symbol of moody, tactile luxury. They bring a heavy, expensive drape to your tablescapes, anchoring floral centerpieces and glowing candles with a rich, masculine-elegant foundation. But if you have priced out renting or buying custom velvet runners from event florists, you have likely suffered a severe case of sticker shock.
Fear not, frugal DIYers and budget-savvy planners. You do not need to blow your entire decor budget on a pile of rented fabric, nor do you need to own a heavy-duty sewing machine or possess a master tailor’s skills to create them yourself. With a clever, resourceful approach, a few basic tools from your crafty arsenal, and a weekend of hands-on dedication, you can mass-produce stunning, fray-free velvet table runners that look like they cost $50 a pop to rent, all for mere pennies on the dollar.
“True elegance isn’t about how much money you spend; it’s about the clever application of resourceful creativity. A well-placed fold and a crisp edge can turn budget fabric into bespoke luxury.”
In this comprehensive, step-by-step guide, we are going to dive deep into the art of the no-sew velvet runner. We will cover everything from sourcing the perfect budget-friendly fabric that mimics expensive silk-velvet, to mastering the exact heat-bonding and cutting techniques that will leave you with flawless, tailored edges. Grab your fabric shears, clear off your workbench, and let’s turn raw yardage into wedding day treasure.
Sourcing the Perfect Velvet: A Resourceful Buyer’s Guide
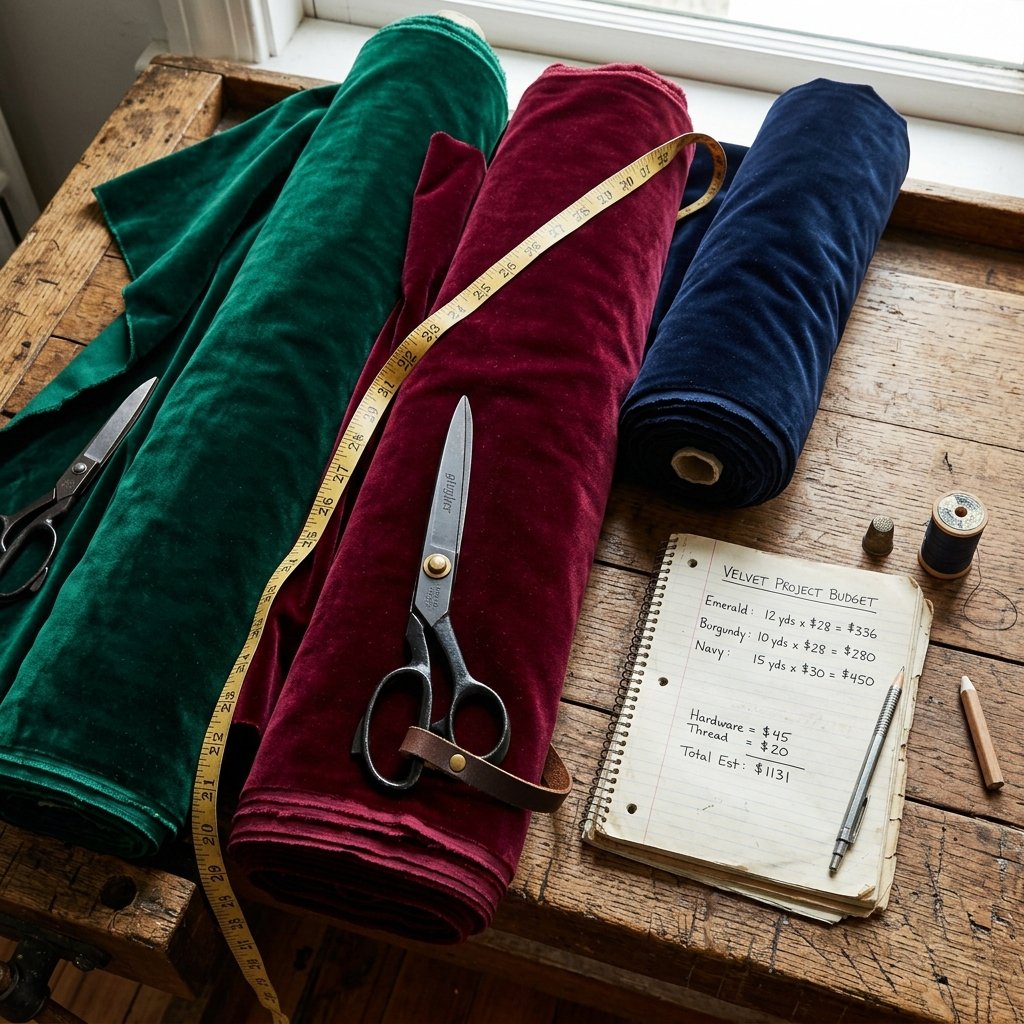
The foundation of any great DIY project lies in the materials. When it comes to velvet, not all fabrics are created equal, and knowing what to look for is the secret weapon of the budget-savvy crafter. True silk velvet is breathtakingly expensive and notoriously difficult to work with, but modern synthetic velvets offer the exact same visual weight, light-catching sheen, and heavy drape for a fraction of the cost.
Understanding Velvet Types
- Crushed Velvet: Highly textured and heavily patterned by the pressing process. While cheap, it often looks a bit dated and lacks the smooth, high-end pooling effect desired for modern weddings.
- Stretch Velvet (Spandex/Polyester blend): This is your holy grail. It is incredibly affordable, highly forgiving, and features a brilliant sheen that catches candlelight beautifully. Because it stretches, it drapes and “puddles” on the floor with elegant, heavy fluidity.
- Cotton Velveteen: Stiffer and more matte. It provides a very tailored, masculine, and rugged look, but it will not drape as softly over the edges of your tables.
Where to Hunt for Deals
Do not walk into a big-box craft store and pay full retail price. You are a crafty expert, which means you hunt for bargains. Look for wholesale fabric suppliers online who sell stretch velvet by the bolt. A standard bolt holds 10 to 20 yards of fabric. If you are outfitting 15 tables, buying by the bolt is essential. Alternatively, scour local fabric district liquidators or even thrift stores for oversized velvet curtains that can be upcycled and ripped down into runner-width strips.
Safety Note: When digging through thrifted fabrics or deadstock warehouse materials, always wash or thoroughly steam your fabric before cutting to remove dust, allergens, and set-in warehouse odors.
The No-Sew Arsenal: Tools for Flawless, Fray-Free Edges
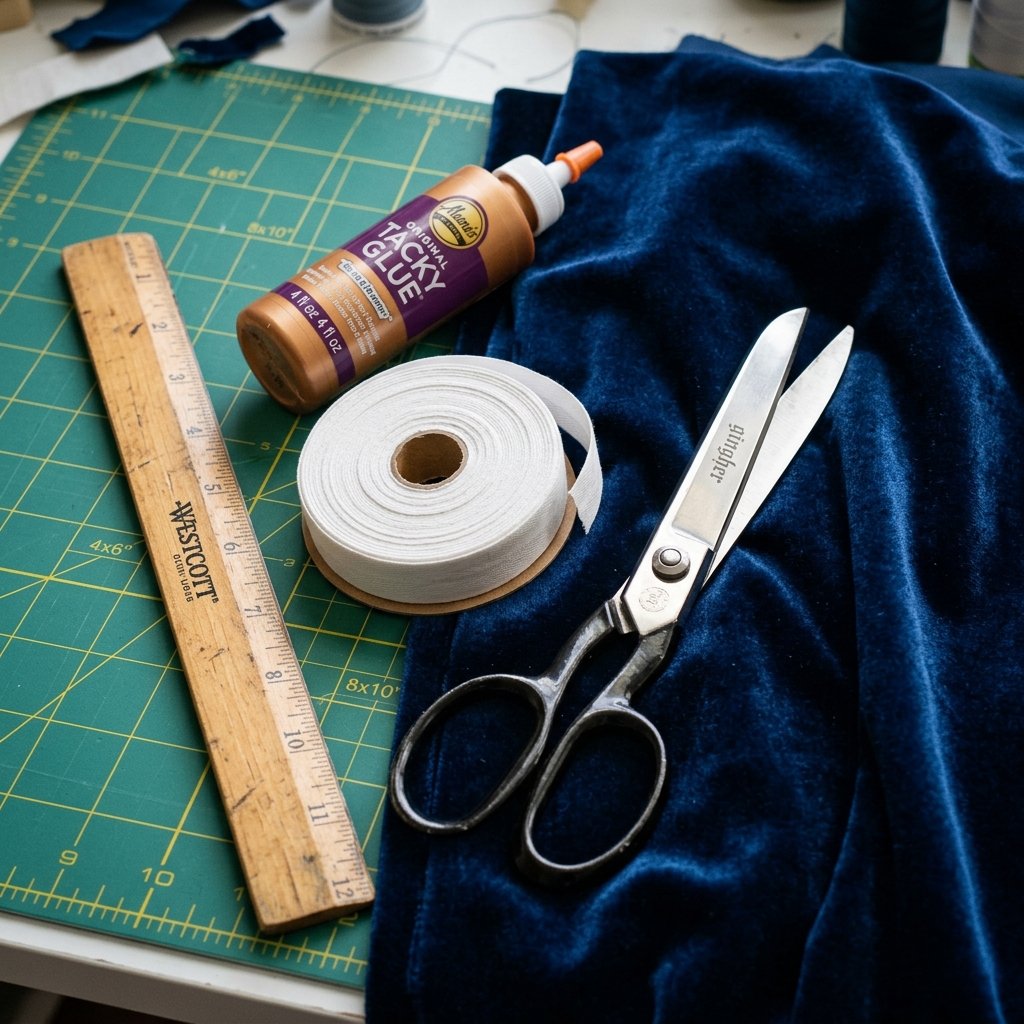
Since we are bypassing the sewing machine entirely, we need to rely on the magic of modern fabric bonding and clever cutting techniques. Velvet has a tendency to shed slightly at the raw edges when first cut, but with the right tools, you can lock those edges down or utilize them for a trendy, raw-edge boho aesthetic.
Your Budget-Savvy Tool Kit
- Heavy-Duty Fabric Shears: Do not use your kitchen scissors. Invest $15 in a pair of razor-sharp fabric shears. Clean cuts prevent excessive shedding.
- Pinking Shears (Optional): These cut a zig-zag pattern that naturally prevents woven fabrics from fraying. This is a brilliant, one-step finishing technique if you want a slightly rustic, textured edge.
- Double-Sided Permanent Hem Tape (Heat Bond): The ultimate no-sew secret weapon. This iron-on adhesive web melts into the fabric fibers, creating a permanent, invisible hem that withstands pulling and styling.
- Fabric Glue: A flexible, washable fabric glue is great for spot-fixing corners where hem tape might be too bulky.
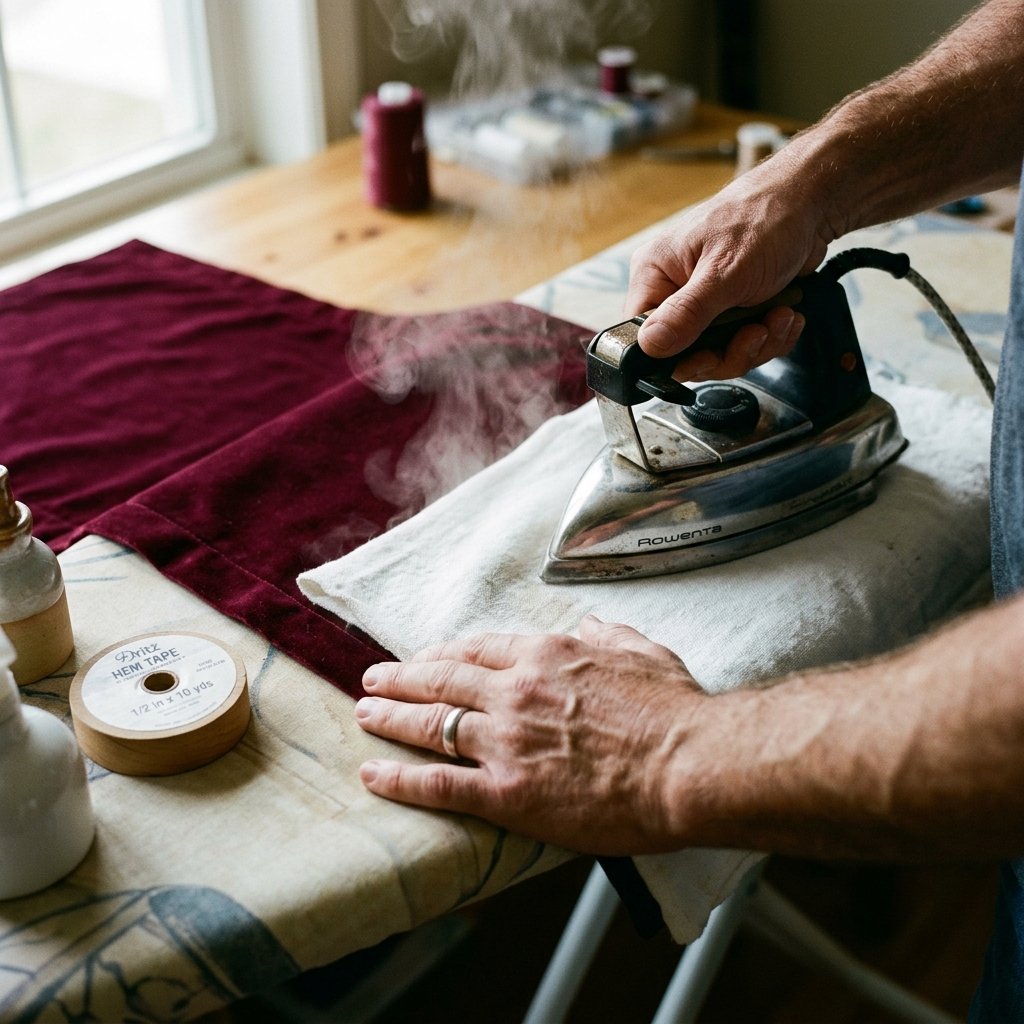
- Thick Cotton Pressing Cloth: Crucial for protecting the velvet pile from the heat of your iron.
If you choose the hem tape route, you are essentially mimicking a tailored, folded edge without ever threading a needle. It provides a crisp, masculine-elegant border that tells your guests, “Yes, I spent a fortune on these,” when in reality, you spent 15 minutes and a roll of tape.
Step-by-Step Construction: Measuring, Cutting, and Bonding
Now it is time to roll up your sleeves and get to work. Manufacturing your own wedding decor is a marathon, not a sprint, so set up a large, clean workspace—like a clean dining table or a swept hardwood floor—and turn on your favorite playlist. Here is the foolproof, step-by-step method for creating high-end runners.
Step 1: Calculate Your Dimensions
Standard banquet tables are usually 72 inches (6 feet) or 96 inches (8 feet) long. For a runner that elegantly drops off the edges and puddles slightly on the floor, you need to add at least 48 inches to the table length (24 inches of drop per side). Therefore, for an 8-foot table, cut your fabric to 144 inches (12 feet) in length. For the width, a standard runner is 12 to 18 inches wide. Most velvet bolts are 58 to 60 inches wide, meaning you can yield 3 to 4 runners from a single width of yardage!
Step 2: The Precision Cut
- Lay your velvet face down on your cutting surface. Ensure it is completely flat and free of wrinkles.
- Using a tailor’s chalk and a long straight edge (a clean piece of baseboard molding works perfectly if you don’t have a yardstick), mark your widths at exactly 15 inches.
- Cut slowly and steadily along the chalk line using your fabric shears. Keep the bottom blade of the scissors resting on the table to ensure a straight, un-jagged cut.
Step 3: The No-Sew Hemming Process
If you want a raw, boho edge, simply pull gently at the cut edges to remove loose fibers, and you are done! If you want a tailored, high-end hem, proceed with heat bonding:
- Preheat your iron to the “Synthetic” or “Low/Medium” setting with steam turned OFF.
- Working in 12-inch sections, fold the raw edge of the velvet over by 1/2 inch, placing a strip of hem tape inside the fold.
- CRITICAL STEP: Place your thick cotton pressing cloth over the folded edge. Never touch the iron directly to the velvet, or you will permanently crush the pile and leave a shiny, burned mark!
- Press the iron firmly onto the pressing cloth for 3 to 5 seconds to melt the adhesive. Lift the iron (do not drag it) and move to the next section.
- Allow the hem to cool completely before moving the fabric so the glue sets into a permanent bond.
“Patience is a crafter’s best friend. Let the heat-bonded hem cool flat for at least 5 minutes before handling. Moving it while hot will break the adhesive seal.”
The Financial Breakdown: DIY vs. High-End Rental Costs
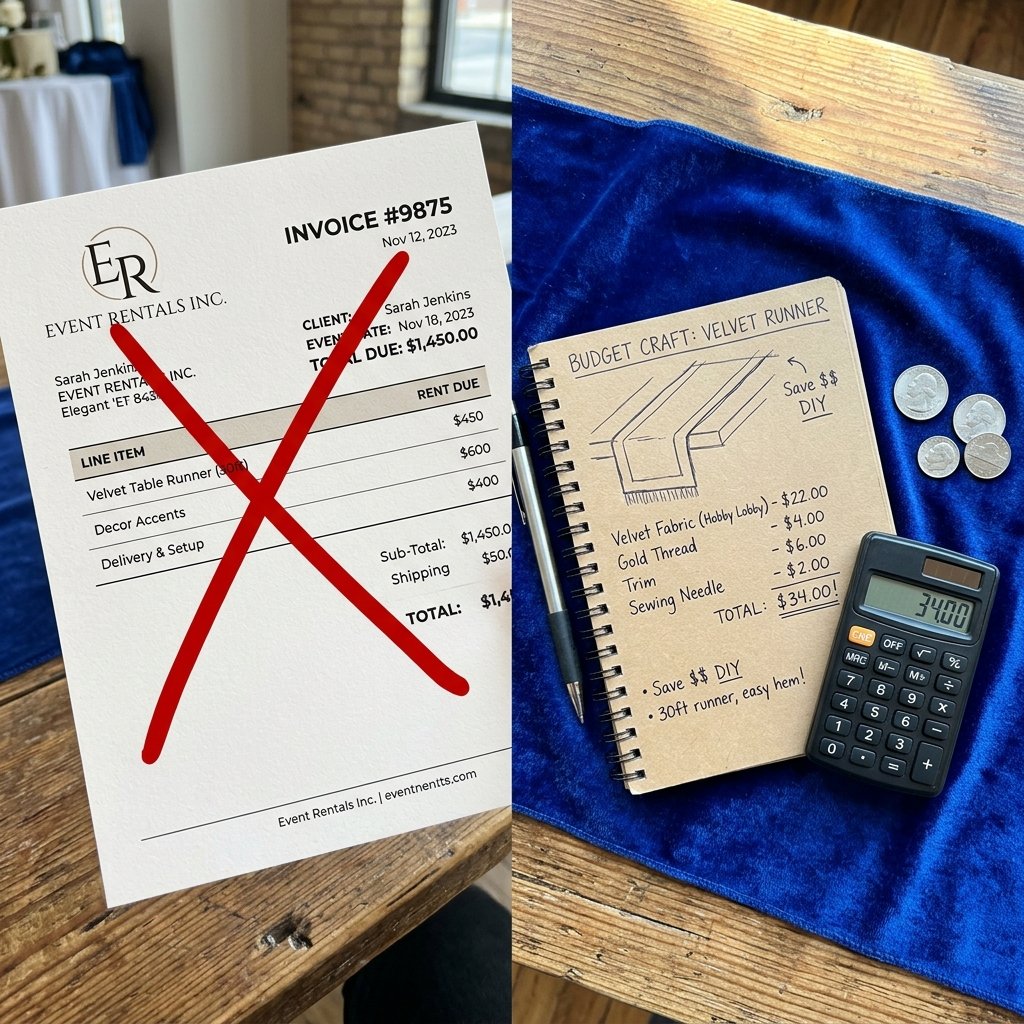
Let’s talk numbers, because nothing thrills a budget-savvy upcycler more than hard data proving their resourcefulness. When planning a wedding, every dollar saved in one category can be reallocated to something else—like upgrading the bar or funding the honeymoon. Renting custom velvet runners from a boutique event design company is astronomically expensive due to the cost of dry cleaning and inventory management. By taking the DIY route, you are bypassing the middleman entirely.
Below is a detailed cost comparison based on outfitting a standard wedding reception with 15 tables (requiring 15 runners, each 12 feet long).
| Expense Category | Boutique Rental Cost (15 Runners) | Clever DIY Cost (15 Runners) |
|---|---|---|
| Fabric / Rental Fee | $35.00 per runner ($525 total) | $80.00 (15 yards of bulk stretch velvet) |
| Delivery / Shipping | $75.00 (Standard freight) | $15.00 (Online fabric shipping) |
| Tools & Materials | $0.00 | $18.00 (Hem tape, chalk, shears) |
| Damage Waiver / Insurance | $50.00 (Non-refundable) | $0.00 (You own them!) |
| Total Estimated Cost | $650.00 | $113.00 |
By utilizing your crafty expertise, you are saving over $500. That is an astonishing 82% savings. Furthermore, at the end of the night, you own the runners. You can repurpose them for holiday dinners, gift them to handy parents for their own entertaining, or sell them to another budget bride to recoup 100% of your DIY costs!
Styling on the Table: Creating Puddles, Folds, and Centerpiece Bases
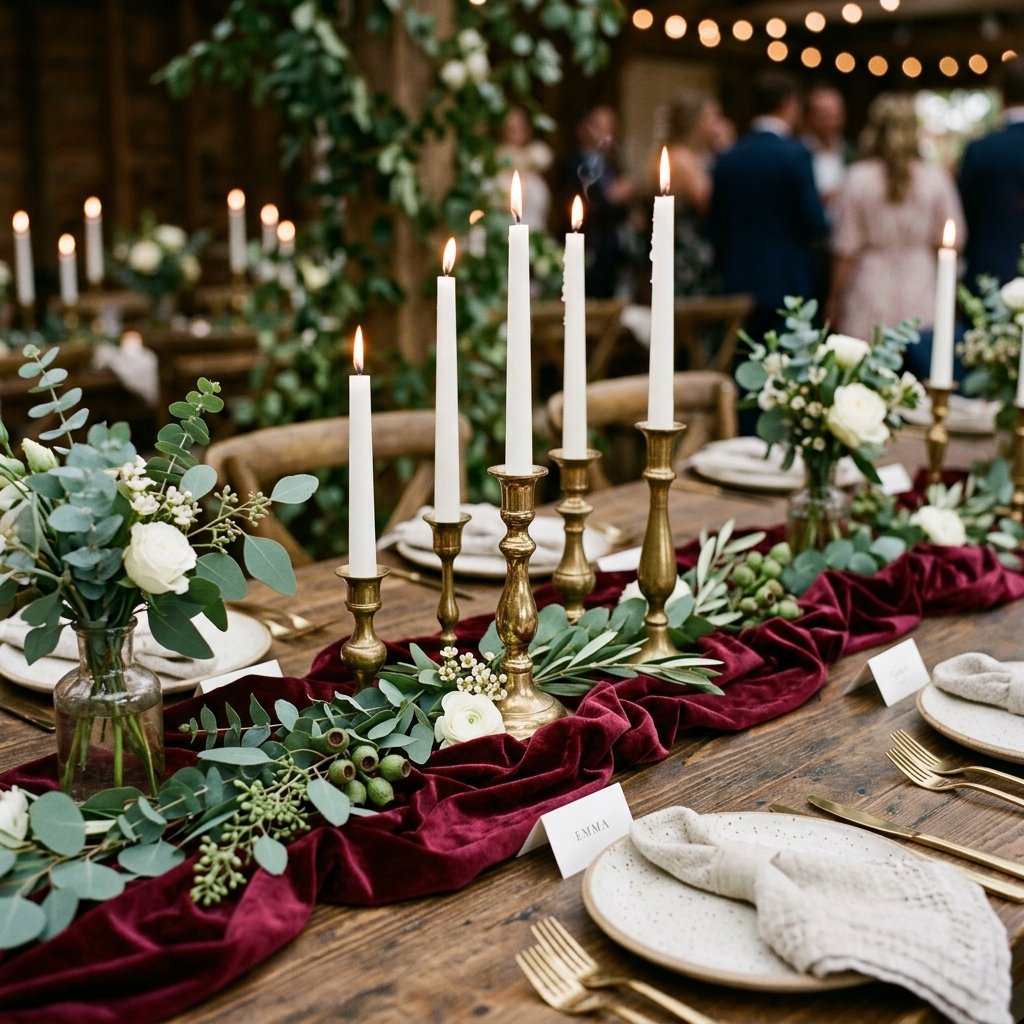
Creating the runners is only half the battle; how you style them on the big day determines whether they look like a cheap craft project or a million-dollar installation. Velvet is a heavy, dramatic fabric, and it requires a specific touch to look its best. You want to embrace its natural weight and volume.
The Art of the “Puddle”
A high-end velvet runner should never just hang stiffly off the edge of the table. It needs to “puddle” gracefully on the floor. To achieve this, ensure your runner extends at least 18 to 24 inches past the edge of the table. When setting up, gather the fabric slightly at the edge of the table so it falls in natural, fluted folds rather than a flat sheet. Let the excess fabric pool organically on the floor.
Creating Texture with the “Pinch and Twist”
Instead of laying the runner perfectly flat and straight down the center of the table, give it life. Lay it down, and then every 2 feet, gently pinch the fabric and give it a slight twist or scrunch. This creates high and low points in the velvet pile, catching the ambient light and creating a rich, undulating wave of texture.
Integrating Budget-Friendly Decor
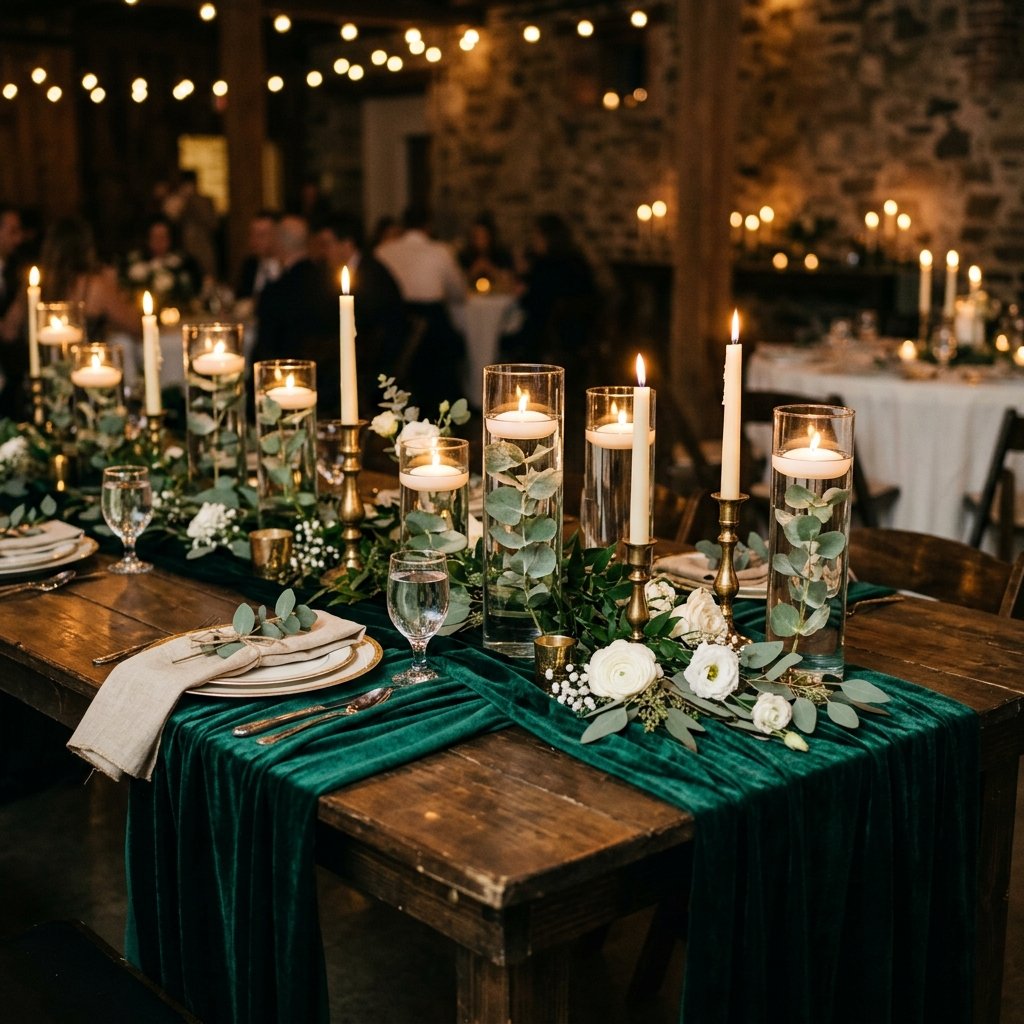
- Dollar Tree Cylinder Vases: Nestle clusters of 3 glass vases of varying heights into the folds of the velvet. Fill them with water and $1 floating candles. The velvet will reflect the candlelight beautifully.
- Foraged Greenery: You do not need expensive floral garlands. Snip branches of olive, eucalyptus, or even rugged pine from your own yard and tuck them directly into the scrunched velvet.
- Brass Accents: Thrifted brass candlesticks paired with dark velvet create an incredibly sophisticated, masculine-elegant vibe that looks straight out of a luxury lifestyle magazine.
Post-Wedding Logistics: Packing, Cleaning, and Reselling Your Runners
The wedding is over, the cake is eaten, and you are officially a master upcycler. But what do you do with 150 feet of velvet? Proper post-event care is crucial, especially if you plan to resell your creations to recoup your budget.
Packing to Prevent Crushing
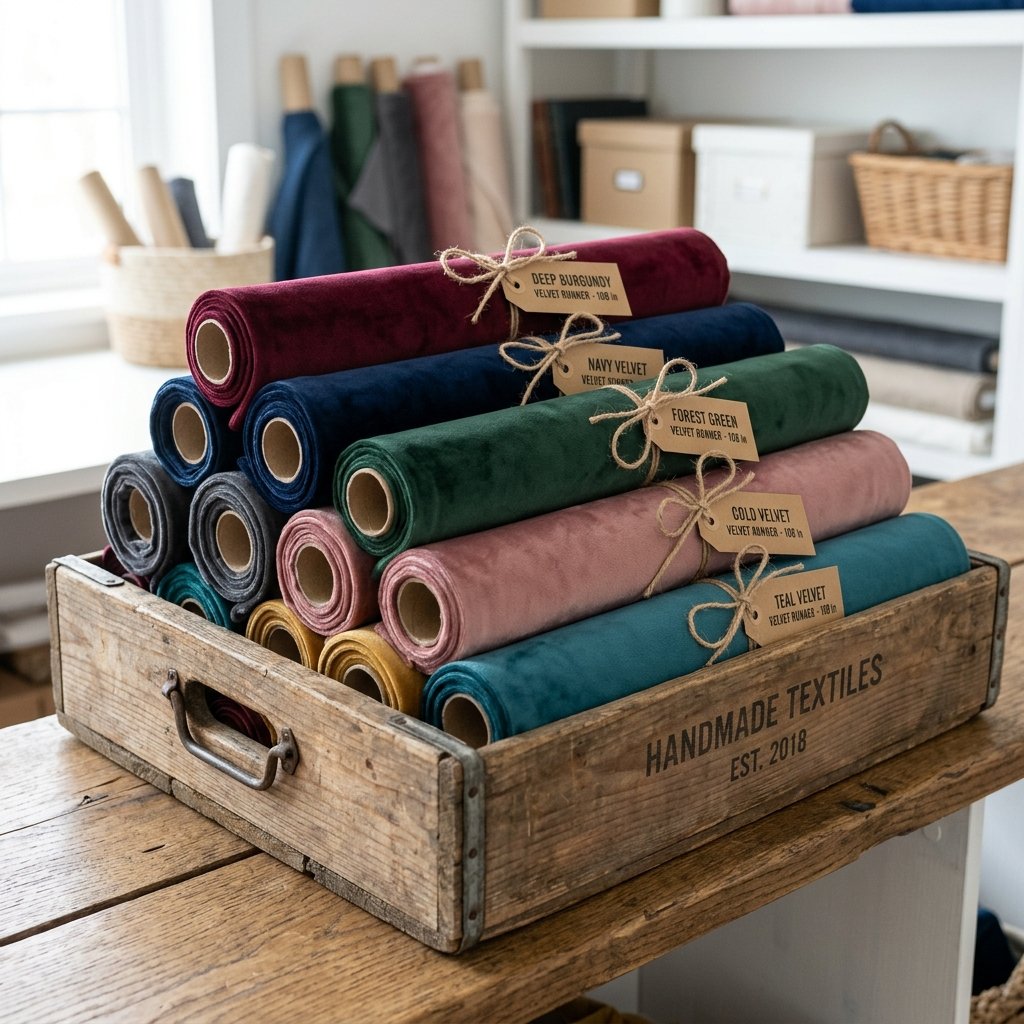
Never fold velvet tightly and shove it into a plastic bin. The pressure will permanently crush the pile along the fold lines. Instead, roll your runners. Purchase cheap cardboard mailing tubes or use leftover wrapping paper tubes. Gently roll each runner around a tube, securing it loosely with a piece of twine. This keeps the pile smooth and pristine.
Spot Cleaning Spills
Weddings are messy. Wine spills and cake frosting are inevitable. Do not throw heat-bonded runners into a heavy-duty washing machine, as the agitation can weaken the hem tape. Instead, spot clean:
- Mix a solution of 1 cup cold water and a drop of gentle dish soap.
- Dip a clean, soft cloth into the solution and gently dab the stain. Do not rub vigorously, or you will distort the velvet fibers.
- Once the stain is lifted, dab with plain cold water, and use a hairdryer on the cool setting to fluff the pile back up as it dries.
The Upcycler’s Resale Strategy
Because you chose a classic, high-end fabric and finished the edges cleanly, your runners have excellent resale value. Take high-quality, well-lit photos of the runners in action at your wedding. Post them on local wedding resale groups or social media marketplaces. Because you only spent $113 making them, you can easily sell the entire lot for $150, making your wedding decor completely free—and even turning a small profit! That is the ultimate frugal DIY victory.
“A true craftsman doesn’t just build for a single day; they build for the lifecycle of the material. Create beautifully, care for it properly, and pass it on to the next resourceful creator.”
Conclusion
Creating high-end velvet wedding table runners without sewing a single stitch is the pinnacle of clever, budget-savvy DIY. It proves that you do not need to be at the mercy of exorbitant rental markups or possess advanced tailoring skills to curate a breathtaking, deeply textured, and luxurious event space. By sourcing smart, utilizing the magic of heat-bonding hem tape, and styling with an eye for natural drape and volume, you have built heirloom-quality decor with your bare hands.
As you stand back and look at your warmly lit, velvet-draped tables, you will feel a profound sense of rugged pride. You did not just buy a look; you engineered it. You saved hundreds of dollars, learned a new fabric manipulation skill, and created an atmosphere of masculine-elegant romance that your guests will talk about for years. So fire up that iron, roll out the yardage, and start crafting—your zero-budget luxury wedding awaits!

Makenzie is the founder and lead writer at MoneyHackTips.com — a personal finance blog dedicated to delivering street-smart financial wisdom for real people on real budgets. With 300+ published articles covering everything from debt management to investing fundamentals, Makenzie’s mission is to make every dollar work harder. When not writing about money hacks, Makenzie is testing frugal living strategies, optimizing side hustles, and helping readers build financial freedom from scratch.