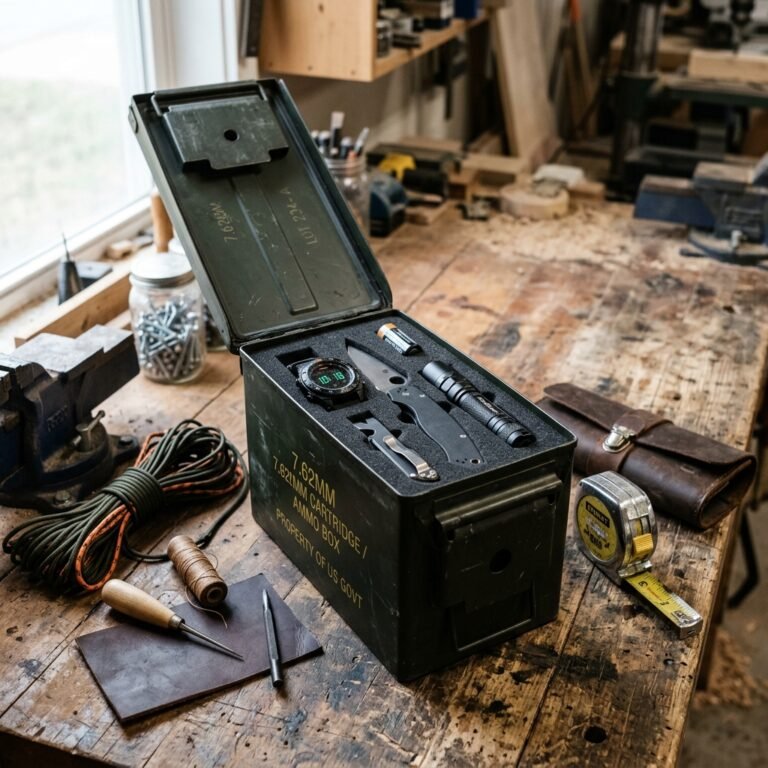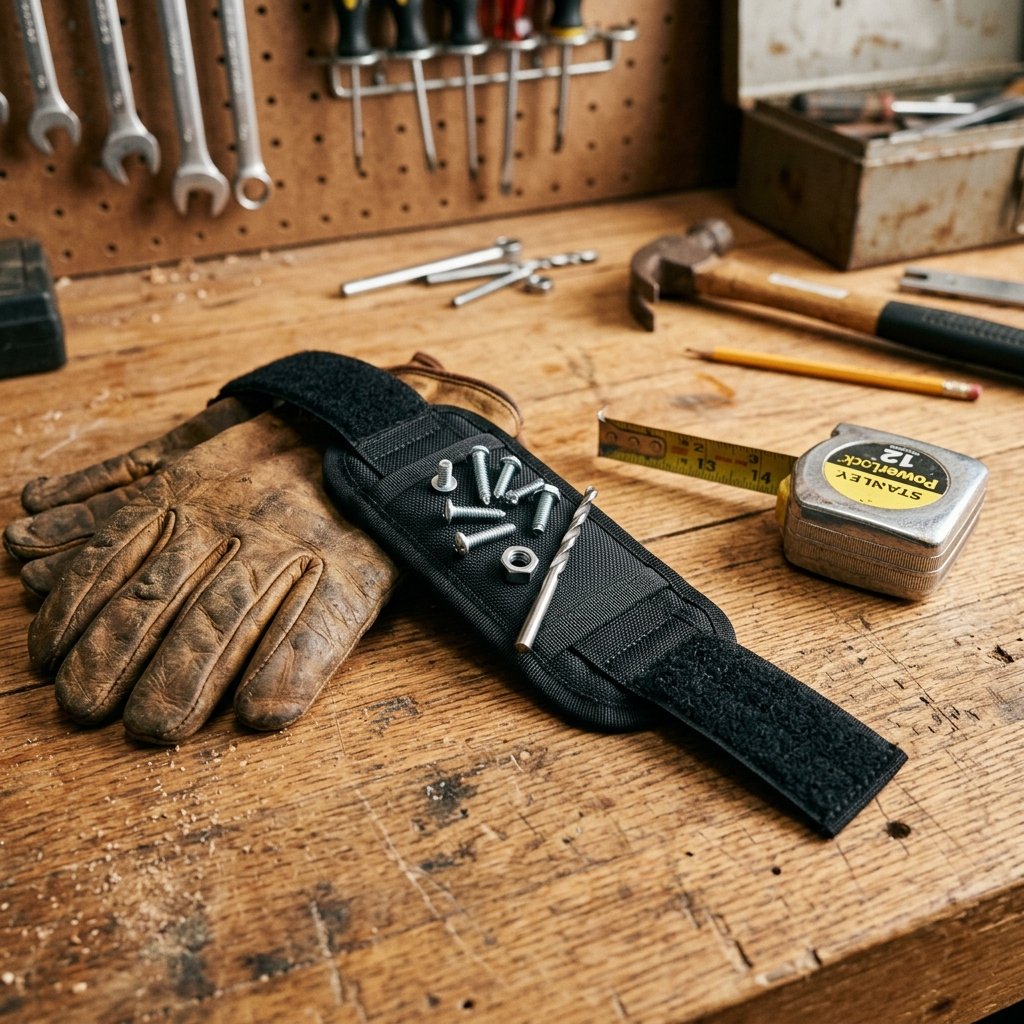

Every seasoned DIYer knows the frustration of the ‘gravity tax’—that inevitable moment when you’re perched on a ladder, arm extended, only to have a crucial screw tumble into the abyss of a crawlspace or disappear into the grass. It is the ultimate momentum-killer. Enter the Magnetic Tool Wristband: a tactical, rugged, and incredibly practical piece of wearable gear that keeps your hardware exactly where you need it—on your person.
While you could easily drop $25 to $40 on a name-brand version at a big-box retailer, a true budget-savvy craftsman knows that we can build one that is stronger, more durable, and custom-fitted for under $10. This project isn’t just about utility; it’s about creating a ‘Masculine-Elegant’ gift that shows real thought and effort. Whether you are crafting this for a Father’s Day surprise, a birthday, or as a treat for your own workshop sessions, this guide will walk you through the process of turning scrap fabric and powerful magnets into a professional-grade tool accessory.
The Blueprint: Materials and Cost Comparison
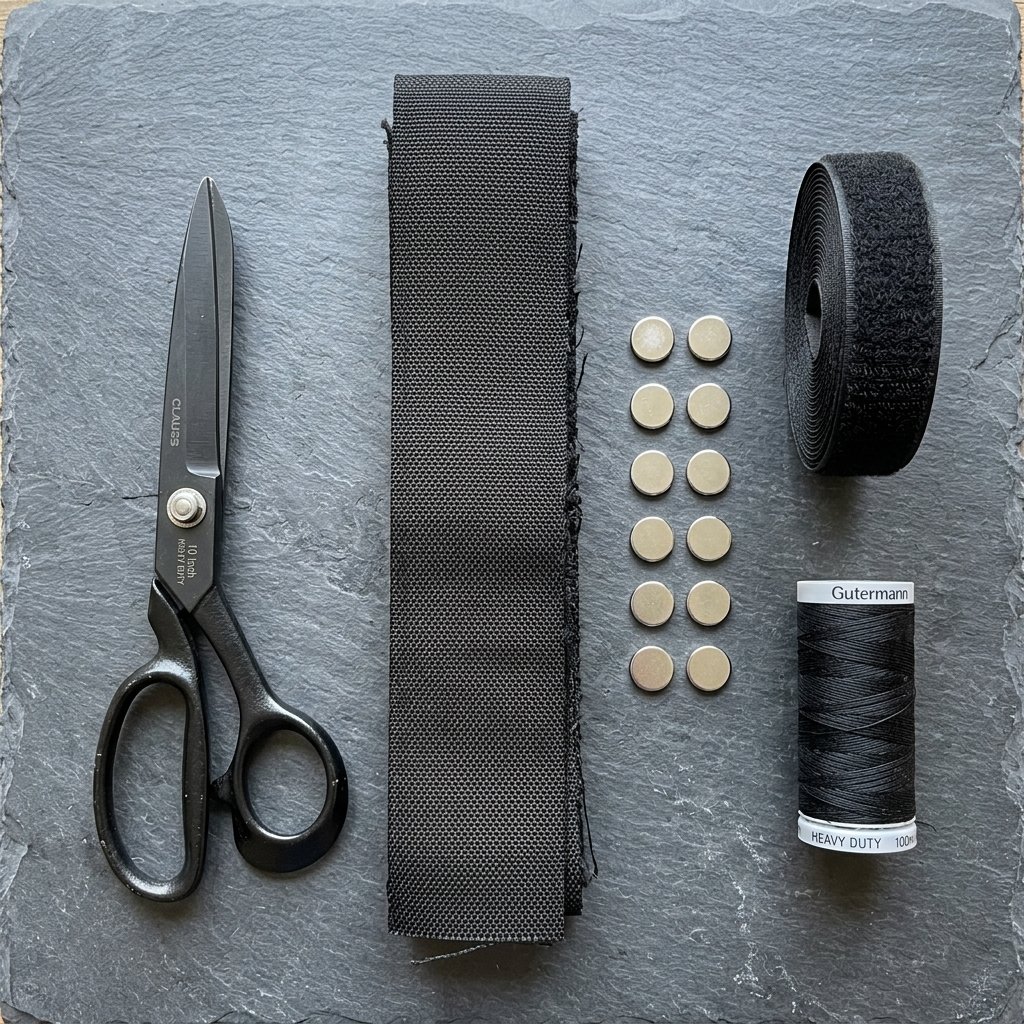
Before we fire up the sewing machine or pull out the heavy-duty adhesive, let’s talk logistics. To achieve a high-end ‘store-bought’ look, we want to focus on materials that suggest durability. We aren’t just making a wristband; we are making a piece of equipment.
For the base, I recommend upcycling a piece of 1680D ballistic nylon or a heavy canvas from an old, discarded backpack or tool bag. This is the ‘Trash-to-Treasure’ approach at its finest. If you don’t have scraps, a small piece of duck cloth from the remnant bin at a fabric store works perfectly.
| Material Item | DIY Estimated Cost | Store-Bought Equivalent |
|---|---|---|
| Heavy Duty Fabric (Scrap/Upcycled) | $0.00 | $5.00 |
| Neodymium Magnets (6-10 pieces) | $6.50 | $12.00 |
| Industrial Velcro (2 inches wide) | $1.50 | $4.00 |
| Breathable Mesh Lining (Optional) | $1.00 | $3.00 |
| Total Investment | $9.00 | $24.00 – $39.00 |
By sourcing your own magnets—specifically N52 Neodymium magnets—you can actually create a product that has 3x the holding power of the cheap ceramic magnets found in many retail versions. That means your wristband won’t just hold tiny screws; it will hold a full-sized wrench if necessary.
Step-by-Step Construction: Forging the Wristband
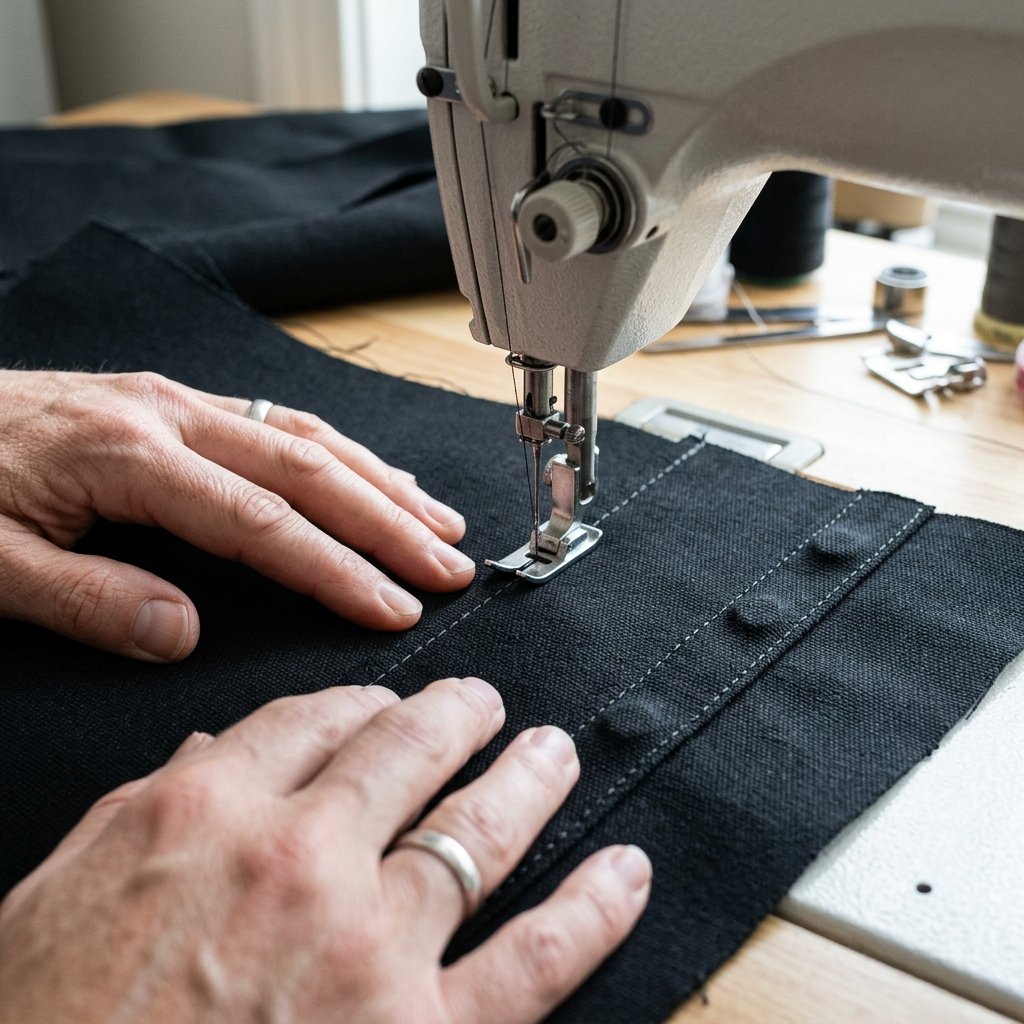
This project requires a bit of ‘rugged sewing.’ Even if you aren’t a master tailor, these straight lines are easy to master. We are aiming for a finished dimension of approximately 15 inches long by 3.5 inches wide.
Phase 1: Cutting and Preparation
- Cut two rectangular strips of your heavy-duty fabric measuring 16 inches by 4.5 inches (this includes a 1/2 inch seam allowance).
- Cut one piece of soft felt or breathable mesh to the same size for the ‘inner’ side that touches the skin.
- Mark 5 or 6 vertical channels along the length of one fabric strip using a chalk pencil. These will be the pockets for your magnets.
Pro-Tip: To ensure the magnets don’t ‘clump’ together during the sewing process, keep them at the far end of your workbench until you are ready to slide them into their individual channels.
Phase 2: Creating the Magnet Channels
- Place the two main fabric pieces right-sides together and sew along three sides, leaving one short end open.
- Turn the sleeve right-side out and press the edges flat.
- Sew your vertical channel lines, but stop 1 inch from the bottom. This creates the ‘slots’ where the magnets will live.
- Slide 2 magnets into the first channel. Use a zipper foot on your sewing machine to sew across the top of the magnets, locking them into a small pocket. Repeat this for every channel.
The Closure: Securing the Tactical Fit
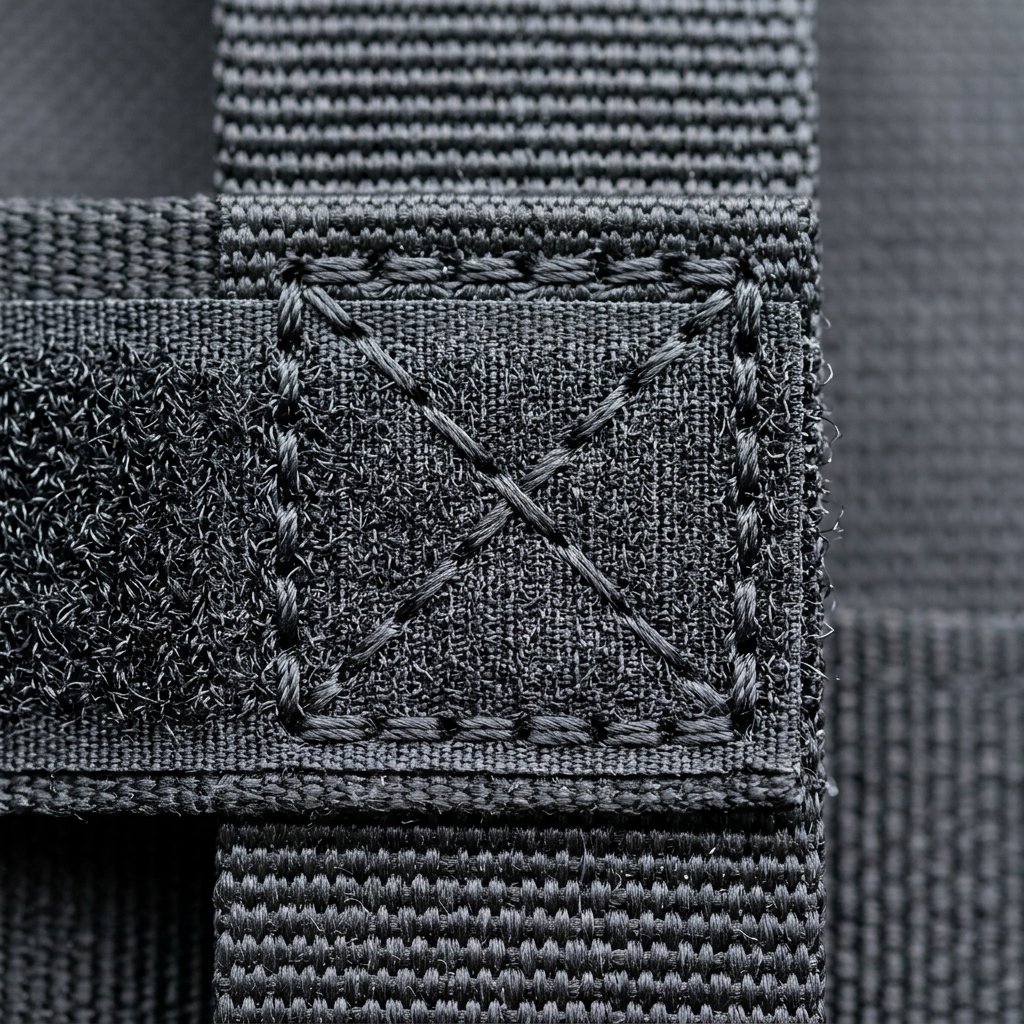
A tool wristband is useless if it slides down the arm when weighted with heavy bolts. We need a secure, adjustable closure. This is where Industrial Strength Velcro comes into play. For a ‘Masculine-Elegant’ look, choose black-on-black or a deep olive drab.
Attachment Technique
Position the ‘hook’ side of the Velcro on the outer end of the wristband and the ‘loop’ side on the opposite inner end. This allows for a wide range of adjustment, fitting both a bare wrist or a heavy winter work jacket. Use a Box-X stitch (a square with an X through the middle) to attach the Velcro. This is the same stitch used on parachute harnesses and tactical gear—it is nearly impossible to rip off.
“In the world of DIY, the strength of your project is determined by its weakest seam. Double-stitch your stress points, and your gift will last a lifetime.” — The Frugal Guru’s Mantra
Customization: Adding the ‘Ultimate’ Factor
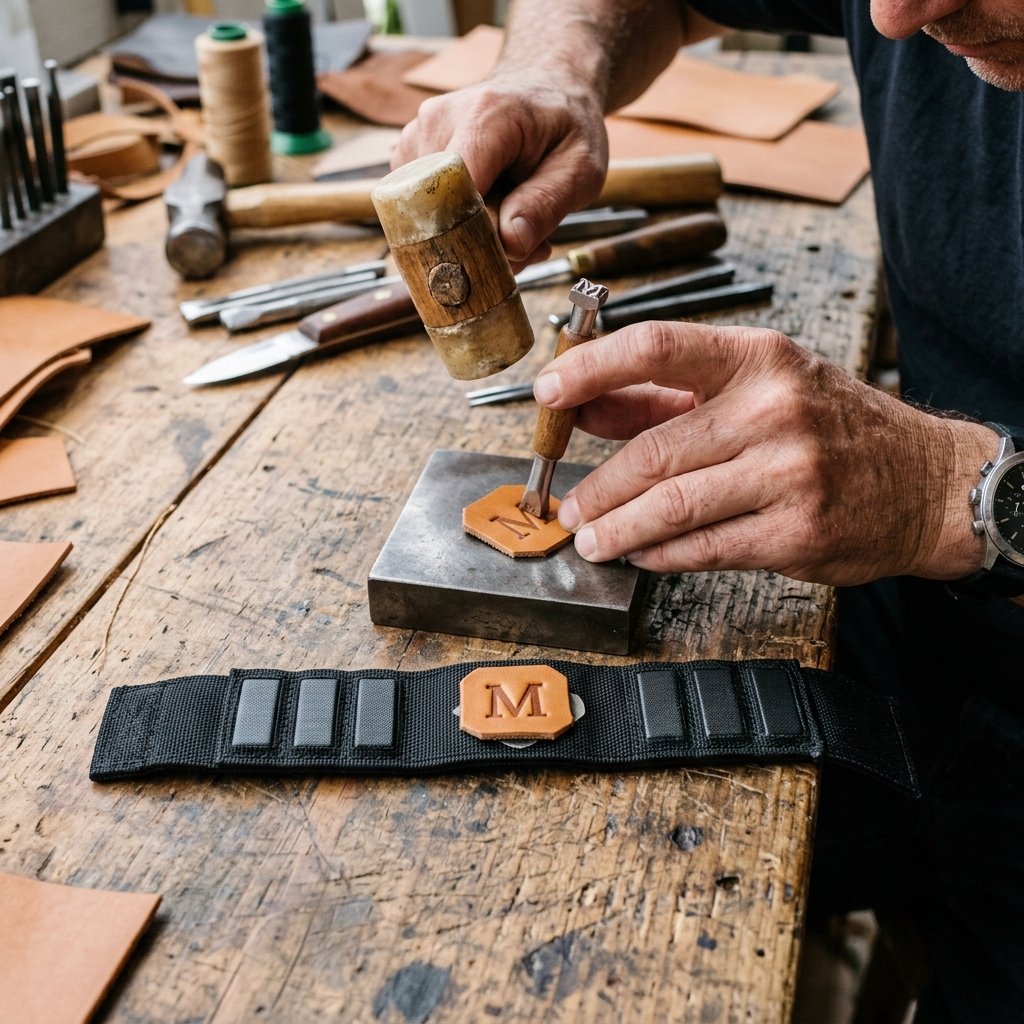
To truly elevate this from a ‘craft’ to a ‘bespoke tool,’ consider these high-end additions that cost pennies but add massive value:
- The Pencil Loop: Sew a small 1-inch loop of elastic webbing to the side of the wristband. This allows the handyman to keep a carpenter’s pencil or a small LED flashlight handy.
- The Inner Pocket: Before sewing the two halves together, add a small hidden pocket on the inside for holding plastic wall anchors or non-magnetic brass screws.
- Personalized Branding: If you have a leather scrap, stamp the recipient’s initials into it and sew it onto the center of the wristband as a ‘maker’s mark.’
| Add-on Feature | Utility Level | Difficulty (1-5) |
|---|---|---|
| Elastic Pencil Loop | High | 2 |
| Hidden Mesh Pocket | Medium | 4 |
| Leather Name Patch | Aesthetic | 3 |
| Reflective Safety Strip | High | 1 |
Safety and Magnet Care
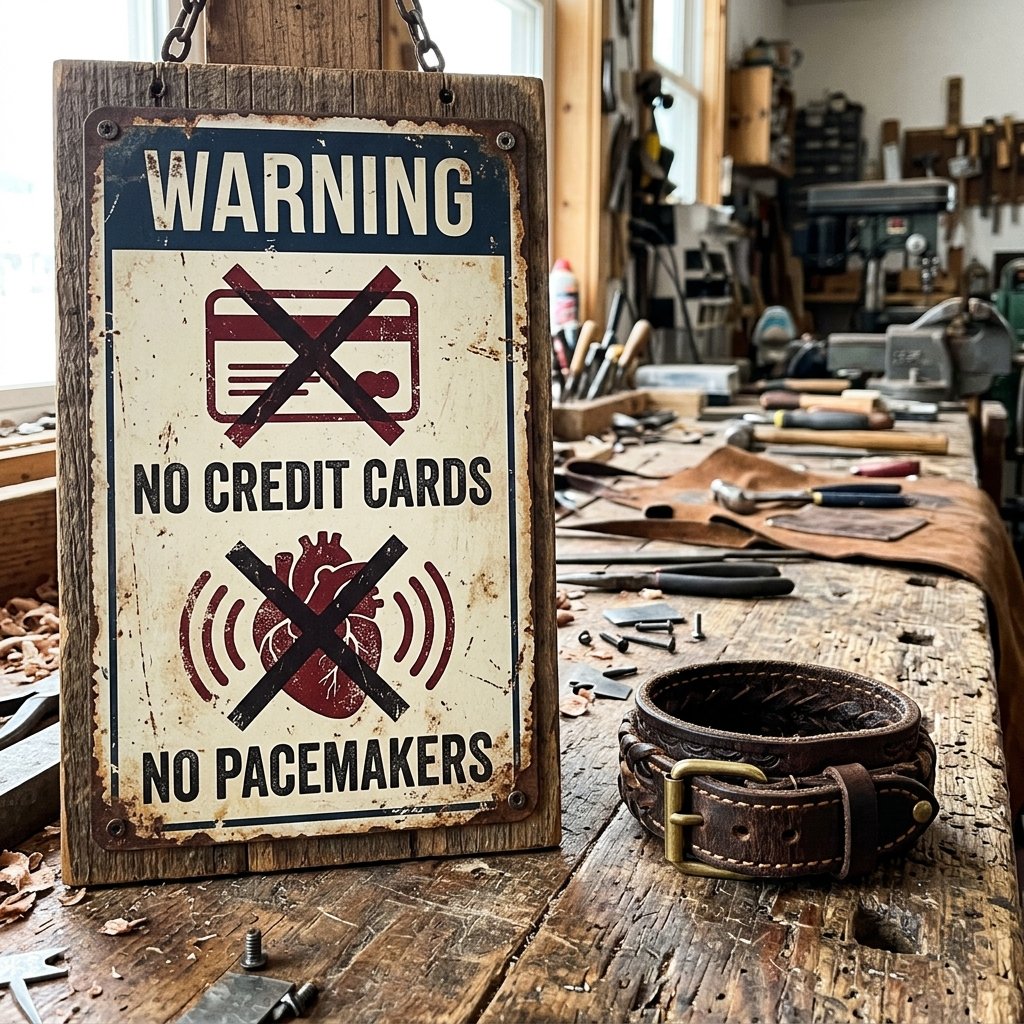
Working with high-powered neodymium magnets requires a bit of respect. These aren’t your average refrigerator magnets; they are incredibly strong for their size.
Safety Note: Keep finished magnetic wristbands away from pacemakers, credit cards, and mechanical watches. The strong magnetic field can interfere with sensitive electronics.
To ensure the longevity of the gift, advise the recipient to hand-wash the wristband only. Tossing this into a washing machine can result in the magnets snapping together through the drum or damaging the machine’s internal sensors. A quick scrub with a damp cloth and mild soap is all it takes to keep the ballistic nylon looking brand new.
Summary of the Build Timeline

How long does it take to create the ultimate handyman gift? For a beginner, this is a perfect Saturday morning project. For an experienced crafter, you can batch-produce these in under an hour.
- Sourcing & Cutting: 15 minutes
- Sewing Channels & Inserting Magnets: 30 minutes
- Attaching Velcro & Finishing: 15 minutes
- Total Time: 60 minutes
For just one hour of work and less than $10, you have created a gift that is functionally superior to most retail options and carries the pride of being handmade.
Conclusion
The DIY Magnetic Tool Wristband is the epitome of resourceful crafting. It takes the fundamental needs of a builder—efficiency, organization, and durability—and wraps them into a sleek, budget-friendly package. By choosing to make this gift rather than buying it, you aren’t just saving over 60% of the retail cost; you are providing a customized tool that solves a real-world problem for the handyman in your life.
So, grab those fabric scraps, harness the power of neodymium, and get to work. Your workshop hero will thank you every time they *don’t* have to climb down that ladder to find a dropped screw. Happy crafting!

Makenzie is the founder and lead writer at MoneyHackTips.com — a personal finance blog dedicated to delivering street-smart financial wisdom for real people on real budgets. With 300+ published articles covering everything from debt management to investing fundamentals, Makenzie’s mission is to make every dollar work harder. When not writing about money hacks, Makenzie is testing frugal living strategies, optimizing side hustles, and helping readers build financial freedom from scratch.