
The Magic of Frugal Acoustics
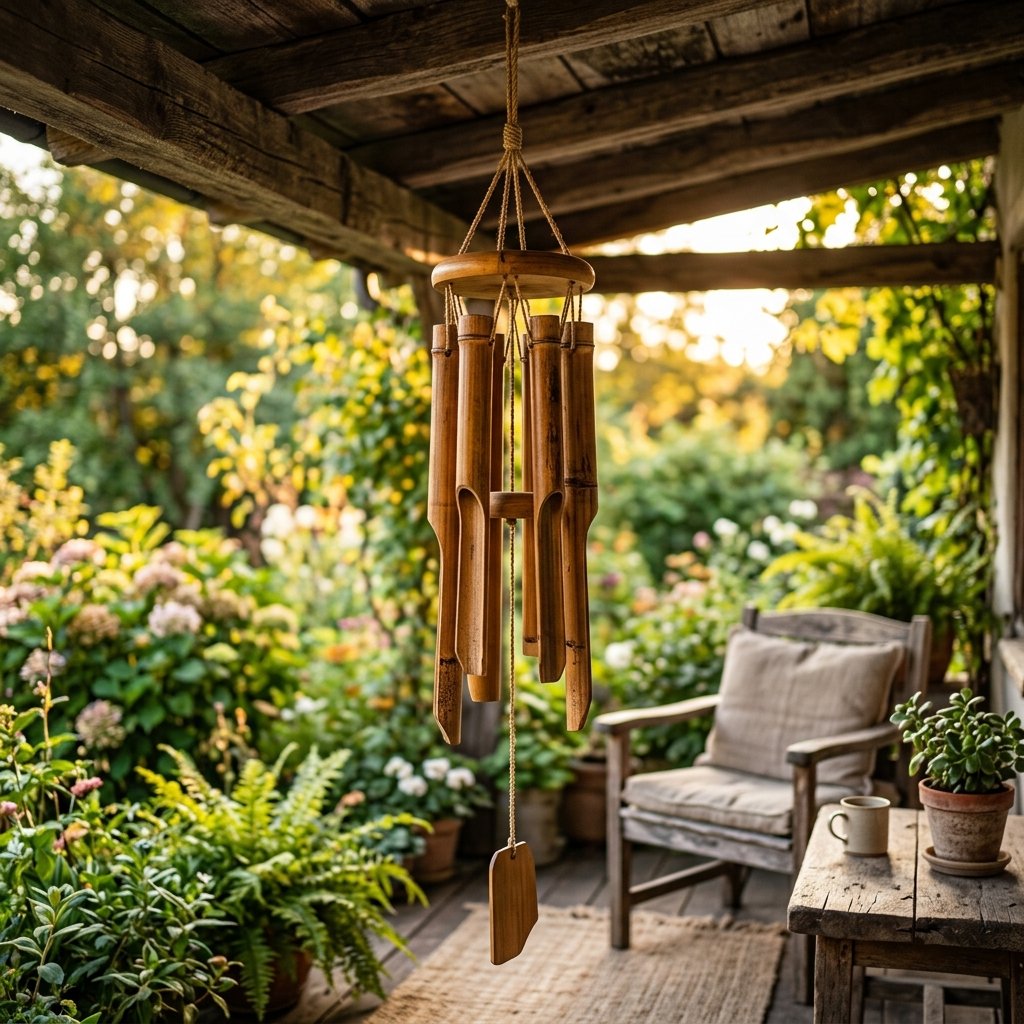
There is nothing quite like the hollow, melodic, and deeply soothing tonk-tonk-tonk of a bamboo wind chime swaying in a gentle evening breeze. It is a sound that instantly transforms an ordinary backyard or front porch into a tranquil, zen-like oasis. But if you have ever strolled through a high-end garden center or browsed boutique outdoor decor catalogs, you know that these rustic beauties come with a surprisingly hefty price tag. Store-bought bamboo chimes can easily set you back anywhere from $30 to over $100. For the frugal DIYer, the handy parent, and the budget-savvy upcycler, spending that kind of cash on something made of hollow grass and string is simply out of the question.
Welcome to the ultimate trash-to-treasure, budget-crafting masterclass. Today, we are rolling up our sleeves and diving into a rugged, practical, and incredibly rewarding project: crafting a beautiful, high-end bamboo wind chime for under $5. Yes, you read that correctly. By utilizing inexpensive garden stakes from the dollar store, foraging for local materials, or upcycling old tiki torches, you can engineer an acoustic masterpiece that rivals the most expensive boutique pieces.
“A resourceful crafter does not just save money; they forge beauty out of the overlooked, turning pennies into porch magic.”
This comprehensive guide is designed for the creative gift-giver looking to make a thoughtful Father’s Day present, the budget bride wanting rustic outdoor wedding decor, and the everyday maker who loves a clever hack. We will cover the anatomy of a chime, the physics of tuning your bamboo, the masculine art of rugged knot-tying, and the best way to weatherproof your creation so it lasts for years. Grab your tools, clear off your workbench, and let us make your porch sound absolutely magical.
The Anatomy of a Perfect Bamboo Chime (And Why We Go Frugal)
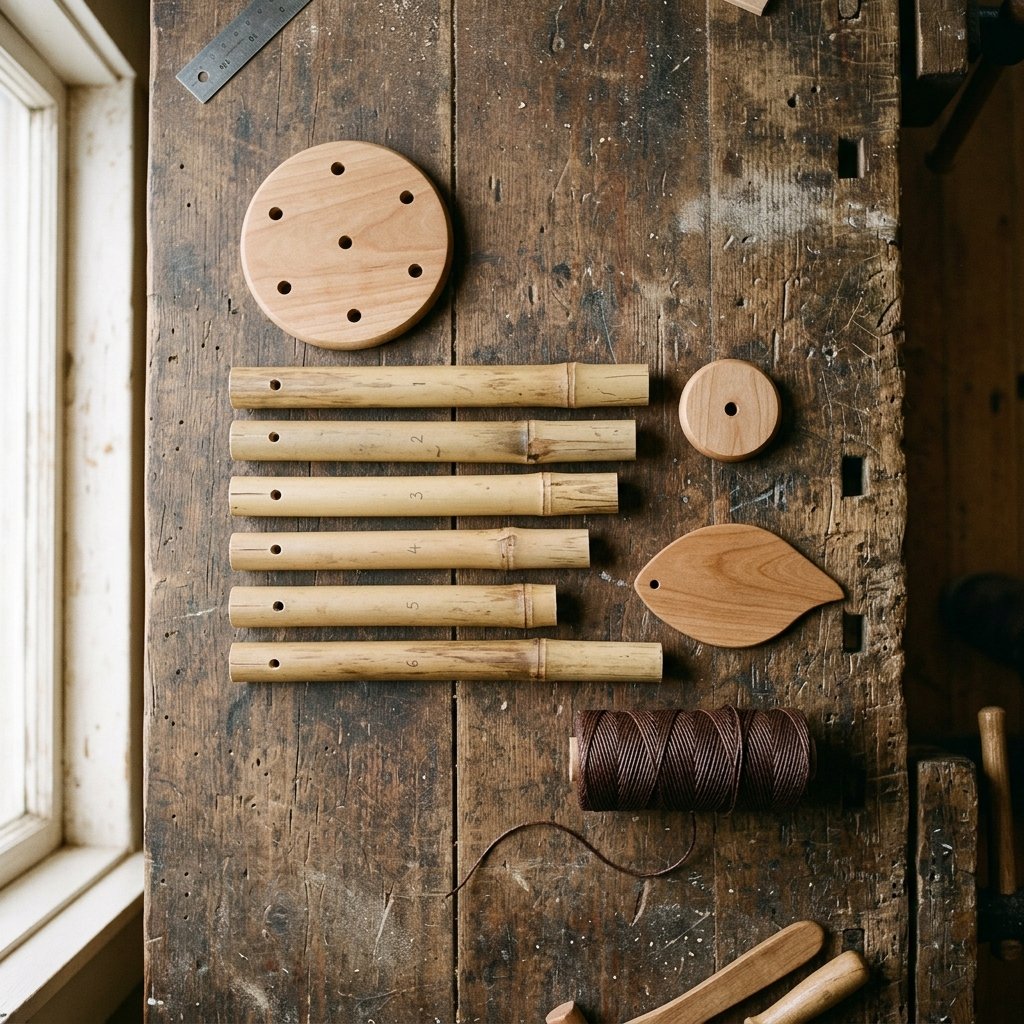
Before we start cutting and drilling, it is crucial to understand exactly what makes a wind chime work. A wind chime is not just a random assortment of sticks tied together; it is a carefully balanced instrument. Understanding its anatomy will empower you to customize your project and troubleshoot any acoustic issues.
The Core Components
- The Suspension Ring (or Top Support): This is the anchor of your chime. It holds the entire structure together and keeps the tubes spaced evenly so they do not tangle.
- The Chime Tubes: The stars of the show. In our case, these are hollow bamboo lengths. Their length and diameter dictate the pitch and resonance of the sound.
- The Clapper (or Striker): The central piece that hangs in the middle of the tubes. When the wind blows, the clapper strikes the tubes, creating the music.
- The Wind Sail (or Wind Catcher): The piece dangling at the very bottom. It catches the breeze, moving the clapper into the tubes.
- The Suspension Cord: The heavy-duty string or line that holds it all together. This needs to be rugged and weather-resistant.
Why do we insist on the frugal route? Beyond the obvious financial savings, building your own chime allows for complete customization. You are not locked into the generic stains or cheap nylon strings used in mass-produced models. You can choose heavy-duty paracord, stain the bamboo to match your porch furniture, and carve a custom wind sail that reflects your personal style. It is a practical, masculine-elegant approach to home decor that proves you do not need a massive budget to have exceptional taste.
Gathering Your Arsenal: Materials & Budget Breakdown
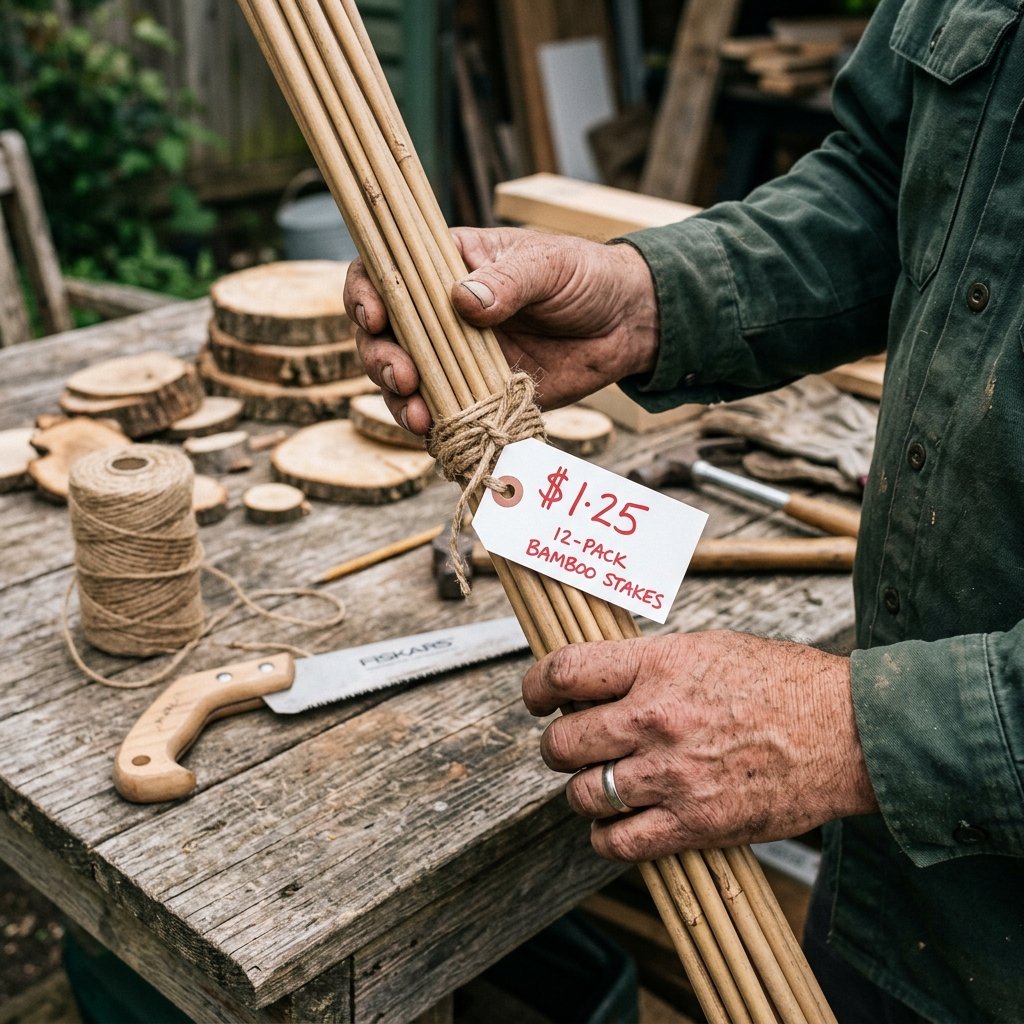
The secret to keeping this project under $5 lies in clever sourcing. Bamboo is incredibly abundant. If you live in a climate where it grows wild, you can often forage it for 100% free (just be sure to ask permission if it is on private property and only harvest dry, dead bamboo). If foraging isn’t an option, your local dollar store or hardware store’s gardening section is your best friend. Look for thick bamboo garden stakes or tiki torch replacement poles.
Where to Source Your Materials
- Dollar Tree Garden Stakes: A bundle of thick bamboo stakes usually costs $1.25. Ensure you pick the thickest, most hollow pieces you can find.
- Upcycled Tiki Torches: End-of-summer clearance sales are perfect for scoring bamboo tiki torches for pennies.
- Scrap Wood: For your suspension ring and clapper, dive into your scrap wood bin. A slice of a fallen tree branch adds incredible rustic charm.
- String/Cord: Use leftover fishing line, heavy-duty waxed thread from leatherworking, or unraveled paracord.
The Frugal Crafter’s Cost Comparison
| Material / Component | High-End Store Bought Cost | Our Clever DIY Cost |
|---|---|---|
| Bamboo Tubes | $15.00 – $40.00 | $1.25 (Dollar Store Stakes) |
| Suspension Ring & Clapper | $10.00 – $20.00 | $0.00 (Scrap Wood / Branch Slices) |
| Heavy-Duty Cord | $5.00 – $10.00 | $1.00 (Thrifted or Stash Waxed Thread) |
| Weatherproofing Oil | $10.00 – $15.00 | $0.50 (Fraction of existing Linseed/Mineral Oil) |
| Total Estimated Cost | $40.00 – $85.00+ | $2.75 – $4.00 Max |
As you can see, the savings are astronomical. By applying a little elbow grease and resourceful creativity, you are bypassing the retail markup entirely.
Prep Work: Cutting, Curing, and Sanding Like a Pro

Bamboo is a fantastic material—it is lightweight, incredibly strong, and naturally hollow. However, it is essentially a giant grass, which means it has a tendency to split and splinter if not handled with respect. Proper prep work separates a cheap-looking craft from a high-end artisanal piece.
“Measure twice, cut once, and always tape your bamboo. A split tube is a silenced chime.”
Safety & Cutting Technique
When cutting bamboo, safety and precision are paramount. Always wear safety glasses, as bamboo splinters can be sharp. To prevent the bamboo from splitting vertically down the grain while you cut, wrap a piece of masking tape tightly around the area where you intend to make your cut. Draw your cut line directly onto the tape.
- Select Your Saw: Use a fine-toothed saw. A hacksaw, a coping saw, or a Japanese pull saw (Ryoba) works beautifully. Avoid heavy wood saws with large teeth, as they will tear the bamboo fibers.
- The Cut: Secure the bamboo firmly (but gently, so you don’t crush it) in a vise or hold it steady against a bench. Saw with smooth, even strokes, letting the teeth do the work rather than forcing the blade down.
- Clean the Nodes: Bamboo has solid joints called nodes. For the best resonance, you want your tubes to be mostly hollow. If your cut leaves a solid node inside the top of the tube, leave it—it provides a great place to drill your suspension holes. If there is a node in the middle or bottom, use a long drill bit or a piece of rebar to knock it out and hollow the tube completely.
Sanding for Elegance
Once your pieces are cut, remove the tape. You will likely have some rough edges. Take a piece of medium-grit sandpaper (around 120 grit) and smooth the top and bottom rims of each tube. For a truly professional, masculine-elegant finish, slightly bevel the outer edge of the bottom cuts. This not only looks fantastic but also improves the acoustic strike surface for the clapper. Finish with a fine-grit paper (220 grit) to make the ends smooth to the touch.
The Secret to the Sound: Tuning Your Bamboo Tubes
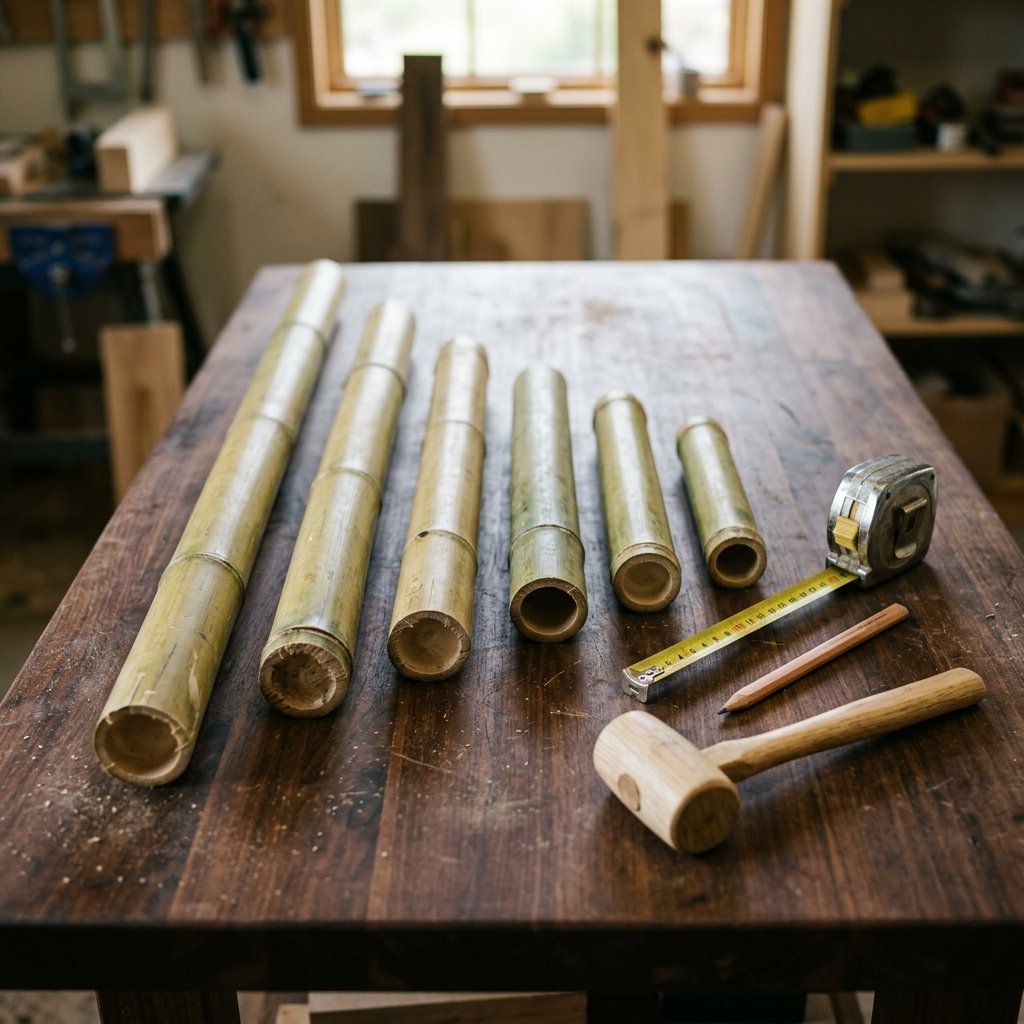
Now we enter the realm of acoustic magic. Why do some wind chimes sound like a chaotic jumble of sticks, while others sound like a soothing, meditative symphony? The secret lies in the lengths of the tubes. While bamboo is organic and cannot be tuned as perfectly as metal pipes, you can still create a beautiful, descending scale by following a few simple ratio rules.
The Physics of the Chime
The pitch of a bamboo chime is determined by its length and its inner diameter. A shorter tube produces a higher pitch, while a longer, wider tube produces a deeper, more resonant thunk. To get a pleasing cascade of sound, you need to cut your tubes in staggered lengths.
The Golden Ratios for a 6-Tube Chime
For a standard, well-balanced chime, six tubes are ideal. If you have a piece of bamboo that is roughly 1 inch in diameter, here is a fantastic, budget-savvy measurement guide to create a harmonious scale. Note: Always cut your longest tube first. If you make a mistake, you can always trim it down to become one of the shorter tubes!
- Tube 1 (Deepest Tone): 15 inches
- Tube 2: 13.5 inches
- Tube 3: 12 inches
- Tube 4: 11 inches
- Tube 5: 10 inches
- Tube 6 (Highest Tone): 9 inches
Once you have cut your tubes to these lengths, hold each one lightly between two fingers about two inches from the top, and tap it with a wooden spoon. You should hear a distinct, descending scale. If two tubes sound too similar, trim about a quarter-inch off one of them to raise its pitch. This process of trial and error is the true mark of a crafty expert!
Drilling and Stringing: The Rugged Assembly Process
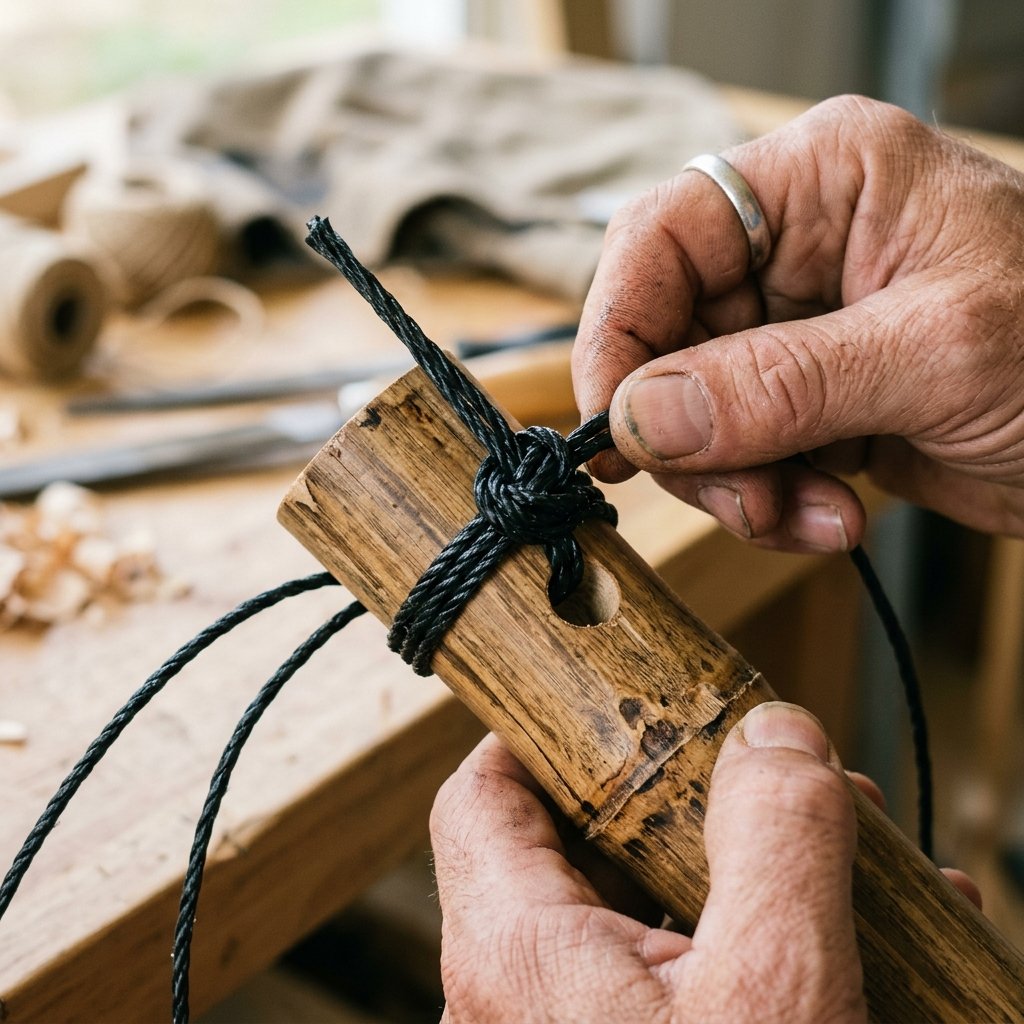
With your tubes cut and tuned, it is time for assembly. This is where your heavy-duty crafting skills shine. A wind chime faces constant abuse from the wind, rain, and sun. Weak string or flimsy knots will result in your beautiful creation crashing to the porch floor within a week. We are building this to last.
Drilling the Suspension Holes
Measure exactly 1.5 inches down from the top of each bamboo tube. Use a small drill bit (around 1/8 inch) to drill a hole straight through both sides of the bamboo. Pro-Tip: Place a piece of scrap wood inside the bamboo tube (if it fits) or directly underneath it to prevent the drill bit from splintering the bamboo as it exits the other side.
The Stringing Masterclass
For the cord, I highly recommend waxed leather-working thread, braided fishing line (at least 50lb test), or gutted paracord (paracord with the inner white strings removed so it lays flat). These materials resist UV rot and moisture.
- Prepare the Suspension Ring: Take your wooden top ring (a 5-inch diameter wood slice or an embroidery hoop works great). Drill six evenly spaced holes around the perimeter.
- Thread the Tubes: Cut six lengths of cord, each about 15 inches long. Thread one end of a cord through the two holes at the top of a bamboo tube. Tie a rugged Surgeon’s Knot or a double square knot tightly against the bamboo.
- Attach to the Ring: Thread the other end of the cord up through one of the holes in your suspension ring. Adjust the length so the top of the bamboo tube hangs about 2 to 3 inches below the ring. Tie it off securely.
- Leveling: Repeat this for all six tubes. The key to a professional look is ensuring the tops of all the bamboo tubes hang perfectly level with one another, even though the bottoms will stagger.
“The strength of a chime lies not just in the bamboo, but in the integrity of the knot that holds it to the wind.”
Designing the Wind Sail and Clapper: Upcycling at its Best
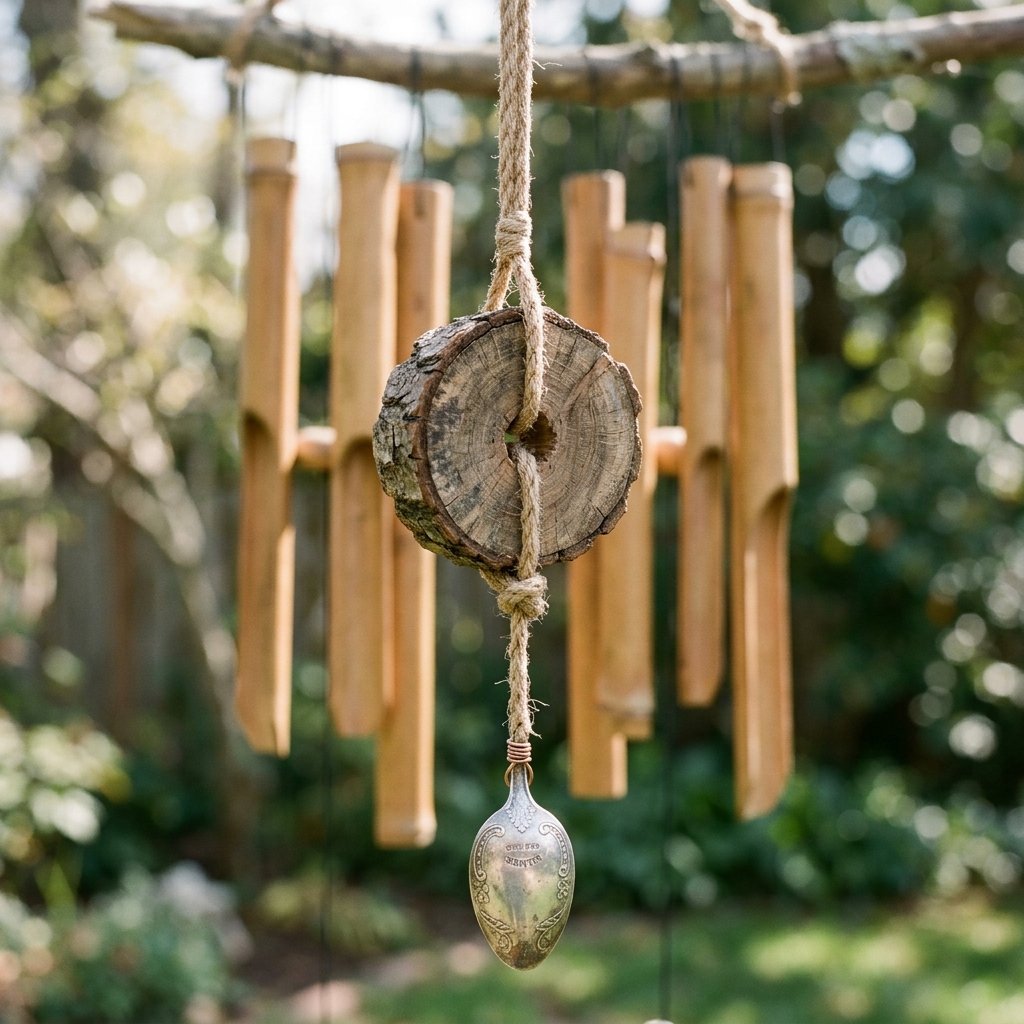
The clapper and the wind sail are the engine of your wind chime. Without them, your bamboo tubes will just hang there in silence. This is the perfect opportunity to dive into your scrap bins and upcycle materials, adding that rustic, personalized touch that makes DIY gifts so special.
Crafting the Clapper
The clapper needs to be heavy enough to strike the bamboo with force, but not so heavy that it dampens the sound. A wooden disc about 2 to 3 inches in diameter is perfect. You can use a thick slice of a tree branch, a large wooden craft bead, or even a heavy metal washer glued between two pieces of leather. Drill a hole straight down through the center of your clapper.
Fashioning the Wind Sail
The wind sail sits at the very bottom and catches the breeze. It needs a good surface area. Here are some brilliant, zero-budget upcycling ideas for your sail:
- The Nature Lover: A large, flat piece of driftwood or a thick, lacquered pinecone.
- The Rustic Frugal: An old, tarnished silver spoon flattened out with a hammer.
- The Handyman: A piece of scrap copper pipe flattened, or an old vintage key.
- The Classic: A 4-inch teardrop shape cut from a scrap piece of cedar or plywood.
Stringing the Centerline
Cut a long piece of cord (about 36 inches). Tie a large loop at the top—this is what you will use to hang the entire chime from your porch hook. Thread the cord down through the center hole of your suspension ring. Tie a knot exactly where you want the clapper to sit (the clapper should strike the bamboo tubes right in the middle of the shortest tube). Slide the clapper onto the cord so it rests on the knot. Finally, tie your wind sail to the very bottom of the cord, leaving about 6 to 8 inches of string between the clapper and the sail.
Weatherproofing for the Elements: A Legacy Finish
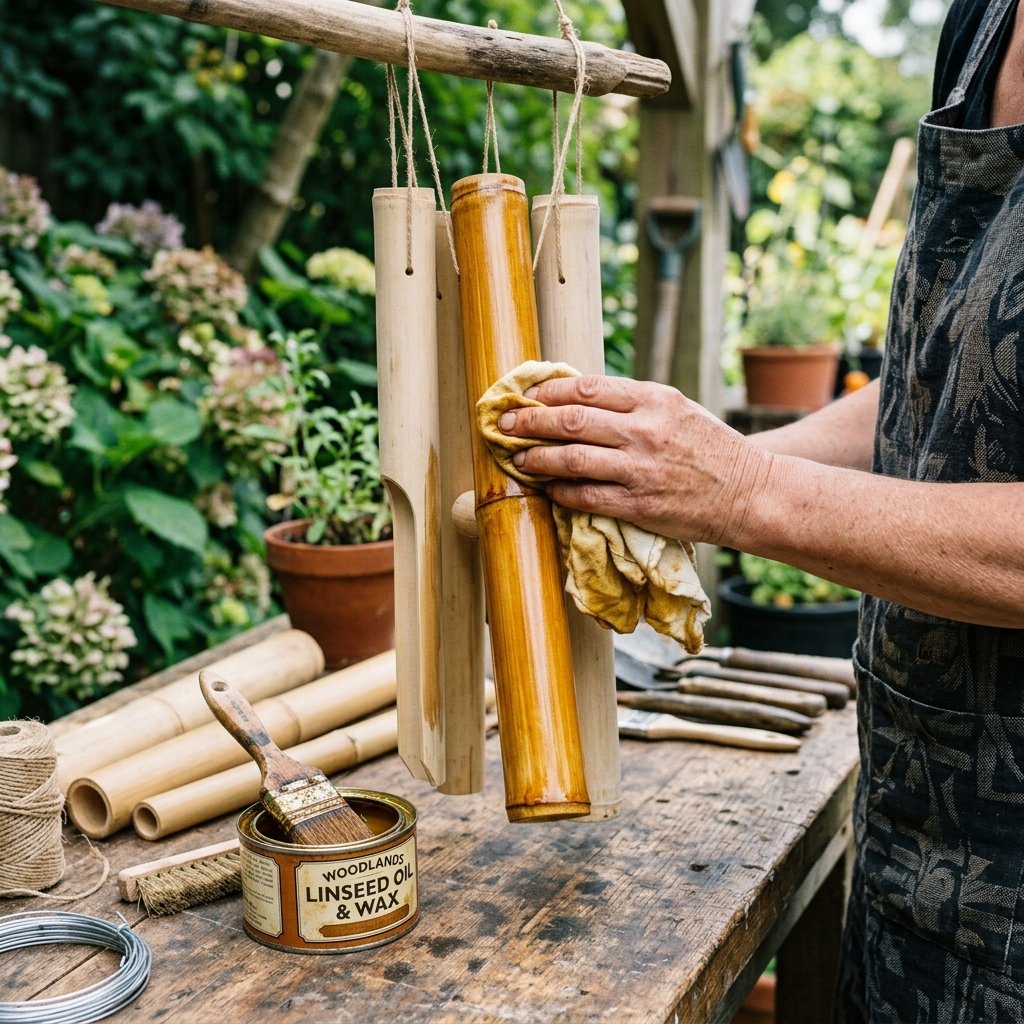
You have just built a masterpiece for under $5. But if you hang raw, untreated bamboo out in the sun and rain, it will dry out, crack, and turn an ugly, dull gray within a single season. To make your frugal DIY look like a high-end, store-bought luxury item, you must weatherproof it. This step adds a rugged, masculine elegance and ensures your chime will sing for years to come.
The Frugal Finish Formula
You do not need expensive marine varnishes to protect your chime. In fact, natural oils often look better and sink deeper into the bamboo fibers. Look into your garage or kitchen pantry for these budget-friendly sealants:
- Boiled Linseed Oil: A classic woodworker’s choice. It hardens inside the wood fibers, providing excellent protection and a warm, golden glow.
- Mineral Oil & Beeswax: Melt a little beeswax into food-grade mineral oil. Rub it into the bamboo for a buttery, water-resistant finish.
- Leftover Deck Stain: Have a quarter-can of transparent deck sealer sitting in the garage? It is absolutely perfect for this project.
Application Technique
Take a clean rag (an old cut-up t-shirt works perfectly) and dip it into your chosen oil or stain. Rub it generously all over the outside of the bamboo tubes, the suspension ring, the clapper, and the wind sail. Do not forget to swab a little oil inside the top and bottom rims of the bamboo to prevent moisture from seeping into the end grain. Let the chime hang in a dry, well-ventilated area for 24 to 48 hours to cure completely before hanging it in the elements.
As the oil cures, it will deepen the natural greens and tans of the bamboo, giving it that rich, expensive sheen that makes guests say, “Wow, where did you buy that?” And you get to smile, knowing it cost you less than a cup of coffee.
Conclusion
Enjoying Your Handcrafted Porch Symphony
And there you have it! With a handful of inexpensive dollar store garden stakes, some scrap wood, a bit of strong cord, and a weekend afternoon, you have engineered a stunning acoustic instrument. You bypassed the outrageous retail markups and created something with your own two hands that adds immediate charm, tranquility, and a touch of rugged elegance to your outdoor space.
The beauty of this frugal DIY project is that no two bamboo wind chimes will ever sound exactly alike. The unique diameter of your bamboo, the specific density of your wooden clapper, and the custom lengths you chose all work together to create a signature melody that belongs entirely to your porch. It is a fantastic project to do with older kids, a brilliant homemade gift for Mother’s Day or Father’s Day, and a perfect way to dip your toes into the world of resourceful upcycling.
So pour yourself a glass of iced tea, kick back in your favorite porch chair, and wait for the breeze. That deep, resonant, magical sound you hear? That is the sound of creativity, resourcefulness, and a job incredibly well done. Happy crafting, and may your porch always be filled with music!

Makenzie is the founder and lead writer at MoneyHackTips.com — a personal finance blog dedicated to delivering street-smart financial wisdom for real people on real budgets. With 300+ published articles covering everything from debt management to investing fundamentals, Makenzie’s mission is to make every dollar work harder. When not writing about money hacks, Makenzie is testing frugal living strategies, optimizing side hustles, and helping readers build financial freedom from scratch.