
Welcome back, frugal DIYers, handy upcyclers, and weekend yard warriors! If there is one universal truth in homeownership, it is that a tangled, muddy garden hose lying across your lawn is the ultimate eyesore. It kills your grass, creates a tripping hazard, and frankly, makes your carefully curated landscaping look messy. But before you drive down to the big box home improvement store and drop $45 to $80 on a heavy-duty wrought iron hose caddy, let me stop you right there. As a resourceful, crafty-expert who refuses to overpay for basic utility, I am about to share a brilliant, budget-savvy secret that will instantly elevate your outdoor space. We are going to build a rugged, practical, and masculine-elegant garden hose holder using a simple item from the Dollar Store. Not only will this resourceful hack save you a small fortune, but it looks so incredibly custom and high-end that your neighbors will be begging you to build one for them. This project perfectly marries form and function, taking a basic $1.25 galvanized bucket or wire planter and transforming it into an industrial-chic organizational masterpiece. Grab your drill, your tool belt, and your frugal creativity, because we are about to tackle the ultimate trash-to-treasure porch makeover!
The Anatomy of a Perfect Garden Hose Holder
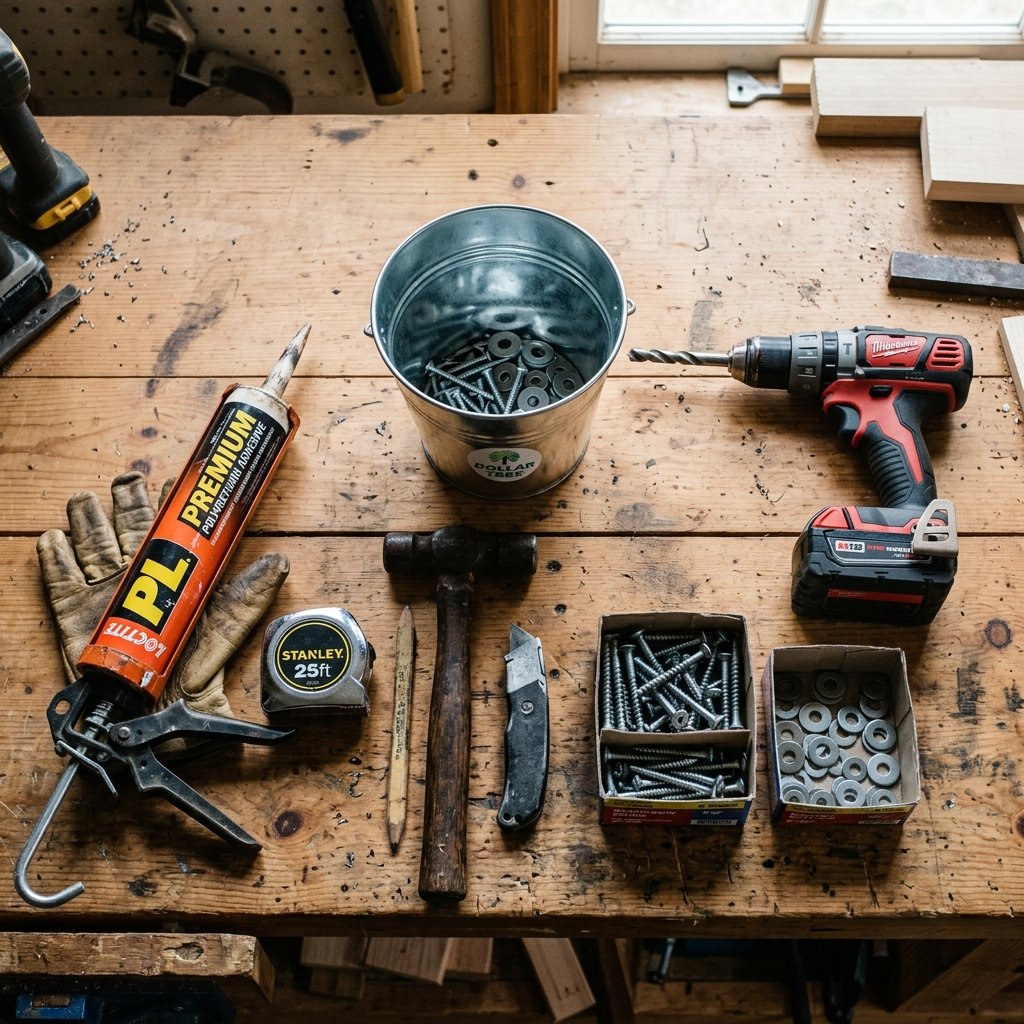
When it comes to outdoor organization, we need solutions that are built to withstand the elements while maintaining a clean, sophisticated aesthetic. A proper garden hose holder needs to accomplish three specific things: it must support the heavy weight of a water-filled 50-foot or 100-foot hose without bending, it needs a wide enough diameter to prevent the hose from kinking, and it should ideally offer some secondary storage for your accessories.
“A well-organized garden doesn’t require a heavy wallet, just a heavy dose of creativity and the right drill bit.” – The Frugal DIY Mantra
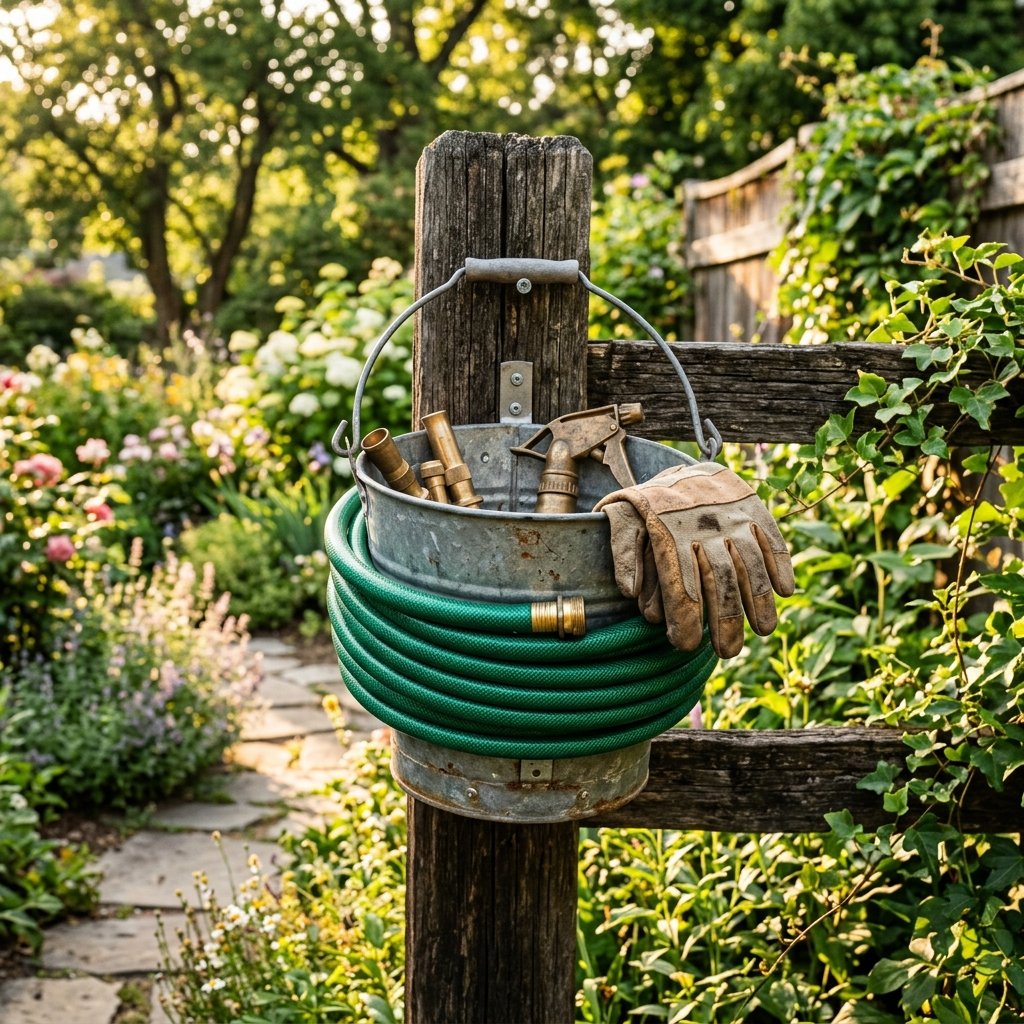
By utilizing a heavy-duty galvanized metal bucket or a large wire wall-planter from the Dollar Store, we hit all three of these requirements effortlessly. The cylindrical shape of a bucket provides the perfect natural curve to wrap your hose around, completely eliminating those frustrating kinks that ruin water pressure. Furthermore, mounting a bucket horizontally against a fence post or exterior wall magically creates a hidden storage cubby inside the bucket itself! This is the ultimate practical hack for handy moms and dads: you wrap the hose on the outside, and you store your brass nozzles, rubber washers, and work gloves inside the hollow center. It is a two-for-one storage solution that costs practically nothing.
Material Breakdown & Budget-Savvy Comparison
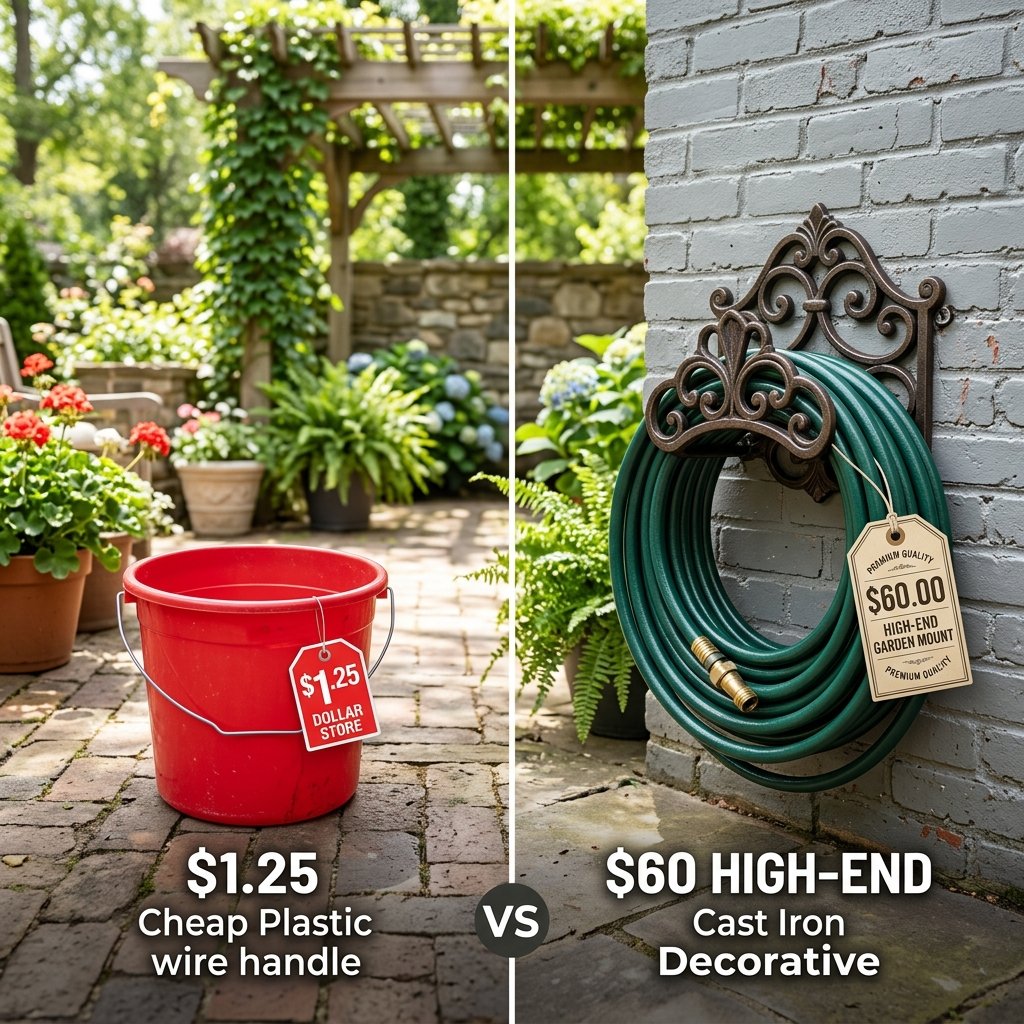
Before we dive into the sawdust and metal shavings, let us take a moment to appreciate the sheer financial victory of this project. If you walk into a high-end garden boutique or a major hardware store, a wall-mounted metal hose corral will easily set you back $40 or more. Our version? We are aiming for under $5 total. Here is the exact breakdown of what you need to pick up on your next Dollar Tree run, compared to the retail equivalent.
| Material / Tool Required | DIY Dollar Store Cost | Big Box Store Equivalent |
|---|---|---|
| Large Galvanized Bucket or Wire Planter | $1.25 | $35.00 |
| Heavy-Duty Screws & Fender Washers | $1.50 (Hardware Store) | $5.00 |
| Clear Silicone or Rust-Oleum Spray (Optional) | $1.25 (Dollar Store craft aisle) | $8.00 |
| Nautical Rope for Trim (Optional) | $1.25 | $12.00 |
| Total Estimated Project Cost | $5.25 | $60.00+ |
As you can see, the savings are absolutely undeniable. By applying a little bit of elbow grease and utilizing cheap, accessible blanks, we are keeping $55 right where it belongs: in your wallet.
Step-by-Step Tutorial: The Rugged Galvanized Bucket Mount
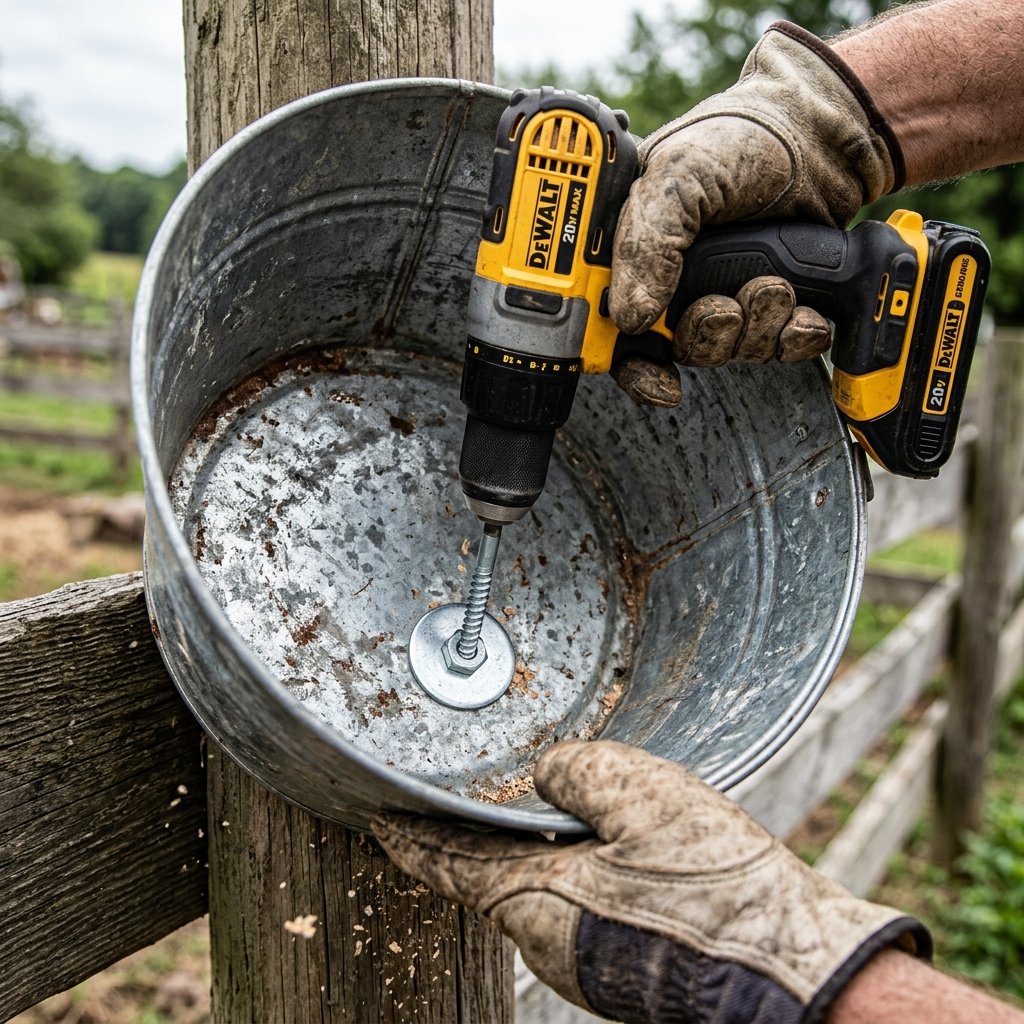
Ready to get your hands dirty? This installation process takes about 15 minutes from start to finish. We are going to modify the base of our bucket so it can be securely bolted to your wall or fence post.
Tools You Will Need:
- A power drill with a 3/8-inch metal drill bit.
- Three heavy-duty exterior wood screws (at least 2 inches long).
- Three large metal fender washers (crucial for weight distribution).
- A stud finder (if mounting on siding).
The Construction Steps:
- Step 1: Prep the Bucket. Take your Dollar Store galvanized bucket and remove the wire carrying handle. You can usually just bend the attachment points with a pair of pliers and pop the handle right off.
- Step 2: Mark Your Drill Points. Turn the bucket upside down so you are looking at the flat bottom. Using a sharpie, mark three dots in a triangle formation near the center. This triangular layout provides the strongest structural integrity against the downward pulling weight of a heavy hose.
- Step 3: Drill the Pilot Holes. Carefully drill through the metal bottom at your three marked points.
Safety Note: Always wear safety goggles when drilling through metal, as tiny sharp shards can easily fly upward. File down any sharp burrs left behind by the drill bit.
- Step 4: Mount to the Post. Hold the bucket horizontally against your sturdy wooden fence post or wall stud. The open mouth of the bucket should be facing out toward you. Place a fender washer onto each screw, insert the screws through the holes inside the bottom of the bucket, and drive them deep into the wood. The fender washers are mandatory—they prevent the screw heads from ripping through the thin metal when a heavy 50-foot hose is hung on it.
- Step 5: Weatherproof the Hardware. Dab a small amount of clear silicone sealant or exterior glue over the screw heads inside the bucket. This prevents rust from forming where the metal was exposed by the drill.
And just like that, you have a bulletproof, industrial-style hose holder! The hose wraps cleanly around the outside of the bucket, while the hollow interior is ready to hold your gardening shears and sprayers.
Alternative Hack: The Inverted Wire Planter Cradle
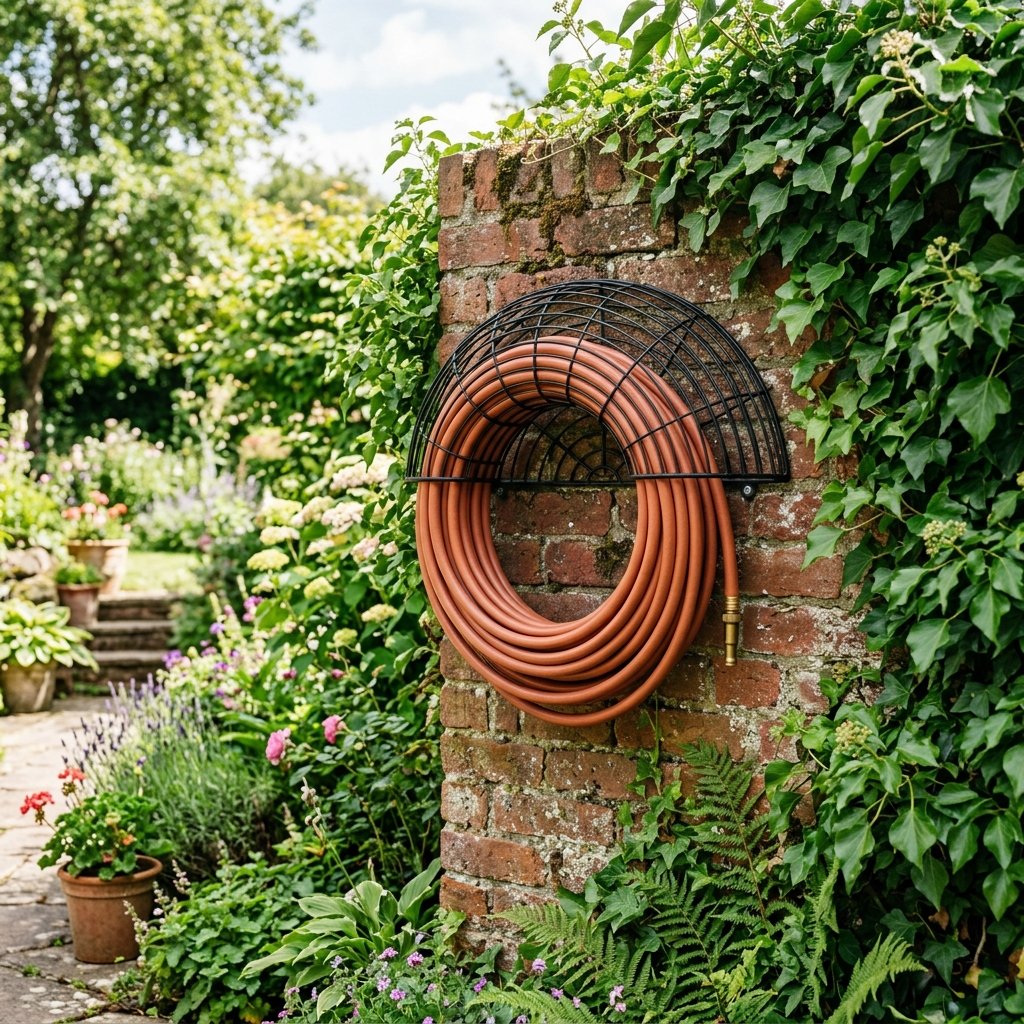
If the industrial bucket look does not quite fit your home’s aesthetic, or if you have a massive, ultra-heavy 100-foot rubber contractor hose, I have a second brilliant Dollar Tree option for you: The Inverted Wire Planter Hack. During the spring and summer, Dollar Tree sells large, half-moon shaped wire hanging baskets designed to hold coco coir liners for trailing flowers. These wire frames are surprisingly rigid and make for an elegant, vintage-looking hose cradle.
How to Execute the Wire Planter Hack:
- Step 1: Purchase the largest half-moon wire wall planter you can find at the dollar store. Discard the coco liner (or save it for a different gardening project).
- Step 2: Instead of mounting it like a normal planter (like a bowl ready to hold dirt), you are going to flip it completely upside down so it forms a dome or a hump against the wall.
- Step 3: Use heavy-duty U-brackets or thick exterior screws with wide washers to secure the thickest wire rim of the planter directly into your wall studs or fence.
- Step 4: Once securely fastened upside down, the rounded wire dome becomes the perfect, kink-free saddle to loop your garden hose over.
This method offers a highly sophisticated, wrought-iron look that mimics expensive European garden antiques. You can even take it a step further by hitting the wire frame with a coat of matte black or oil-rubbed bronze spray paint before mounting it. It is a $1.25 investment that easily passes for a $45 piece of high-end hardware.
Upgrading the Look: Faux Finishes & Designer Details
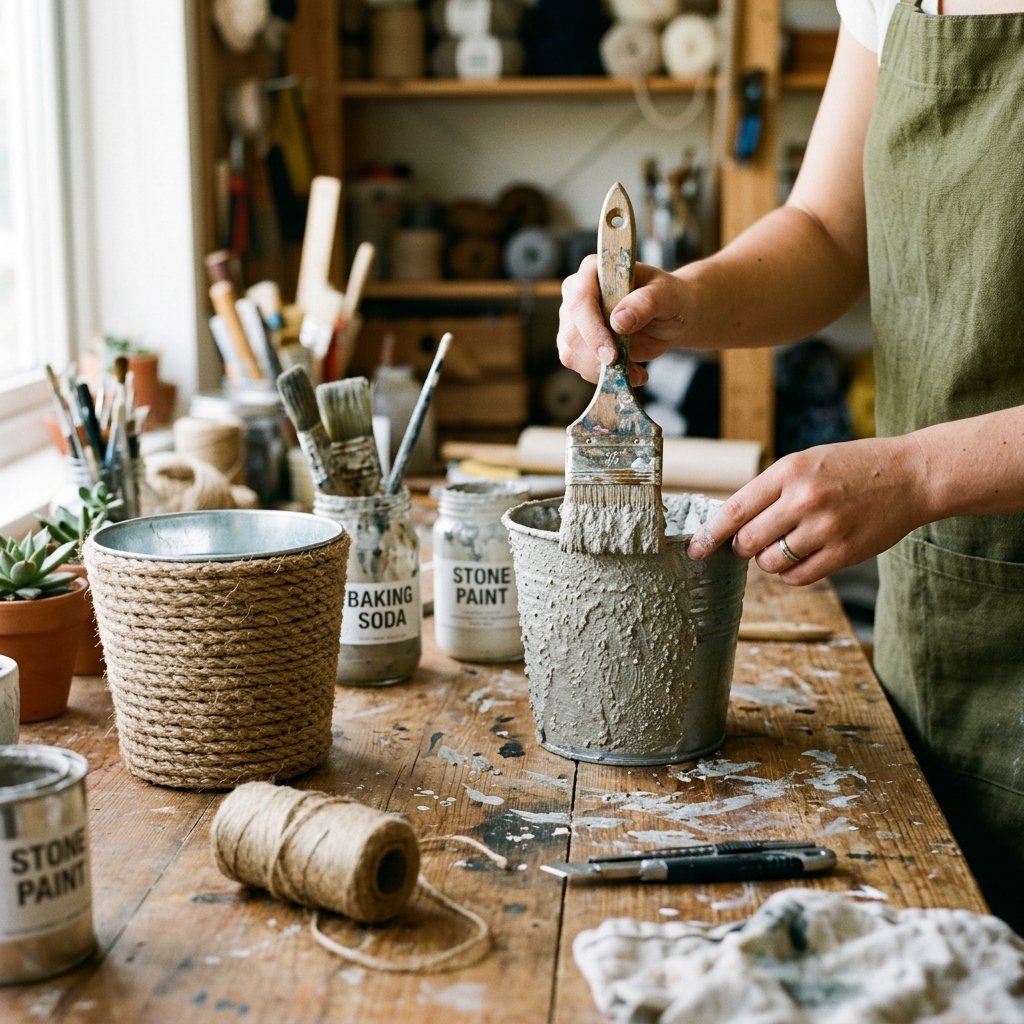
For my Dollar Tree interior designers and crafty upcyclers, we know that the magic is always in the finish. While a shiny galvanized bucket is great for a farmhouse or rugged industrial vibe, you might want something that looks a bit more bespoke. Here are two incredible ways to customize your new hose holder so it perfectly matches your exterior decor.
The Baking Soda Faux Stone Technique
If you want your bucket to look like an expensive, heavy concrete or stone architectural piece, use the famous baking soda paint trick. Mix 1 cup of exterior latex paint (in a warm taupe, charcoal, or terracotta shade) with 1/4 cup of baking soda. Stir it until it reaches a thick, frothy, mousse-like consistency. Use a cheap chip brush to dab and stipple the paint onto the outside of your mounted bucket. The baking soda adds incredible grit and texture. Once dry, it will look exactly like a heavy stone or ceramic fixture, completely masking the cheap metal underneath!
The Coastal Nautical Rope Wrap
If you live near the beach or just love a preppy, coastal aesthetic, head to the craft aisle at Dollar Tree and grab three bundles of their thick nautical jute rope. Using a hot glue gun or heavy-duty E6000 adhesive, start at the base of the bucket (the part touching the wall) and tightly wrap the rope round and round, gluing as you go, until the entire exterior of the bucket is covered in thick rope.
Pro-Tip: Coat the finished rope in an exterior waterproof clear spray to prevent it from molding or rotting in the rain.
This rope-wrapped cylinder looks exactly like something you would buy at a high-end coastal boutique, and the thick rope actually provides a softer surface for your hose to rest on, protecting it from any sharp metal edges.
Mastering the Hardware: Mounting on Brick, Siding, and Wood
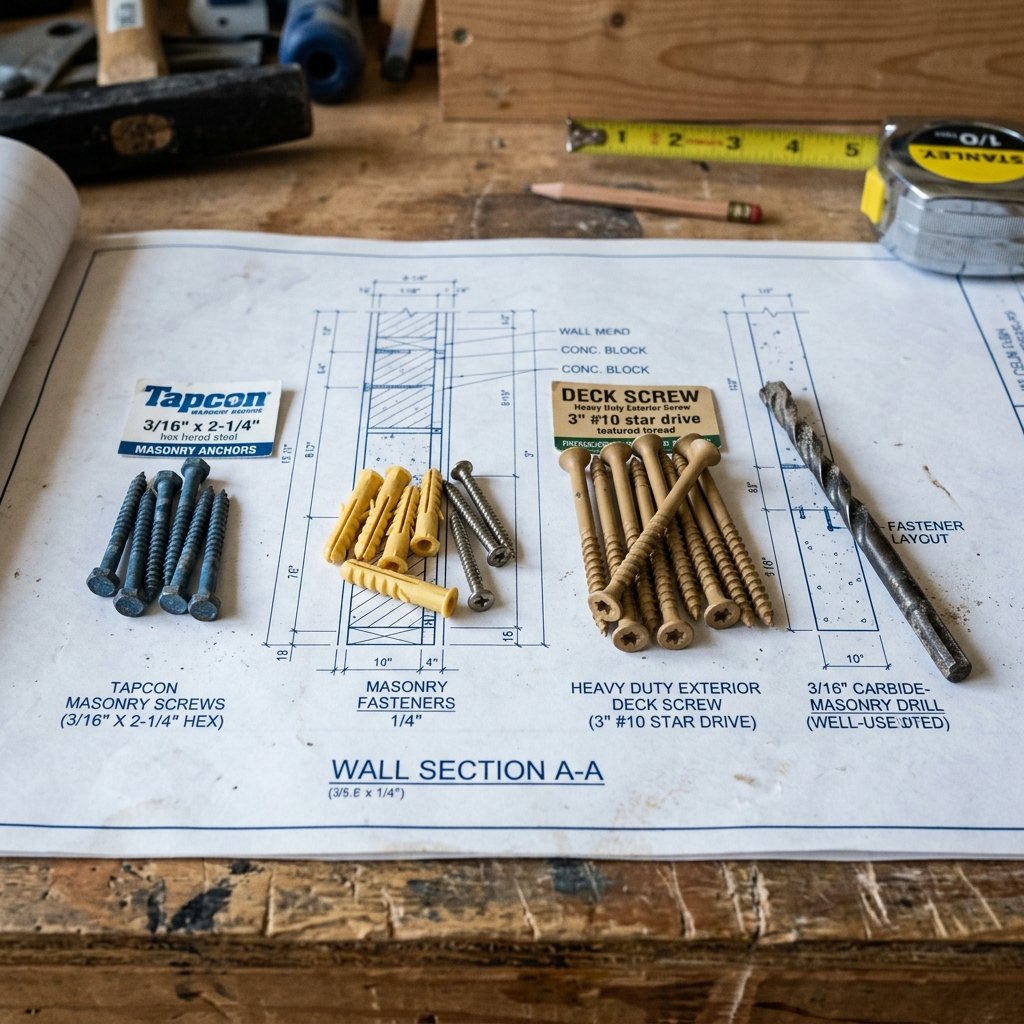
A DIY project is only as good as its structural integrity. A garden hose full of residual water can weigh upwards of 15 to 20 pounds, so simply screwing this into flimsy vinyl siding will end in disaster. Here is your practical, masculine-elegant guide to mounting your new hose holder on various exterior surfaces.
Mounting on Wooden Fence Posts
This is the easiest and most secure method. Use 2.5-inch exterior deck screws. Wood naturally grips the threads tightly. Always drill a small pilot hole first to prevent the wooden post from splitting, especially if it is older, weathered wood.
Mounting on Brick or Masonry
Do not let brick intimidate you! You will need a masonry drill bit (usually 5/16-inch) and Tapcon concrete anchors, or plastic masonry sleeves. Drill your hole directly into the brick (not the mortar, as mortar can crumble under heavy weight). Tap your plastic anchor into the hole with a hammer until it is flush, then drive your screw through the bucket and into the anchor. It will hold incredibly tight.
Mounting on Siding (Vinyl or Aluminum)
Never mount directly to just the siding. You must use a stud finder to locate the wooden structural studs beneath the siding. If you cannot find a stud exactly where you want your hose, you will need to mount a horizontal 1×4 wooden backer board across two studs first, and then mount your bucket to that wooden board. This distributes the weight and prevents your siding from warping or tearing.
Conclusion
There you have it, my frugal friends! With just a little bit of creative vision, a quick trip to the Dollar Store, and about 15 minutes of handy work, you have completely solved one of the most annoying yard organization problems. Whether you chose the rugged galvanized bucket with its clever hidden storage, or the elegant inverted wire planter, you have successfully created a high-end functional piece for a fraction of the retail cost. This Brilliant DIY Dollar Store Garden Hose Holder Hack is the exact kind of resourceful, budget-savvy project that proves you do not need to spend big money to have a beautifully maintained home. Your hose is off the ground, your yard looks impeccable, and your wallet is still full. Be prepared, because once your neighbors see this clever setup, they are going to ask you to build one for them! Keep upcycling, keep crafting, and remember that the best home upgrades are always the ones you make with your own two hands.

Makenzie is the founder and lead writer at MoneyHackTips.com — a personal finance blog dedicated to delivering street-smart financial wisdom for real people on real budgets. With 300+ published articles covering everything from debt management to investing fundamentals, Makenzie’s mission is to make every dollar work harder. When not writing about money hacks, Makenzie is testing frugal living strategies, optimizing side hustles, and helping readers build financial freedom from scratch.