
We have all been there. You find the absolute perfect skirt at a thrift store for a jaw-dropping $3, or you pull a beloved favorite out of the back of your closet, only to discover the dreaded waist gap. It fits perfectly over the hips, but the waistband stands away from your body like a rigid hula hoop. For the frugal DIYer and the budget-savvy upcycler, taking that garment to a professional tailor is out of the question. Why spend $25 to $40 on alterations when the skirt itself cost less than a cup of coffee?
Welcome to the ultimate grandmother-approved, resourcefully-creative tailoring secret: taking in a skirt waist with a hidden piece of elastic. This is not just a hack; it is a wardrobe-saving revelation. Whether you are a handy parent trying to keep up with a growing child’s hand-me-downs, or a crafty expert looking to customize your vintage finds, this trick requires zero sewing machine experience and takes exactly 10 minutes to execute.
By utilizing the existing architecture of your garment’s waistband, we are going to create a hidden cinch that pulls the fabric snug against your lower back, eliminating the gap and providing a custom, flexible fit. Grab your basic sewing kit, channel your inner master tailor, and let us turn that ill-fitting piece of fabric into a custom-tailored treasure!
The Frugal Tailor’s Arsenal: Gathering Your Supplies
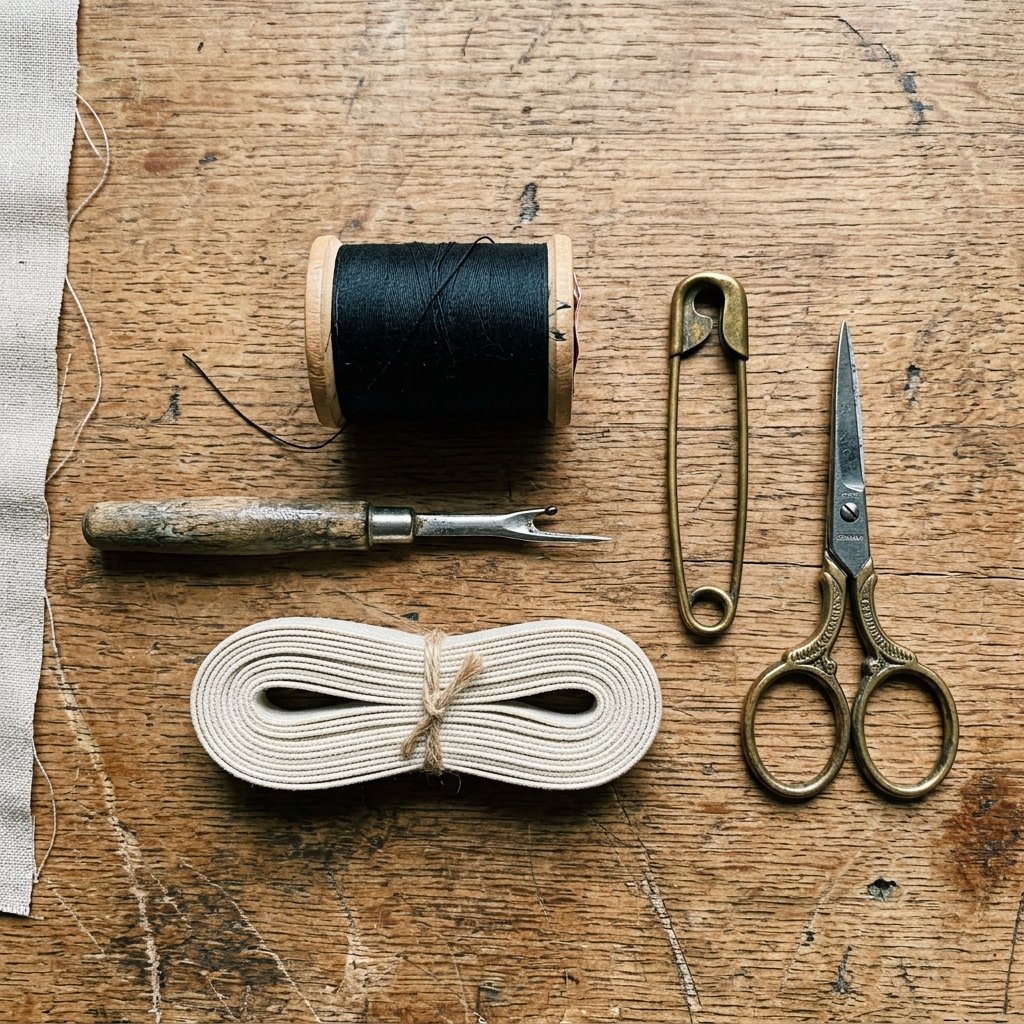
Before we dive into the mechanics of this brilliant alteration, we need to gather our tools. The beauty of this resourceful clothing hack lies in its simplicity. You do not need a heavy-duty sewing machine, a serger, or an expensive dress form. You only need a few inexpensive basics that you likely already have in your crafty toolkit.
Essential Materials List
- Woven or Knit Elastic: About 5 to 10 inches in length, depending on how much you need to take the waist in. Aim for elastic that is slightly narrower than the width of your skirt’s waistband (usually 1/2 inch to 3/4 inch wide).
- A Sharp Seam Ripper: The unsung hero of the budget wardrobe. This tool is essential for opening seams cleanly without tearing the fabric.
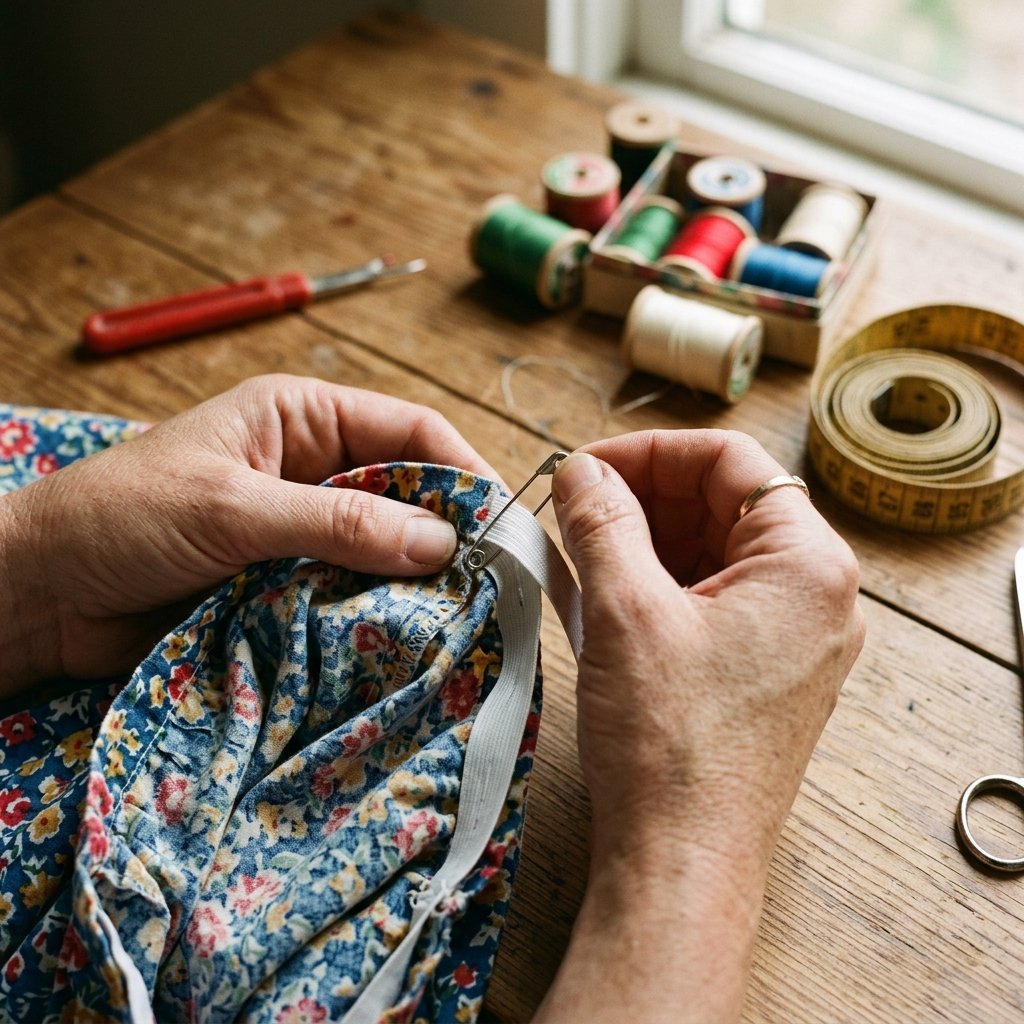
- A Large Safety Pin: This will act as your bodkin, guiding the elastic through the dark tunnel of the waistband.
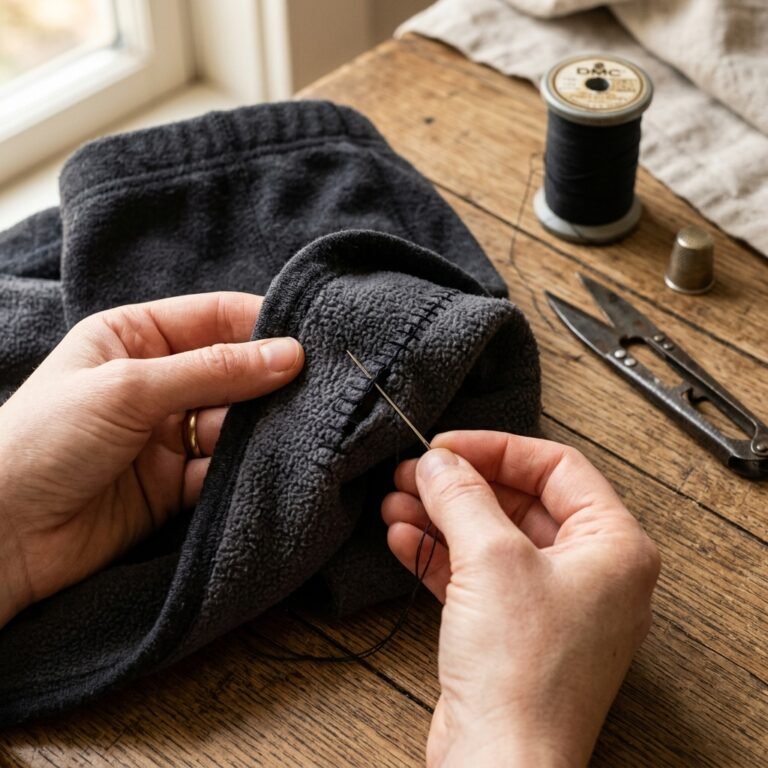
- Needle and Thread: A standard hand-sewing needle and a strong polyester or cotton-wrapped poly thread that matches your skirt.
- Sewing Pins: To hold everything in place before the final stitches.
Let us look at the financial breakdown of why this DIY hack is a mandatory skill for any budget-conscious individual.
| Alteration Method | Estimated Cost | Time Investment | Flexibility/Comfort |
|---|---|---|---|
| Professional Tailor (Darts/Taking in Seams) | $25 – $45 | 1 to 2 Weeks | Rigid fit, no stretch |
| Store-Bought Adjustable Belt | $10 – $20 | Instant | Can look bulky under shirts |
| The 10-Minute Elastic Hack (DIY) | $0.50 – $1.50 | 10 Minutes | Custom stretch, moves with you |
Frugal Mantra: “Why pay a premium for a permanent stitch when a pennies-worth of elastic offers a custom, comfortable, and reversible solution?”
Anatomy of a Waistband & Fabric Compatibility

To execute this hack flawlessly, you must understand the architecture of your garment. Most skirts and trousers feature what is known as a “cased” or “faced” waistband. This means there is an outer layer of fabric (what the world sees) and an inner layer of fabric (what touches your skin). Between these two layers is a hollow tunnel. Our goal is to access this tunnel, slip our elastic inside, and anchor it to pull the excess fabric inward.
Does Your Skirt Qualify for the Elastic Trick?
While this 10-minute trick works on a vast majority of garments, the drape and thickness of the fabric play a crucial role in how professional the final result will look. Because we are gathering fabric at the back of the waist, lightweight to medium-weight fabrics will gather beautifully, while ultra-heavy fabrics might create unwanted bulk.
| Fabric Type | Compatibility Rating | Result & Tips |
|---|---|---|
| Cotton, Linen & Rayon Blends | Excellent | Gathers cleanly and smoothly. Ideal for vintage A-line and circle skirts. |
| Lightweight Denim & Chambray | Great | Works perfectly, but requires a heavy-duty needle to anchor the elastic securely. |
| Heavy Wool & Thick Leather | Poor | Too thick to gather nicely. May cause uncomfortable bunching at the lower back. |
| Satin & Silk | Good (with caution) | Use a very sharp, thin needle to avoid snagging the delicate inner waistband. |
If you are working with a fabric that is slightly thicker, do not despair. The trick is to stretch the elastic firmly and anchor it flatly against the side seams, ensuring the gathers are distributed evenly across the back panel rather than bunched tightly in the center.
Step-by-Step Guide: The 10-Minute Skirt Waist Fix
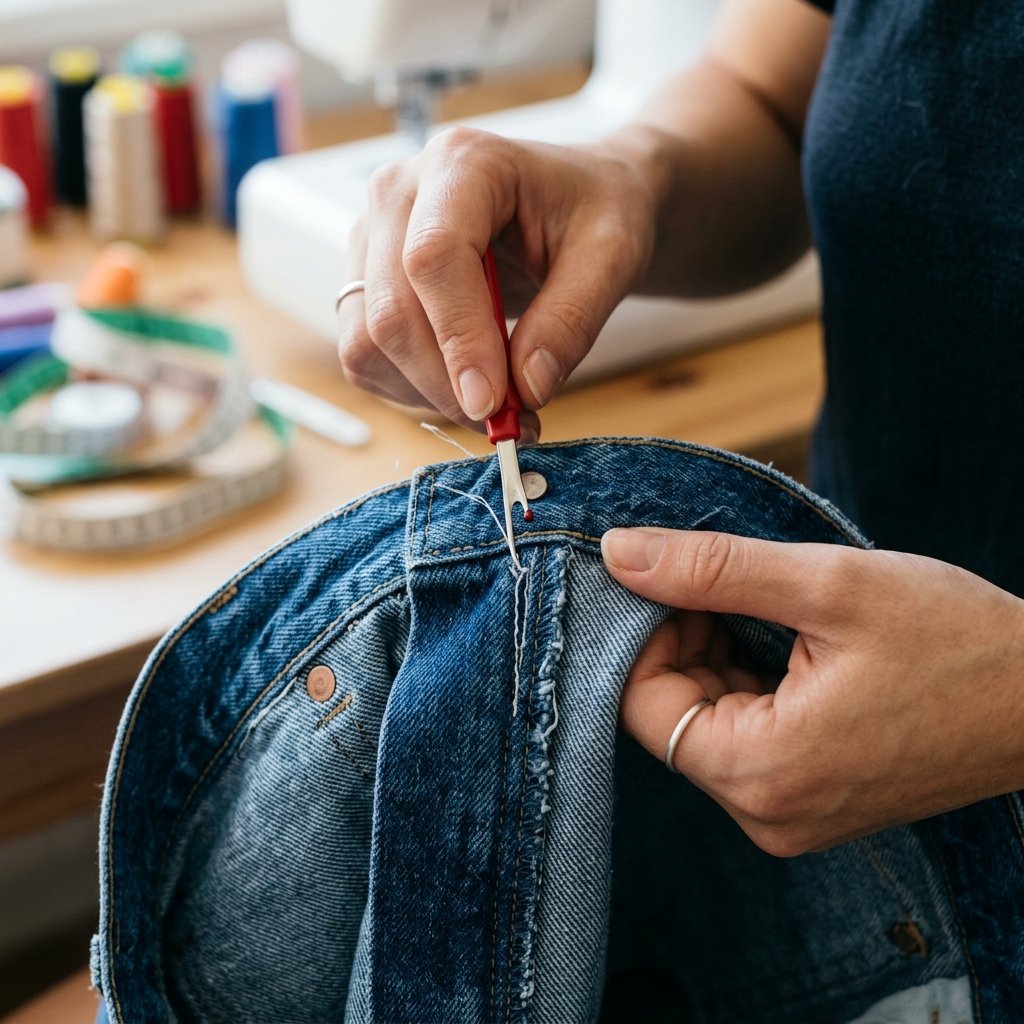
Clear your workspace, thread your needle, and prepare to perform some wardrobe magic. Follow these steps meticulously, and you will have a perfectly fitting garment in under 10 minutes.
Step 1: The Pinch and Pin (Measurement)
- Put the skirt on inside out. Pinch the excess fabric at the back of the waistband until the skirt fits snugly and comfortably around your waist.
- Measure the amount of fabric you pinched. Let us say you pinched 3 inches of excess fabric.
- Cut your piece of elastic. Your elastic should be the length of the back waistband (from side seam to side seam) minus the excess amount you just measured. For example, if the back waistband measures 15 inches across, and you need to remove 3 inches of slack, cut your elastic to 12 inches.
Step 2: Creating the Access Points
- Take the skirt off. Locate the inner side seams of the waistband (the seams that sit directly on your hips).
- Using your seam ripper, carefully open a vertical slit on the inside layer of the waistband, right next to each side seam. Make the slit just large enough to accommodate the width of your elastic (about 1 inch).
Safety Note: Always push the seam ripper away from your body and away from the outer layer of the fabric. You only want to cut the interior facing, ensuring the outside of the skirt remains completely untouched and pristine.
Step 3: Threading the Bodkin
- Attach your large safety pin to one end of the elastic. This is your makeshift bodkin.
- Insert the safety pin into the right-side slit. Slowly guide it through the hollow tunnel of the back waistband, inching it toward the left-side slit.
- CRITICAL STEP: Before the tail end of the elastic disappears into the first slit, pin it securely to the outside of the fabric with a sewing pin so you do not lose it inside the tunnel!
Step 4: Anchoring the Elastic
- Once the safety pin emerges from the left-side slit, pull the elastic taut. You will immediately see the back of the waistband begin to gather.
- Pin the safety-pin end of the elastic to the fabric so it does not slip back inside.
- Using your needle and heavy-duty thread, sew the tail end of the elastic firmly to the inner seam allowance at the right slit. Use a sturdy whipstitch. Go back and forth at least 5 to 6 times to ensure it can withstand the tension of stretching.
- Repeat the anchoring process on the left side.
Step 5: Closing the Gap
Now that the elastic is securely anchored at both side seams, all that is left is to close the tiny slits you made in the inner waistband. Because this is on the inside of the garment, it does not need to be a masterpiece, but a neat ladder stitch (or invisible stitch) will make it look like a professional tailor did the job.
Grandma’s Secret Stitches: The Whipstitch & Ladder Stitch
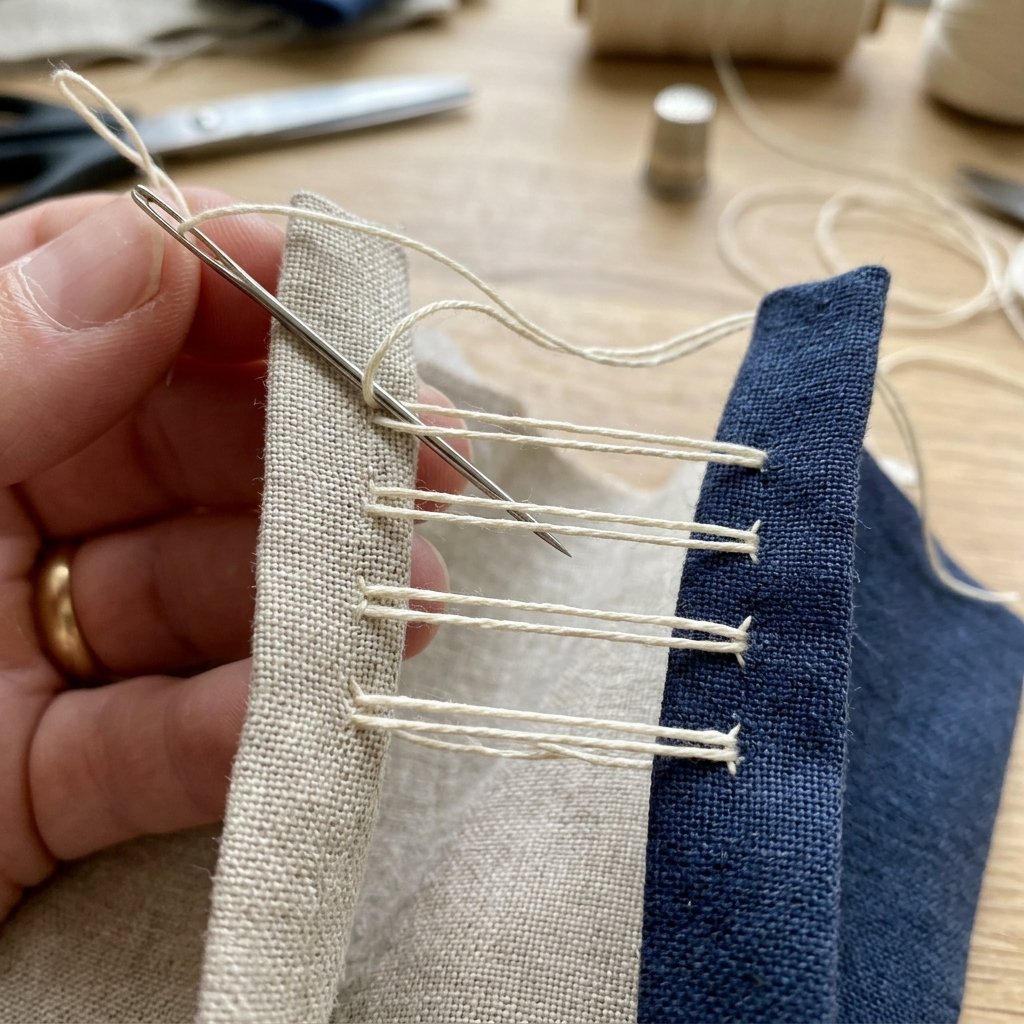
A true frugal crafter knows that the longevity of a mend relies entirely on the quality of the stitch. While you could technically close the inner waistband slits with a quick dab of fabric glue, taking an extra 2 minutes to hand-sew it will ensure your garment survives the washing machine for years to come.
The Anchoring Whipstitch
When you are securing the elastic to the side seams (Step 4), you need raw strength. The whipstitch loops over the edge of the elastic and bites deep into the seam allowance of the skirt.
How to Whipstitch: Bring the needle up through the elastic and the fabric. Pull the thread over the edge of the elastic, then push the needle back up through the bottom, slightly to the left of your first stitch. Repeat this looping motion tightly, creating a spiral binding.
The Invisible Ladder Stitch
When closing the inner slits (Step 5), you want a flat, smooth finish so nothing rubs against your skin. The ladder stitch is a master tailor’s best-kept secret for invisible mending.
How to Ladder Stitch: Hide your knot inside the fold of the slit. Take a tiny horizontal “bite” of fabric on the left side of the slit. Pull the thread across the gap and take a tiny horizontal “bite” on the right side. As you pull the thread taut, the two folded edges will magically pull together, hiding the thread completely.
| Mending Problem | Tailoring/Stitch Solution |
|---|---|
| Elastic snaps or pulls out under tension | Use a stronger poly-thread and reinforce with a Cross-Stitch (X-box) anchor pattern. |
| Inner waistband slit is fraying | Apply a tiny drop of clear nail polish or Fray Check to the raw edges before stitching closed. |
| Stitches are visible on the outside of skirt | Ensure you are only catching the inner facing and the seam allowance, never piercing the outer shell. |
| Elastic twists inside the casing | Tack the elastic down with one tiny invisible stitch exactly in the center back of the waistband. |
Beyond Skirts: Applying This Rugged Hack to Jeans and Trousers
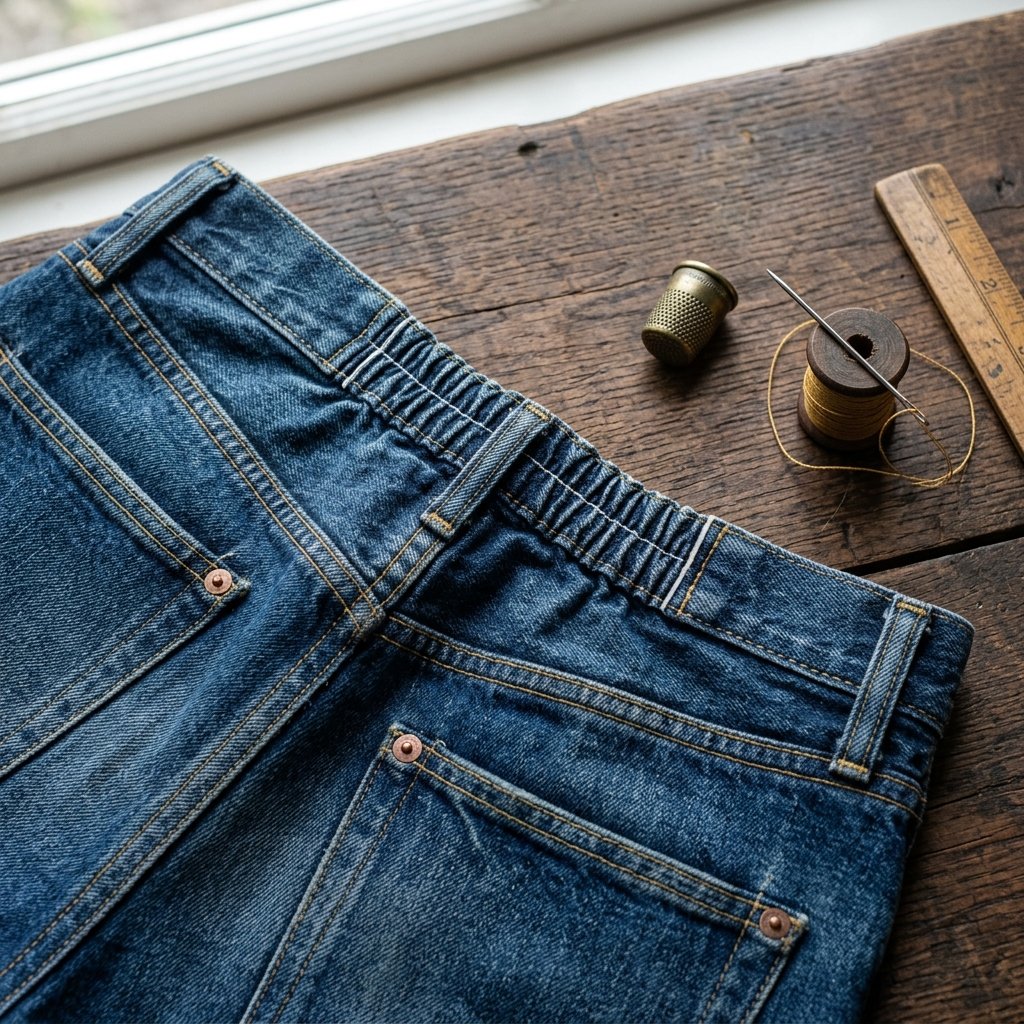
Once you master this 10-minute skirt hack, an entire world of wardrobe resurrection opens up to you. This exact same principle can be applied to men’s trousers, kids’ school uniforms, and even heavy-duty denim jeans. For the handy parents out there, this is the ultimate trick for extending the life of children’s pants as they grow.
The Denim Waistband Challenge
Jeans present a slightly different challenge because the fabric is thick, and the waistband is often topstitched heavily. However, the anatomy is the same. You will still find a hollow channel between the inner and outer waistband.
- Tool Upgrade: When working with denim, swap your standard needle for a “Sharps” or “Denim” hand needle. You will also need a thimble to push the needle through the thick layers of cotton without destroying your fingertips.
- Elastic Choice: Use a heavy-duty, non-roll woven elastic. Standard knit elastic will stretch out too quickly against the heavy weight of denim.
- The Slit Location: Instead of cutting near the side seams, you may need to cut your slits near the back belt loops. This hides the alteration seamlessly and focuses the gathering exactly at the small of the back where the “jeans gap” is most prominent.
By applying this rugged, practical approach to your entire family’s wardrobe, you are not just saving money; you are keeping perfectly good textiles out of the landfill. It is the ultimate expression of resourceful, masculine-elegant garment care—maintaining your gear so it serves you well.
The Art of Invisible Mending & Frugal Wardrobe Maintenance

Taking in a waistline with elastic is just the gateway to a broader philosophy of frugal living and upcycling. We live in an era of fast fashion, where garments are discarded the moment a button pops or a seam splits. By reclaiming the lost art of hand-sewing and invisible mending, you empower yourself to curate a high-quality wardrobe on a shoestring budget.
Think about the thrift store treasures you have passed up simply because the fit was slightly off. With a seam ripper, a spool of thread, and a bit of crafty ingenuity, those oversized wool trousers or vintage A-line skirts transform from “too big” to custom-tailored masterpieces. You become an event stylist on a dime for your own daily life.
Three Golden Rules of Budget Tailoring
- Measure Twice, Snip Once: Always pin and test the fit before making permanent cuts or locking down your stitches. Walk around, sit down, and bend over to ensure the elastic tension is comfortable.
- Work with the Garment’s Architecture: Never fight the fabric. Use existing seams, casings, and darts to hide your work. The best mends are the ones that look like they were part of the original design.
- Invest in Good Thread: You can save money on fabric, buttons, and elastic, but never buy cheap thread. A $3 spool of high-quality Gutermann polyester thread will prevent your $0 DIY mends from popping open at the worst possible moments.
Your clothes are an investment, and learning to maintain them is a life skill that pays endless dividends. So go forth, raid your closets, pull out those ill-fitting skirts, and put this 10-minute hack to the test. You will be amazed at how a few inches of elastic can completely revitalize your wardrobe!
Conclusion
There you have it—the easiest, most budget-savvy sewing hack to completely eliminate the waist gap in just 10 minutes. By utilizing a simple piece of elastic, a seam ripper, and a basic hand stitch, you have bypassed the expensive tailor and taken total control of your wardrobe’s fit. Whether you are rescuing a thrifted gem, adjusting a favorite piece after weight loss, or modifying kids’ clothes to last another season, this trick is an absolute game-changer.
Remember, the most sustainable and frugal garment is the one you already own. Do not let minor fit issues relegate your favorite skirts and trousers to the donation bin. Embrace your inner crafty expert, trust in the power of a good ladder stitch, and wear your custom-fitted clothes with pride. Happy upcycling, and may your waistbands always fit perfectly!

Makenzie is the founder and lead writer at MoneyHackTips.com — a personal finance blog dedicated to delivering street-smart financial wisdom for real people on real budgets. With 300+ published articles covering everything from debt management to investing fundamentals, Makenzie’s mission is to make every dollar work harder. When not writing about money hacks, Makenzie is testing frugal living strategies, optimizing side hustles, and helping readers build financial freedom from scratch.