
The High Cost of Winter and the Power of the Needle
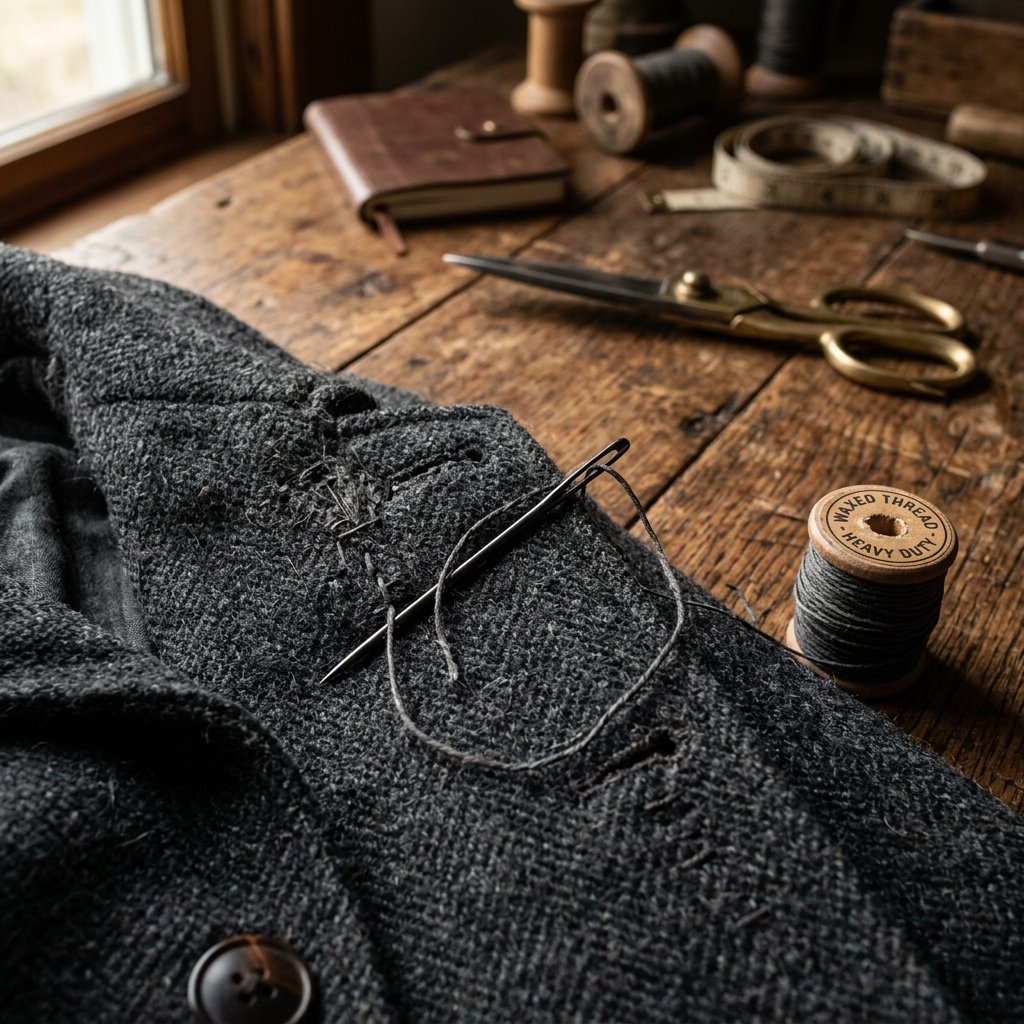
There is nothing quite as disheartening as reaching for your trusted winter parka or that timeless wool overcoat only to find a gaping hole along the side seam. In our modern throwaway culture, the first instinct for many is to browse for a replacement, but a quality winter coat can easily set you back $200 to $600. Even a professional tailor might charge $30 to $50 for a simple seam repair once you factor in the commute and the turnaround time. As a resourceful DIYer, you know better. Your gear is an investment, and with a bit of rugged ingenuity and a few cents worth of thread, you can perform a repair that is not only structurally superior to the original factory stitch but entirely invisible to the naked eye. This guide is your masterclass in the ‘Ladder Stitch,’ the secret weapon of tailors that allows you to close seams from the outside without leaving a trace. Whether you are a handy parent fixing a child’s snowsuit or a frugal craftsman maintaining your own wardrobe, this technique is a mandatory skill for the budget-savvy individual.
The Essential Mender’s Arsenal: Quality Tools for a Lifetime
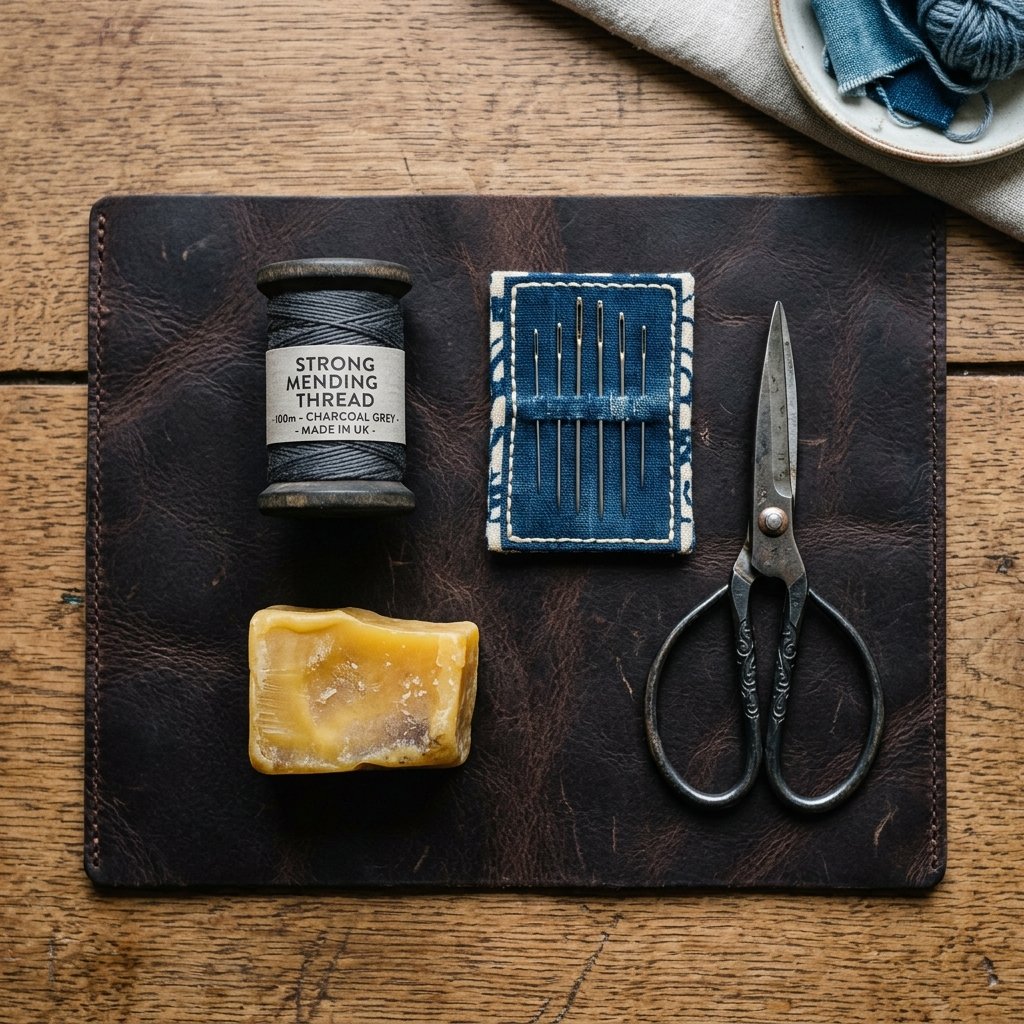
To achieve a professional-grade repair, you cannot rely on the flimsy sewing kits found in hotel drawers. You need tools that match the weight and durability of your outerwear. A rugged coat requires rugged materials. By spending less than $10 once, you can build a mending kit that will save you thousands over a decade.
Selecting the Right Thread and Needle
For winter coats, standard all-purpose cotton thread is often too weak. You want heavy-duty polyester thread or ‘upholstery thread’ if you are working with thick wool or heavy canvas. Polyester has the slight stretch and high tensile strength needed to withstand the movement of your body inside a heavy coat. For needles, choose a ‘Sharps’ or ‘Milliner’ needle in size 5 or 7. These are long enough to grip comfortably and sharp enough to pierce multiple layers of dense fabric.
| Tool Item | Why It Matters | Estimated Cost |
|---|---|---|
| Heavy-Duty Poly Thread | Prevents future snapping under tension | $3.50 |
| Assorted Sharp Needles | Ensures clean piercing without fabric damage | $2.00 |
| Natural Beeswax | Coats thread to prevent tangling and fraying | $1.50 |
| Small Embroidery Snips | Provides clean, close cuts to hide tails | $3.00 |
“The secret to a frustration-free sew is beeswax. Running your thread through a block of wax before you start prevents the dreaded bird’s nest of tangles that plagues amateur mending.”
The Invisible Architecture: Mastering the Ladder Stitch
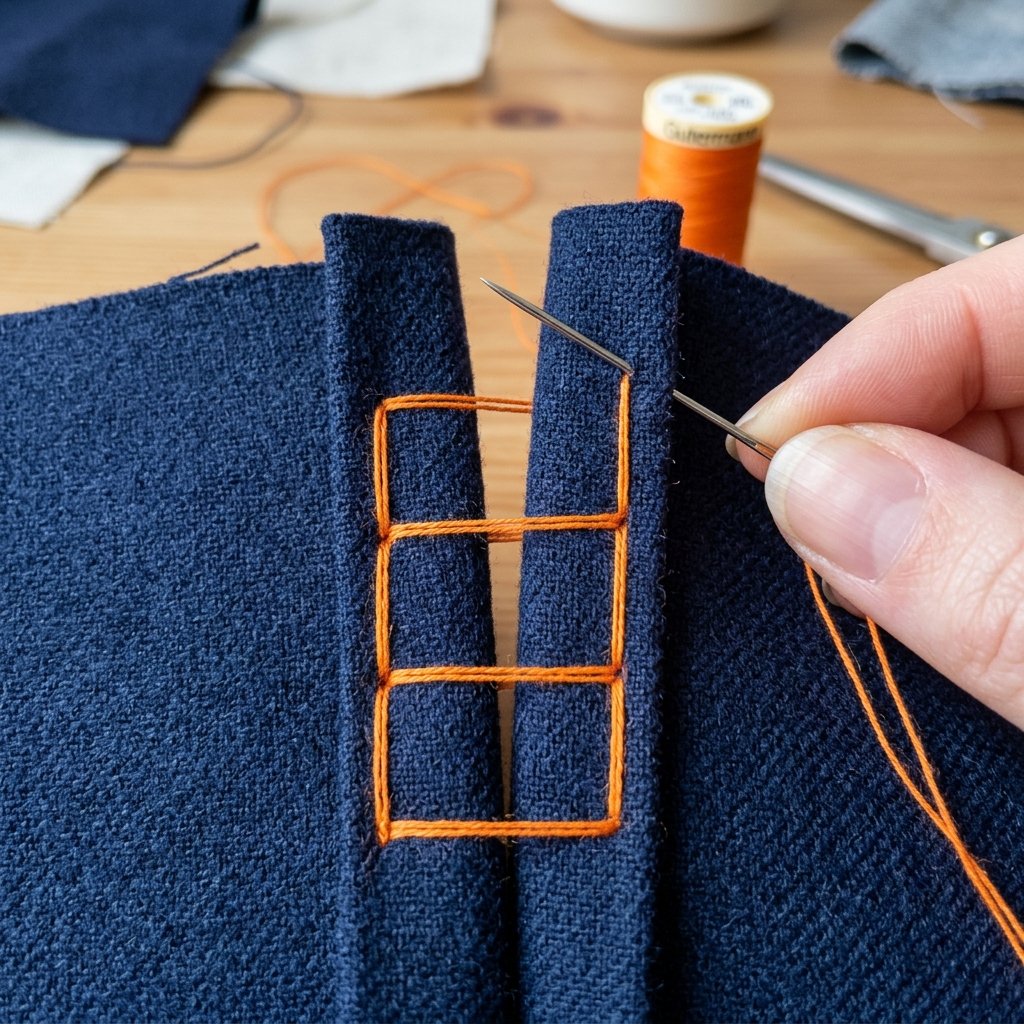
The ladder stitch, also known as the blind stitch or slip stitch, is a marvel of geometry. It works by creating a series of parallel ‘rungs’ between the two folded edges of a split seam. When you pull the thread tight, these rungs disappear into the fold, drawing the fabric together perfectly. This is the exact method used to close high-end pillows and stuffed toys, and it is the only way to fix a coat seam where you cannot easily access the ‘wrong side’ of the fabric due to the lining.
The Mechanics of the Invisible Join
- The Entry Point: You begin by hiding your knot inside the seam allowance.
- The Parallel Bite: You take a small horizontal stitch (the ‘rung’) along the fold of one side.
- The Bridge: You cross the needle directly over to the opposite fold.
- The Tension: You leave the stitches slightly loose until you have completed about an inch, then pull gently to watch the seam vanish.
By mastering this specific rhythm, you ensure that the repair is 100% invisible. Unlike a standard whipstitch, which wraps around the outside and leaves visible thread loops, the ladder stitch stays hidden within the ‘tunnels’ of the fabric folds.
The Step-by-Step Resuscitation: From Ripped to Rugged
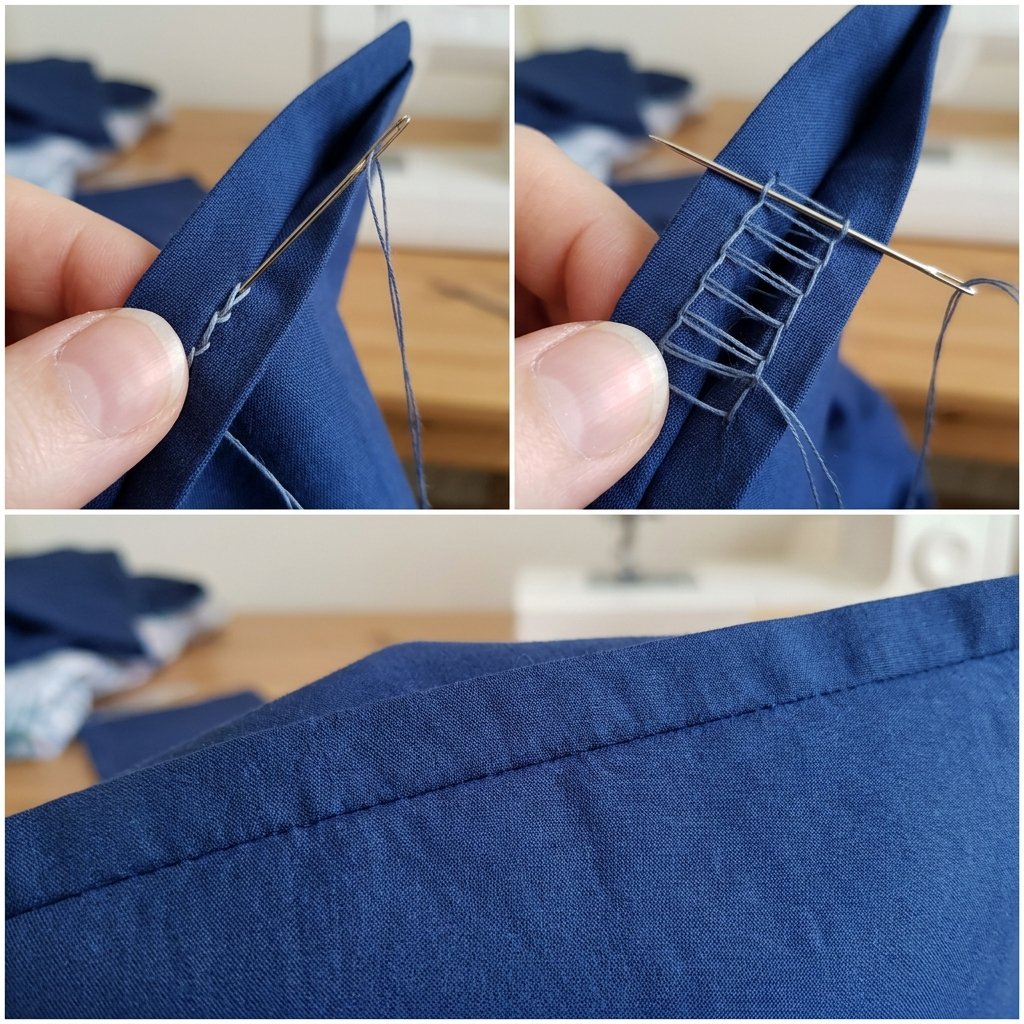
Follow these steps with precision. Take your time; a slow repair is a permanent repair. Expect this process to take approximately 15 to 20 minutes for a standard 4-inch rip.
Preparation and Anchoring
- Clean the Area: Trim any loose, frayed threads from the original factory stitching. Do not cut the fabric itself.
- Thread Your Needle: Use a single strand of heavy-duty thread about 18 inches long. Doubling the thread can make the repair too bulky and visible.
- The Hidden Knot: Insert your needle into the rip, about 1/4 inch before the actual hole starts. Push it through the fold of the seam so the knot is buried deep inside the coat.
Executing the Stitch
- Side A Bite: On the right side of the rip, insert the needle into the very edge of the fold. Slide it forward about 1/8 of an inch inside the fold and bring it out.
- The Cross-Over: Move the needle directly across to the left side (Side B). Insert it exactly opposite where the previous stitch ended.
- Side B Bite: Slide the needle forward another 1/8 inch inside the left fold and bring it out.
- Repeat: Continue this back-and-forth pattern. Ensure your ‘bridges’ across the gap are perpendicular to the seam, not diagonal.
- The Reveal: Every 5 or 6 stitches, hold the tail of the thread and the start of the repair, and pull firmly. The gap will zip shut.
The Professional Finish
Once you reach the end of the rip, continue the stitch for another 1/4 inch into the healthy part of the seam to ensure stability. To tie off, take a tiny stitch, create a loop, and pass the needle through twice. Before cutting, sink the needle back into the seam and bring it out two inches away. Pull tight, snip the thread, and the tail will disappear back inside the coat.
Fabric Warfare: Adapting Your Stitch to Every Coat Type
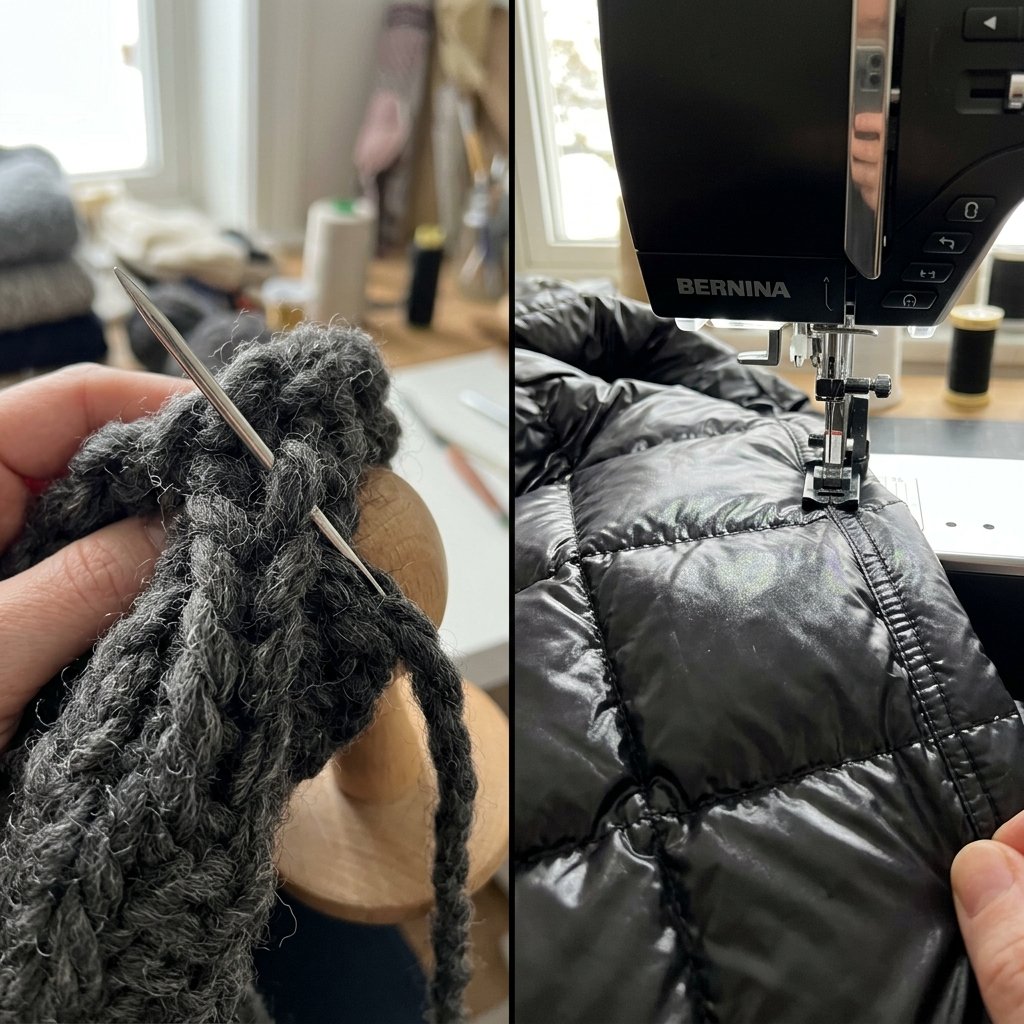
Not all coats are created equal. The strategy you use for a wool pea coat differs significantly from a nylon puffer jacket. Understanding fabric compatibility is the difference between a repair that lasts and one that rips out the first time you reach for your keys.
| Coat Material | Special Requirement | Stitch Length | Difficulty |
|---|---|---|---|
| Heavy Wool | Requires thick thread and larger ‘bites’ | 1/4 inch | Easy |
| Nylon Puffer | Use a very thin needle to avoid leaking down | 1/8 inch | Medium |
| Faux Leather | Must use existing needle holes if possible | Match original | Hard |
| Trench/Canvas | Waxed thread is essential for water resistance | 1/6 inch | Medium |
Pro Tip for Puffer Jackets
If you are mending a down-filled puffer, you must be careful not to catch the inner down-proof lining. Keep your stitches shallow and strictly within the outer shell’s fold. If feathers are escaping, use a small piece of tenacious tape on the inside before sewing to seal the leak permanently.
The Long Game: Reinforcement and Finishing Touches

A true craftsman doesn’t just fix the problem; they ensure it never happens again. Most seams rip because of ‘stress points’—areas like the armpits or pocket corners where the fabric is pulled in multiple directions. After you have closed the seam invisibly, consider adding a ‘bar tack’ if the area is under high stress.
The Bar Tack Reinforcement
A bar tack is a series of very close, small stitches perpendicular to the seam. You often see these on the corners of jeans pockets. By adding a small, 1/4 inch bar tack at the very top and bottom of your repair, you distribute the tension across the fabric rather than the thread. This adds 200% more durability to the repair.
The Final Steam
The final step in any professional tailoring job is the press. Use a steam iron (set to the appropriate fabric heat) and a pressing cloth. Pressing the repaired seam flattens the thread into the fibers of the fabric, essentially ‘setting’ the repair. This makes the thread almost impossible to detect, even under direct light.
“Mending is an act of rebellion against a disposable world. When you fix your own gear, you own it in a way a mere consumer never can.”
Conclusion
Wear Your Repair with Pride
By following this guide, you have successfully saved your winter coat from the landfill and kept $50 to $500 in your pocket. Hand-mending is a meditative, practical skill that connects you to the generations of resourceful makers who came before. Your coat now has a story—a hidden reinforcement that makes it uniquely yours. Whether you’re facing a brutal commute or a weekend in the woods, you can move with confidence knowing your gear is held together by your own two hands. Don’t stop at coats; apply the ladder stitch to split cushions, ripped toy seams, and loose linings. You are no longer just a consumer; you are a maintainer, a fixer, and a master of your own domain. Stay warm, stay savvy, and keep mending.

Makenzie is the founder and lead writer at MoneyHackTips.com — a personal finance blog dedicated to delivering street-smart financial wisdom for real people on real budgets. With 300+ published articles covering everything from debt management to investing fundamentals, Makenzie’s mission is to make every dollar work harder. When not writing about money hacks, Makenzie is testing frugal living strategies, optimizing side hustles, and helping readers build financial freedom from scratch.