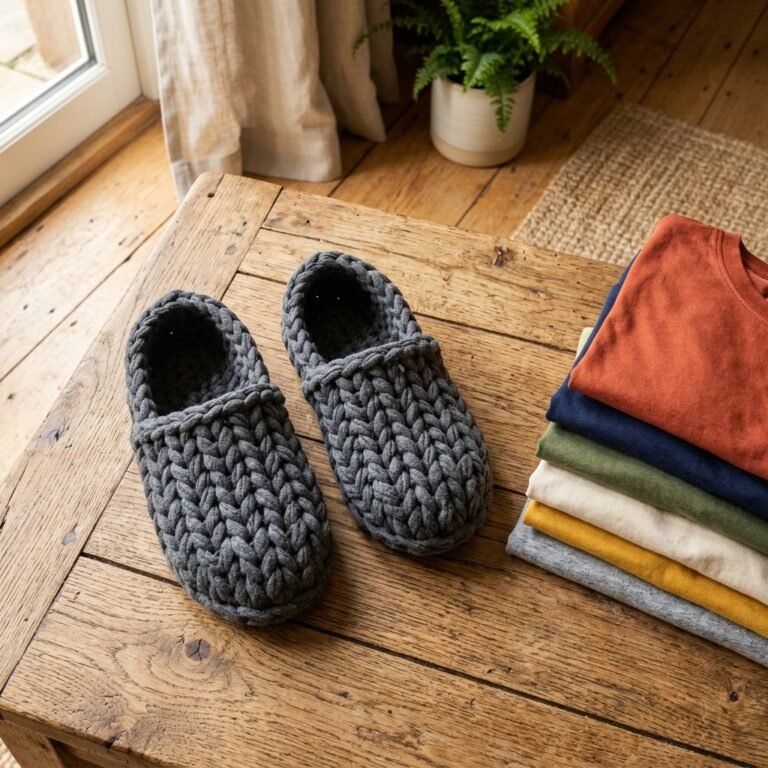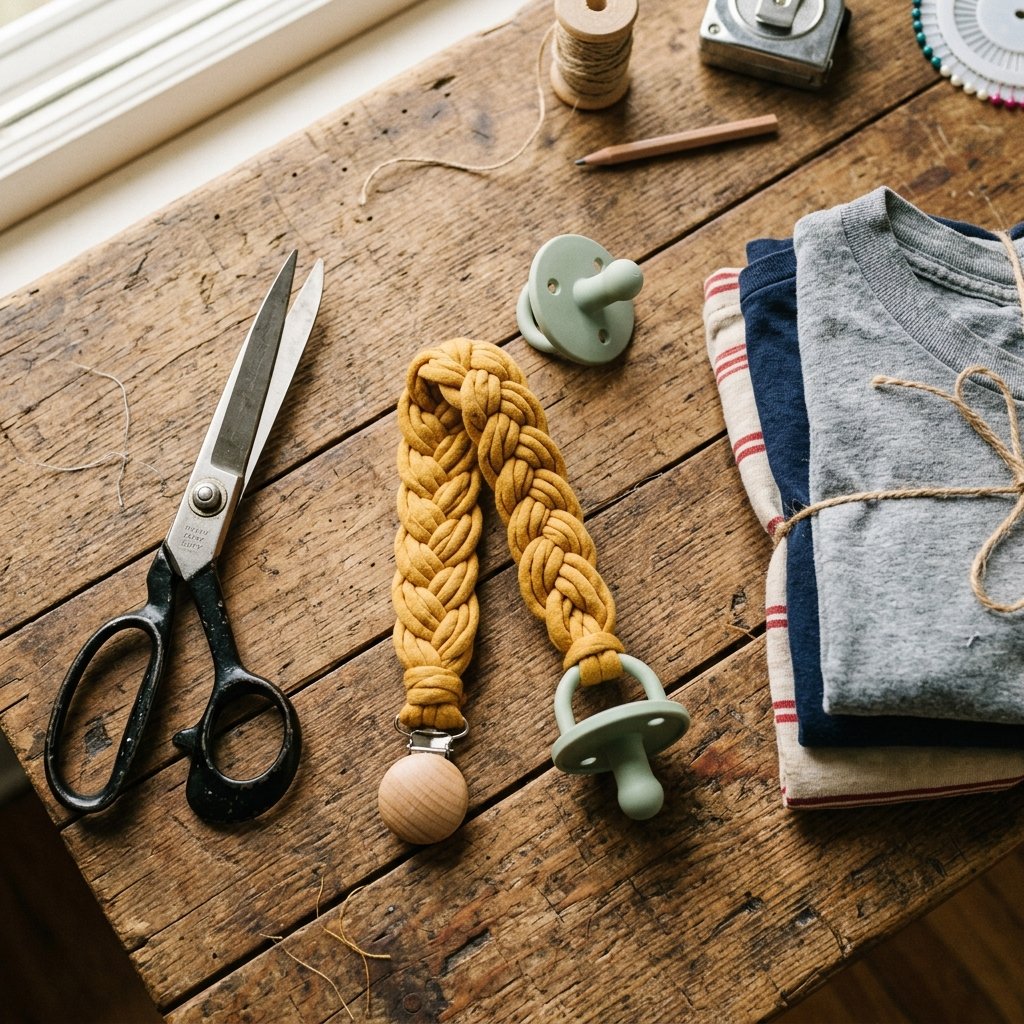

Parenthood is an incredible journey, but let’s be honest: the sheer volume of baby gear you are told you need can drain your wallet faster than a blowout ruins a white onesie. As resourceful, budget-savvy parents and crafty gift-givers, we know that you do not need to spend $15 to $25 on a trendy boutique pacifier clip when you can make a safer, softer, and more stylish version at home for absolutely $0. Enter the ultimate trash-to-treasure project: the upcycled t-shirt yarn pacifier clip.
If you have an old, soft cotton t-shirt sitting in your donation pile, you already have the primary material to create something beautiful and highly functional. T-shirt yarn is rugged, stretchy, completely machine-washable, and incredibly gentle on a baby’s delicate skin. In this guide, we are going to walk through the brilliant, 5-minute process of turning forgotten garments into high-end-looking baby accessories. Whether you are a handy dad looking to repurpose an old band tee, a frugal mom nesting on a budget, or a crafty friend putting together a thoughtful, zero-waste baby shower basket, this project is for you. Roll up your sleeves, grab your fabric scissors, and let’s turn that old cotton into pure, practical gold.
Why T-Shirt Yarn is the Ultimate Frugal Parenting Hack
When it comes to baby items, durability and washability are the name of the game. Store-bought pacifier clips often use rigid grosgrain ribbon that stains easily, or heavy silicone beads that can clank against surfaces or pose hidden risks if the string breaks. T-shirt yarn, on the other hand, is a masterclass in practical upcycling. By repurposing 100% cotton shirts, you are creating a textile that is inherently designed to be washed repeatedly, chewed on, and stretched without losing its integrity.
The Economics of Upcycling Baby Gear
Let’s break down the sheer financial brilliance of this project. A single men’s large t-shirt can yield enough continuous yarn to make upwards of 15 to 20 pacifier clips. When you compare this to retail prices, the savings are staggering. Here is a quick breakdown of why raiding your closet is the smartest financial move you can make today:
| Pacifier Clip Type | Average Retail Cost | Durability & Washability | Estimated Lifespan |
|---|---|---|---|
| Boutique Macrame Clip | $18.00 | Hand-wash only, frays easily | 3-6 months |
| Silicone Beaded Clip | $15.00 | Wipe clean, heavy | 6-12 months |
| Standard Ribbon Clip | $8.00 | Machine washable, stains easily | 3-4 months |
| DIY T-Shirt Yarn Clip | $0.00 – $1.50 | Ultra-durable, machine washable | 12+ months (or until lost!) |
Beyond the cost savings, t-shirt yarn has a rugged, minimalist aesthetic that looks incredibly chic. It mimics the look of expensive, chunky macrame but without the premium price tag. Plus, there is an undeniable sense of pride that comes from pointing to your baby’s accessory and saying, “I made that out of my favorite old college tee.”
Gathering Your Stash: Tools, Materials, and Crucial Safety Standards
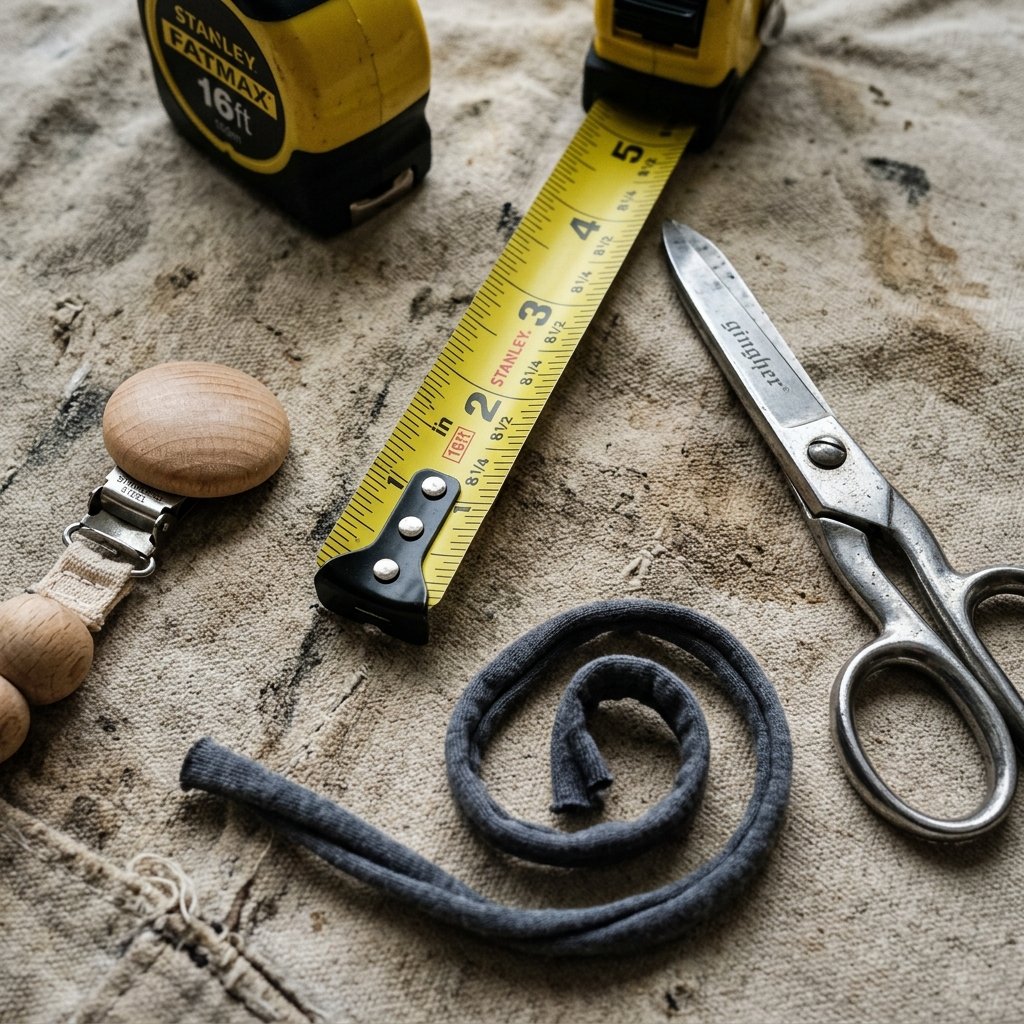
One of the best parts about this project is that it requires zero specialized equipment. You don’t need a sewing machine, you don’t need hot glue, and you certainly don’t need a trip to the craft store if you already have the basics lying around.
Your Zero-Budget Supply List
- One Old T-Shirt: Look for 100% cotton or a high-cotton blend. Seamless bodies (tubular knit) work best for continuous yarn, but any soft shirt will do. Avoid shirts with heavy, stiff graphic prints, as they will crack and peel.
- Fabric Scissors: A sharp pair of shears will make cutting your yarn smooth and prevent jagged, fraying edges.
- A Pacifier Clip Base: You can harvest the metal or wooden clips off of old suspenders, broken pacifier clips, or buy a bulk pack online for pennies apiece. Ensure they have plastic teeth inserts to protect clothing.
- A Measuring Tape: Precision is key for safety.
The Golden Rules of Pacifier Clip Safety
Before we make a single cut, we must address the most important aspect of any DIY baby project: safety. As handy parents and crafters, we build things to last, but we also build things to protect.
Crucial Safety Mantra: Never, under any circumstances, make a pacifier clip longer than 7 to 8 inches (excluding the clip hardware). Anything longer than this poses a severe strangulation hazard to infants. Furthermore, always ensure your knots are pulled incredibly tight, and regularly inspect the clip for signs of wear and tear.
When creating your t-shirt yarn, you want to stretch the fabric vigorously. This not only causes the raw edges to curl inward (creating that classic, clean, rope-like yarn look), but it also pre-stretches the material so the baby cannot pull the clip to a dangerous length.
The Craftsman’s Guide: Cutting Continuous T-Shirt Yarn
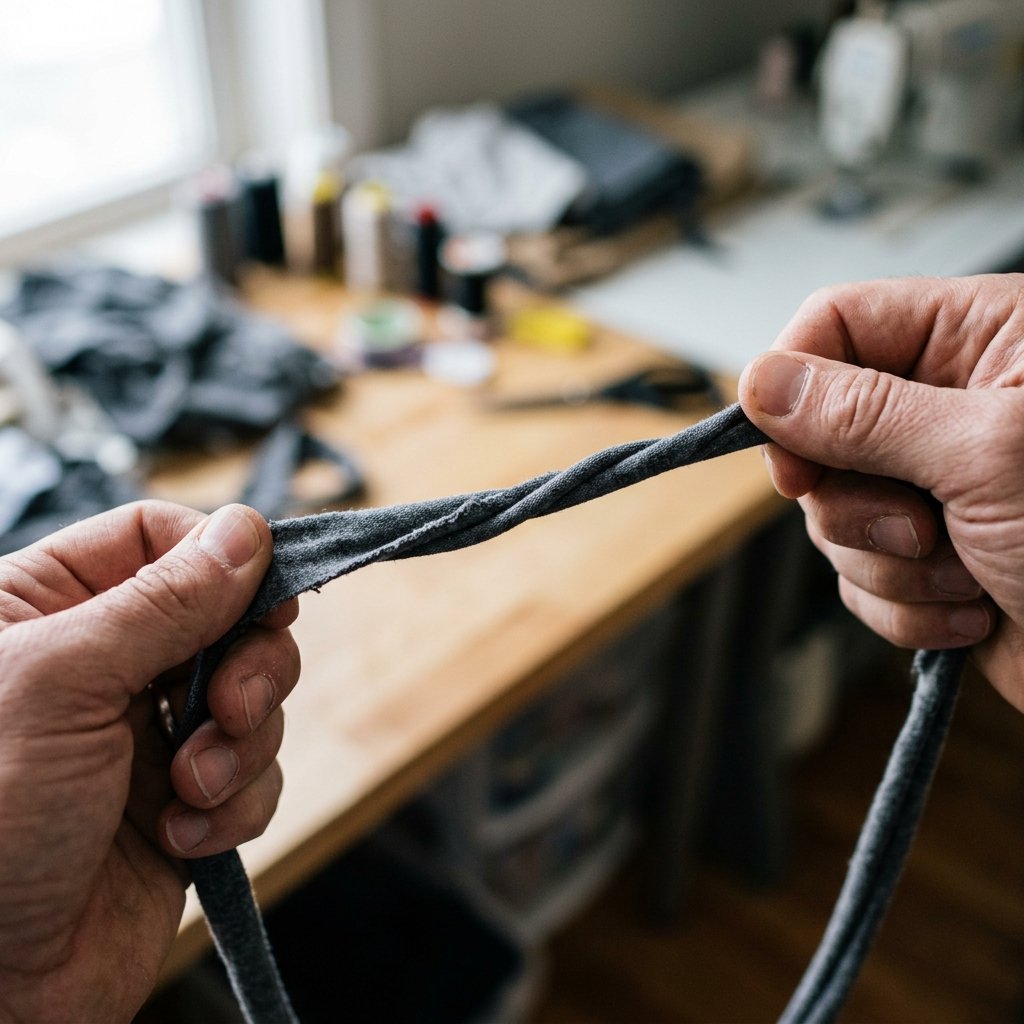
If you have never made t-shirt yarn before, prepare to have your mind blown. It is a brilliant, resourceful technique that turns a flat piece of apparel into a continuous ball of sturdy, stretchy cord. While you only need three strips for a single pacifier clip, making a whole ball of yarn sets you up for future projects like crocheted rugs, sturdy dog toys, or hanging planters.
Step-by-Step Continuous Yarn Technique
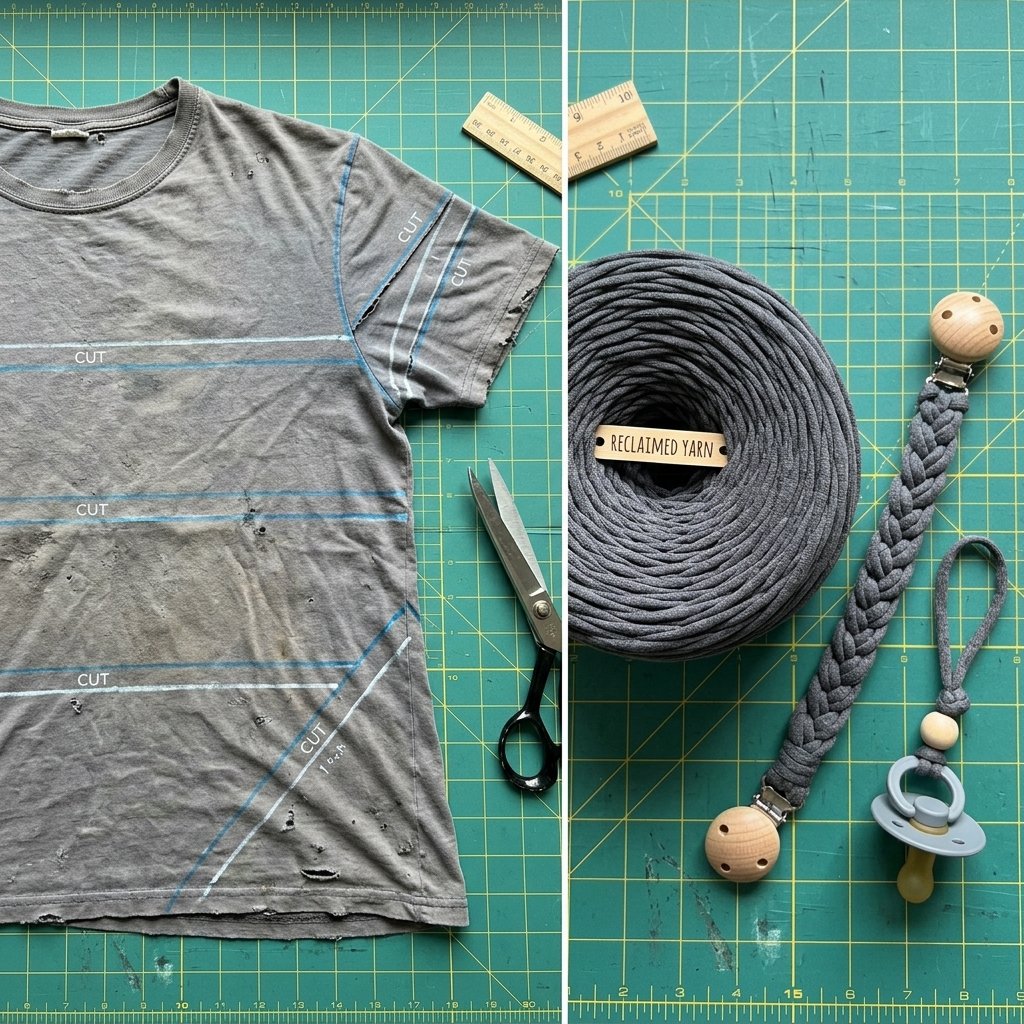
- Prep the Canvas: Lay your t-shirt flat on a table. Using your fabric scissors, cut horizontally straight across the shirt, right below the armpits. Discard the top half (or save it for cleaning rags!). You are now left with a tube of fabric. Cut off the bottom hem as well.
- The Strategic Folds: Fold the tube of fabric from left to right, but leave about 1 inch of the bottom layer exposed at the right edge. Do not fold it perfectly in half.
- Make the Cuts: Starting from the left (folded) edge, cut horizontal strips about 1 inch wide. Cut all the way through the folded layers, but stop when you reach that 1-inch exposed margin on the right. Do not cut all the way through the tube!
- The Magic Reveal: Unfold the shirt. You will see a solid section of fabric down the middle with fringe on both sides. Slip your arm through the tube so the solid, uncut section is stretched over your forearm.
- Cutting the Spiral: To make the yarn continuous, you must cut diagonally. Start at the bottom edge and cut diagonally into the first slit. Then, cut from the first slit diagonally across to the second slit. Continue this diagonal cutting all the way up the tube. You will end up with one massive, continuous strip of fabric!
- The Stretch: Take the strip of fabric and pull it firmly between your hands, working your way down the entire length. The raw edges will magically roll inward, hiding any uneven cuts and creating a smooth, durable cord.
The 5-Minute Braiding & Knotting Masterclass
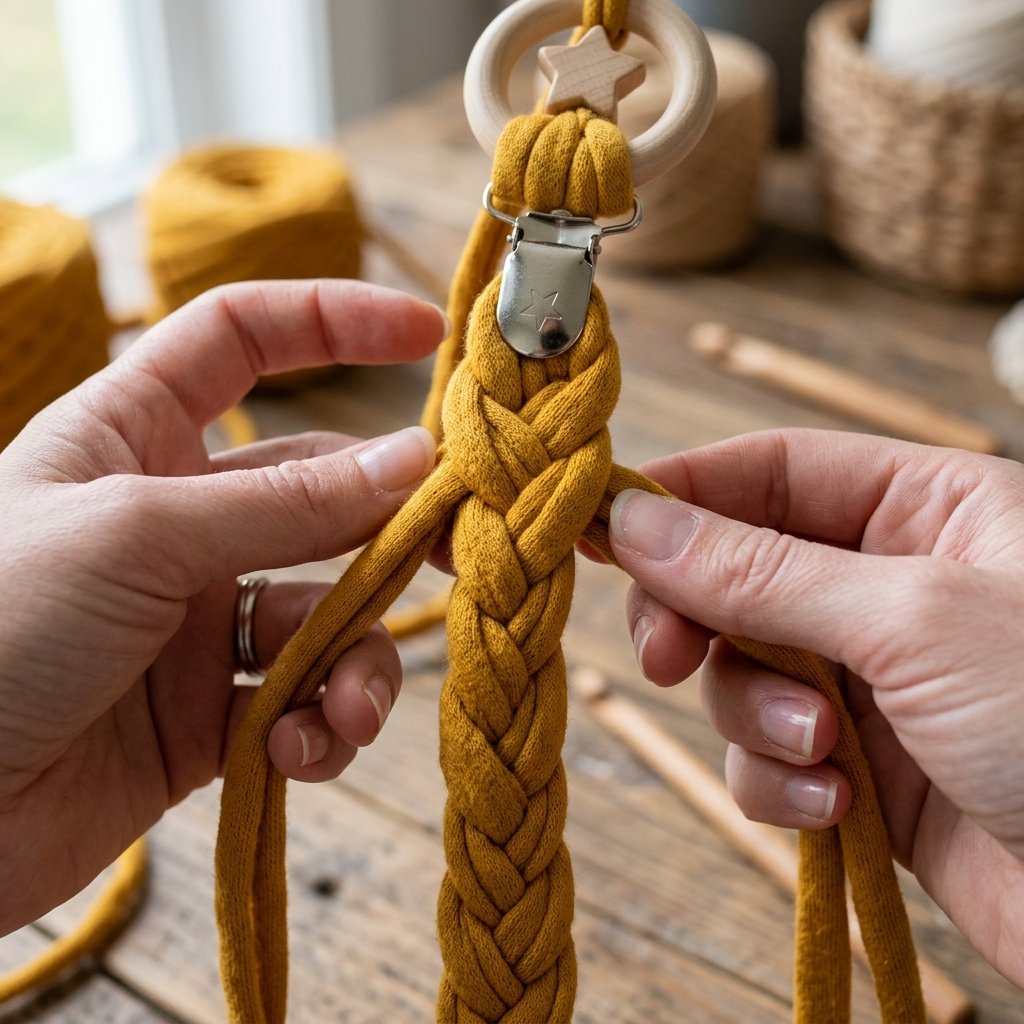
Now that you have your rugged, upcycled yarn, it is time to assemble the clip. This process uses basic knotting techniques that ensure the hardware stays secure while creating a tight, visually appealing braid. We will be using a standard three-strand braid, which provides excellent structural integrity and just the right amount of flex.
Assembly Instructions
- Measure and Cut: Cut three strips of your freshly made t-shirt yarn, each measuring exactly 15 inches long. Remember, the finished product will be much shorter due to the braiding and knotting, keeping us well within our safe 7-inch limit.
- Thread the Hardware: Take all three strips, align their ends, and thread them halfway through the loop of your metal or wooden pacifier clip. You should now have the clip in the middle, with six strands of yarn hanging down.
- The Anchor Knot: Treat the three strands on the left as one thick cord, and the three strands on the right as another. Tie a tight, standard overhand knot right at the base of the clip. Pull this knot as tight as humanly possible. This secures the hardware permanently.
- The Braid: You now have six strands hanging from the knot. Group them into three pairs (two strands per section). Begin a standard, tight three-strand braid. Braid down until you have about 3 to 4 inches of unbraided yarn left.
- The Pacifier Loop: To create the loop that will attach to the pacifier, take one of your longest remaining strands and fold it back up toward the braid, creating a loop that is about 2 inches long.
- The Final Wrap and Tie-Off: Using the remaining loose strands, wrap them tightly around the base of your newly formed loop, binding it securely. Tie a highly secure double knot, pull it tight, and trim the excess tails to about half an inch for a clean, rugged finish.
Pro-Tip for Handy Parents: If you want to ensure the final knot never slips, use a tiny dab of clear, non-toxic fabric glue or stitch a single needle-and-thread pass through the core of the final knot. It is an invisible mending trick that guarantees the clip survives the washing machine.
Elevating the Craft: Customization, Dyeing, and Gifting
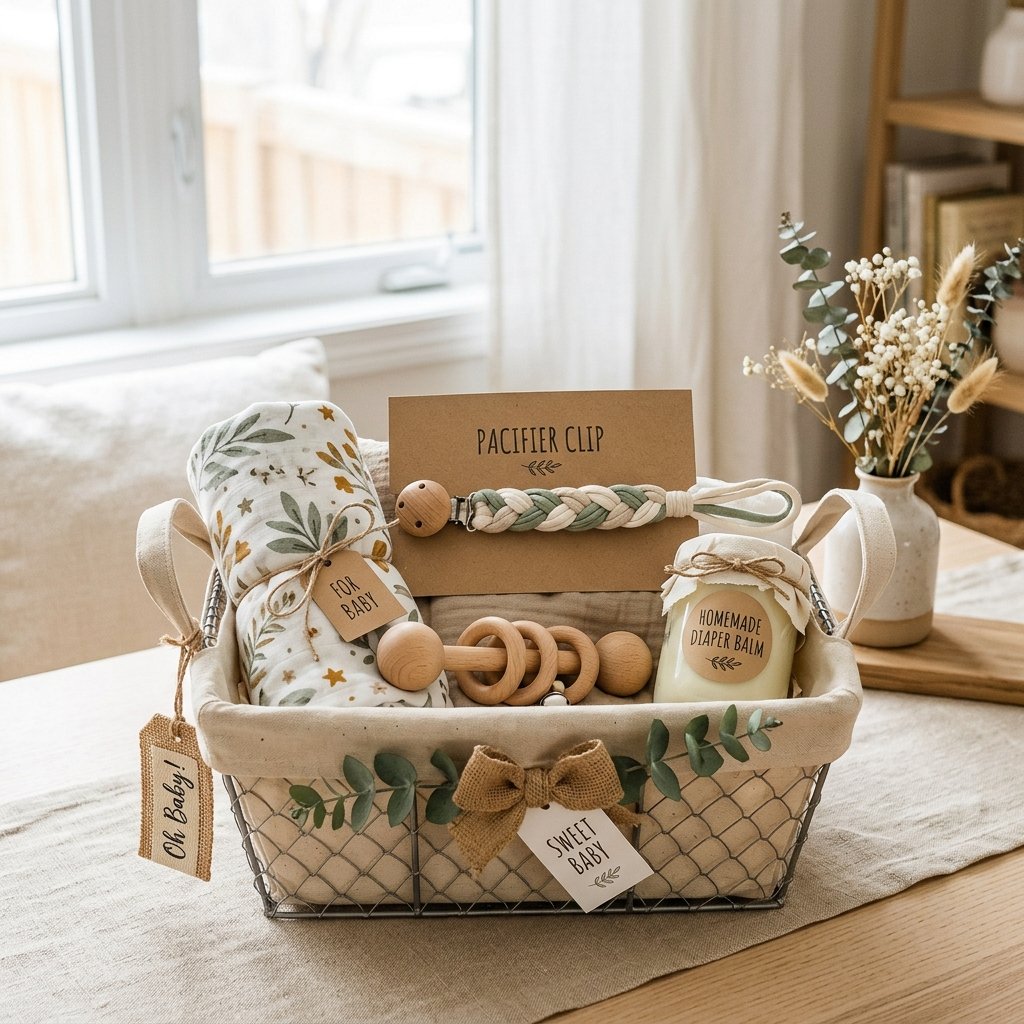
The true beauty of frugal DIY lies in the ability to customize. Once you have mastered the basic 5-minute t-shirt yarn pacifier clip, you can start experimenting with high-end finishes that make these clips look like they came from a premium baby boutique. They make the ultimate, thoughtful addition to any baby shower gift basket.
Natural Dyeing for Budget Brides and Gift-Givers
If you only have plain white t-shirts but want to create a trendy, earthy color palette, look no further than your kitchen pantry. You can easily dye your t-shirt yarn using natural, baby-safe ingredients before you braid it.
- Avocado Pits & Skins: Boiling avocado pits and skins creates a stunning, dusty millennial pink.
- Coffee Grounds or Black Tea: Perfect for achieving rich, warm, masculine browns and tans.
- Turmeric Powder: Yields a bright, vibrant mustard yellow.
Simply simmer your chosen ingredient in water, strain, add a splash of vinegar as a mordant (to set the color), and soak your white t-shirt yarn for a few hours. Rinse thoroughly and let it dry before braiding. It is completely non-toxic and costs practically nothing.
Packaging Your Upcycled Masterpiece
Presentation is everything when gifting DIY items. To elevate your upcycled pacifier clip, wrap it around a piece of heavy-duty kraft cardboard. Cut two small slits on the sides of the cardboard to hold the clip securely in place. Pair it with a new, neutral-toned silicone pacifier, a handmade burp cloth, and perhaps a small jar of homemade, natural diaper balm. You have just created a beautifully curated, highly practical gift set that speaks volumes about your resourcefulness and care, all while keeping your budget entirely intact.
Conclusion
Creating a DIY t-shirt yarn pacifier clip is the epitome of smart, practical, and frugal crafting. In just 5 minutes, you can divert textile waste from landfills, save yourself the markup of boutique baby gear, and create a custom, highly durable item that your baby will actually use every single day. It is a testament to the fact that you do not need to spend a fortune to provide beautiful, safe, and functional items for your family. By looking at old items with a resourceful eye, a simple worn-out t-shirt becomes an essential tool in your parenting arsenal. So go raid that donation pile, grab your scissors, and start upcycling—your wallet, your baby, and the planet will thank you!

Makenzie is the founder and lead writer at MoneyHackTips.com — a personal finance blog dedicated to delivering street-smart financial wisdom for real people on real budgets. With 300+ published articles covering everything from debt management to investing fundamentals, Makenzie’s mission is to make every dollar work harder. When not writing about money hacks, Makenzie is testing frugal living strategies, optimizing side hustles, and helping readers build financial freedom from scratch.