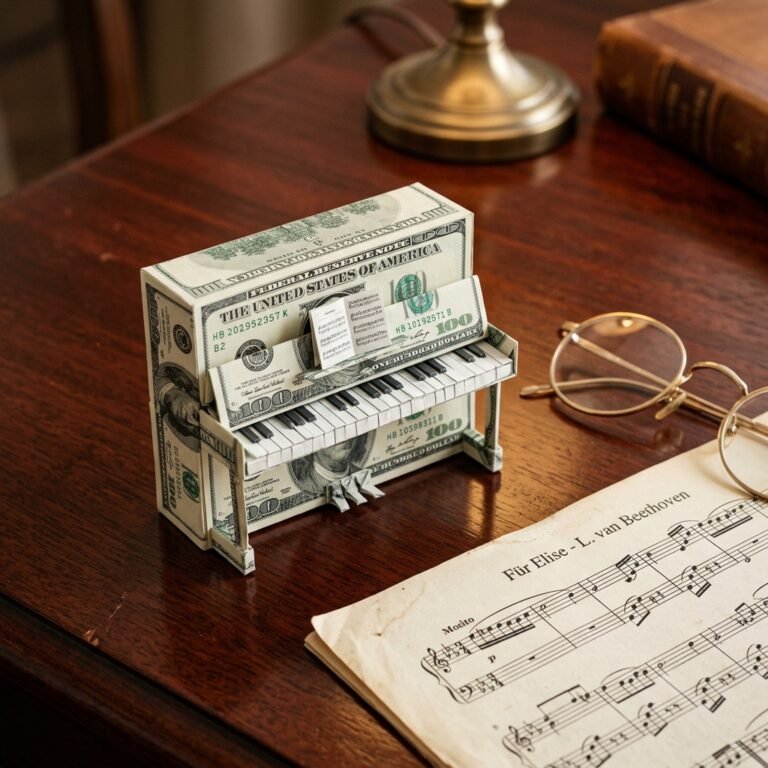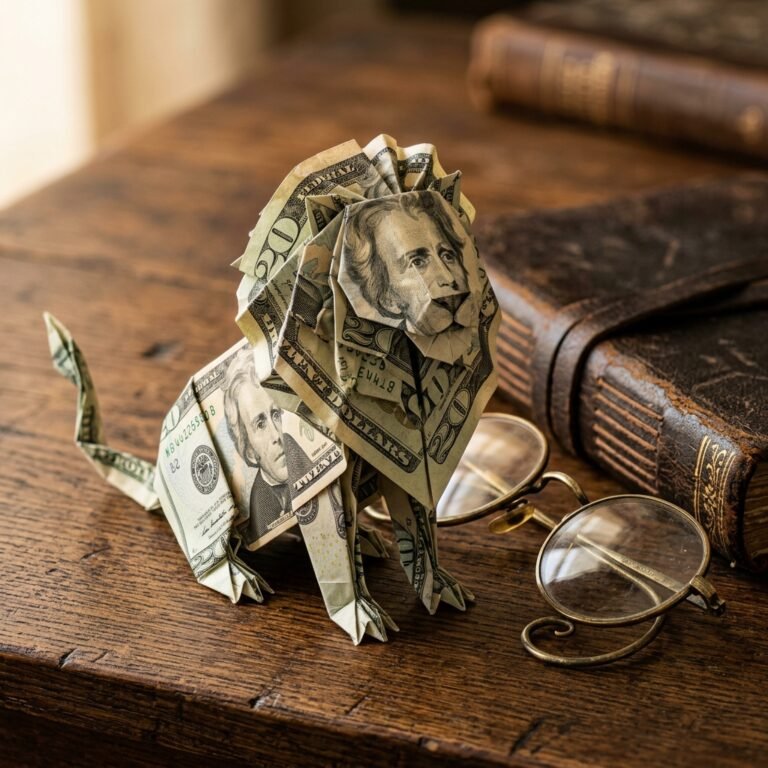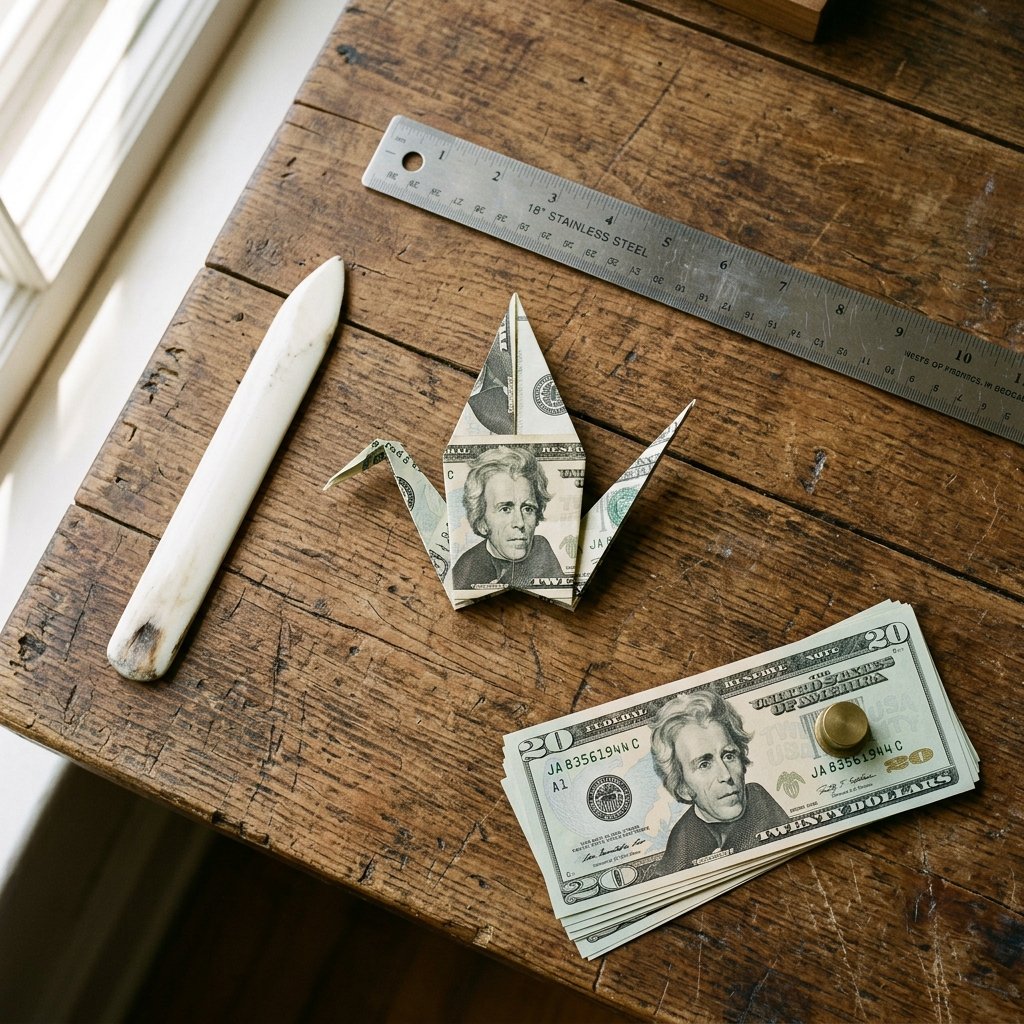

Elevate Your Cash Gifting Game
Let’s face it: handing over a flimsy, store-bought greeting card with a loose twenty-dollar bill fluttering out of it lacks a certain… craftsmanship. As frugal DIYers, handy parents, and crafty gift-givers, we know that the presentation is just as important as the present itself. You want your gift to say, “I put time, thought, and rugged precision into this,” not, “I stopped at the ATM on the way here.” Enter the ultimate budget-savvy, high-impact solution: the money origami crane.
For centuries, the Japanese paper crane (orizuru) has stood as a powerful symbol of good luck, healing, and prosperity. By combining this ancient art form with cold, hard cash, you are literally giving the gift of good fortune. Whether you are a budget bride looking for a unique way to tip your vendors, a handy dad putting together a memorable graduation gift, or a resourceful crafter wanting to elevate a birthday present without spending an extra dime on packaging, folding a money crane is a zero-budget hack that yields a 100% return on investment in pure awe.
In this masterclass, we are going to treat currency like fine leather or premium lumber. We will measure our folds, respect the material, and craft a miniature masterpiece. Grab a crisp bill, clear your workspace, and let’s turn ordinary legal tender into an extraordinary, resourceful treasure.
The Crisp Canvas: Prepping Your Currency
Why Crispness Matters
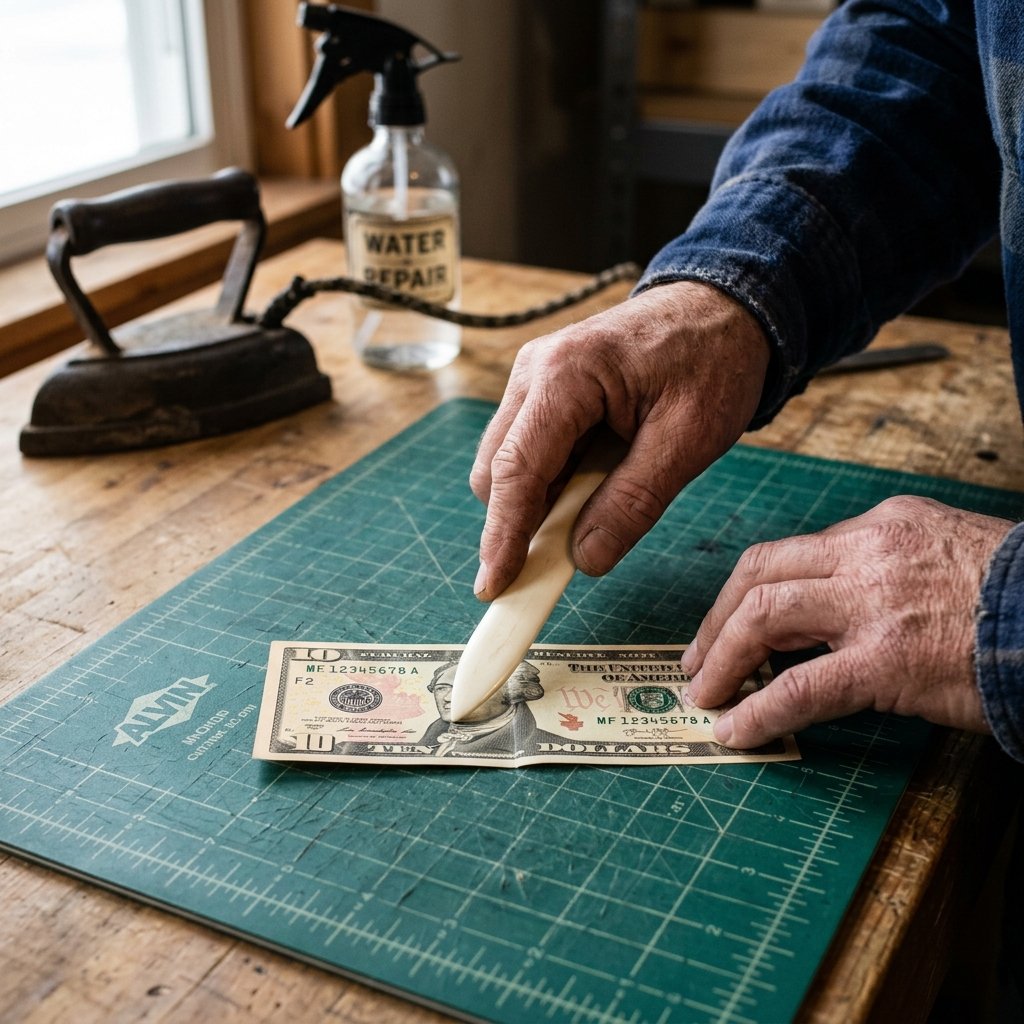
Before we make a single fold, we need to talk about our materials. US currency is not standard paper; it is a highly durable blend of 75% cotton and 25% linen. This rugged fabric-like composition means it holds a crease beautifully, but it also means that a worn, crumpled bill will fight you every step of the way. For sharp, masculine-elegant lines and a crane that stands proud, you need the crispest bills possible.
- The Bank Teller Trick: When withdrawing cash, specifically ask the teller for “uncirculated” or “crisp, new bills.” Most banks keep a stash of fresh currency specifically for gifting occasions.
- The Book Press Method: If you only have slightly circulated bills, lightly mist them with water and press them inside a heavy, hardbound book (like an old encyclopedia or a thick workshop manual) for 48 hours.
Safety Warning: If you choose to iron your bills to achieve maximum crispness, always use the lowest heat setting (silk/synthetics) and place a thin cotton pressing cloth or parchment paper over the bill. High direct heat can scorch the cotton-linen fibers or melt the security threads embedded in higher denominations like $20s, $50s, and $100s.
The Bill Denomination vs. Visual Impact Matrix
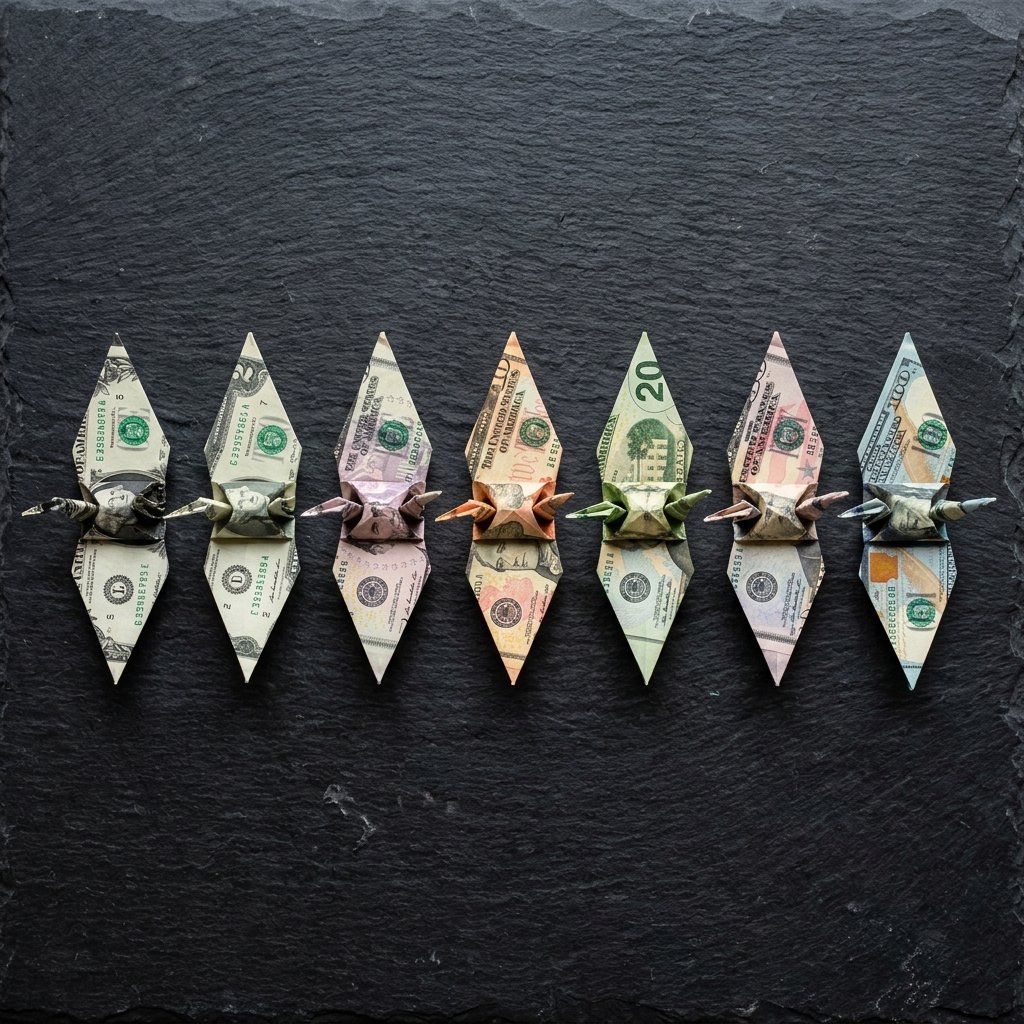
Not all bills fold the same visually. Because of the strategic placement of portraits, watermarks, and numerical values on US currency, the denomination you choose will drastically alter the final aesthetic of your crane. Here is a handy breakdown to help you choose the right bill for your budget and occasion.
| Denomination | Visual Impact & Color Profile | Best Occasion & Use Case |
|---|---|---|
| $1 Bill | Classic green. George Washington’s portrait often ends up subtly hidden, while the intricate geometric patterns form beautiful wing textures. | Practice runs, tooth fairy gifts, or creating a massive “1,000 crane” display on a strict budget. |
| $2 Bill | Rare and incredibly memorable. The green is slightly different, and the novelty adds extreme “good luck” value to the crane. | Graduations, milestone birthdays, or as a unique wallet-charm gift. |
| $5 Bill | Features subtle purple and gray hues. Lincoln’s portrait placement creates a striking, slightly modern look. | Stocking stuffers, clever tips for outstanding service, or casual thank-you gifts. |
| $10 Bill | Warm orange and yellow tones. The vibrant color gradient makes the wings pop beautifully. | Teacher appreciation gifts, teenage birthdays, or everyday celebrations. |
| $20 Bill | The standard generous gift. Deep greens and subtle peaches. Jackson’s portrait often frames the wings elegantly. | Weddings (perfect for the money dance or card box), major holidays, and hearty congratulations. |
| $50 / $100 Bill | High roller status. Features blue/purple security ribbons and distinct color shifting ink. Requires absolute precision. | Bridal showers, significant anniversaries, or seed money for a loved one’s new business venture. |
Squaring the Bill: The Foundation Fold
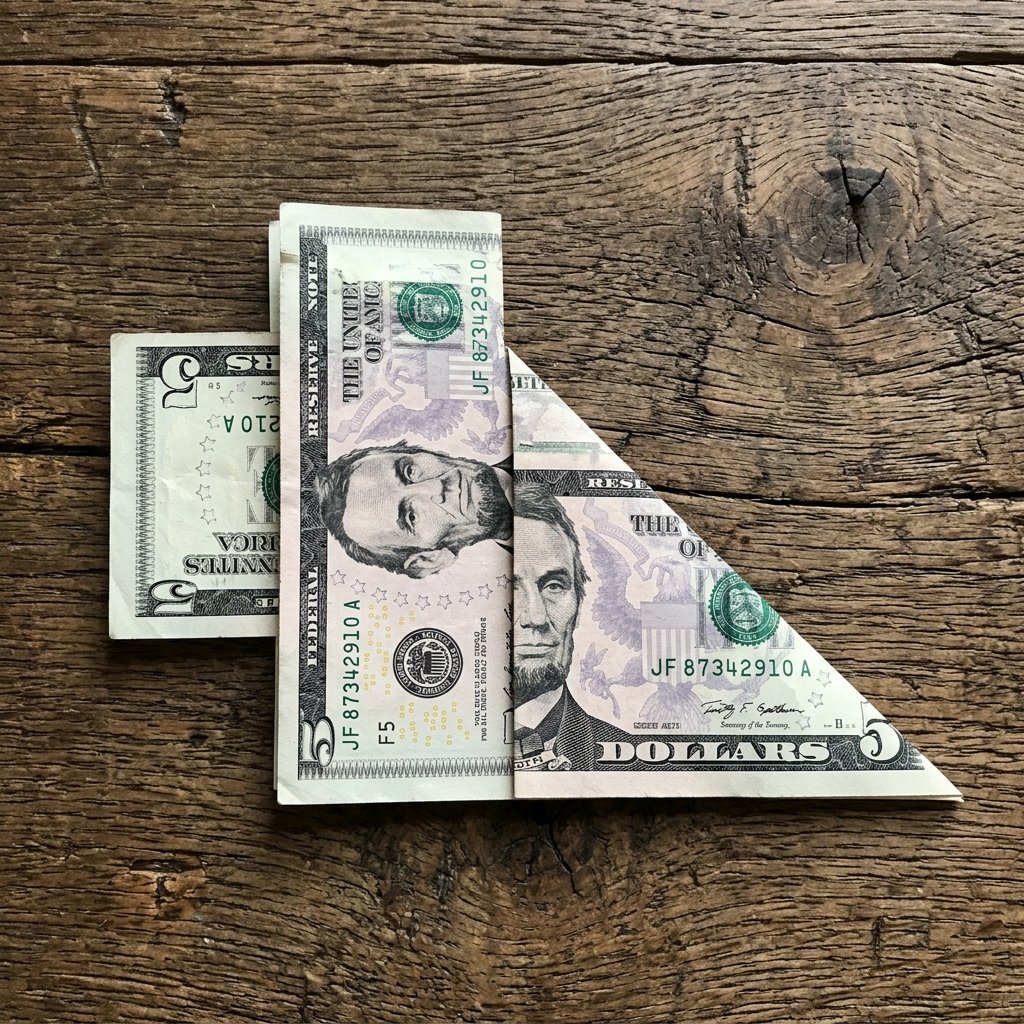
Traditional origami relies on a perfect square. A standard US bill, however, is a rectangle measuring exactly 2.61 inches wide by 6.14 inches long. To craft our crane without breaking the law (no cutting currency!), we have to ingeniously hide the excess length. This is where your resourceful upcycler mindset comes into play.
Step-by-Step: Creating the Hidden Square
- Lay your crisp bill flat on a hard surface. If you want the President’s face to be visible on the final wings, start with the face side down.
- Take the top right corner and fold it down diagonally until the top edge perfectly aligns with the bottom edge. You have now formed a triangle on the right side.
- Use your thumbnail or a bone folder to press this crease firmly. Precision is everything here.
- You will notice a rectangular tail of excess bill sticking out to the left of your triangle. Fold this entire rectangular tail straight back (underneath the triangle) so the edge sits flush against the edge of the triangle.
- Unfold the diagonal fold from Step 2, but keep the rectangular tail folded underneath. You now have a perfect, double-thick square to work with!
Crafty Expert Tip: Treat that hidden flap like a reinforced seam in tailoring. It adds a bit of bulk, so as you progress through the folds, you will need to apply a bit more pressure to keep your creases razor-sharp.
Step-By-Step Folding Instructions: The Crane Base
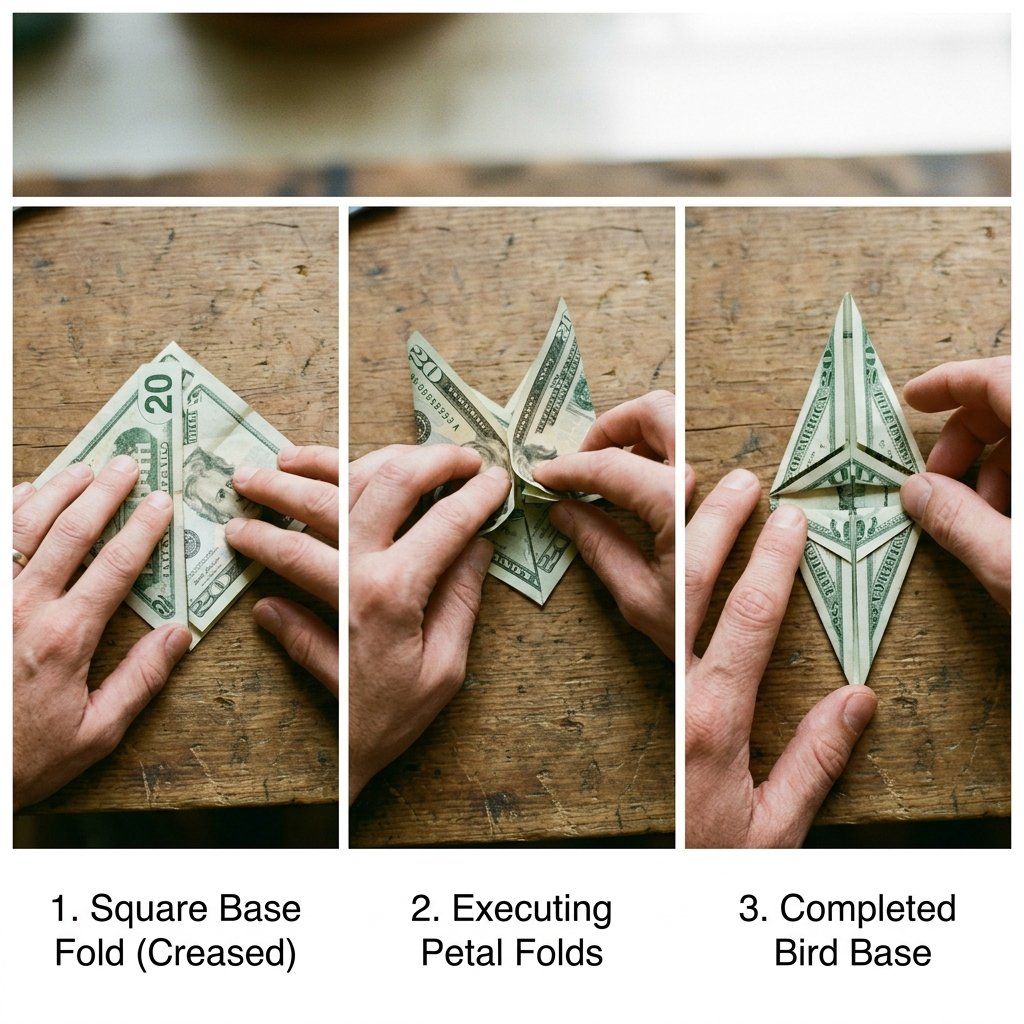
Now that we have our squared canvas, it is time to build the architecture of the crane. This sequence of folds creates what origami artists call the “Bird Base.” It requires patience and a steady hand. Remember, we are building a miniature monument of prosperity.
Executing the Bird Base
- The Diagonal Cross: With your squared bill, fold it in half diagonally the opposite way from your initial squaring fold. Unfold. You should now have an “X” creased into your square.
- The Book Folds: Flip the bill over. Fold it in half top-to-bottom, crease sharply, and unfold. Fold it in half side-to-side, crease sharply, and unfold. You now have a starburst of creases.
- The Collapse: Poke the center of the square so it pops up slightly. Bring the top, bottom, left, and right midpoints together. The paper should naturally collapse along your creases into a smaller, multi-layered square (the Preliminary Base). Ensure the open flaps are pointing towards you.
- The Kite Fold: Looking at the top layer of your small square, fold the left and right lower edges in to meet the center vertical crease. This creates a kite shape. Fold the top triangle down over the kite flaps to crease it, then unfold all three of these folds.
- The Petal Fold (The Crucial Step): Lift only the top layer of the bottom point. Lift it upward, allowing the sides to naturally fold inward along the creases you just made in Step 4. Flatten it out to form a long diamond shape.
- Flip and Repeat: Turn the bill over and repeat Steps 4 and 5 on the other side. You have now successfully engineered the Bird Base!
Shaping the Wings, Neck, and Tail
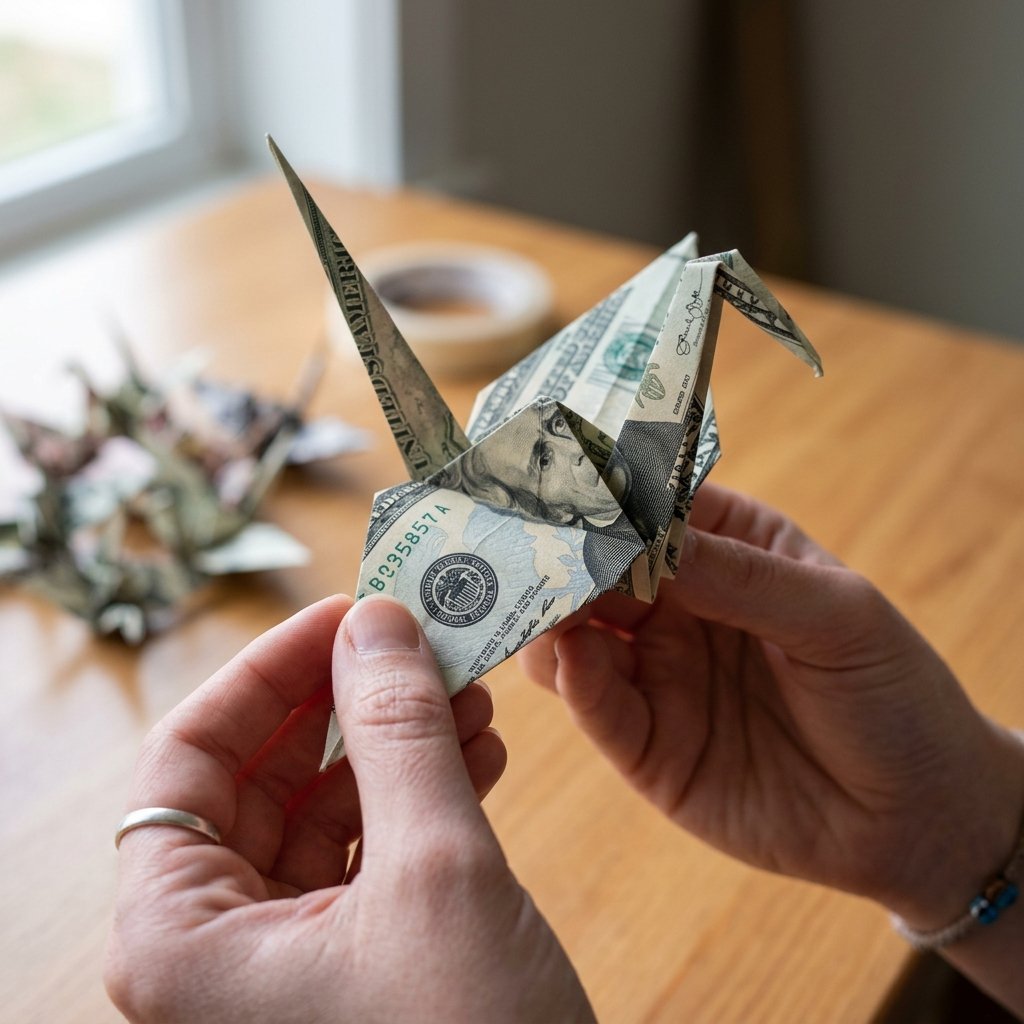
With the heavy lifting done, we move to the finishing touches. This is where your money crane takes flight. The thick cotton-linen layers will be fighting you here, so channel your inner craftsman and show the material who is boss.
The Final Assembly
- Thinning the Appendages: On your Bird Base (the long diamond), ensure the two separate “legs” are pointing towards you. Fold the outer lower edges of the top layer in to meet the center line. Flip the bill over and repeat on the back. Your diamond is now very narrow at the bottom.
- The Inside Reverse Folds: These narrow “legs” will become the neck and tail. Open the side of the model slightly, and bend one of the narrow legs upward and inside the model, aiming for a nice, dramatic angle. Squeeze the base to lock it in place. Repeat this inside reverse fold with the other narrow leg.
- Forming the Head: Choose which point looks better to be the head. Create a smaller inside reverse fold near the tip of that point, bending it downward to form the beak.
- Deploying the Wings: Gently fold the large top triangular flaps downward to create the wings.
- The Inflation (Optional but Recommended): For a truly 3D, robust crane, gently pull the wings apart while blowing a tiny puff of air into the small hole at the bottom center of the crane’s body. This expands the back, giving your crane a proud, structured posture.
Congratulations! You have just transformed $0 worth of extra materials into a priceless, handcrafted gesture.
Creative Presentation & Gifting Ideas
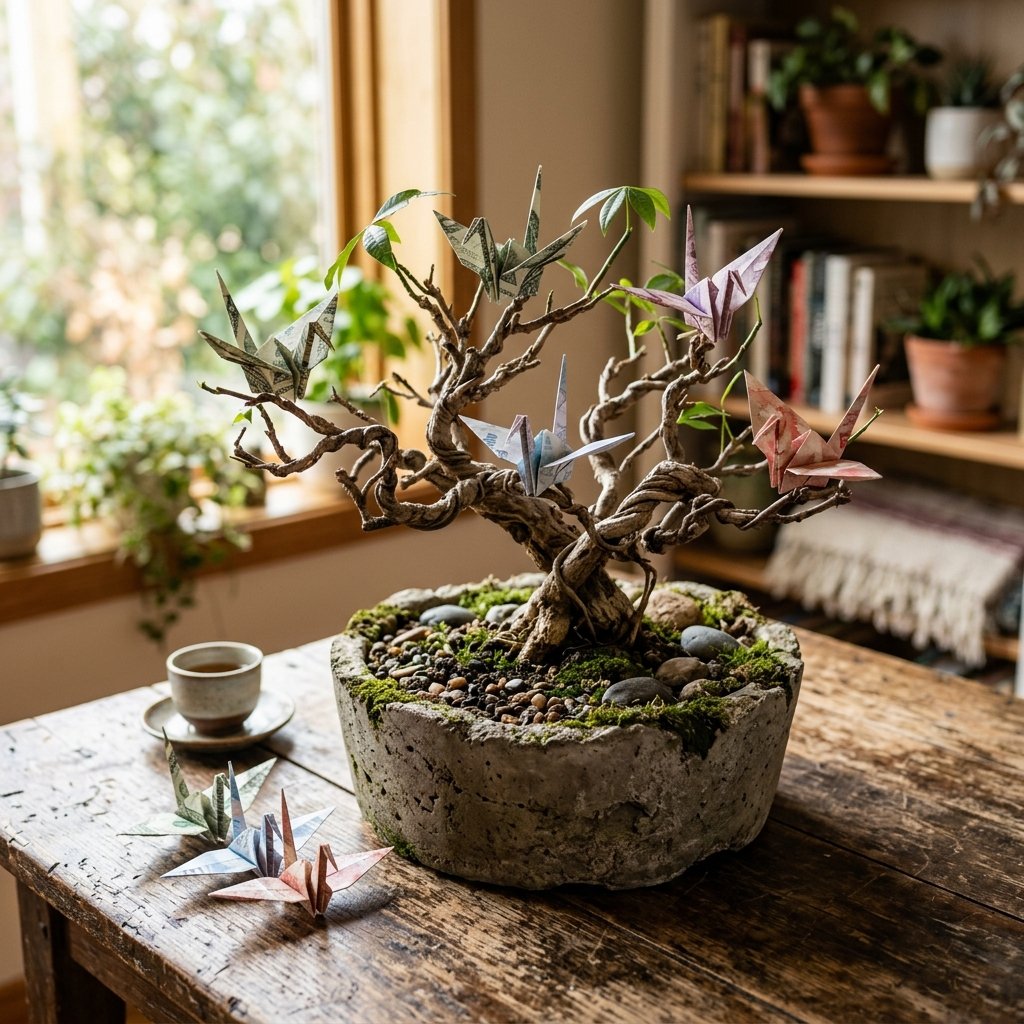
Now that you have your beautifully crafted money crane, do not just toss it into an envelope. The presentation is the final step in proving your frugal DIY prowess. Here are a few rugged, elegant, and resourceful ways to present your lucky cash gift:
- The Bonsai Money Tree: Perfect for weddings or graduations. Gather a small, sturdy deadwood branch from your yard. Secure it in a thrifted ceramic pot using a little quick-set concrete or pebbles. Use thin, dark floral wire to gently perch 5 to 10 money cranes on the branches. It looks like a high-end art piece and delivers serious cash value.
- The Shadow Box Display: Hit up the Dollar Tree for a deep picture frame or shadow box. Mount the money crane in the center using a tiny dab of removable mounting putty. Write a thoughtful quote on the backing paper, like: “May your future be as bright as your hustle.”
- The Graduation Lei: A classic! String together 20 to 30 $1 or $2 money cranes using a needle and heavy-duty upholstery thread. Alternate the cranes with wooden beads or faux leaves for a substantial, wearable gift that blows a standard check out of the water.
- The Mason Jar Terrarium: Fill the bottom of a clean mason jar with dried moss or coffee beans. Place the money crane inside, resting on the natural bed. Tie a piece of rough twine or scrap leather around the lid for a rustic, masculine-elegant finish.
Conclusion
Final Thoughts: The True Value of Craftsmanship
Anyone can go to an ATM, pull out cash, and stuff it into a generic greeting card. But it takes a resourceful, clever, and truly thoughtful person to take that same currency and mold it into a symbol of luck, prosperity, and hand-crafted dedication. By investing just 10 to 15 minutes of your time, you have elevated a simple financial transaction into a memorable, meaningful gift.
As frugal DIYers and practical crafters, we know that the best gifts aren’t always the ones that cost the most money—they are the ones that show the most effort. The next time a birthday, graduation, or wedding rolls around, skip the expensive wrapping paper and the overpriced gift bags. Grab a crisp bill, square it up, and give the gift of good luck. Happy folding, and may your creases always be sharp!

Makenzie is the founder and lead writer at MoneyHackTips.com — a personal finance blog dedicated to delivering street-smart financial wisdom for real people on real budgets. With 300+ published articles covering everything from debt management to investing fundamentals, Makenzie’s mission is to make every dollar work harder. When not writing about money hacks, Makenzie is testing frugal living strategies, optimizing side hustles, and helping readers build financial freedom from scratch.