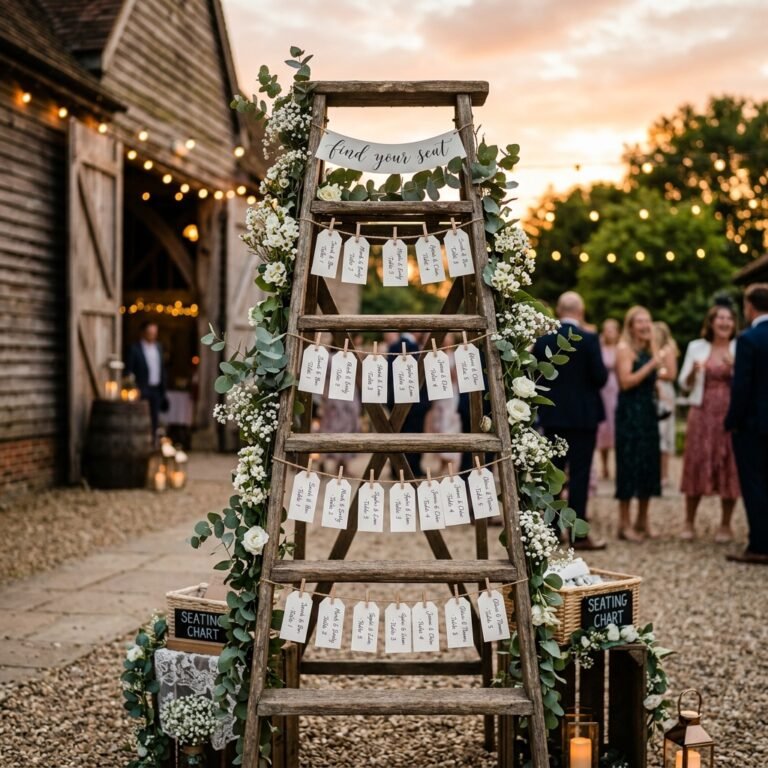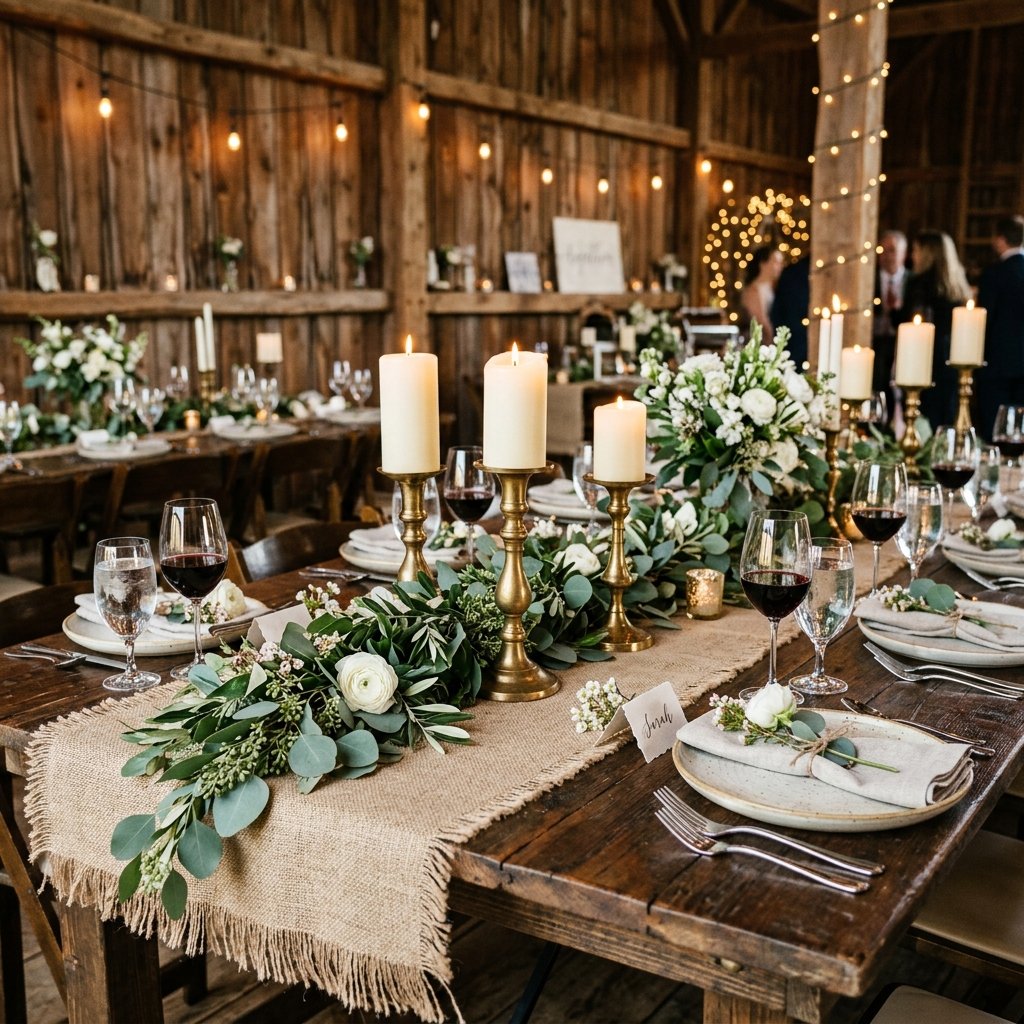

Let us talk about the “wedding tax” for a moment. The second you attach the word “bridal” or “wedding” to a piece of fabric, the price skyrockets by an astonishing margin. If you are a resourceful DIYer, a budget-savvy bride, or a handy partner looking to build a beautiful reception without emptying your savings account, you have come to the right place. Today, we are tackling one of the most impactful, high-yield DIY projects you can execute for your big day: The DIY Rustic Burlap Table Runner.
Burlap is the ultimate rugged, practical, and masculine-elegant material. It brings a grounded, earthy texture to any tablescape, beautifully contrasting with delicate elements like white lace, fine china, or soft floral arrangements. But renting these runners? That is a rookie mistake. With a little elbow grease, some sharp shears, and an afternoon of crafting, you can produce premium-quality, custom-length runners that look like they came straight from an expensive event designer’s catalog.
“A beautiful wedding is not measured by the depth of your pockets, but by the creativity of your hands and the love in your heart. Measure twice, cut once, and save your money for the honeymoon.”
In this comprehensive masterclass, we are going to walk through the exact steps to source, cut, finish, and style burlap runners. We will cover the master tailor’s secret to cutting perfectly straight lines in woven fabric, how to banish that infamous “barnyard” smell, and how to achieve that highly coveted frayed edge without your runners unraveling into a stringy mess during dinner.
The Economics of Burlap: Why Rent When You Can Craft?
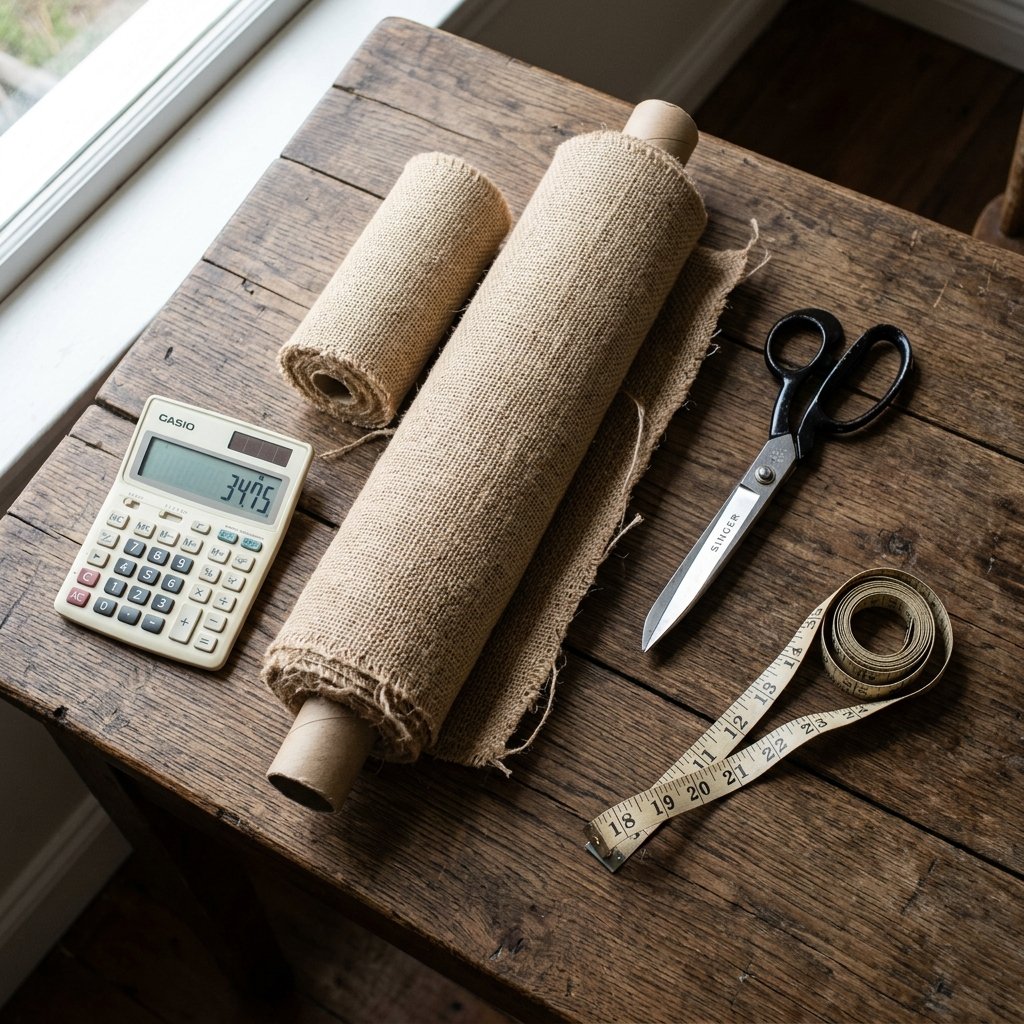
Before we dive into the physical crafting process, let us look at the raw numbers. Event rental companies know that burlap is trendy, and they charge a premium for it. The average cost to rent a standard 108-inch burlap runner ranges from $8 to $15 per table. If you have 20 tables, you are looking at a minimum of $160 to $300 just to borrow fabric for six hours.
By purchasing bulk burlap rolls—often found at hardware stores, wholesale fabric suppliers, or online agricultural suppliers—you can cut that cost down to mere pennies per foot. A standard 10-yard roll of 12-inch or 14-inch wide burlap usually costs around $15 to $20. Let us break down the staggering savings:
| Expense Category (Based on 20 Tables) | Rental / Store-Bought Cost | Zero-Budget DIY Cost |
|---|---|---|
| Burlap Material (Runners) | $200.00 (Rental) | $35.00 (Bulk Rolls) |
| Edge Finishing / Hemming | Included in Rental | $5.00 (Fabric Glue/Thread) |
| Delivery / Return Fees | $50.00 | $0.00 (Delivered to door) |
| Total Estimated Cost | $250.00 | $40.00 |
| Total Savings | – | $210.00 |
That is over $200 saved that can be reallocated to your catering budget, a better photographer, or an extra night on your honeymoon. Plus, when the wedding is over, you can upcycle these runners into garden weed barriers, winter plant wraps, or rustic home decor. That is the true spirit of resourceful crafting.
Sourcing the Best Burlap on a Shoestring Budget
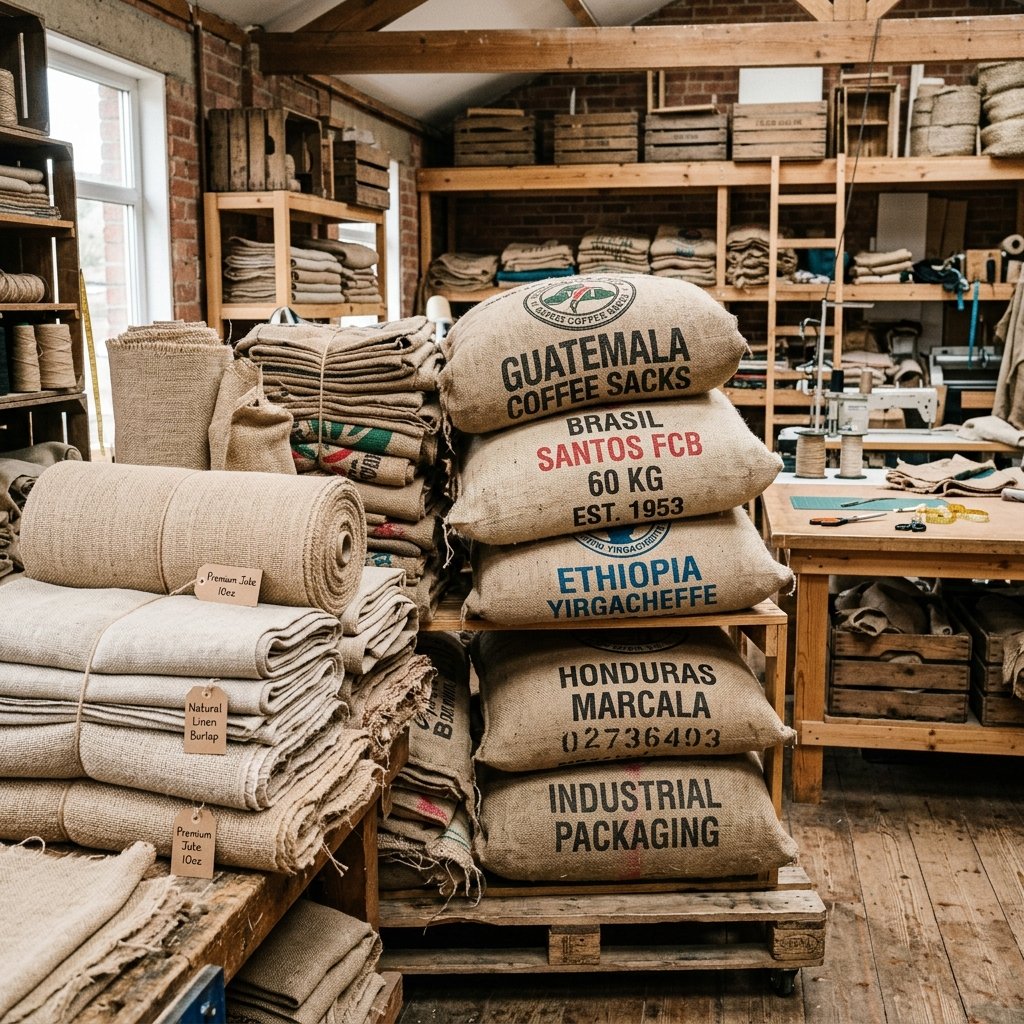
Not all burlap is created equal. When you are building a tablescape, the texture, weave, and weight of your fabric matter immensely. You want a material that lays flat, holds its shape, and does not shed excessively on your guests’ dinner plates.
Understanding Burlap Weaves
- Premium Jute Webbing/Tight Weave: This is the gold standard for wedding runners. It has a tighter weave, meaning fewer gaps and a smoother finish. It is slightly more expensive but highly recommended for formal events.
- Loose Weave / Agricultural Burlap: Often used for landscaping or potato sacks. It is incredibly cheap but prone to heavy shedding and stretching. Best reserved for outdoor, highly rustic barn weddings.
- Upcycled Coffee Sacks: For the ultimate zero-budget DIYer, local coffee roasters will often give away or sell their used green coffee bean sacks for $1 to $2 each. These feature gorgeous, rugged stamps and typography, adding a uniquely masculine, industrial vibe to your tables.
When purchasing, look for rolls that are pre-cut to your desired width (usually 12 to 14 inches). Buying pre-width rolls saves you from having to finish the long horizontal edges, leaving you to only manage the two short ends of each runner. This alone will save you hours of labor.
The Master Tailor’s Secret: Cutting Perfectly Straight Lines in Burlap
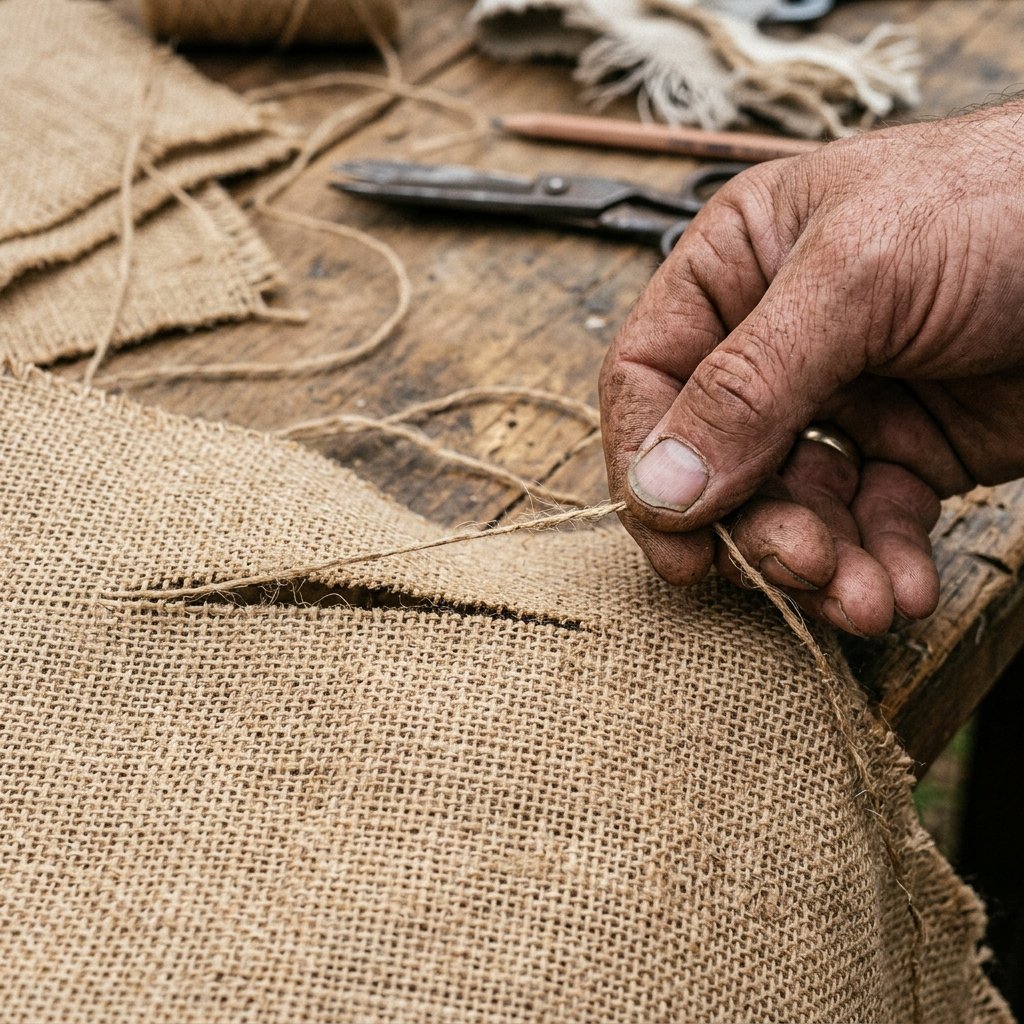
If you take a pair of scissors and simply try to cut across a piece of burlap, you will end up with a jagged, crooked nightmare. Burlap is a loosely woven grid, and to cut it perfectly straight, you must respect the weave. We are going to use a classic master tailor’s trick: the thread-pulling technique.
“You cannot force burlap into a straight line; you must let the fabric show you the way. Pull the thread, follow the path, and your cut will be flawless every single time.”
Step-by-Step Thread Pulling Technique:
- Measure your table: Determine your table length and add 24 inches (12 inches of overhang per side). For a standard 72-inch long table, you need a 96-inch runner.
- Make a small snip: Measure 96 inches down your burlap roll. Make a tiny 1-inch snip with your fabric shears on the edge of the fabric.
- Locate the horizontal thread: Pinch the single horizontal thread right at the apex of your snip.
- Pull the thread: Gently but firmly pull that single thread completely out of the fabric. As you pull, it will bunch up the fabric—just slide the bunched fabric down the thread until the thread comes entirely free.
- Follow the gap: You will now see a perfectly straight, empty channel running across the entire width of your burlap.
- Cut the channel: Take your sharp fabric shears and simply cut through that empty channel. You now have a perfectly straight, 90-degree edge.
Fraying and Finishing Edges Like a Pro
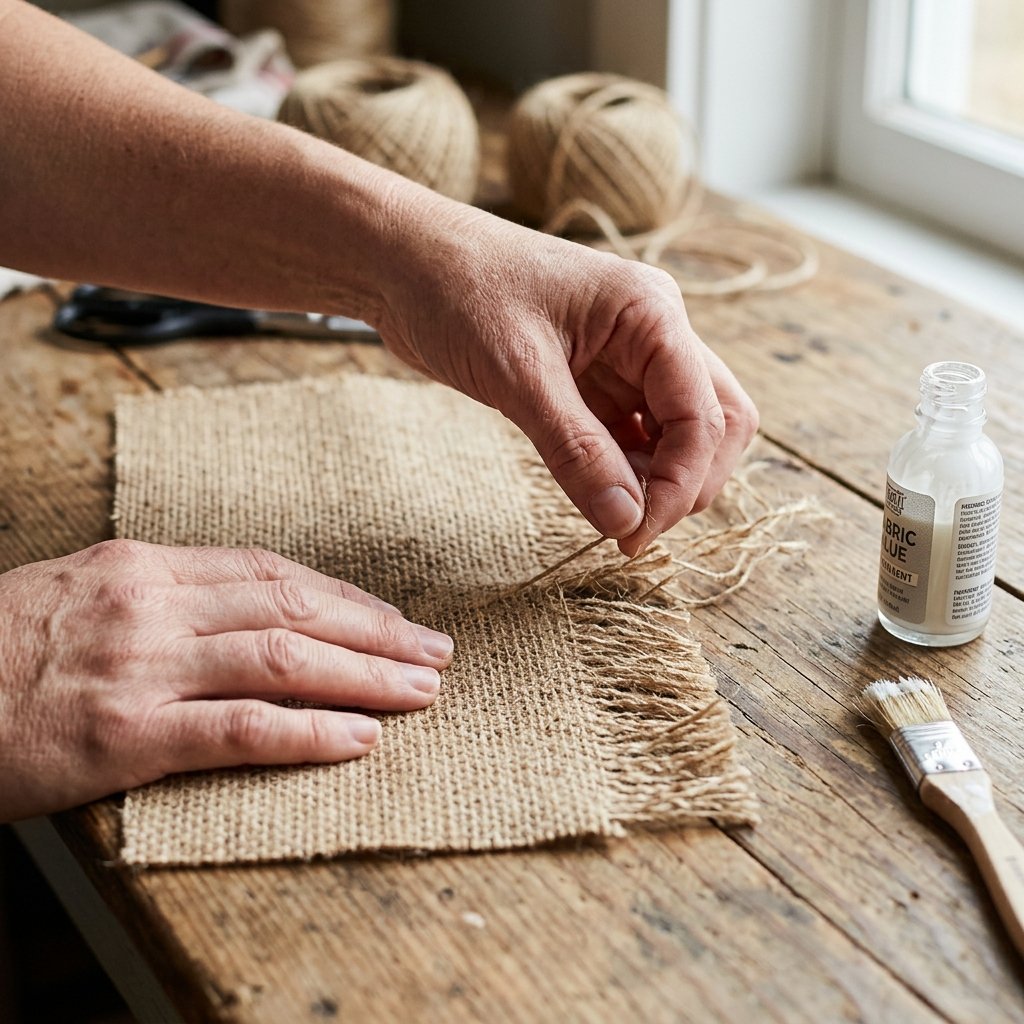
A raw, straight cut on burlap looks unfinished. To achieve that high-end, rustic-chic aesthetic, you need a beautifully frayed edge. However, if you leave a frayed edge unsecured, the entire runner will slowly unravel throughout the reception.
Creating the Frayed Fringe
Starting at your freshly cut edge, begin pulling the horizontal threads out one by one. Continue this process until you have a fringe that is exactly 1 inch to 1.5 inches long. This measurement provides the perfect visual balance without looking messy.
Securing the Fringe (Two Methods)
To stop the fraying exactly where you want it, you have two budget-savvy options depending on your skill level and available tools:
- The Sewing Machine Method (Most Durable): Thread your machine with a neutral or matching brown thread. Run a simple straight stitch or zigzag stitch exactly along the line where the solid fabric meets your new fringe. This locks the weave in place permanently.
- The No-Sew Glue Hack (Easiest): If you do not own a sewing machine, do not panic. Lay your runner flat on a piece of wax paper. Run a very thin, almost invisible bead of clear-drying fabric glue, Mod Podge, or even Fray Check along the base of the fringe. Tap it gently with your finger to press it into the fibers. Let it dry for 30 minutes. It will dry clear and stop any further unraveling.
Banishing the Barnyard: How to Remove Burlap Smell and Wrinkles
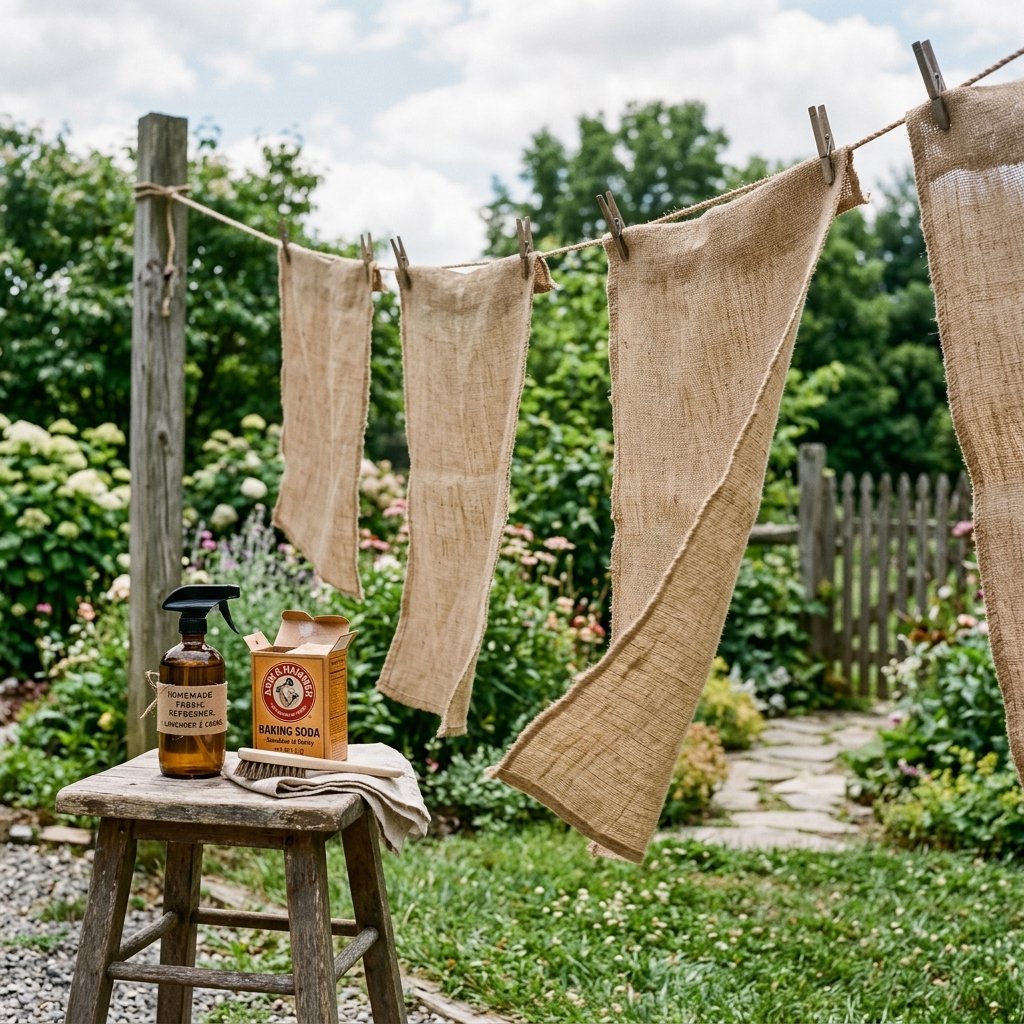
Let us address the elephant in the room: raw burlap smells like a barn. It is treated with natural oils during manufacturing, which gives it a distinct, earthy, and sometimes chemical odor. You absolutely cannot put fresh-out-of-the-package burlap on a table where people are eating.
CRITICAL SAFETY NOTE: NEVER put raw, unfrozen burlap in your washing machine. The natural jute fibers will shed aggressively, turning into a thick sludge that can completely destroy your washing machine’s water pump and ruin your household plumbing.
The Deodorizing and De-Wrinkling Process:
- The Air-Out: At least two weeks before the wedding, unroll your burlap runners and hang them outside on a clothesline or over a deck railing. Fresh air and UV sunlight are your best friends for neutralizing the natural jute oils.
- The Baking Soda Treatment: If the smell persists, lay the runners flat in a garage or driveway and lightly dust them with baking soda. Leave them for 48 hours, then vigorously shake them out.
- The Ironing Phase: Burlap holds deep creases from being rolled. To achieve a crisp, elegant look, you must iron it. Set your iron to the highest steam setting (usually labeled “Cotton/Linen”). Lay a damp cotton towel or old t-shirt over the burlap as a pressing cloth. Press firmly. The steam will relax the stubborn jute fibers, leaving you with a perfectly flat, professional-looking runner.
Styling Your Rustic Tablescape: Layering Textures on a Dime
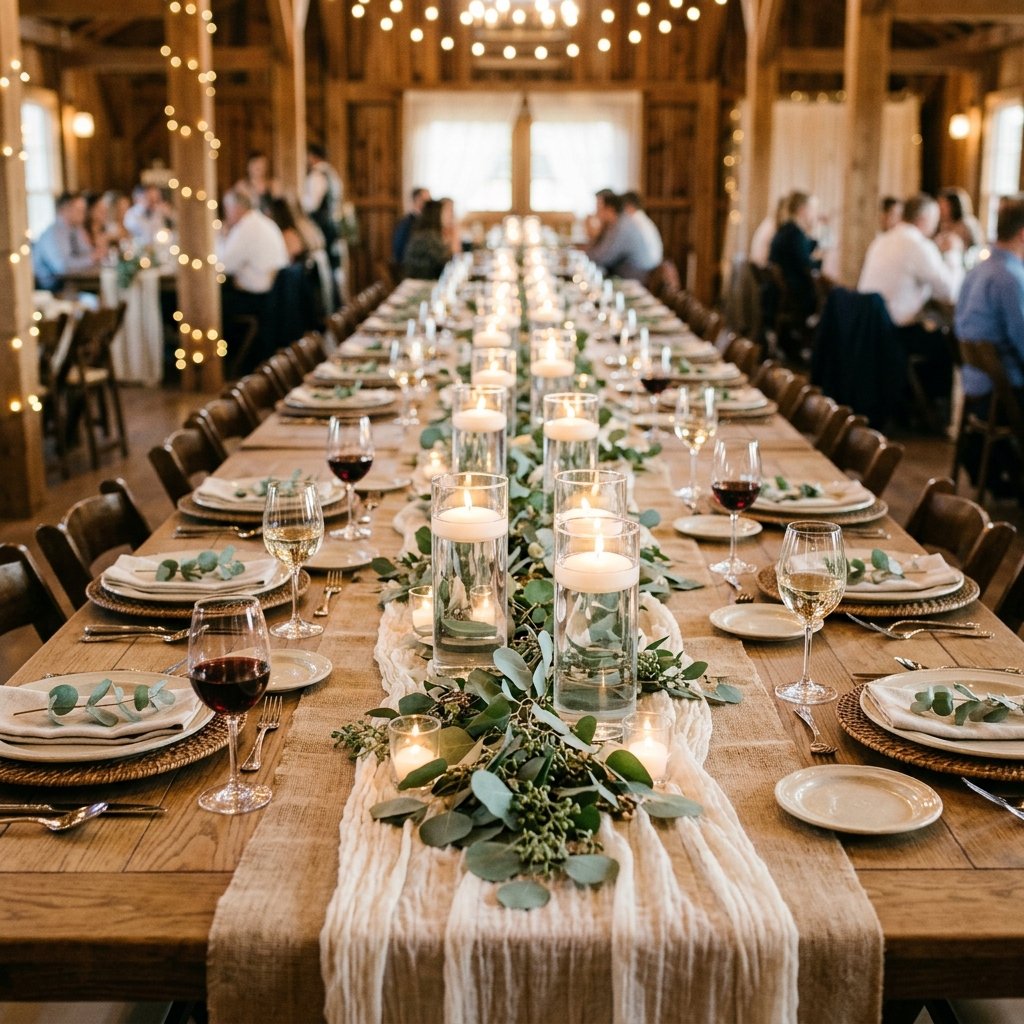
Now that your runners are cut, finished, deodorized, and pressed, it is time to style them. The secret to an expensive-looking tablescape is layering. Burlap on its own can look a bit flat; it needs contrasting textures to truly sing.
The $10 Centerpiece Formula
You do not need massive, expensive floral arrangements to make your burlap runners pop. Utilize Dollar Tree items and foraged greenery to create a masculine, elegant, and romantic vibe.
| Decor Element | Sourcing Strategy | Estimated Cost per Table |
|---|---|---|
| The Base | Your handmade burlap runner | $2.00 |
| The Softness | A layer of cheap, dyed cheesecloth scrunched down the center | $1.50 |
| The Lighting | 3 Dollar Tree glass cylinder vases with floating candles | $4.00 |
| The Greenery | Foraged pine branches, ivy, or wholesale eucalyptus sprigs | $0.00 – $2.50 |
| Total Centerpiece | – | Under $10.00 |
Place your burlap runner down first, ensuring the overhang is even on both sides. Next, take your dyed cheesecloth (a soft ivory or sage green works beautifully) and loosely weave it down the center of the burlap. The structured, rugged grid of the burlap contrasting with the ethereal, soft flow of the cheesecloth creates an incredibly sophisticated dynamic. Nestle your glass vases and candles into the cheesecloth, tuck your greenery around the bases, and you have just created a magazine-worthy tablescape for less than the cost of a fast-food lunch.
Conclusion
Creating your own rustic burlap table runners is the ultimate testament to the power of DIY. It is a project that requires minimal financial investment but delivers a massive visual impact. By taking the time to source the right materials, utilizing the thread-pulling technique for perfect cuts, and properly finishing and treating the fabric, you are elevating basic agricultural cloth into high-end wedding decor.
Remember, the beauty of a rustic wedding lies in its authenticity. The slight imperfections, the rugged textures, and the handmade touches are what make the space feel warm and inviting. So grab your fabric shears, clear off your workbench, and start pulling those threads. You are not just saving money; you are crafting the very foundation where your friends and family will gather to celebrate your new life together. Happy crafting, and congratulations!

Makenzie is the founder and lead writer at MoneyHackTips.com — a personal finance blog dedicated to delivering street-smart financial wisdom for real people on real budgets. With 300+ published articles covering everything from debt management to investing fundamentals, Makenzie’s mission is to make every dollar work harder. When not writing about money hacks, Makenzie is testing frugal living strategies, optimizing side hustles, and helping readers build financial freedom from scratch.