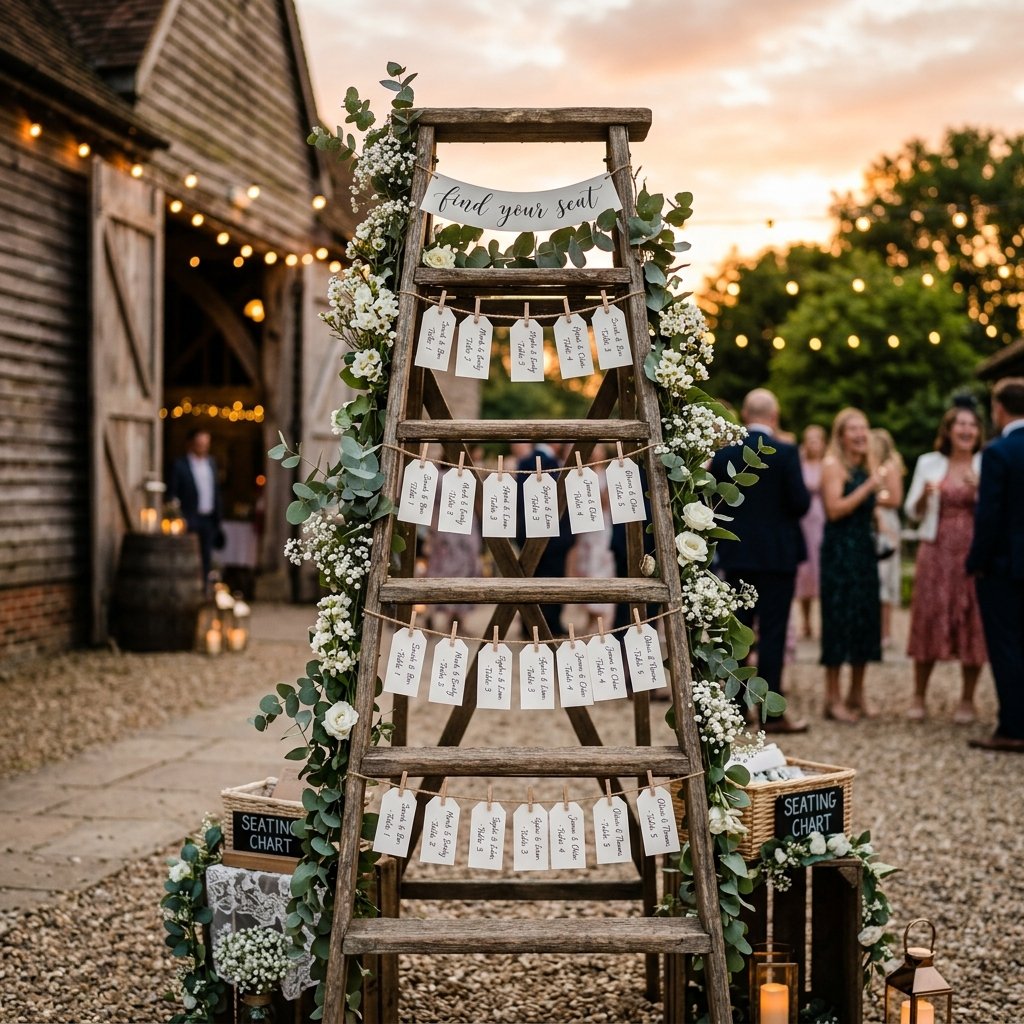

Planning a wedding often feels like a series of mounting invoices, but for the resourceful DIYer, it is an opportunity to showcase craftsmanship and budget-savvy ingenuity. The seating chart is one of the first things guests see, and while professional rentals can cost upwards of $150 to $300, you can build a stunning, ruggedly elegant rustic ladder for under $20—or even free if you have the right scrap wood lying around. This guide isn’t just about saving money; it’s about creating a conversation piece that brings a touch of masculine-elegant charm to your venue. Whether you are a handy parent helping out or a budget-conscious couple, we are going to turn raw lumber or a ‘trash’ ladder into a wedding masterpiece.
Scavenging the Skeleton: Sourcing Your Materials on a Dime
The first step in our trash-to-treasure journey is finding the bones of the project. You have two main paths: the Upcycler’s Route (finding an old ladder) or the Builder’s Route (constructing one from scratch). If you are scouring Facebook Marketplace or local yard sales, look for old wooden orchard ladders or step ladders. Don’t worry about the paint splatters or the grime; that adds to the authentic patina we want.
The Builder’s Material List
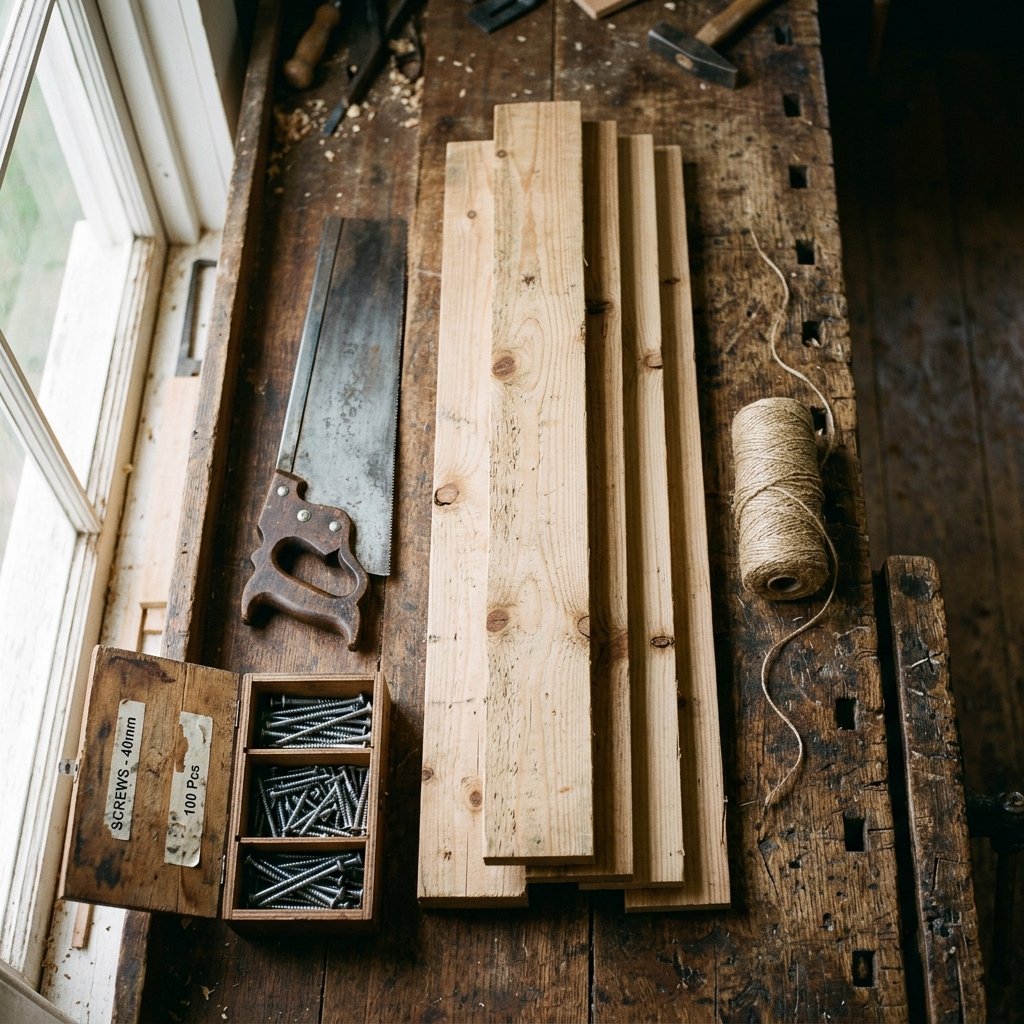
If you can’t find a vintage ladder, building one from 2x4s or 1x3s is incredibly simple and cheap. Here is what you will need for a standard 5-foot ladder:
| Material | Quantity | Estimated Cost |
|---|---|---|
| 2×4 x 8′ Untreated Pine | 3 Boards | $12.00 |
| 1-1/2″ Wood Screws | 1 Box | $4.50 |
| Sandpaper (80 & 120 Grit) | 2 Sheets | $2.00 |
| Jute Twine | 1 Roll | $1.25 |
| Total Estimated Cost | – | $19.75 |
Pro Tip: Check construction sites or ‘Free’ sections on classifieds. Often, 2×4 scraps are thrown away and are perfect for the rungs of your ladder.
The Woodworking Workshop: Crafting the Rugged Frame
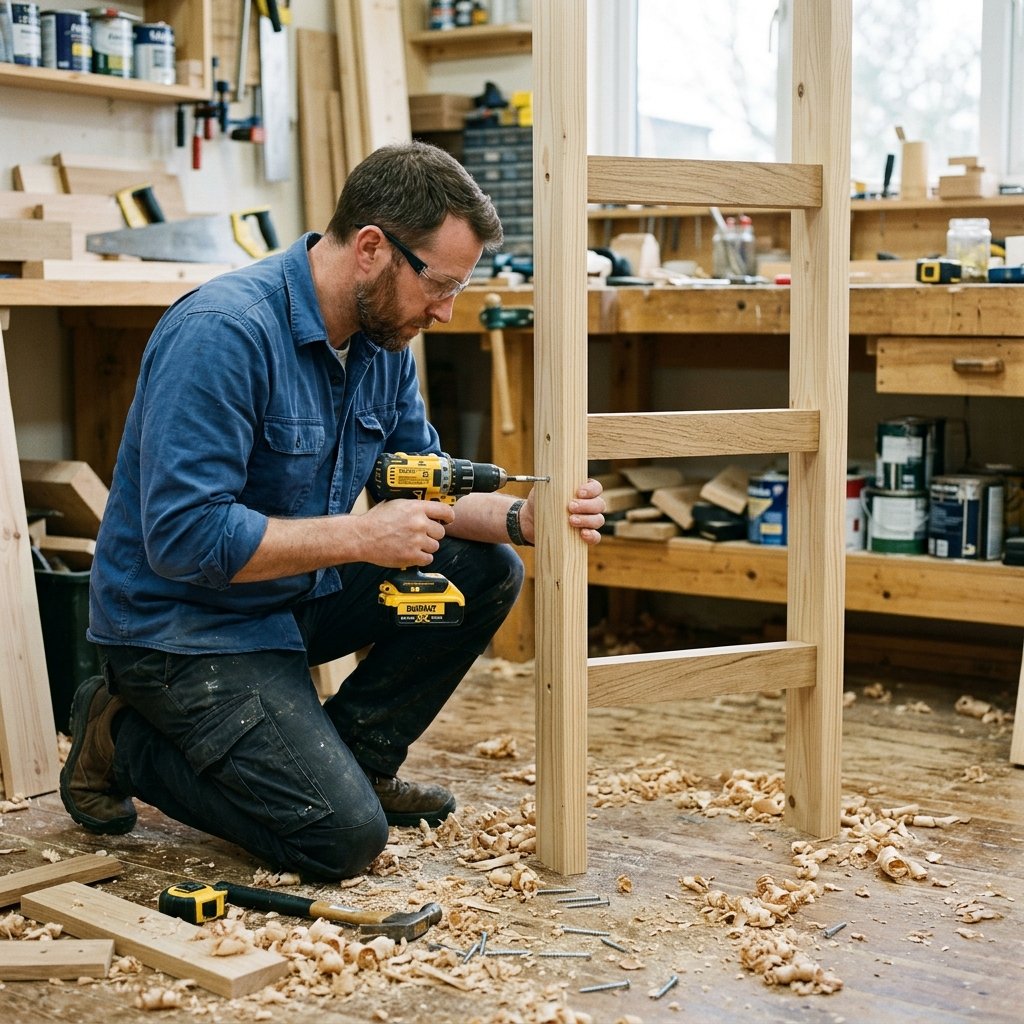
Now, let’s get our hands dirty. If you are building from scratch, you want a design that is sturdy but looks like it has a history. We are going for a leaning ladder style, which is practical and easier to transport than a full A-frame.
Step-by-Step Construction
- Measure and Cut: Cut your two main side rails to 60 inches. For the rungs, cut five pieces at 16 inches, 17 inches, 18 inches, 19 inches, and 20 inches to create a slight taper from top to bottom.
- The Angle Cut: To ensure the ladder sits flush against the wall, cut a 10-degree angle at the bottom of the two side rails.
- Assembly: Space your rungs approximately 10 inches apart. Use a square to ensure they are level. Pre-drill your holes to prevent the pine from splitting—this is a clever trick to keep the wood looking professional.
- Secure: Drive two screws into each side of the rungs. For a more masculine-elegant look, you can countersink the screws and fill them with wood putty, or leave them exposed for a ‘workshop’ aesthetic.
Mantra for the Maker: Measure twice, cut once, and save the sawdust; it makes a great filler when mixed with a bit of wood glue!
Weathering and Patina: The Secret to Expensive-Looking Wood
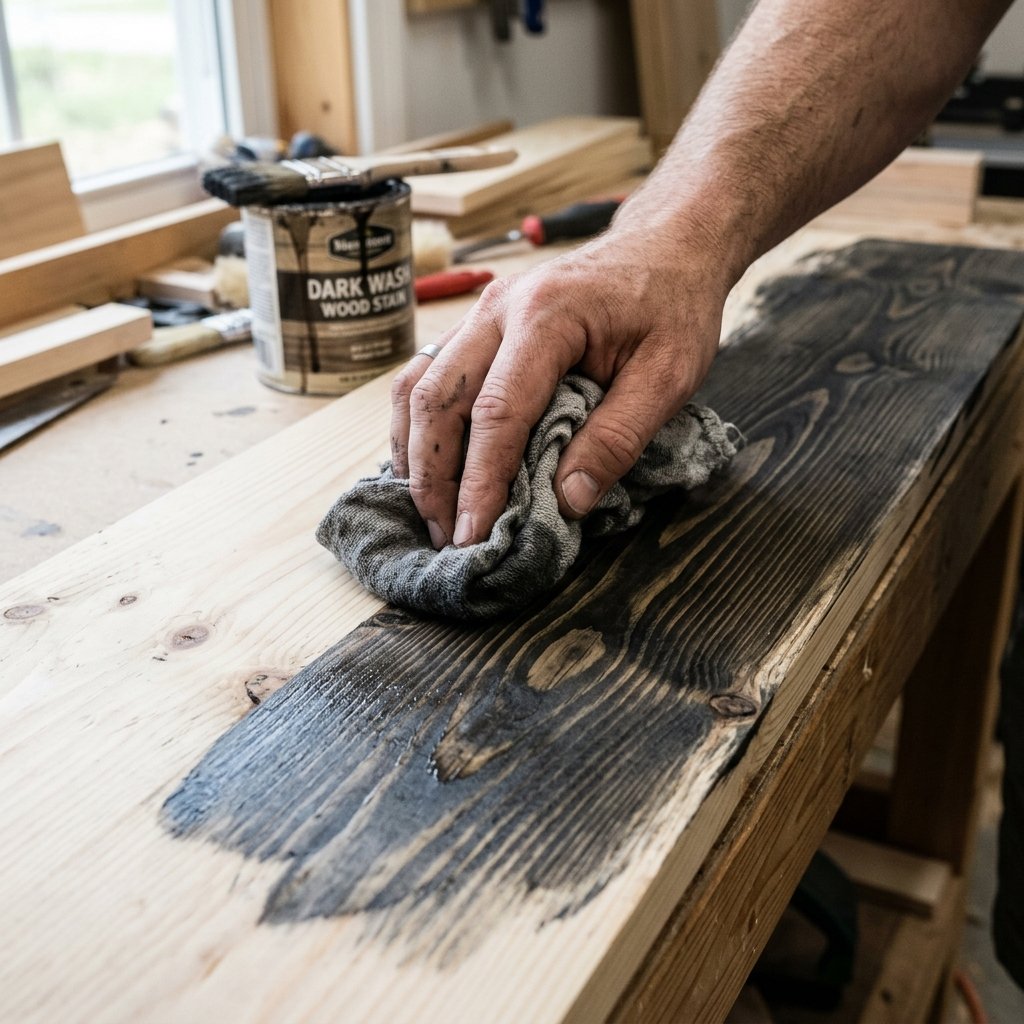
New pine looks, well, new. To get that high-end rustic look without spending $50 on designer stains, we use the ‘Iron Vinegar’ method. This is a budget-savvy favorite for crafters.
The DIY Aging Recipe
In a glass jar, submerge a piece of #0000 steel wool in white vinegar for 24 to 48 hours. The chemical reaction creates a stain that reacts with the tannins in the wood, turning it a beautiful, weathered silver-gray or deep brown depending on the wood type.
| Technique | Visual Result | Best For |
|---|---|---|
| Vinegar & Steel Wool | Silver/Barnwood Gray | Rustic Farmhouse |
| Brewed Black Coffee | Light Warm Tan | Subtle Vintage |
| Dry Brushing White Paint | Distressed/Chippy | Shabby Chic |
| Torching (Shou Sugi Ban) | Charred/Rugged Black | Modern Masculine |
Apply your chosen finish with a rag, working with the grain. If you want a more sophisticated finish, sand the edges after staining to mimic years of natural wear. This crafty-expert touch makes the difference between a DIY project and a custom piece of furniture.
Hanging the Guest List: Hardware and Typography
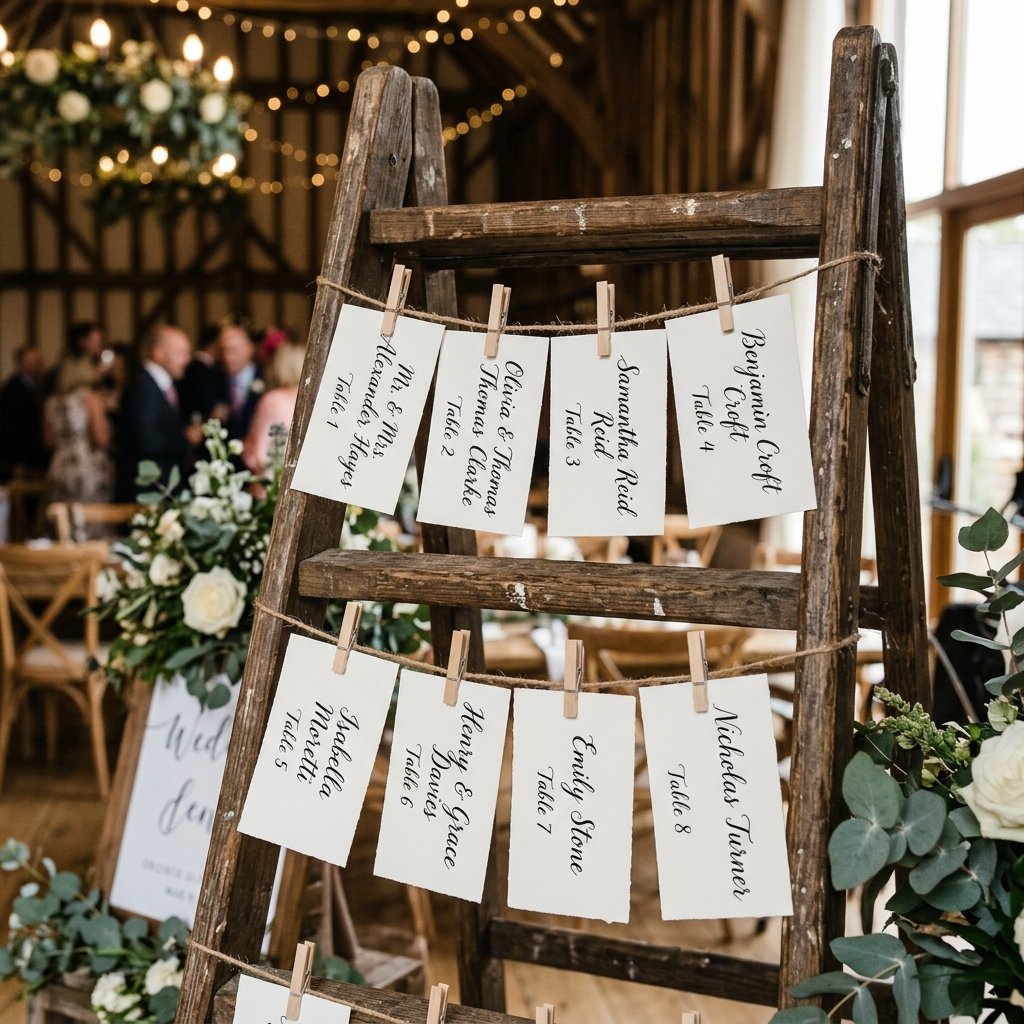
With the frame ready, it’s time to turn it into a functional seating chart. This is where your creative gift-giving skills shine. You need a way to display the names that is both chic and easy for guests to read.
The ‘Twine and Clip’ Method
This is the most budget-friendly and popular method. Wrap jute twine around the side rails at each rung level. Secure the twine with a small staple or a knot on the back side. Use miniature wooden clothespins (available at Dollar Tree for $1.25 a pack) to clip your seating cards to the twine.
Alternative Display Ideas
- Picture Frames: Hang mismatched thrift store frames from the rungs using S-hooks.
- Acrylic Sheets: Use a white chalk marker to write names directly onto small acrylic rectangles for a modern-elegant twist.
- Old Windows: If your ladder is wide enough, rest an old window pane against the rungs and write on the glass.
Styling Tip: Use a heavy-weight cardstock (at least 110lb) for the names. It prevents the cards from curling in humid outdoor environments.
The Final Flourish: Greenery and Lighting on a Budget
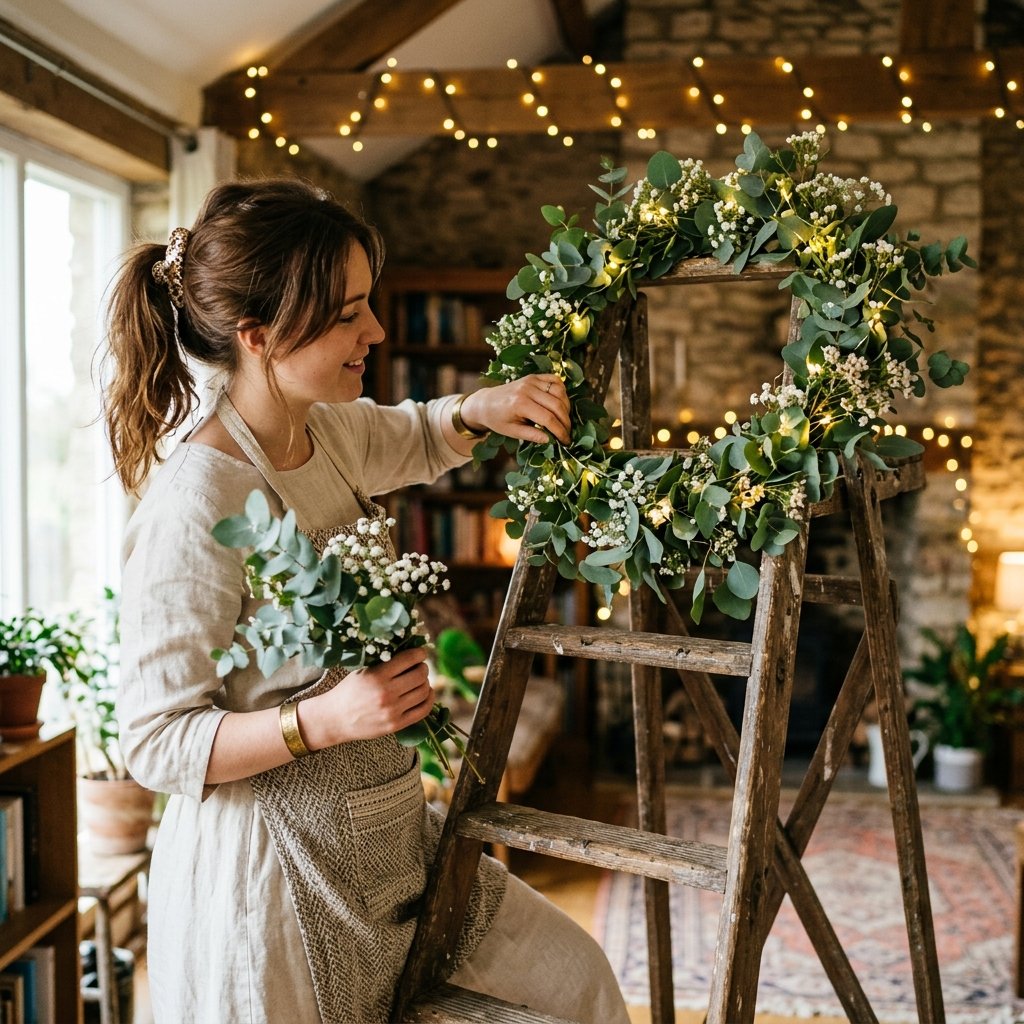
To truly elevate this from a ‘ladder in a barn’ to a stunning wedding feature, you need greenery. Florists might charge $50+ for a ladder swag, but you can do it for under $10.
The Dollar Store Greenery Hack
Pick up 3 or 4 strands of faux eucalyptus or ivy from a discount store. The clever trick is to mix in a few stems of ‘real’ greenery—like rosemary from your garden or inexpensive baby’s breath—to trick the eye. Use floral wire to zip-tie the greenery to the top corner of the ladder, letting it drape down one side asymmetrically.
Lighting for Ambience
Thread a string of battery-operated fairy lights through the greenery. This adds a magical glow for evening receptions and ensures the names are legible as the sun goes down. Hide the battery pack on the back of the rail using a bit of duct tape or a Command strip.
| Add-on | DIY Cost | Pro Rental Cost |
|---|---|---|
| Faux Eucalyptus Swag | $7.50 | $45.00 |
| Fairy Lights | $3.00 | $15.00 |
| Custom Calligraphy | $0.00 (DIY) | $60.00 |
Conclusion
Building your own DIY Rustic Ladder Wedding Seating Chart is a triumph of resourcefulness over retail. By following these steps, you’ve created a piece that is rugged, practical, and undeniably elegant. Not only have you saved over $200, but you’ve also created a keepsake that can be repurposed in your home after the wedding as a blanket rack or a photo display. Remember, the best wedding decor isn’t the most expensive—it’s the piece that has a story, a bit of elbow grease, and a whole lot of crafty heart behind it. Now, go grab that saw and start building!

Makenzie is the founder and lead writer at MoneyHackTips.com — a personal finance blog dedicated to delivering street-smart financial wisdom for real people on real budgets. With 300+ published articles covering everything from debt management to investing fundamentals, Makenzie’s mission is to make every dollar work harder. When not writing about money hacks, Makenzie is testing frugal living strategies, optimizing side hustles, and helping readers build financial freedom from scratch.