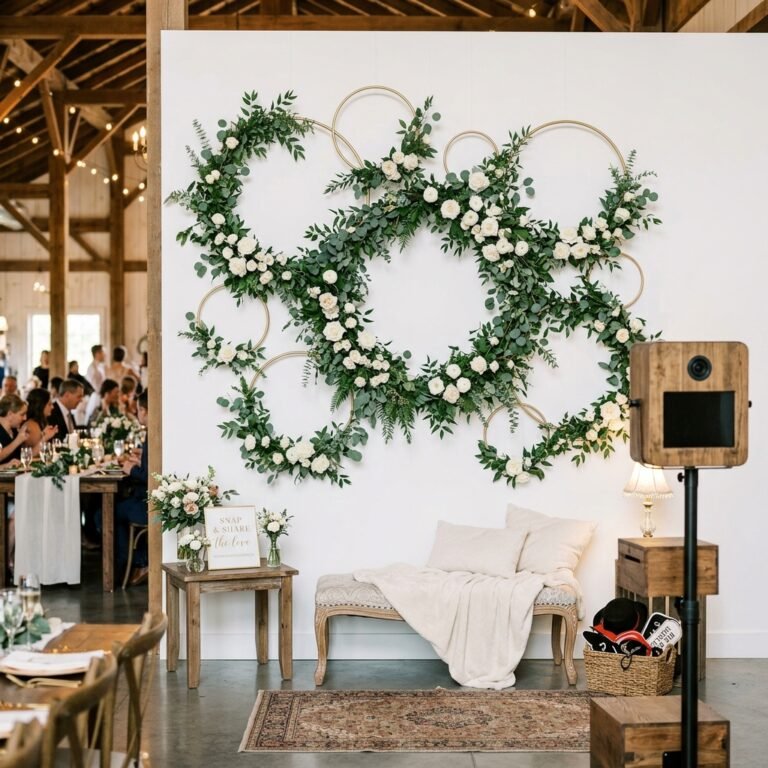
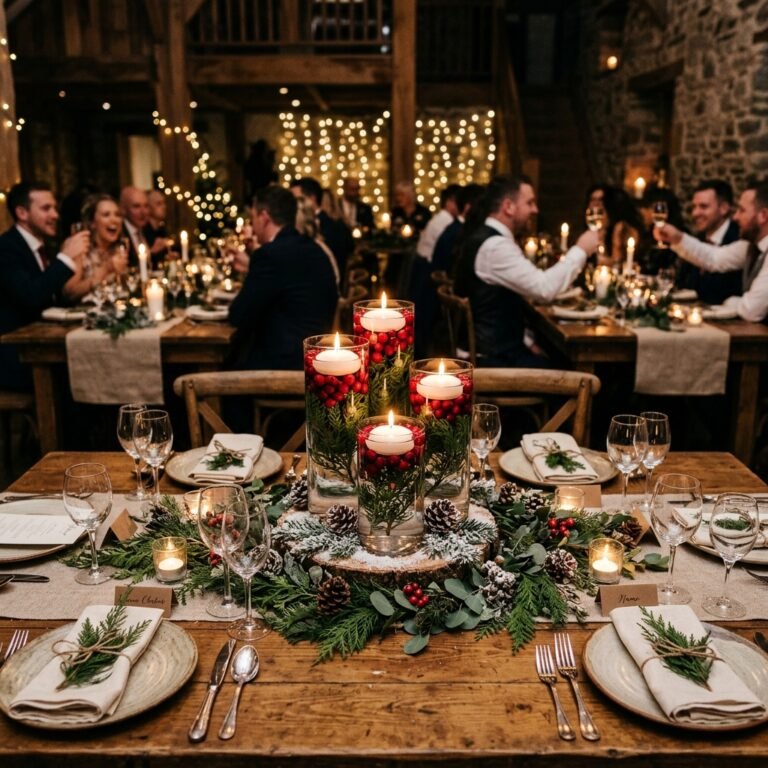
Let us talk about the wedding industry for a moment. The second you mention the word “wedding” to a vendor, prices magically quadruple. For the resourceful, clever, and budget-savvy couples out there, dropping $100 to $300 per table on floral centerpieces that will wilt in forty-eight hours is not just painful—it is entirely unnecessary. You are a crafty expert, a frugal visionary, and you know that true elegance does not require a second mortgage. Enter the ultimate, nature-inspired, ruggedly handsome, and exquisitely practical solution: Dried Citrus and Pinecone Centerpieces.
This is not your average craft-store compromise. We are talking about a sophisticated, moody, and highly textural tablescape that brings an earthy warmth to your venue. The rich, translucent amber hues of dehydrated oranges paired with the woody, architectural structure of foraged pinecones create a visual masterpiece. Best of all? You can source the bulk of these materials for pennies, or even 100% free from your own backyard. Whether you are planning a crisp autumn celebration, a cozy winter woodland wedding, or a rustic barn reception, this guide will walk you through transforming humble, everyday elements into breathtaking focal points.
“A beautiful wedding should launch your marriage, not your debt. Resourcefulness is the ultimate luxury.”
In this masterclass, we will cover everything from the secret to perfectly dehydrating citrus without burning it, to the crucial step of debugging foraged pinecones, and finally, the architectural breakdown of styling a high-end centerpiece for under $5 a table. Roll up your sleeves, grab your pruning shears, and let us turn nature’s bounty into bridal treasure.
Foraging and Preparing Your Pinecones: Nature’s Free Architecture
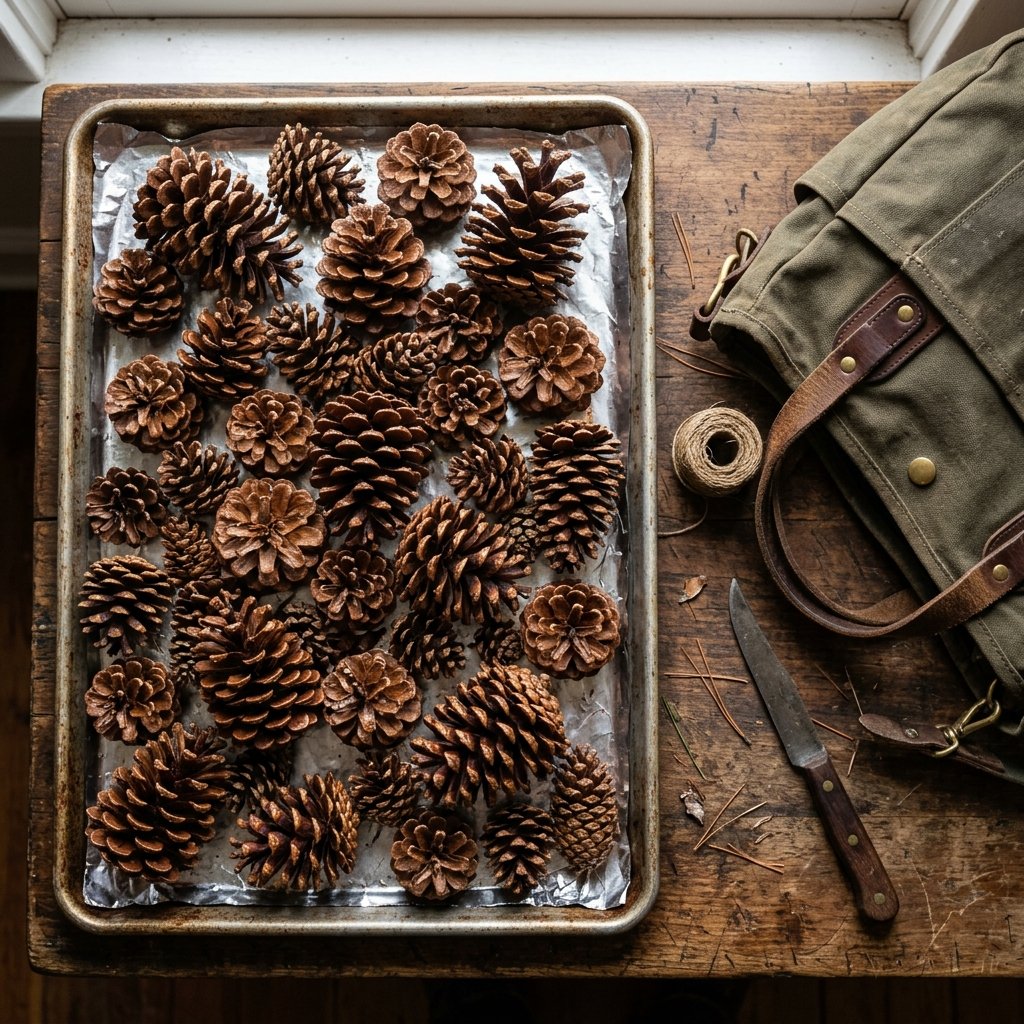
The foundation of our budget-savvy centerpiece relies on the rugged, natural beauty of pinecones. They provide volume, deep brown contrasting tones, and a beautiful geometric texture that anchors the lighter, brighter citrus slices. The best part? They are quite literally falling from the trees, waiting for a frugal DIYer to scoop them up.
Where and How to Forage
Depending on your region, you can find various species of pinecones. Ponderosa pines drop large, sturdy cones perfect for base building, while Eastern White pines offer longer, slender cones that add elegant, sweeping lines to your arrangement. Take a weekend hike with a sturdy canvas bag and collect cones of varying sizes. You want a mix of large focal cones and smaller “filler” cones to create visual interest.
Important Safety & Sanitation Note: Never bring raw, unbaked pinecones directly into a wedding venue or your home for long-term storage. They are nature’s tiny bug hotels, harboring sap, spiders, and microscopic pests that you absolutely do not want crawling across your wedding dinner tables!
The Mandatory Pinecone Baking Process
To ensure your pinecones are safe, clean, and fully open (which makes them look much fuller and more expensive), you must bake them. Here is the foolproof, step-by-step method:
- Wash and Soak: Submerge your collected pinecones in a sink or bucket filled with warm water and 1 cup of white vinegar. Let them soak for 20 to 30 minutes to drown any immediate pests and loosen dirt. They will close up tightly—do not panic, this is normal!
- Air Dry: Shake off the excess water and let them sit on newspaper for a few hours.
- Bake to Perfection: Preheat your oven to 200°F. Line a baking sheet with aluminum foil (to catch melting sap) and arrange the pinecones in a single layer. Bake them for 1 to 2 hours. Keep a close eye on them. You will know they are done when they have fully reopened, the sap has crystallized with a gorgeous glossy finish, and your kitchen smells like a rugged alpine forest.
- Cool and Store: Let them cool completely before storing them in breathable cardboard boxes or paper bags until assembly day.
The Dehydration Masterclass: Crafting Stained-Glass Citrus
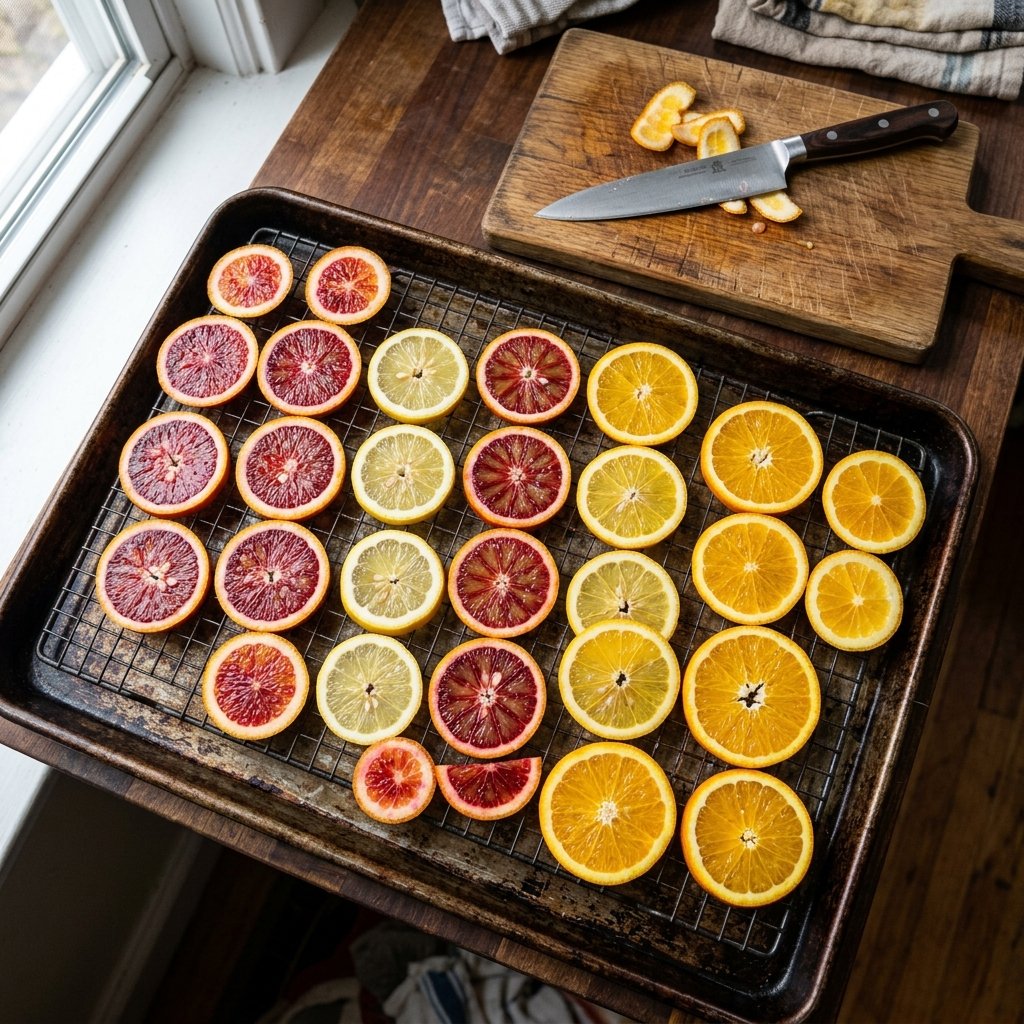
If pinecones are the structural foundation, dried citrus slices are the jewelry of your centerpiece. When sliced thinly and dried properly, oranges, blood oranges, lemons, and grapefruits transform into translucent, stained-glass wheels that catch the candlelight beautifully. This is where your crafty-expert skills truly shine.
Selecting Your Fruit
For a dynamic, high-end look, do not just stick to standard navel oranges. Hit up your local farmer’s market or budget grocery store and look for color variety. Blood oranges provide a deep, moody burgundy; lemons offer a sharp, bright yellow; and grapefruits give a soft, oversized blush pink. You will need approximately 3 to 5 slices per table.
The Slicing and Baking Technique
Patience is the secret ingredient here. Rushing the process with high heat will result in brown, burnt, and curled edges. We want flat, vibrant, and perfectly preserved fruit.
- The Precision Cut: Using a very sharp chef’s knife or a mandoline slicer, cut your citrus into exact 1/4 inch slices. Discard the end pieces. Consistency in thickness ensures they dry at the same rate.
- The Moisture Blot: Lay the slices flat on a clean, highly absorbent kitchen towel or paper towels. Press down firmly to extract as much surface juice as possible. This cuts down your baking time by hours.
- The Low and Slow Bake: Preheat your oven to its lowest setting, ideally 175°F to 200°F. Place wire cooling racks on top of your baking sheets, and arrange the citrus slices on the racks. This allows air to circulate underneath, preventing them from sticking and ensuring they dry flat.
- The Flip: Bake for a total of 3 to 5 hours. You must flip the slices every 45 minutes to ensure even drying. They are done when the flesh is no longer tacky to the touch and the rind is stiff.
- The Cooling Phase: Turn off the oven, crack the door open, and let them sit inside overnight to completely harden.
Pro-Tip for the Perfectionist: If you find your slices are curling up at the edges as they dry, you can lightly press them flat with a spatula during the flipping process. For an extra touch of masculine elegance, lightly dust the slices with ground cinnamon or cloves before baking to infuse the room with a warm, spicy aroma.
Budget Breakdown: The $5 Masterpiece vs. The $150 Florist Standard

Let us get down to the brass tacks of why this is the ultimate budget wedding hack. When you hire a traditional florist, you are paying for the perishability of the product, the labor of arranging, the transport of water-heavy vases, and the massive wedding markup. By utilizing foraged goods and inexpensive grocery store produce, you are slashing your decor budget by upwards of 95%. Let us look at the hard numbers for a standard 8-person round table.
| Element / Material | Traditional Florist Cost (Estimated) | DIY Citrus & Pinecone Cost |
|---|---|---|
| Centerpiece Base | $20.00 (Rented glass vase or compote) | $1.50 (Thrifted wood slice or Dollar Tree charger) |
| Primary Filler/Bulk | $60.00 (Hydrangeas, roses, peonies) | $0.00 (Foraged & baked pinecones) |
| Accents & Color | $35.00 (Eucalyptus, ranunculus, berries) | $1.00 (2 Oranges/Lemons, DIY dried) |
| Ambiance / Lighting | $25.00 (Rented taper candles & holders) | $2.50 (Bulk pillar candles & thrifted jars) |
| Table Runner | $10.00 (Rented satin or chiffon) | $1.00 (Bulk dyed cheesecloth cut to size) |
| Total Cost per Table | $150.00 | $6.00 |
If you have a wedding of 150 guests (approximately 19 tables), the traditional florist route for centerpieces alone would run you around $2,850. The DIY Citrus and Pinecone method? A staggering $114. That is thousands of dollars saved that can be redirected toward a better honeymoon, a down payment on a house, or simply kept securely in your bank account.
Designing the Centerpiece: Layering Texture and Light
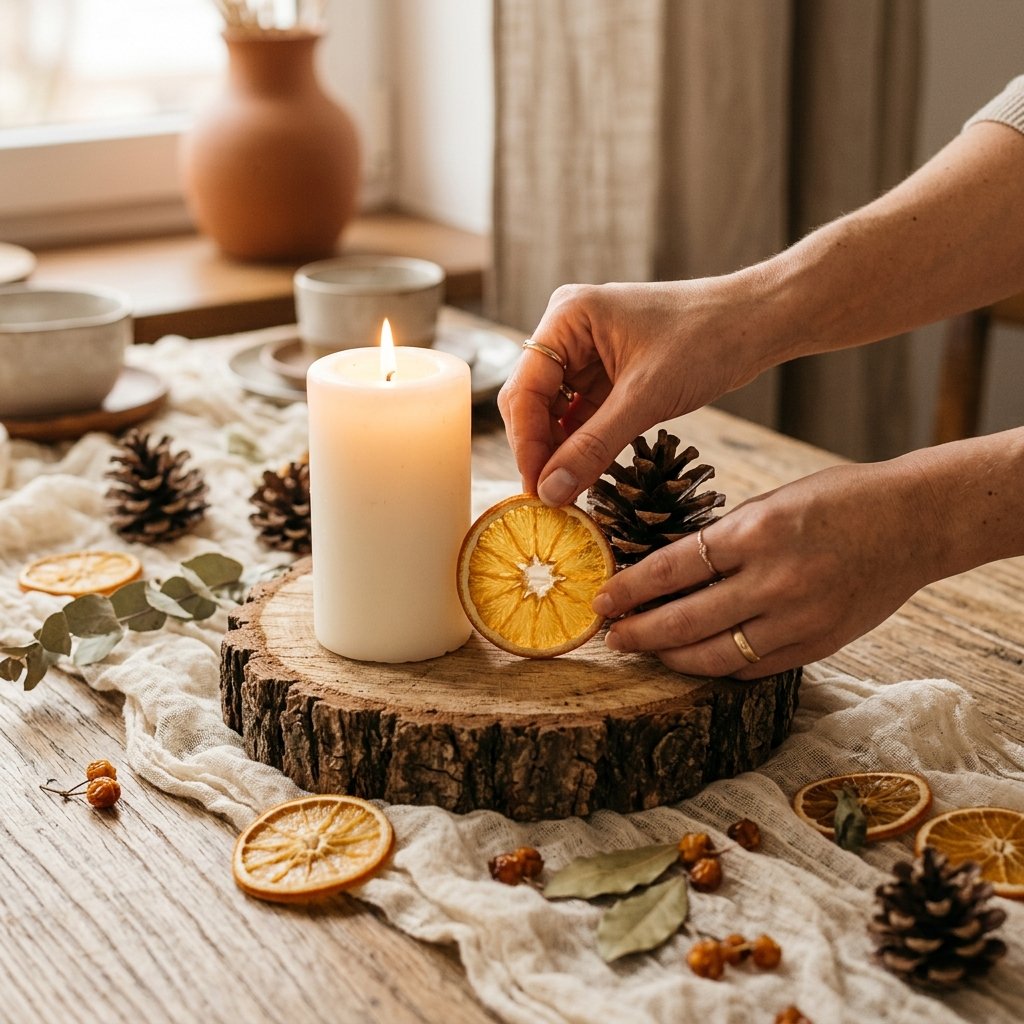
Now that you have your prepped materials, it is time to assemble. The key to making cheap materials look like a million bucks is in the styling. You cannot just throw pinecones and oranges on a table and call it a day. You need architecture, layers, and intent. We are going for a look that is intentional, abundant, and sophisticated.
Step 1: The Grounding Layer
Every great centerpiece needs a footprint. Start with a runner to soften the hard edges of the table. A raw-edge cheesecloth runner (which you can buy in bulk and hand-dye using tea or cheap fabric dye) adds a beautiful, sweeping, romantic texture. In the direct center, place a grounding base. A thick, rugged wood slice (often available for free if you know someone with a chainsaw, or cheap at craft stores) is perfect for elevating the arrangement.
Step 2: The Illumination Layer
Lighting is the cheapest way to add romance. Use a cluster of three pillar candles of varying heights (e.g., 3-inch, 5-inch, and 7-inch) in the center of your wood slice. If your venue prohibits open flames, high-quality LED wax pillars are a fantastic, reusable alternative. The varying heights draw the eye upward and create a dynamic glow that will backlight your translucent citrus.
Step 3: The Textural Build
Now, begin placing your largest pinecones around the base of the candles. Group them in odd numbers (clusters of three or five look most natural to the human eye). Once the large pinecones are anchored, tuck in the smaller pinecones to fill any awkward gaps. Ensure they are spilling slightly off the wood slice onto the cheesecloth runner to create an organic, overgrown feel.
Step 4: The Citrus Placement
Treat your dried citrus slices like delicate jewels. Tuck them into the crevices between the pinecones. Lean a few slices directly against the glass of the candle holders or the candles themselves so the light shines directly through the flesh, illuminating the intricate veins of the fruit. For an extra touch of masculine elegance, intersperse a few cinnamon sticks or star anise pods to complete the sensory experience.
Venue Setup & Transport Logistics for the Frugal Bride
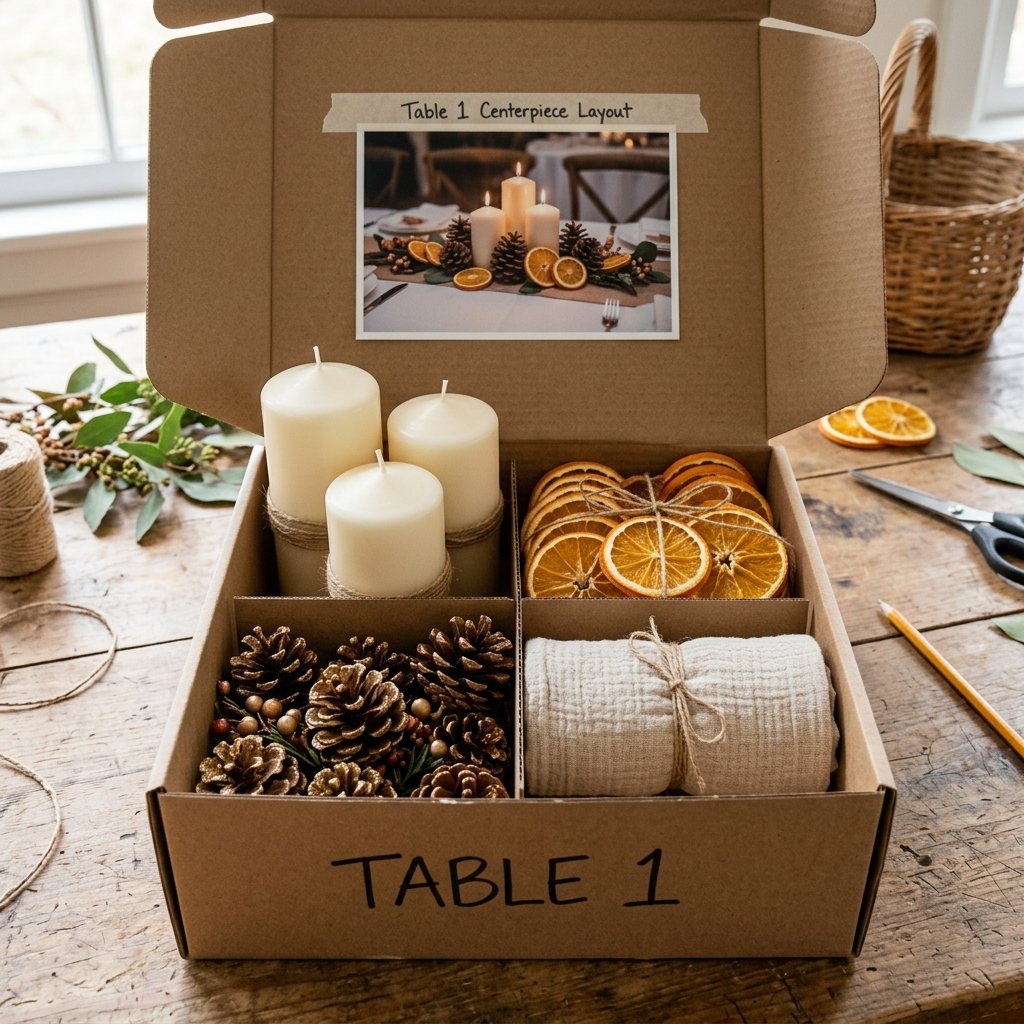
One of the biggest pitfalls of DIY wedding decor is the stress of setting it up on the actual wedding day. You, the couple, should be sipping champagne and getting dressed, not sprinting around a reception hall sweating over pinecone placement. Organization and clear instructions are your best friends here.
The “Centerpiece in a Box” Method
Because these materials are non-perishable (unlike fresh flowers that need water and refrigeration), you can pack your centerpieces weeks in advance. This is a massive logistical advantage!
- Gather Sturdy Boxes: Collect medium-sized cardboard boxes (liquor store boxes with dividers work exceptionally well for candles and jars).
- Pack by Table: Dedicate one box per table. Inside that box, place the exact number of pinecones, citrus slices, candles, the wood slice, and the folded table runner.
- Include a Visual Guide: This is the ultimate crafty-expert move. Set up one perfect centerpiece on your dining room table at home. Take a clear, well-lit photo of it from a few different angles. Print this photo and tape it to the inside flap of every single box.
- Assign a Decor Captain: Delegate the setup to a trusted aunt, a responsible cousin, or a hired day-of coordinator. Hand them the boxes and say, “Make it look exactly like the picture.” Because the materials are robust and pre-portioned, setup takes mere minutes per table.
Troubleshooting Tip: Dried citrus can reabsorb moisture from the air if you live in a very humid climate, causing them to become floppy. If you are packing these boxes weeks in advance, throw a few silica gel packets (those little “do not eat” packets that come in shoe boxes) into the bottom of the box to keep the environment bone-dry and your citrus crisp.
Elevating the Look: Advanced Tweaks for a High-End Finish
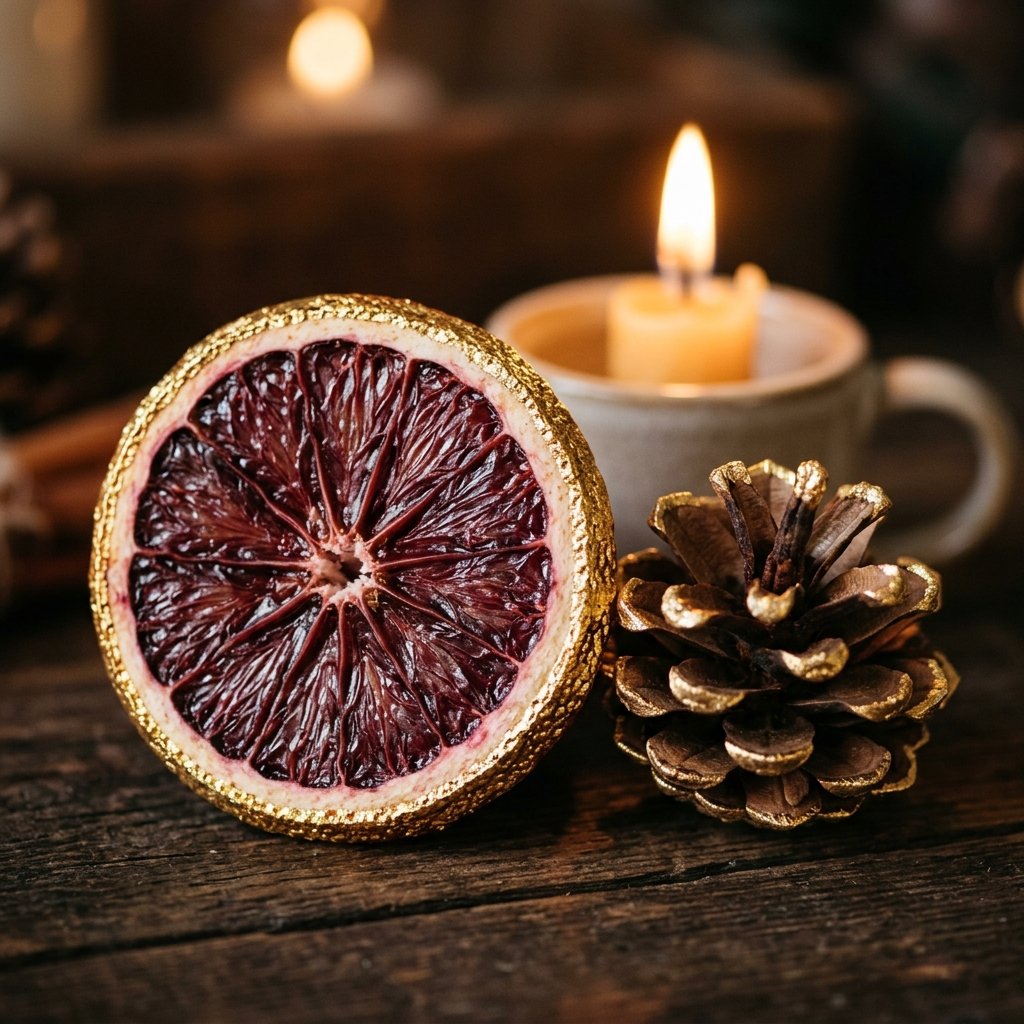
For the DIYer who wants to push the boundaries of frugality while maintaining an ultra-luxurious aesthetic, there are a few extra steps you can take to make these centerpieces look like they belong in the pages of a high-end bridal magazine.
Gilded Edges
Take a small paintbrush and dab a tiny amount of liquid gold leaf or metallic gold acrylic paint along the outer rind of your dried citrus slices, or lightly brush the tips of the pinecone scales. The gold will catch the candlelight and add a subtle, refined opulence that contrasts beautifully with the rugged textures.
Foraged Greenery Integration
If you feel the arrangement needs a touch of life, forage for hearty, non-wilting greenery a day or two before the wedding. Sprigs of fresh cedar, seeded eucalyptus, or rosemary from your garden can be tucked under the pinecones. Because these greens dry beautifully and do not require water tubes, they integrate perfectly into the low-maintenance, high-impact design.
Scent Layering
A truly memorable wedding engages all the senses. While the citrus and pinecones have a mild natural scent, you can elevate the ambiance by lightly misting the pinecones with a blend of essential oils (think cedarwood, sweet orange, and clove) a few days before packing them. As the candles warm the air around the centerpiece, a subtle, inviting fragrance will waft across the table, making your budget hack feel incredibly bespoke and expensive.
Conclusion
Creating a breathtaking, magazine-worthy wedding reception does not require a blank check; it requires vision, resourcefulness, and a little bit of crafty elbow grease. By utilizing the rugged, natural beauty of foraged pinecones and the stained-glass elegance of DIY dried citrus, you are not just saving thousands of dollars—you are infusing your celebration with a handmade, intentional warmth that store-bought centerpieces simply cannot replicate.
You are stepping into your marriage with financial savvy and creative pride. Every time a guest compliments the glowing, earthy tablescape, you can smile knowing you crafted that ambiance for less than the cost of a cup of coffee per table. So grab your pruning shears, preheat that oven, and start building the beautiful, debt-free wedding of your dreams. Happy crafting, and congratulations!

Makenzie is the founder and lead writer at MoneyHackTips.com — a personal finance blog dedicated to delivering street-smart financial wisdom for real people on real budgets. With 300+ published articles covering everything from debt management to investing fundamentals, Makenzie’s mission is to make every dollar work harder. When not writing about money hacks, Makenzie is testing frugal living strategies, optimizing side hustles, and helping readers build financial freedom from scratch.