
The High Cost of ‘Cheap’ Plastic
We have all been there: standing in the aisle of a big-box store, staring at a $15.00 plastic bin that feels like it might crack if you look at it too hard. It is a frustrating cycle of consumerism where we pay premium prices for petroleum-based clutter to manage our existing clutter. But what if the solution to your organizational woes was currently sitting in your bottom dresser drawer or that ‘donate’ bag in the garage? As a resourceful DIYer, you don’t need a credit card to get organized; you need a pair of sharp scissors, a chunky hook, and the hidden potential of a 100% cotton tee.
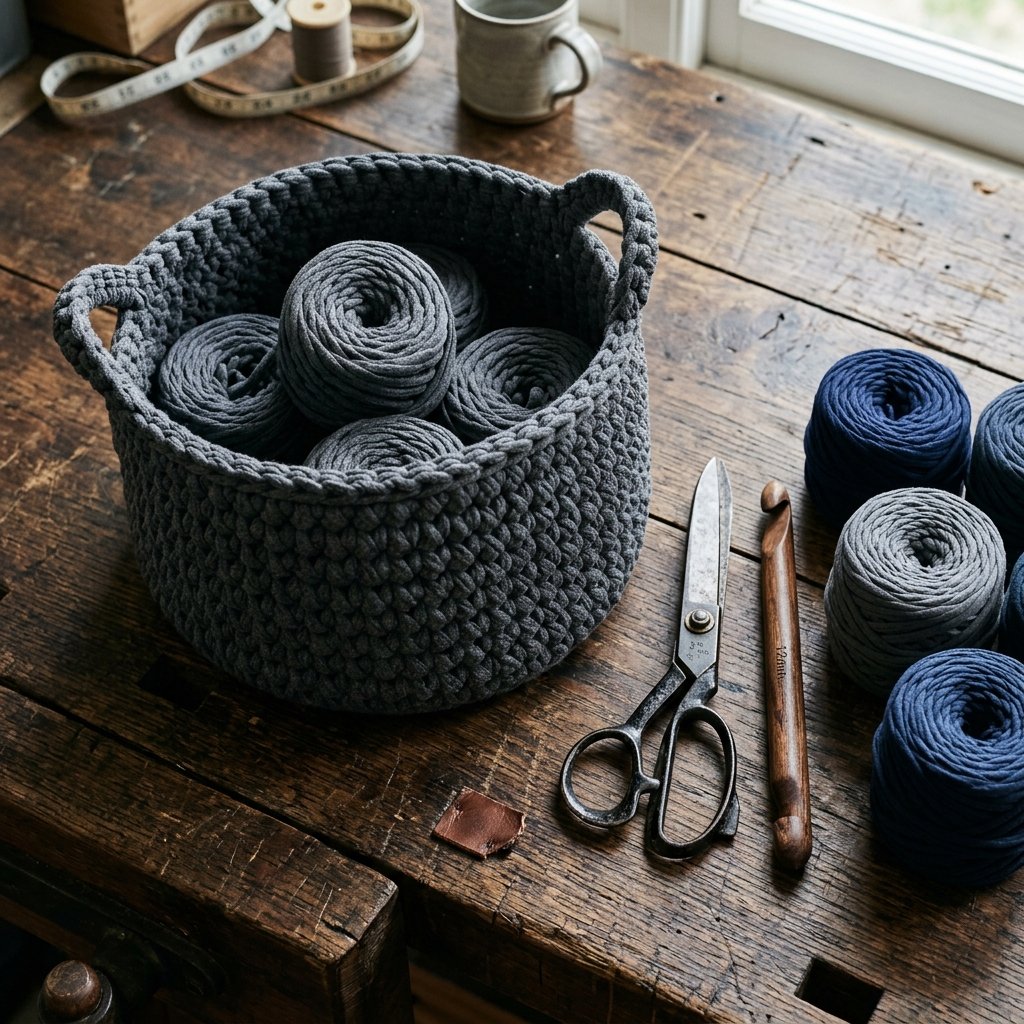
Crocheting your own storage isn’t just about saving 100% of the cost; it is about creating a rugged, masculine-elegant aesthetic that plastic simply cannot replicate. These baskets are heavy, washable, and practically indestructible. In this guide, we are going to master the art of ‘Tarn’ (T-shirt yarn) and build a storage system that would look at home in a high-end boutique but costs exactly $0.00 to produce. Whether you are a crafty parent looking to corral LEGO bricks or a minimalist looking for a sophisticated way to store tools or tech cables, this project is your ticket to a debt-free, organized home.
The Raw Materials: Scavenging for the Perfect ‘Tarn’ Fabric
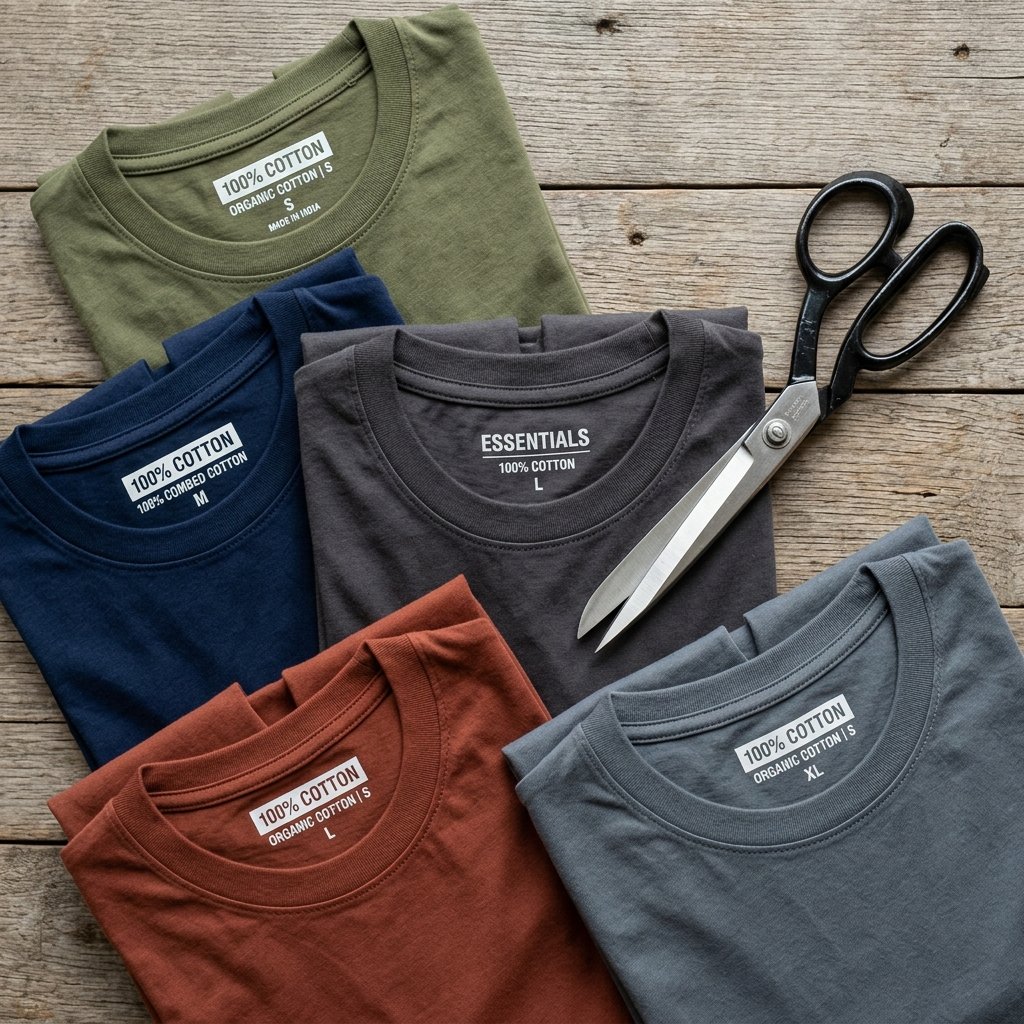
Not all shirts are created equal when it comes to structural integrity. To build a basket that stands tall without slouching, you need to be selective about your fabric ‘harvest.’ The gold standard is 100% cotton jersey. Why? Because when cut, cotton jersey curls inward, hiding raw edges and creating a tube-like yarn that is incredibly strong.
What to Look For
- Side-Seam Free: Ideally, find shirts that are ‘tubular knit’ (no seams on the sides). This allows for a continuous strand of yarn without bulky knots.
- High Cotton Content: Avoid shirts with more than 5% Spandex or Lycra. Too much stretch leads to a ‘floppy’ basket that won’t hold its shape.
- Weight Matters: Heavyweight ‘workwear’ shirts (like those from Carhartt or Gildan) produce the sturdiest yarn for large floor bins.
| Fabric Source | Yarn Quality | Best Use Case |
|---|---|---|
| Heavyweight Cotton Tee | Superior | Large floor baskets, tool caddies |
| Jersey Bed Sheets | Excellent | Bulk yarn for massive projects |
| Poly-Blend Tees | Fair | Small trinket bowls (too stretchy) |
| Ribbed Tank Tops | Poor | Avoid; does not curl correctly |
Budget Guru Tip: Check the ‘Free’ section on local marketplace apps or visit thrift stores on ‘dollar tag’ days. One King-sized jersey sheet can yield enough yarn for three medium baskets!
The Continuous Loop Method: Turning Rags into Professional Yarn
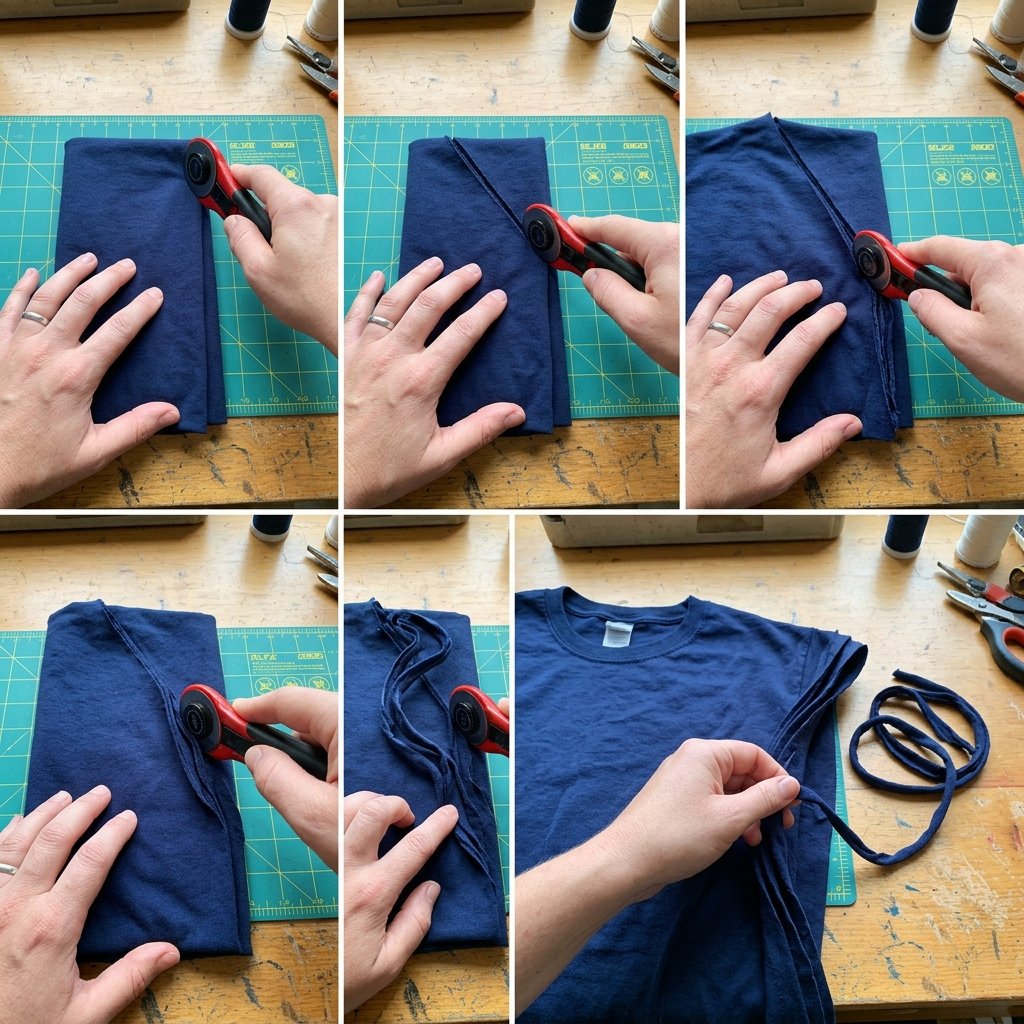
The biggest mistake beginners make is cutting a t-shirt into random strips and knotting them together. This creates a lumpy, amateur look. To achieve a high-end finish, we use the Continuous Loop Method. This technique transforms a single shirt into one long, unbroken strand of yarn in under 10 minutes.
The Step-by-Step Cut
- Lay the shirt flat on a cutting mat and cut off the bottom hem and the top part (from the armpits up). You are left with a fabric rectangle.
- Fold the rectangle in half vertically, but leave about 1 inch of the bottom layer protruding past the top layer.
- Cut strips (about 1 to 1.5 inches wide) through both layers, stopping exactly at the edge of the top layer. Do not cut through that 1-inch overhang!
- Open the shirt. You will see a ‘spine’ of uncut fabric connecting all your fringe.
- Cut diagonally across the spine to connect the first slit to the second, the second to the third, and so on. This creates one continuous spiral.
- The Stretch: Grab the yarn in sections and pull hard. The fabric will curl into a professional-looking cord.
By using this method, you eliminate 90% of the knots usually found in upcycled projects, resulting in a cleaner, more rugged look.
The Blueprint: Crocheting for Maximum Structural Strength

To ensure your basket doesn’t collapse under the weight of its contents, we employ specific ‘engineering’ techniques. We aren’t just making a hat; we are building a vessel. For this, I recommend a 10mm to 12mm (N/P) hook. If you don’t have one, you can carve one from a sturdy fallen branch for a truly rugged, zero-cost tool.
The Foundation (The Base)
We start with a Magic Ring to ensure the bottom of the basket is airtight. This prevents small items like screws or beads from falling out.
- Round 1: 6 Single Crochet (SC) into the Magic Ring.
- Round 2: 2 SC in each stitch (12 total).
- Round 3: *1 SC, 2 SC in next* repeat (18 total).
- Round 4: *2 SC, 2 SC in next* repeat (24 total).
Continue increasing until the base reaches your desired diameter. Crucial Tip: Keep your tension tight. If your hands aren’t a little tired, the basket will be too soft.
The ‘Waistcoat’ Stitch for Rigidity
Instead of a standard SC, use the Waistcoat Stitch (Center Single Crochet) for the walls. By inserting the hook into the ‘V’ of the stitch below rather than the top loops, you create a thick, woven texture that mimics the look of a high-end knit and provides double the vertical stability.
Walls and Handles: Adding Masculine-Elegant Functionality
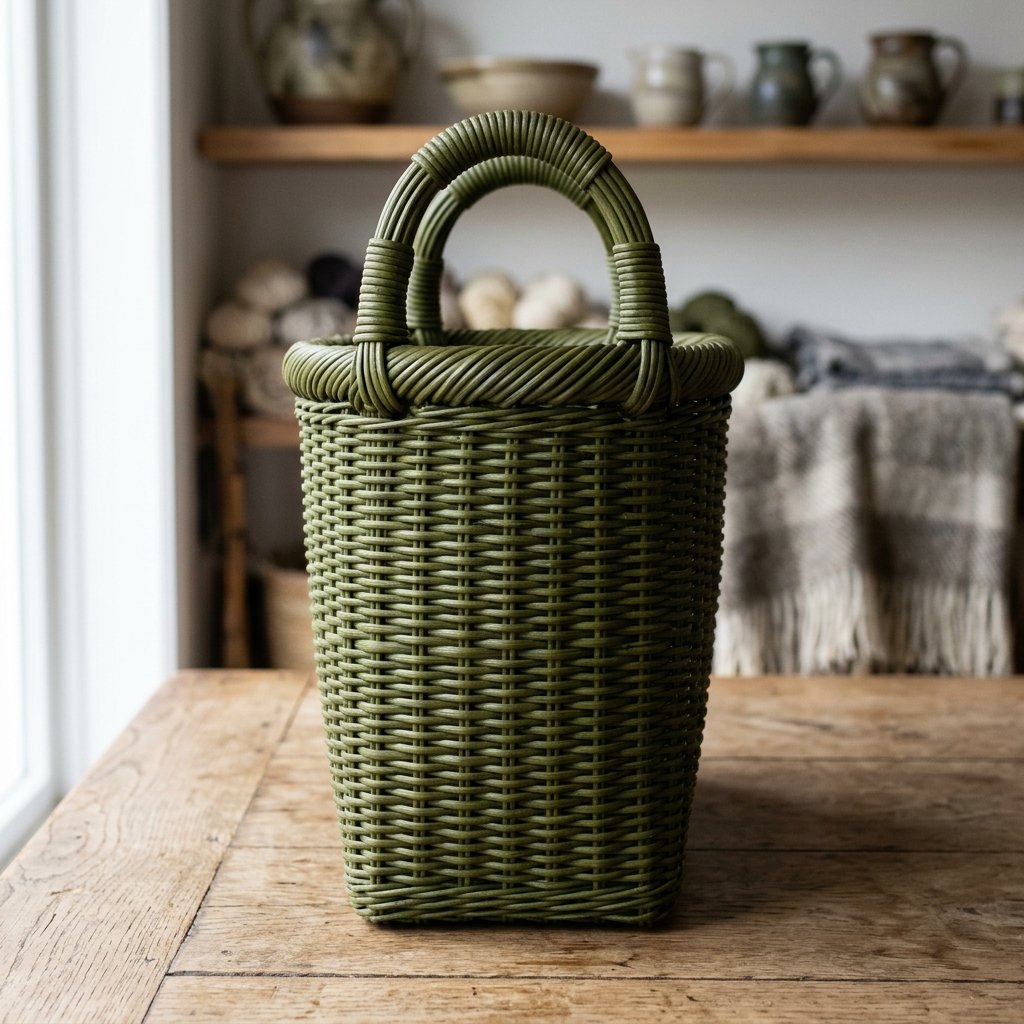
Once your base is the right size, stop increasing. Work one round in the Back Loops Only (BLO). This creates a sharp 90-degree ‘corner’ that allows the walls to grow straight up. This is the difference between a ‘bowl’ and a professional ‘storage bin.’
Building Height
Continue with the Waistcoat stitch until the basket is about 2 inches shorter than your desired final height. At this point, we add the handles. These aren’t just for show; they need to support the weight of whatever the bin holds.
The Integrated Handle Method
- Mark two equal sections on opposite sides of the basket.
- Chain 8 to 10 (depending on your hand size) and skip the same number of stitches on the basket edge.
- In the next round, crochet over the chain bridge with 12-15 SC to reinforce the handle, making it thick and comfortable to grip.
“A basket without a handle is just a bucket; a basket with reinforced grips is a piece of portable furniture.” — The Frugal Craftsman’s Mantra
The Finishing Touches: From ‘Homemade’ to ‘High-End’
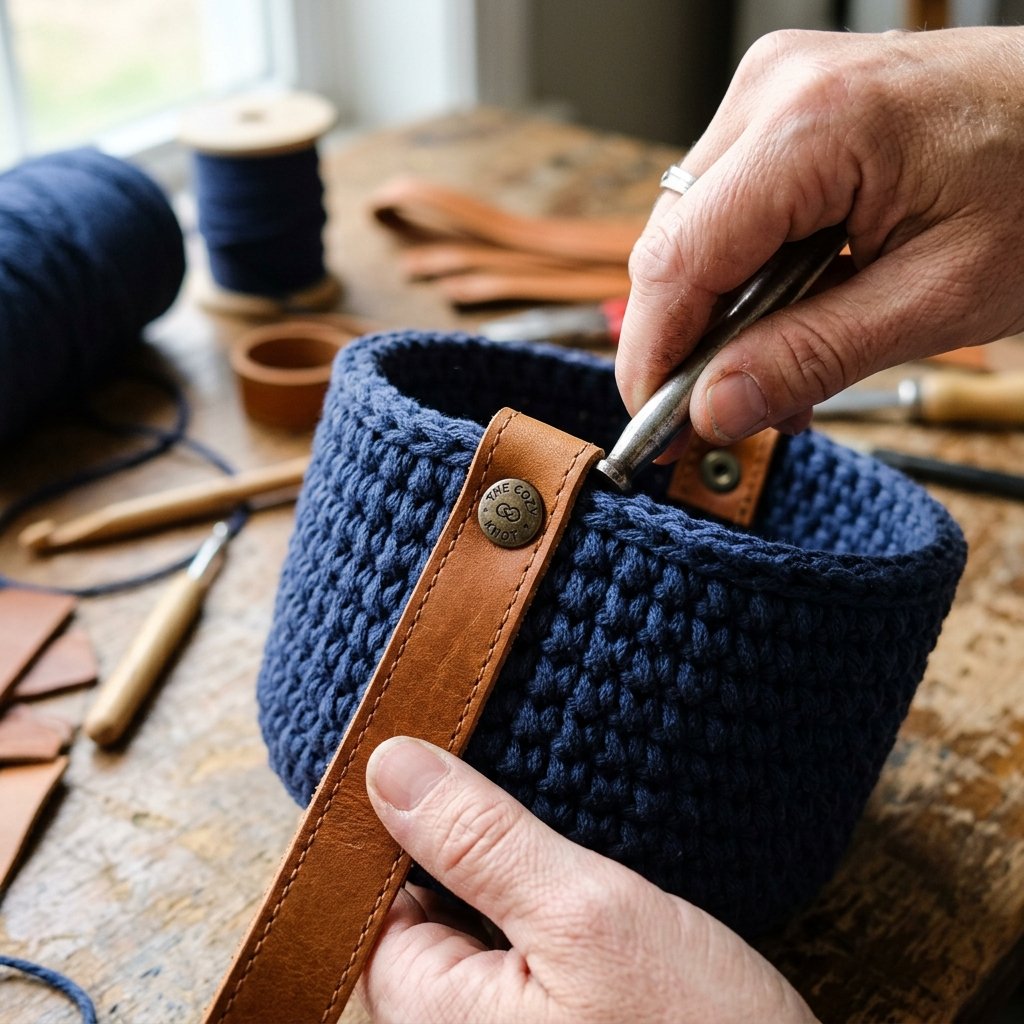
The final step is what separates a ‘craft project’ from a piece of home decor. To truly elevate your free basket, consider adding a few ‘rugged’ accents using materials you likely have in your junk drawer.
Customization Ideas
- Leather Accents: Cut a strip from an old, worn-out leather belt. Use a hammer and nail to punch holes in the ends, then ‘sew’ it onto the basket as a decorative label or handle wrap using leftover yarn.
- Dip-Dye Look: If you used white shirts, you can dip the bottom third of the finished basket into a bowl of strong black coffee or tea to create a sophisticated ombre effect for $0.00.
- Stiffening Hack: If your yarn was a bit thin, mix 1 part white glue with 2 parts water. Brush it onto the inside of the basket and let it dry. It will become rock-hard and hold its shape forever.
| Add-on Material | Source | Aesthetic Impact |
|---|---|---|
| Old Leather Belt | Closet Scraps | Industrial / Masculine |
| Copper Wire | Electrical Scraps | Modern / Sleek |
| Wood Buttons | Old Coats | Rustic / Cozy |
Conclusion
Total Savings: $45.00+ Per Set
By following this guide, you have successfully diverted textile waste from the landfill and created a bespoke storage solution that would retail for $25.00 to $40.00 at a high-end home store. You didn’t just ‘make a craft’; you engineered a functional tool for your home using nothing but resourcefulness and a bit of elbow grease. The beauty of the T-shirt yarn basket lies in its honesty—it is rugged, it is practical, and it is uniquely yours. Now, go raid that closet and start your next bin. Your wallet (and your cluttered shelves) will thank you.

Makenzie is the founder and lead writer at MoneyHackTips.com — a personal finance blog dedicated to delivering street-smart financial wisdom for real people on real budgets. With 300+ published articles covering everything from debt management to investing fundamentals, Makenzie’s mission is to make every dollar work harder. When not writing about money hacks, Makenzie is testing frugal living strategies, optimizing side hustles, and helping readers build financial freedom from scratch.