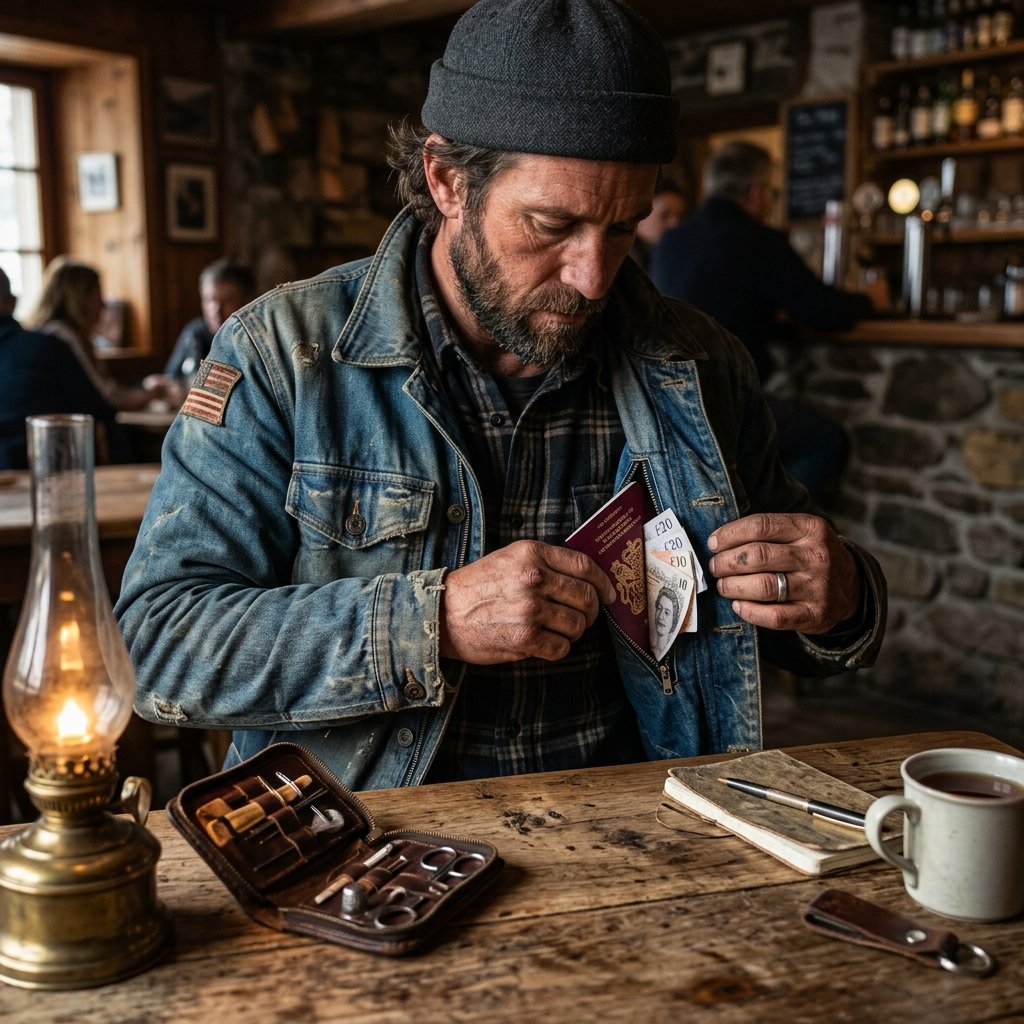

Let’s face it: traveling the globe is an adventure, but the anxiety of losing your passport, emergency cash, or phone in a crowded European train station or a bustling night market is enough to ruin the experience. You could drop $150 or more on specialized “travel clothing” engineered with hidden compartments, but why empty your wallet before the trip even begins? True resourceful travelers know that the best gear isn’t bought; it’s crafted.
Welcome to the ultimate frugal tailoring masterclass. Today, we are tapping into our inner crafty-expert to transform that trusty denim jacket, vintage blazer, or rugged raincoat you already own into a covert, pickpocket-proof vault. By utilizing basic hand-sewing techniques—no expensive sewing machine required—you can upcycle scrap fabric into a secret hidden pocket that sits flush against your jacket’s lining.
“A tailored garment is good, but a customized garment engineered for your exact survival and travel needs is unmatched. The best security is the kind nobody knows is there.”
Whether you are a handy dad preparing for a family vacation, a budget-savvy backpacker, or a creative upcycler looking to add masculine-elegant utility to your wardrobe, this guide will walk you through every cut, fold, and stitch. For a grand total of $0 in materials, you are about to execute a high-end clothing hack that offers priceless peace of mind.
Strategic Concealment: Choosing the Perfect Pocket Location
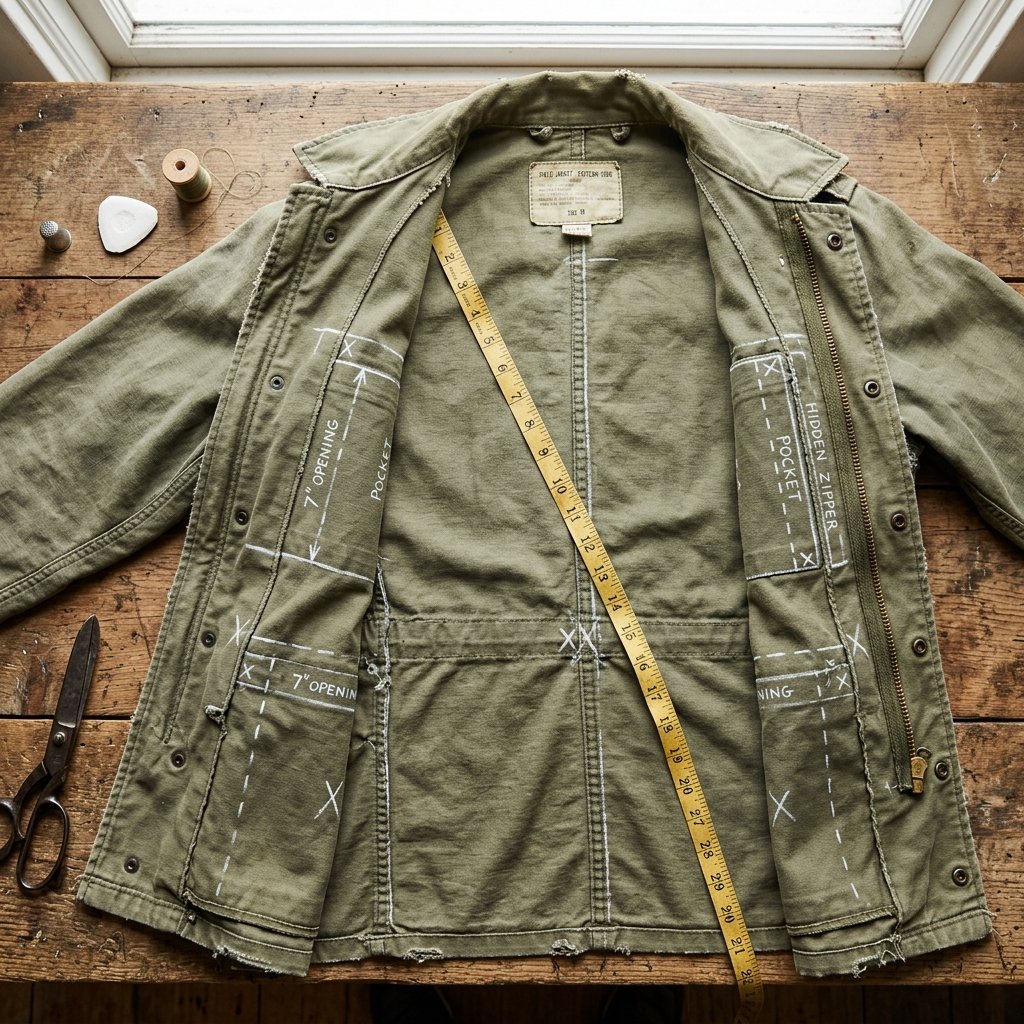
Before you thread a single needle, you must act like a tailor and a tactician. The placement of your secret pocket dictates its accessibility to you and its invisibility to everyone else. A poorly placed pocket will bulge, ruining the drape of your jacket and acting as a neon sign for opportunistic thieves.
The Art of the Inner Lining
Most jackets—whether a wool peacoat, a suit blazer, or a windbreaker—feature an inner lining that hangs somewhat loosely from the outer shell. This gap is your prime real estate. You want to anchor your new pocket to the lining without piercing the outer fabric. Here are the top strategic locations to consider:
- The Deep Chest Drop: Located on the lower interior chest, just above the ribs. This is the classic, most comfortable spot for flat items like a passport or a stack of bills.
- The Under-Arm Stash: Tucked high up near the armpit seam. This is exceptionally secure and nearly impossible for a pickpocket to access without you noticing, though slightly harder for you to reach quickly.
- The Lower Hem Vault: Sewn into the very bottom hem of the jacket lining. Ideal for emergency cash or a spare credit card, but not recommended for heavy items like smartphones, as it will alter the jacket’s swing.
Take your chosen jacket, put it on, and slide your hand into the interior. Feel where your hand naturally rests. Consider the items you intend to carry. A passport requires a space of at least 5×7 inches to slide in and out smoothly. Pinpoint the location using a piece of tailor’s chalk or a simple safety pin.
Resourceful Scavenging: Sourcing Your Pocket Fabric for $0
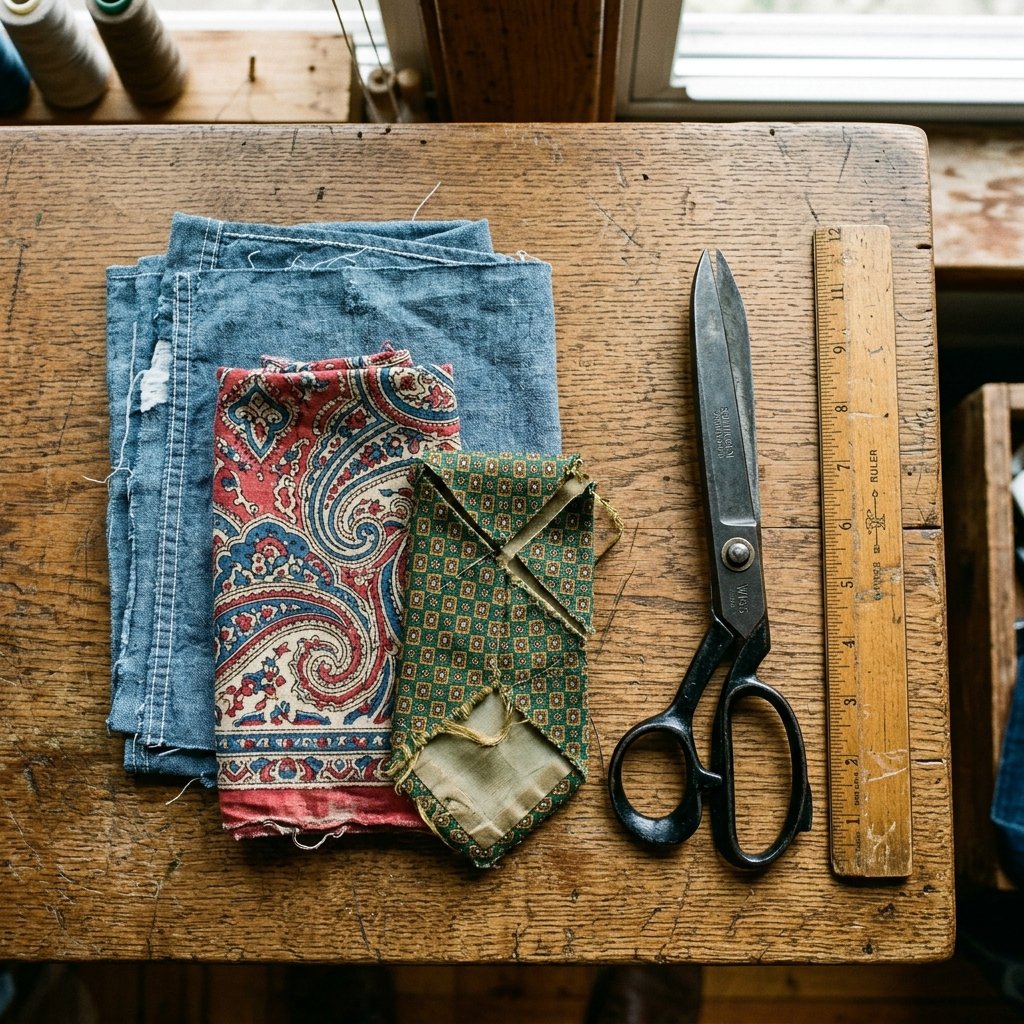
A true frugal DIYer knows that the best materials are already hiding in the closet or the scrap bin. You do not need to visit a fabric store to create a high-quality pocket. The goal is to find a fabric that is durable enough to hold your valuables but thin enough not to create a bulky silhouette.
Upcycling Household Textiles
Look for tight-weave fabrics that won’t fray easily. An old cotton dress shirt that has a stained collar but a perfectly good back panel is an excellent candidate. A vintage bandana, a scrap of lightweight canvas, or even the leg of an old pair of dress pants can be repurposed. If you are sewing a pocket into a formal suit jacket, consider harvesting the silk or polyester lining from an old, discarded tie to match the masculine-elegant aesthetic of the blazer.
| Jacket Type | Ideal Upcycled Pocket Fabric | Why It Works |
|---|---|---|
| Heavy Denim / Canvas Field Jacket | Old flannel shirt, lightweight canvas, or bandana | Rugged, matches the weight of the jacket, highly durable for tools or heavy phones. |
| Suit Blazer / Sport Coat | Discarded silk tie, old dress shirt, or smooth polyester scrap | Glides easily, doesn’t add bulk, maintains the elegant drape of the tailoring. |
| Fleece / Puffer / Winter Coat | Scrap microfiber, old cotton t-shirt, or nylon bag scrap | Soft against the existing lining, flexible enough to move with the thick insulation. |
Safety Note: Always wash and iron your scavenged fabric before cutting. Working with crisp, clean fabric ensures your measurements are accurate and your stitches remain tight.
The Minimalist Cobbler’s Kit: What You Need to Get the Job Done
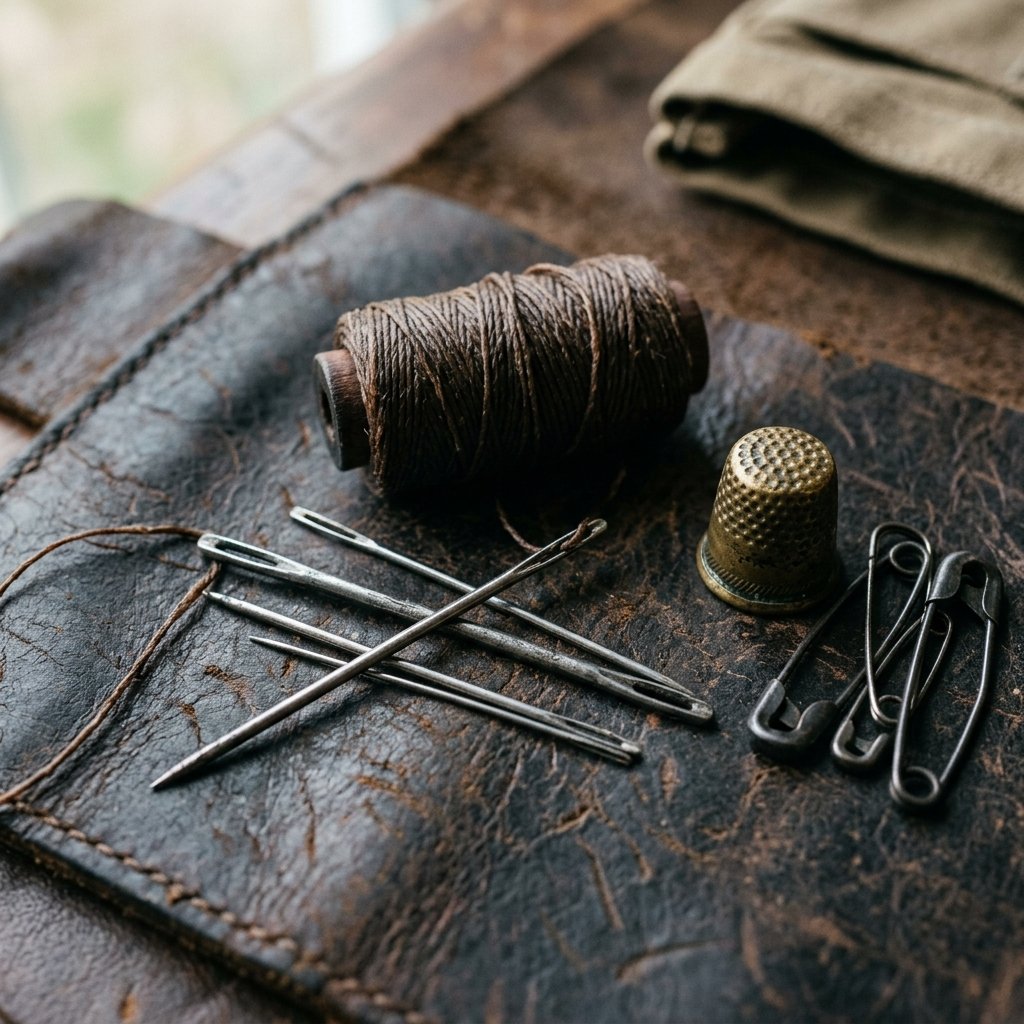
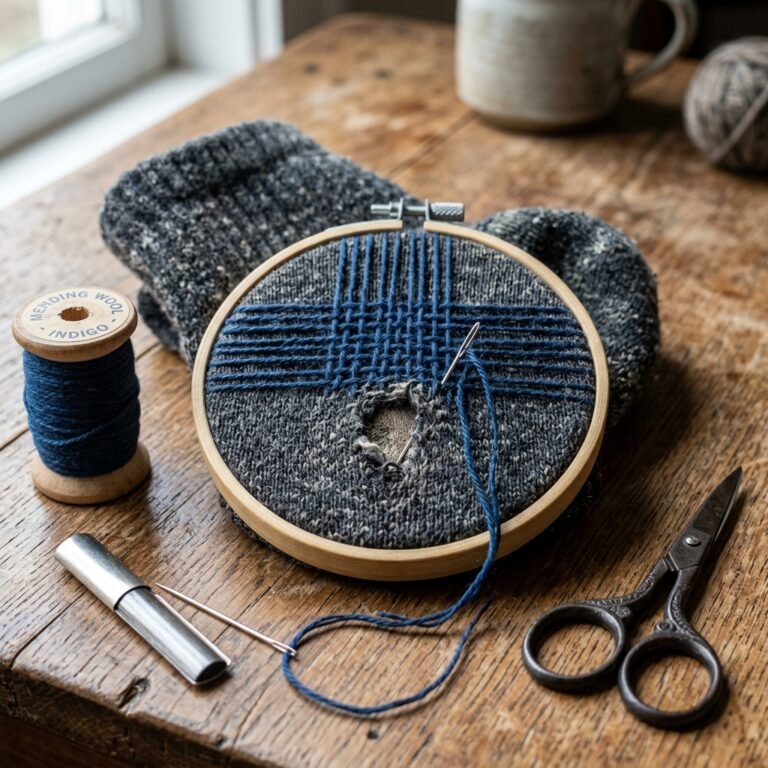
You don’t need a $300 sewing machine to execute professional-grade tailoring. Our ancestors mended sails, crafted leather goods, and tailored three-piece suits entirely by hand. Your minimalist cobbler’s kit should fit in the palm of your hand and cost next to nothing.
The Essential Gear
- Heavy-Duty Thread: Do not use cheap, brittle thread from a complimentary hotel sewing kit. Opt for upholstery thread, button thread, or a high-quality polyester blend. It needs to withstand the friction of a passport sliding in and out.
- A Sharp Needle: A medium-sized
Crafting the Vault: Cutting, Folding, and Pinning Your Fabric
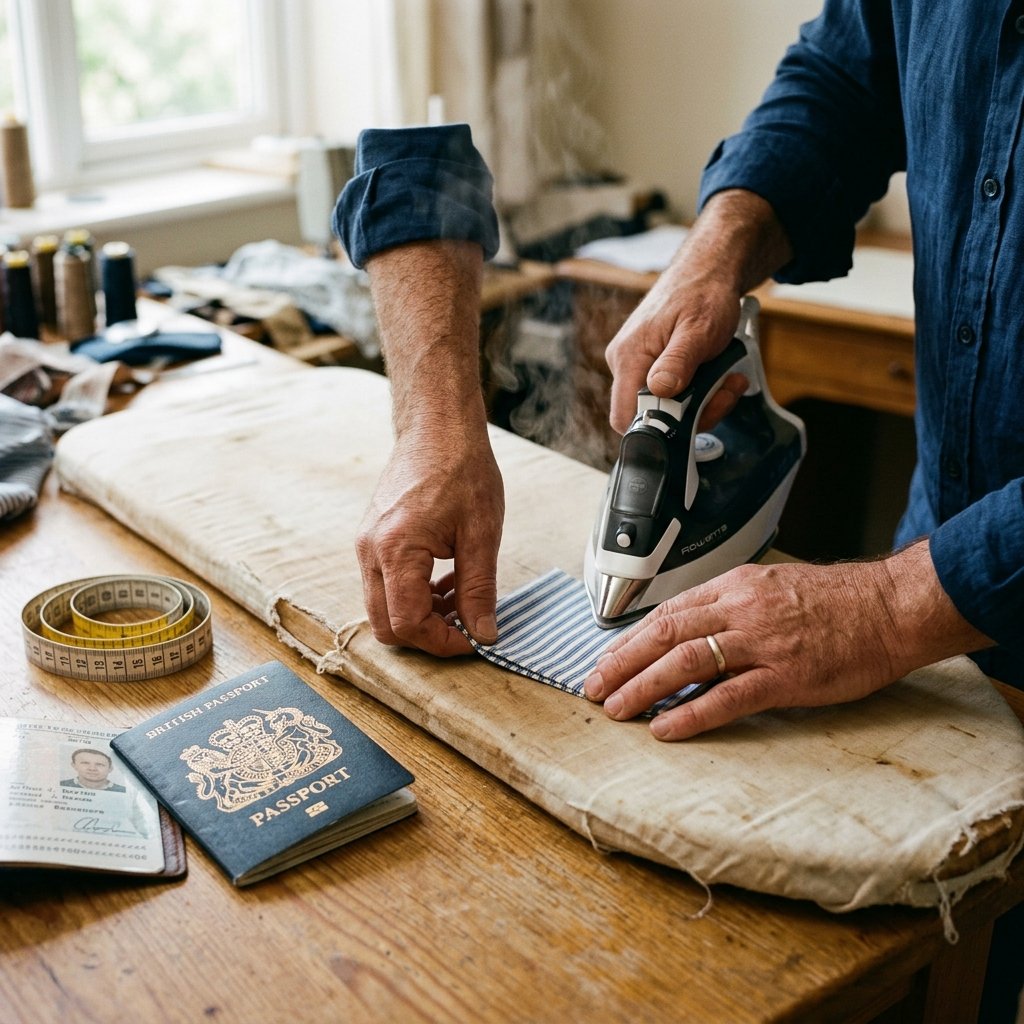
Precision in the preparation phase guarantees a flawless finish. Now that you have your upcycled fabric and your minimalist kit, it’s time to construct the pocket itself before attaching it to the jacket.
Step-by-Step Pocket Construction
- Measure the Payload: Lay your passport, phone, or wallet flat on the fabric. You want to leave at least a 1-inch border on all sides to allow for seams and ease of access. For a standard passport, cut a rectangle that is roughly 6×8 inches.
- Create the Hem: To prevent the raw edges from fraying into a tangled mess over time, fold the top edge of your rectangle down by 1/2 inch. Press it flat with a hot iron. Fold it down another 1/2 inch and press again. You have now hidden the raw edge.
- Stitch the Top Hem: Using a simple running stitch or backstitch, sew across this top folded edge to secure it. This will be the opening of your pocket, so it needs to be crisp and strong.
- Fold the Perimeter: Fold the remaining three sides (bottom, left, and right) inward by 1/2 inch and press them flat with the iron. Your pocket is now a clean, finished rectangle ready for installation.
- Pin in Place: Position the pocket against the jacket lining in your strategically chosen spot. Use straight pins or safety pins to secure it flat against the lining. Crucial step: Slide your hand behind the jacket lining to ensure you are only pinning the pocket to the lining fabric, not through the outer shell of the jacket!
“Measure twice, iron once, stitch forever. The iron is just as important as the needle when it comes to clean, professional-looking DIY tailoring.”
The Ironclad Attachment: Hand-Stitching Your Pocket to the Lining
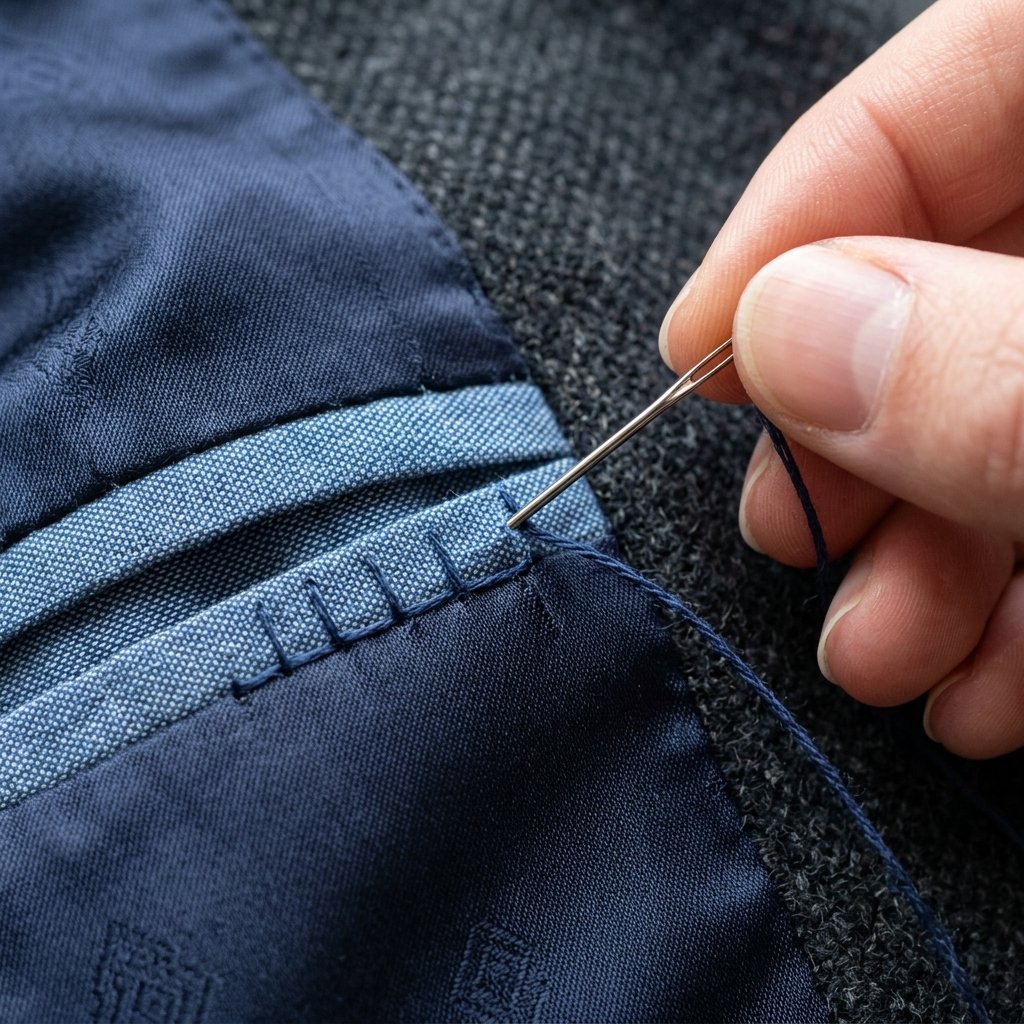
This is where the magic happens. We are going to use a technique akin to invisible mending or blind hemming. The goal is to securely anchor the pocket to the thin inner lining without the stitches showing on the outside of the jacket.
Mastering the Slip Stitch (or Whipstitch)
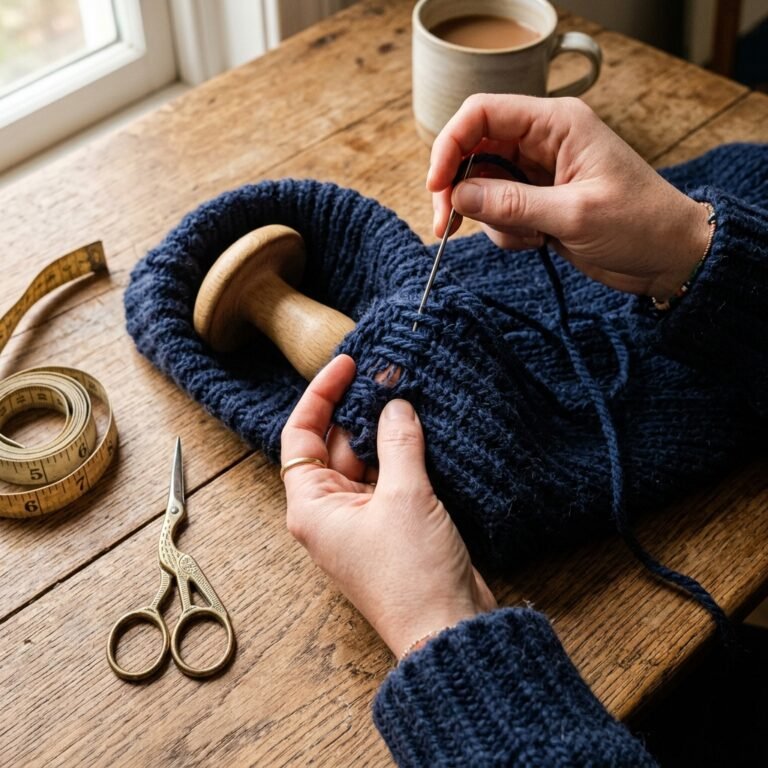
Thread your needle with about 18 inches of heavy-duty thread and tie a sturdy knot at the end. Starting at one of the top corners of your pocket, you will begin stitching down the side, across the bottom, and up the other side.
- The Catch: Push the needle through the folded edge of your pocket fabric. Then, carefully pick up just a few threads of the jacket’s inner lining fabric with the tip of the needle.
- The Pull: Pull the thread through, keeping the tension firm but not tight enough to pucker the lining.
- The Repeat: Move down about 1/8 of an inch and repeat the process. Catch the lining, catch the pocket edge, pull through.
| Common Hand-Sewing Problem | Tailoring / Stitch Solution |
|---|---|
| Fabric puckers or bunches up | Thread tension is too tight. Smooth the fabric flat and pull stitches gently, allowing the fabric to relax. |
| Needle catches the outer jacket shell | Place a piece of cardboard inside the lining gap between the lining and the outer shell while sewing to act as a physical barrier. |
| Pocket corners peel back under weight | Reinforce the top left and right corners with a dense cluster of whipstitches (a bar tack) to handle the stress of items dropping in. |
Take your time. Put on a good podcast, pour a cup of coffee, and enjoy the rhythmic, meditative process of hand-sewing. It should take about 20 to 30 minutes to securely stitch the perimeter.
Locking It Down: Adding Closures to Pickpocket-Proof Your Stash
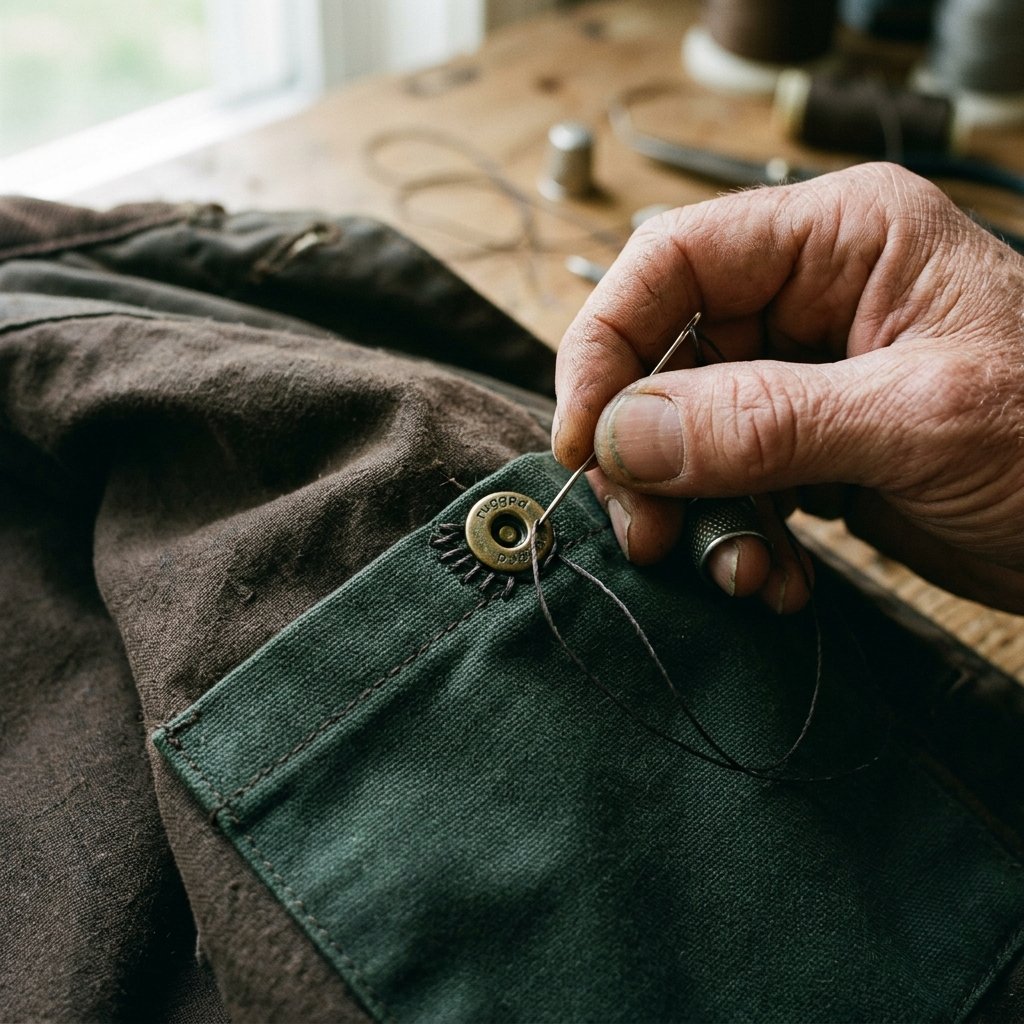
You’ve built the vault, but a vault isn’t secure without a lock. If you take your jacket off and toss it over a chair at a Parisian cafe, you don’t want your emergency cash sliding out of your newly minted hidden pocket. Adding a simple, zero-budget closure is the final step in this travel hack.
Choosing Your Security Mechanism
Depending on what you have in your scrap bin, you have a few rugged, practical options:
- The Velcro Dot (Quick & Easy): If you have adhesive or sew-on Velcro in your craft stash, this is the easiest route. Stitch a small square of the
Conclusion
And there you have it—a high-end, covert travel garment engineered by your own two hands for exactly $0. By tapping into the resourceful spirit of frugal DIY tailoring, you’ve not only saved money on expensive travel gear, but you’ve also learned a foundational mending skill that will serve you for a lifetime. Whether you’re navigating crowded subways, exploring foreign markets, or just wanting a secure place to keep your everyday carry items, your hidden pocket is a testament to clever, budget-savvy craftsmanship.
So grab that needle, raid your scrap bin, and start upgrading your wardrobe. Safe travels, stay resourceful, and remember: the best life hacks are the ones you build yourself!

Makenzie is the founder and lead writer at MoneyHackTips.com — a personal finance blog dedicated to delivering street-smart financial wisdom for real people on real budgets. With 300+ published articles covering everything from debt management to investing fundamentals, Makenzie’s mission is to make every dollar work harder. When not writing about money hacks, Makenzie is testing frugal living strategies, optimizing side hustles, and helping readers build financial freedom from scratch.