
Winter is rolling in, the temperature is dropping, and you are staring at your closet realizing you need a new winter hat. Before you grab your wallet and drop $30 to $50 on a brand-name beanie, stop right there. You already have a premium, custom-fit, high-quality winter hat sitting right in your dresser—it is just cleverly disguised as that old, unworn sweater you haven’t touched in three years.
Welcome to the ultimate frugal upcycling masterclass. As resourceful DIYers and crafty problem-solvers, we know that true value isn’t bought; it is made. Fast fashion has conditioned us to throw away garments the moment they get a tiny hole in the elbow or shrink slightly in the wash. But to the trained eye of a budget-savvy upcycler, an old sweater is a goldmine of raw materials. The ribbed hem of a sweater? That is the perfect, pre-finished brim of a beanie.
“Never underestimate the power of a good pair of scissors and a dash of resourcefulness. Trash to treasure isn’t just a hobby; it is a lifestyle of smart economics and rugged creativity.”
In this comprehensive guide, we are going to walk through the wildly simple, 10-minute process of transforming a discarded sweater into a trendy, rugged winter hat. Whether you are a handy parent trying to outfit the kids for sledding on a zero-dollar budget, or a practical craftsman looking for a customized skull cap for the workshop, this tutorial will save your wallet and elevate your upcycling skills. Grab your scissors, raid your donation pile, and let’s get crafting.
The Anatomy Of The Perfect Donor Sweater
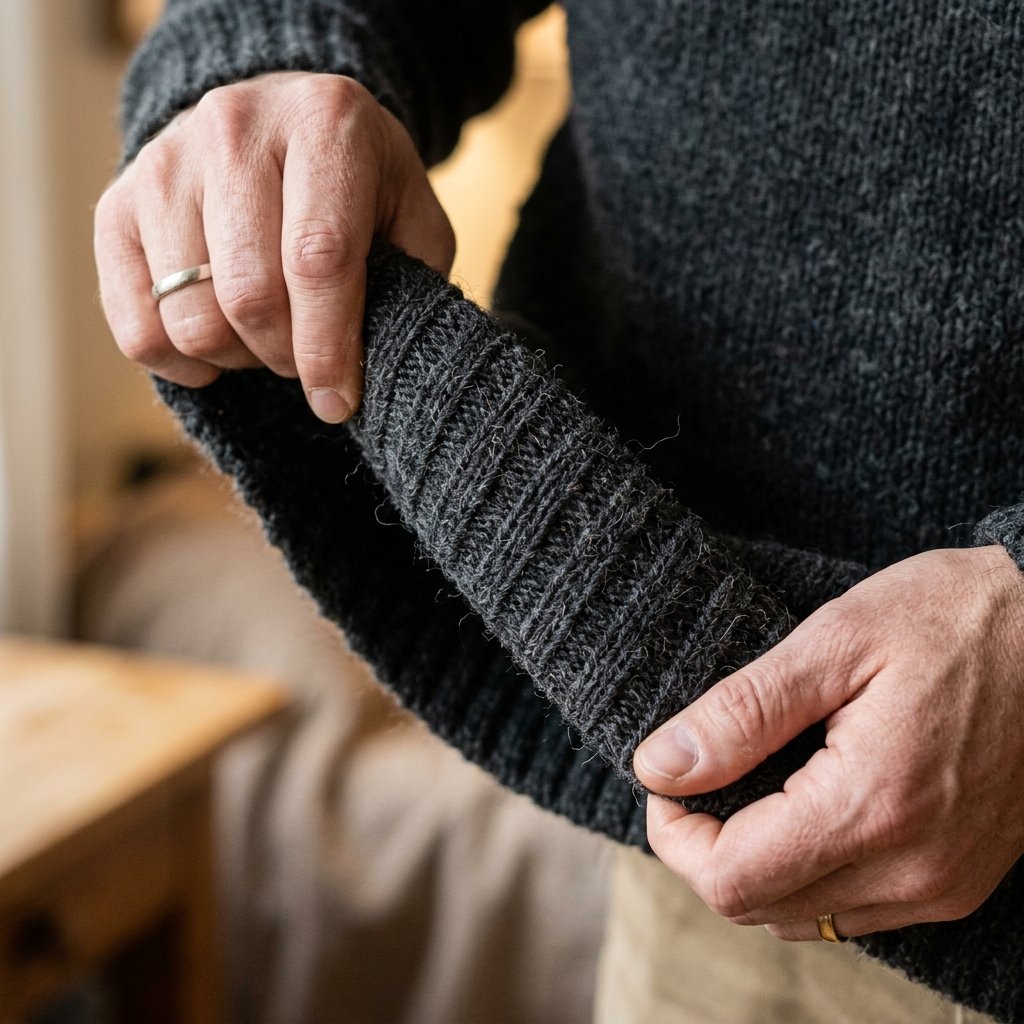
Not all sweaters are created equal when it comes to upcycling. The secret to a high-end looking DIY beanie lies entirely in the selection of your “donor” garment. You want to look for a sweater that has a solid, elastic ribbed hem at the bottom. This hem will serve as the opening of your hat, saving you the trouble of knitting a brim or hemming stretchy fabric—a massive time-saver that makes this a true 10-minute project.
Fabric Matters: Choosing Your Material
When raiding your closet or the local thrift store’s clearance rack, pay attention to the fabric tag. Wool blends offer incredible warmth and a rugged, classic outdoor aesthetic. Cotton is breathable and great for slouchy, fall-weather beanies. Acrylic is highly stretchy and forgiving, making it perfect for kids’ hats that need to accommodate growing heads.
| Fabric Type | Stretch Factor | Best Hat Style | Fray Risk (When Cut) |
|---|---|---|---|
| 100% Wool | Low to Medium | Rugged Fisherman Beanie | Low (especially if slightly felted) |
| Cotton Blend | Medium | Slouchy / Hipster Fit | Medium |
| Chunky Acrylic | High | Thick Winter Skull Cap | High (Requires immediate sewing) |
| Cashmere | High | Luxury / Elegant Fit | Medium |
Pro Tip: If your wool sweater accidentally shrank in the wash (a process known as felting), do not throw it away! Felted wool is the absolute holy grail for hat-making. The fibers have locked together, meaning when you cut it, it will not unravel. It is incredibly wind-resistant and warm, making it the perfect material for a heavy-duty winter cap.
The Frugal Crafter’s Arsenal: Materials & Cost Breakdown
One of the most satisfying aspects of this project is the budget. You are looking at a 100% free endeavor if you utilize items already lying around your house. There is no need for expensive sergers, specialized rotary cutters, or high-end tailoring equipment. We are keeping this rugged, practical, and accessible.
- An Old Sweater: Your donor material. Look for damage on the sleeves or neckline, ensuring the bottom hem is intact.
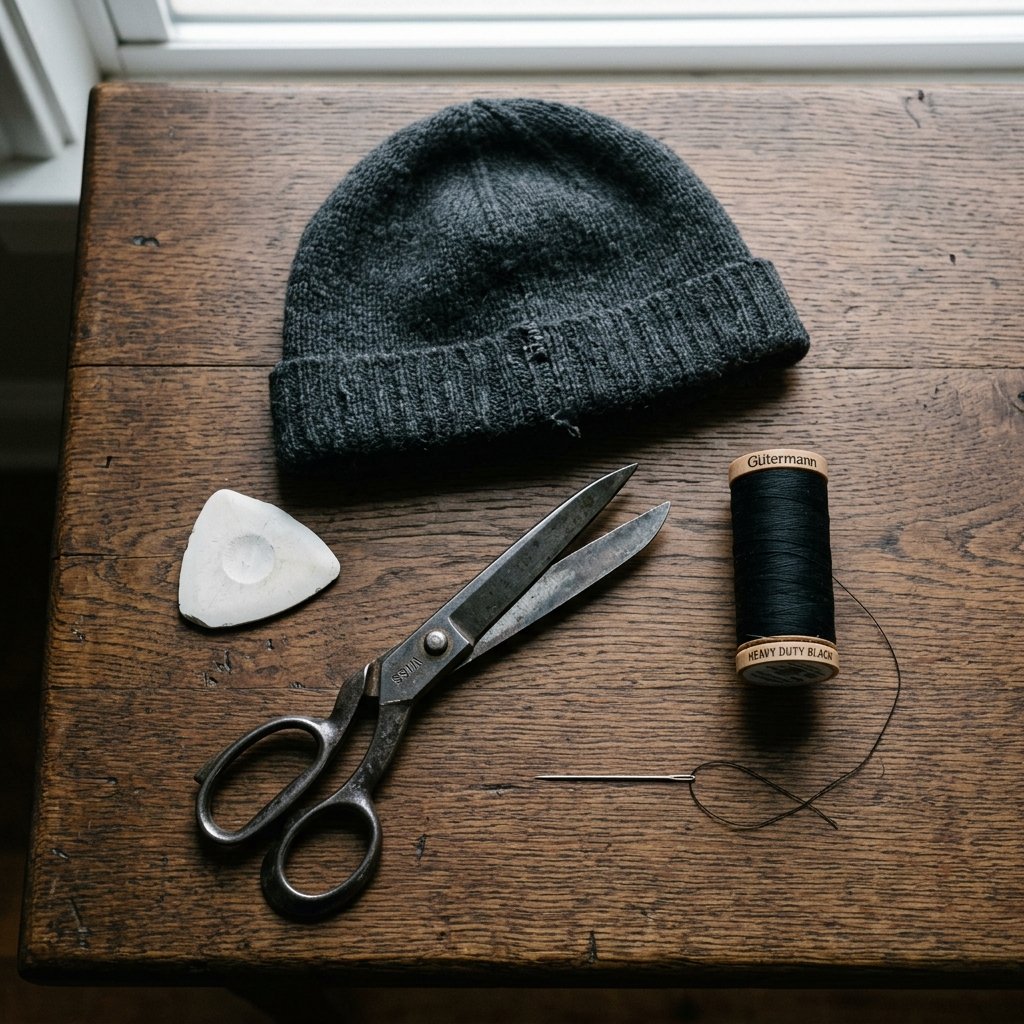
- A “Template” Beanie: A hat you already own that fits you perfectly. We will use this to trace the shape.
- Fabric Scissors: Sharp scissors are crucial. Dull scissors will chew the yarn and cause massive unraveling.
- Tailor’s Chalk or a Washable Marker: For tracing your pattern. In a pinch, a sliver of regular bar soap works beautifully on dark fabrics!
- Pins or Binder Clips: To hold the layers of the sweater together while you cut and sew.
- Needle and Thread (or a Sewing Machine): Heavy-duty polyester thread is recommended for durability.
| Item | Store-Bought Cost | Our DIY Cost | Total Savings |
|---|---|---|---|
| Premium Wool Beanie | $35.00 – $65.00 | $0.00 | Up to $65.00 |
| Basic Acrylic Beanie | $15.00 – $25.00 | $0.00 | Up to $25.00 |
| Kids Winter Hat | $10.00 – $20.00 | $0.00 | Up to $20.00 |
“Why pay retail for a brand’s logo when you can craft a bespoke, perfectly fitted piece of gear with your own two hands? The truest form of luxury is custom-made.”
The 10-Minute Blueprint: Step-By-Step Construction
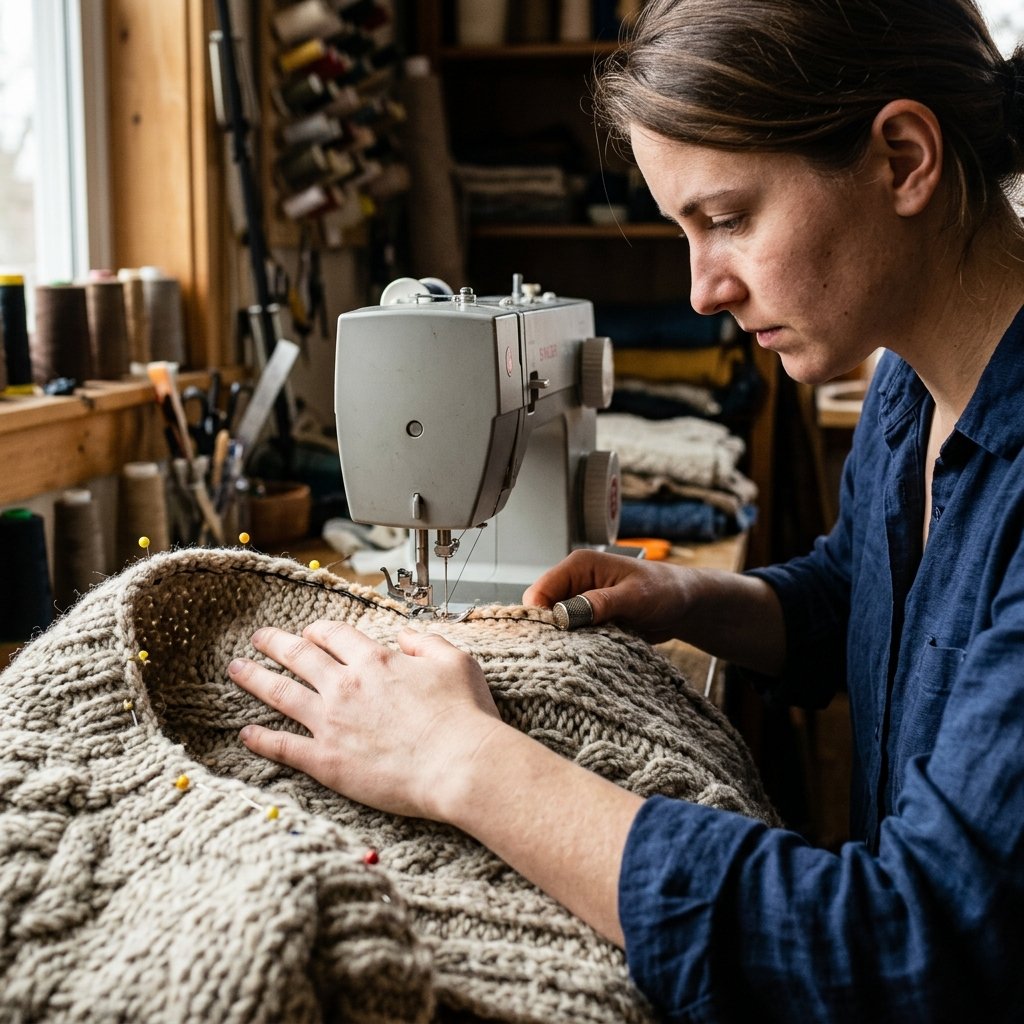
Now we get to the fun part. Clear off your dining table or workbench, lay your sweater flat, and let’s execute this transformation. Follow these steps precisely, and you will have a new hat in under 10 minutes.
Step 1: Position and Flatten
Lay your old sweater completely flat on your work surface. Smooth out any wrinkles. You want the front and back layers of the bottom ribbed hem to line up perfectly. This ribbed hem is going to become the bottom edge of your new hat.
Step 2: The Template Trace
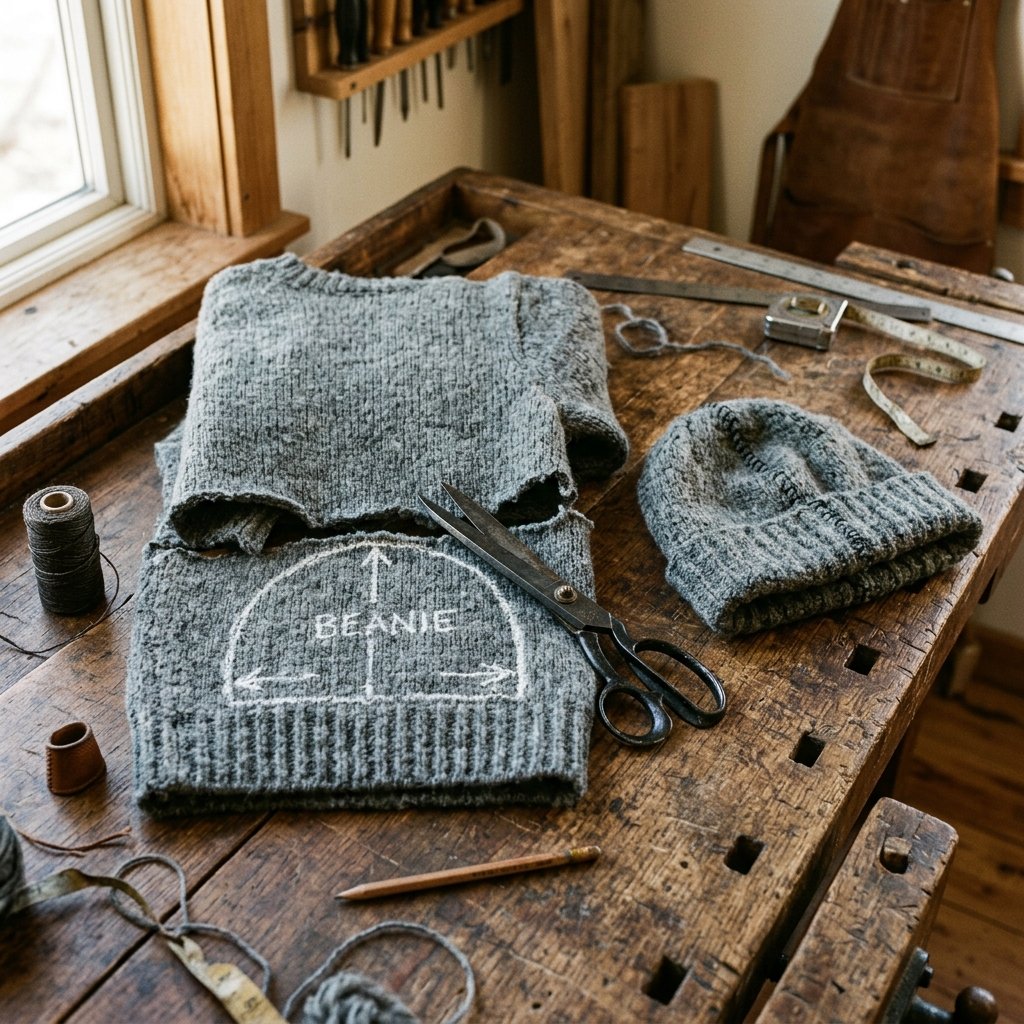
Take your favorite, perfectly fitting beanie and lay it flat on top of the sweater. Align the bottom opening of the template beanie directly with the bottom ribbed hem of the sweater. Using your tailor’s chalk (or soap sliver), trace the outline of the template beanie onto the sweater.
Crucial Measurement: Do not trace exactly against the edge of the template hat! You must add a 1/2 inch seam allowance around the top and sides. If you trace too closely, your new hat will be too tight once sewn.
Step 3: The Big Cut
Pin the front and back layers of the sweater together inside your chalk line. This prevents the fabric from shifting. Take a deep breath, grab your fabric scissors, and cut along the chalk line. You are cutting through both the front and back of the sweater simultaneously. Once cut, you will have a dome-shaped piece of double-layered knit fabric.
Step 4: Right Sides Together
If your sweater has an obvious “outside” (the side you want showing) and “inside”, you need to flip your cut pieces so that the “right sides” are facing each other. You will be sewing this hat inside out, just like professional tailors do, so the seam is hidden on the inside when you flip it right-side out.
Step 5: The Stitch-Up
If you have a sewing machine, set it to a zig-zag stitch or a stretch stitch. Knits need to stretch to fit over your head; a standard straight stitch will snap the moment you put the hat on. Sew along the curved edge you just cut, staying about 1/2 inch away from the raw edge. Start at one end of the ribbed hem, go up and over the dome, and down to the other end of the hem. Leave the bottom hem completely open.
Step 6: The Reveal
Trim any excess threads. Reach inside the bottom opening and pull the hat right-side out. Push out the top curve with your fingers so it sits smoothly. Put it on your head and admire your handiwork. You just saved yourself $30 and kept textiles out of a landfill!
No Machine? No Problem: The Hand-Sewing Guide
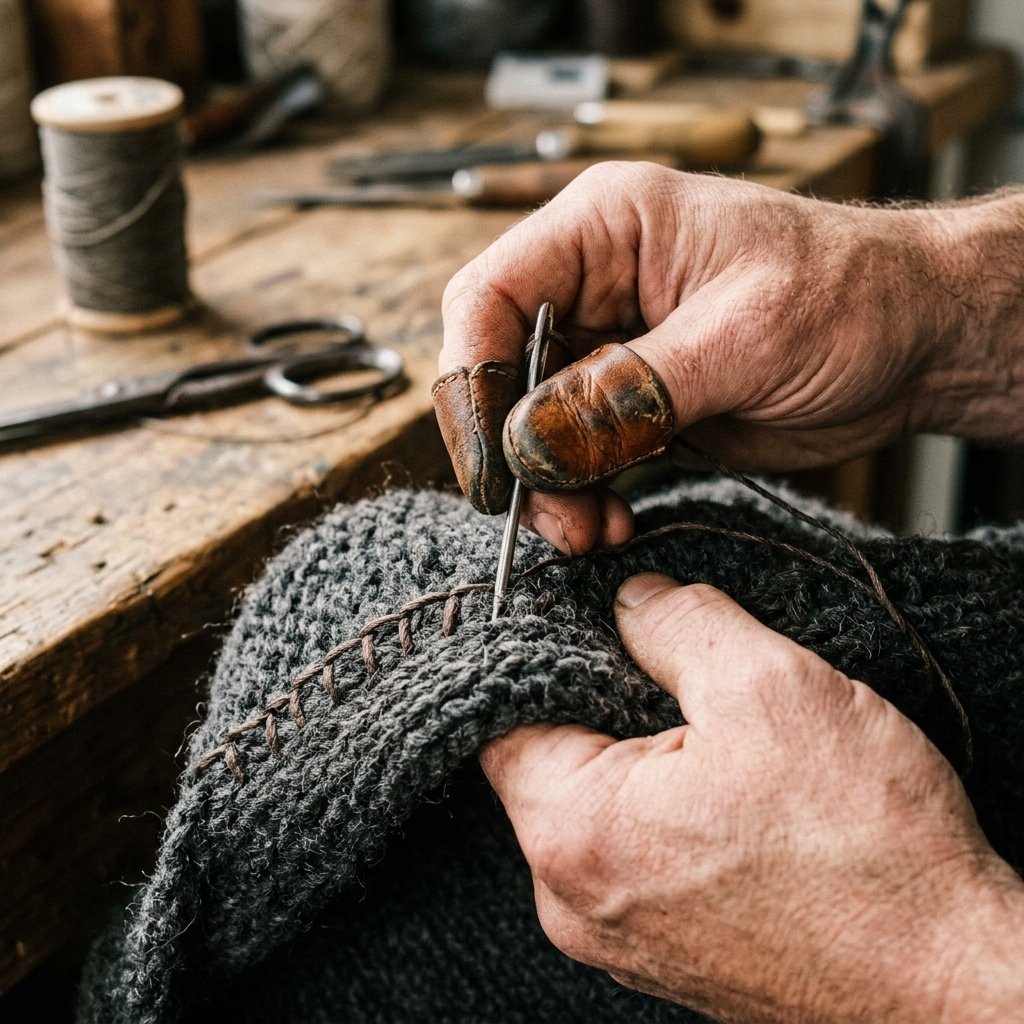
If you do not own a sewing machine, do not click away! Hand-sewing a beanie is entirely possible, incredibly relaxing, and adds a rugged, bespoke quality to the piece. It might take you 20 minutes instead of 10, but the result is just as durable.
The Mighty Backstitch
For hand-sewing garments that need to withstand pulling and stretching, the backstitch is your best friend. It is the strongest hand-stitch available and mimics the durability of a machine.
- Thread your needle with a double length of heavy-duty thread and tie a thick knot at the end.
- Push the needle up through both layers of the sweater fabric, about 1/2 inch from the raw edge.
- Bring the needle back down into the fabric about 1/4 inch behind where it just came up.
- Bring the needle back up about 1/4 inch in front of your very first stitch.
- Repeat this process, always stepping backward to connect the line, and then jumping forward underneath the fabric.
“Hand-sewing isn’t just a fallback; it is a heritage skill. There is a profound masculine elegance in knowing how to mend your own gear and craft your own garments with nothing but a needle and thread.”
Safety Note: When hand-sewing thick knits, consider using a thimble to push the needle through bulky seams. Sweaters can be surprisingly dense, and protecting your fingers will make the process much more enjoyable.
Leveling Up: Slouchy Fits, Cuff Styles, and Linings
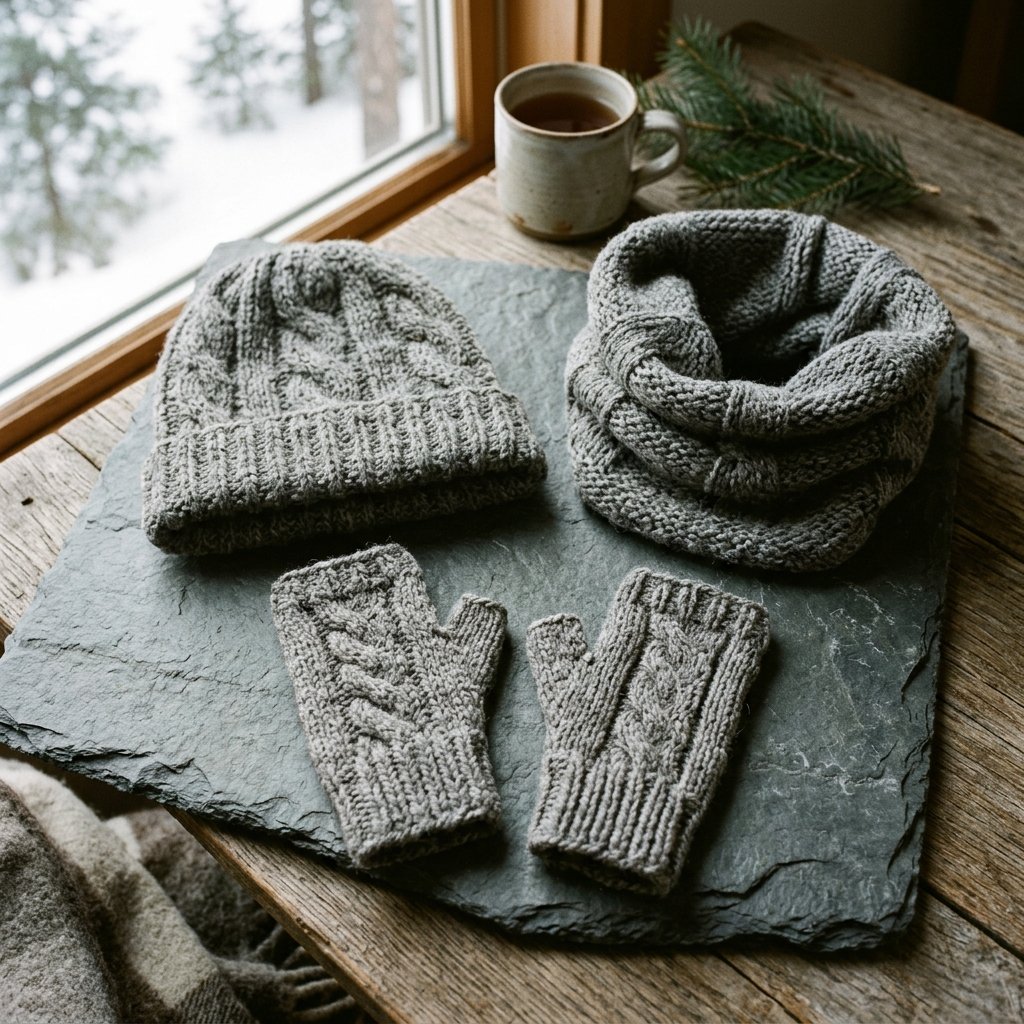
Once you master the basic 10-minute beanie, you can start customizing your creations to rival high-end boutique designs. Here are a few clever ways to elevate your upcycled hat.
The Fisherman’s Cuff
If you prefer a hat with a thick, folded-up brim (often called a watch cap or fisherman’s beanie), you simply need to adjust your initial cut. When tracing your template hat, cut your sweater piece 3 to 4 inches longer at the bottom. When you wear it, you will fold that extra length up, creating a double-thick layer over your ears for extreme cold weather.
The Fleece Lining Hack
If your wool sweater is a bit itchy, you can add a micro-fleece lining for ultimate comfort. Cut an identical dome shape out of an old fleece blanket or a cheap Dollar Tree fleece scarf. Slip the fleece dome inside your sewn sweater dome (wrong sides together) and tack it down with a few hidden hand stitches at the crown and along the inner brim. You now have a windproof, ultra-warm, itch-free winter hat.
Utilizing the Sleeves
Do not throw away the rest of the sweater! The sleeves of a chunky knit sweater are already tubular. You can cut a 10-inch section of a sleeve, hem the raw edges, and instantly have a matching neck gaiter or ear warmer headband. One old sweater can easily yield a beanie, a neck warmer, and a pair of fingerless gloves if you are resourceful enough.
Conclusion
In a world obsessed with buying new, there is an immense, quiet power in looking at what you already own and seeing its hidden potential. By taking 10 minutes out of your day, a pair of scissors, and a bit of thread, you have not just created a trendy, functional winter beanie—you have stepped into the mindset of a true, resourceful craftsman. You have bypassed the retail markup, reduced textile waste, and crafted something entirely unique.
This upcycled sweater hat is just the beginning. Once you realize that the clothes in your closet are just raw materials waiting to be remade, your perspective shifts. The next time you see a sweater with a stain on the chest or a moth hole in the shoulder, you won’t see trash; you will see a canvas for your next project. Stay frugal, stay creative, and keep crafting your own customized world, one stitch at a time.

Makenzie is the founder and lead writer at MoneyHackTips.com — a personal finance blog dedicated to delivering street-smart financial wisdom for real people on real budgets. With 300+ published articles covering everything from debt management to investing fundamentals, Makenzie’s mission is to make every dollar work harder. When not writing about money hacks, Makenzie is testing frugal living strategies, optimizing side hustles, and helping readers build financial freedom from scratch.