The Art of the Zero-Dollar Adventure
Why spend $40 to $80 on a mass-produced, polyester picnic blanket that lacks soul and durability? As a frugal DIYer, you know that the best materials aren’t found in a big-box store aisle; they are hanging in the back of your closet or sitting in a donation pile. This project is the ultimate ‘trash-to-treasure’ challenge: turning retired button-down shirts into a rugged, high-end upcycled quilt. Whether it’s the flannel shirt that finally lost its elbows or the Oxford cloth that has a permanent coffee stain on the pocket, every piece of fabric has a story. By the time we are done, you will have a 100% free, heavy-duty outdoor companion that looks like a bespoke heritage piece. This isn’t just about saving money; it is about resourceful creativity and the satisfaction of building something lasting with your own two hands.
Sourcing and Sorting Your Textile Gold
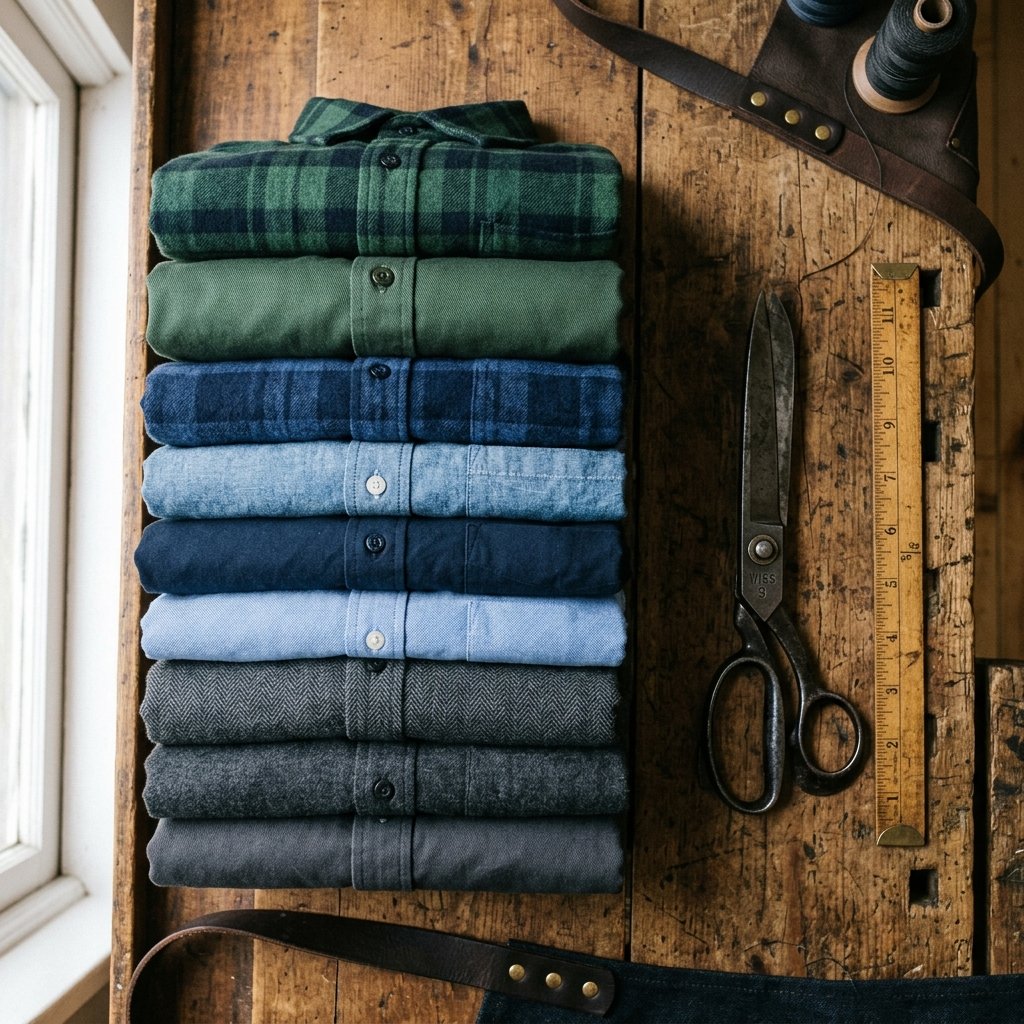
Mining Your Closet for Premium Materials
The secret to a gorgeous upcycled quilt lies in the selection of your ‘donor’ garments. For a standard 60-inch by 60-inch picnic blanket, you will need approximately 10 to 12 adult-sized shirts. Look for 100% cotton fabrics like flannel, denim, poplin, and Oxford cloth. These materials are breathable yet durable, making them perfect for outdoor use. Avoid stretchy knits like T-shirts for this specific project, as they can warp and stretch during the sewing process, leading to a lumpy finished product.
| Fabric Type | Best Use in Quilt | Durability Rating |
|---|---|---|
| Flannel | Softness and warmth | High |
| Oxford Cloth | Structural integrity | Very High |
| Linen | Breathability and texture | Medium |
| Denim/Chambray | Heavy-duty corners | Extreme |
Pro-Tip: Check the ‘rag bin’ at local thrift stores. Often, they sell stained or torn designer shirts for pennies because they can’t be put on the floor. These are perfect for quilting since we only need the clean sections of fabric.
The Blueprint: Precision Cutting Without Fancy Tools
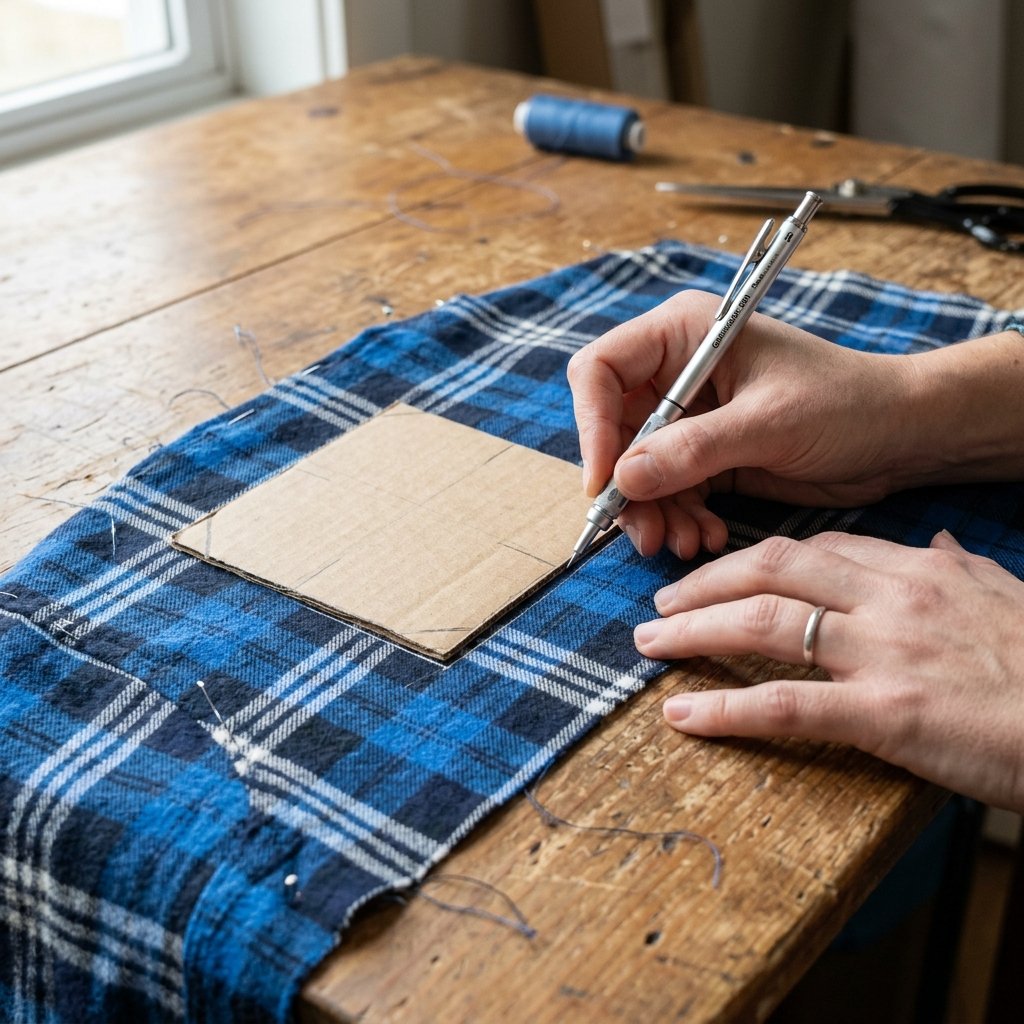
Drafting Your Quilt Squares
You don’t need expensive rotary cutters or self-healing mats to achieve professional results. To keep this project at a $0 price point, we will create a custom template from a cereal box or a piece of scrap cardboard. A 7-inch by 7-inch square is the ‘sweet spot’ for shirt quilts. This size allows you to maximize the fabric from the back and front panels of the shirt while minimizing waste around the seams. Once sewn with a 0.5-inch seam allowance, you will be left with a perfect 6-inch finished square.
- Step 1: Deconstruct the shirts by cutting off the sleeves and collars.
- Step 2: Lay the back panel flat and place your cardboard template on top.
- Step 3: Trace around the template with a pencil or a piece of tailor’s chalk.
- Step 4: Cut 100 squares total for a large 10×10 grid blanket.
By using the front panels of the shirts, you can even incorporate the original button plackets or pockets into your quilt for a ‘clever and crafty’ look that screams custom-made.
The Layout: Designing a Masculine-Elegant Pattern
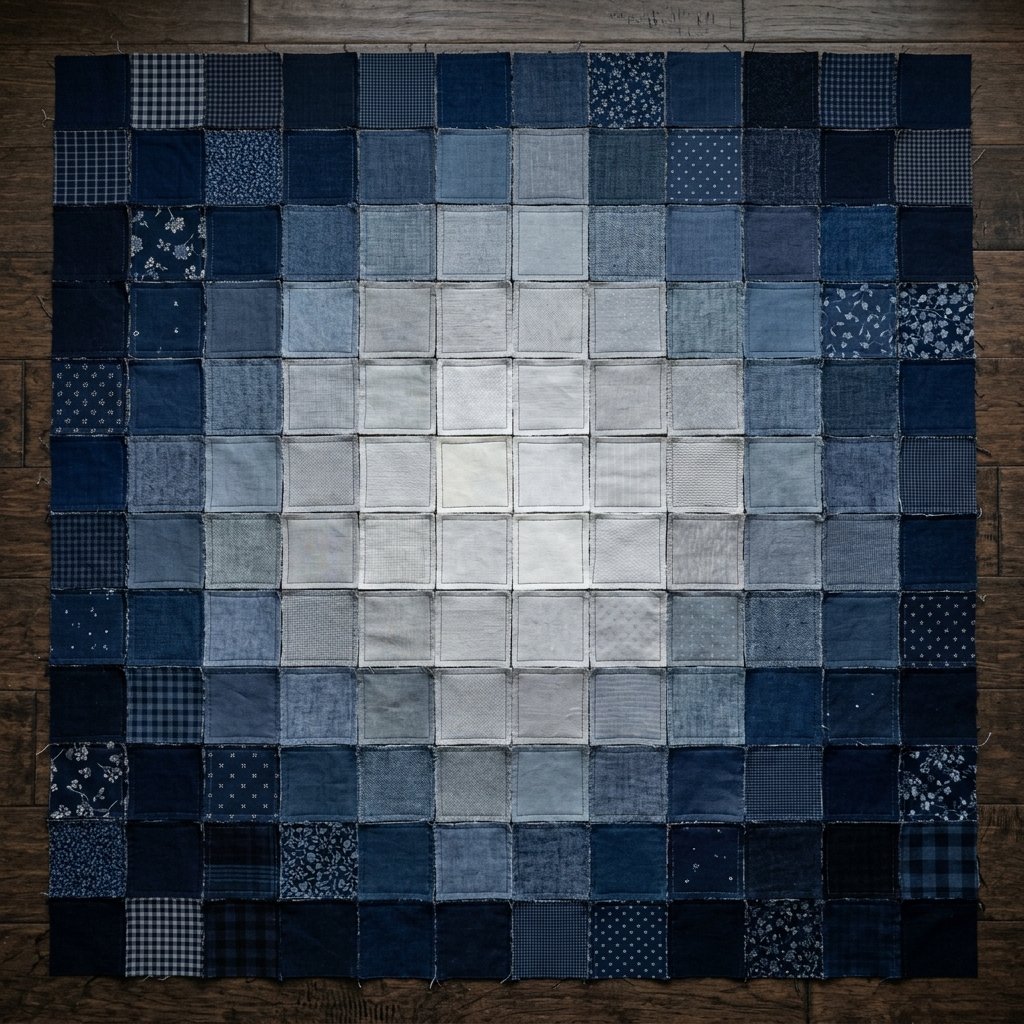
Visualizing the Patchwork Grid
Before you touch a needle and thread, you must plan your layout. This is where your ‘inner stylist’ comes out. To achieve a high-end look rather than a cluttered one, follow a simple color story. Stick to a palette of 3 main colors (e.g., Navy, Grey, and Cream). Scatter your patterned flannels evenly so they don’t cluster in one corner. This balance creates a ‘rugged elegance’ that feels intentional and sophisticated.
| Layout Style | Visual Effect | Difficulty Level |
|---|---|---|
| Checkerboard | Classic and orderly | Beginner |
| Random Scrappy | Eclectic and rustic | Very Easy |
| Gradient/Ombre | Modern and artistic | Advanced |
Spend at least 15 minutes rearranging your squares on the floor until the distribution of dark and light tones feels harmonious. Take a photo of the layout with your phone so you have a reference guide during the assembly phase.
The Rugged Stitch: Assembly and Construction
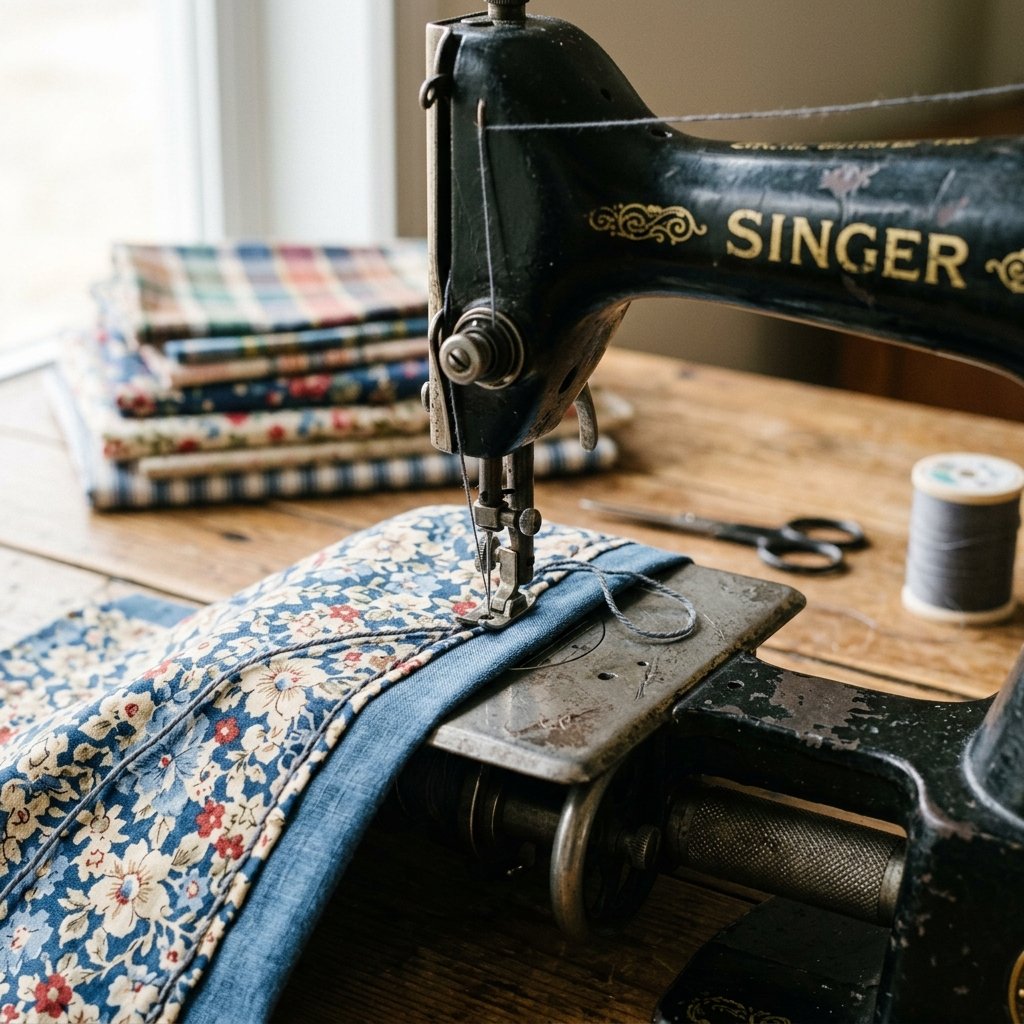
Building the Quilt Top
Now, we begin the assembly. If you have a sewing machine, this will take about 3 hours. If you are hand-sewing, it is a wonderful weekend project to do while listening to a podcast. We will use a simple straight stitch to join the squares into rows, and then join the rows to each other.
- Pin two squares right-sides together and sew along one edge with a 0.5-inch seam.
- Repeat until you have a row of 10 squares.
- Press the seams open. This is the most important step for a professional finish. Use a hot iron to flatten every single seam.
- Join the rows by pinning them together, ensuring the vertical seams align perfectly. Use a ladder stitch if hand-sewing for an invisible, strong bond.
Budget Mantra: Use the thread you already have. If you run out of one color, don’t buy more. Using a contrasting thread color can add a ‘crafty-expert’ detail that looks like a design choice rather than a necessity.
The Secret to a Waterproof, Picnic-Ready Base
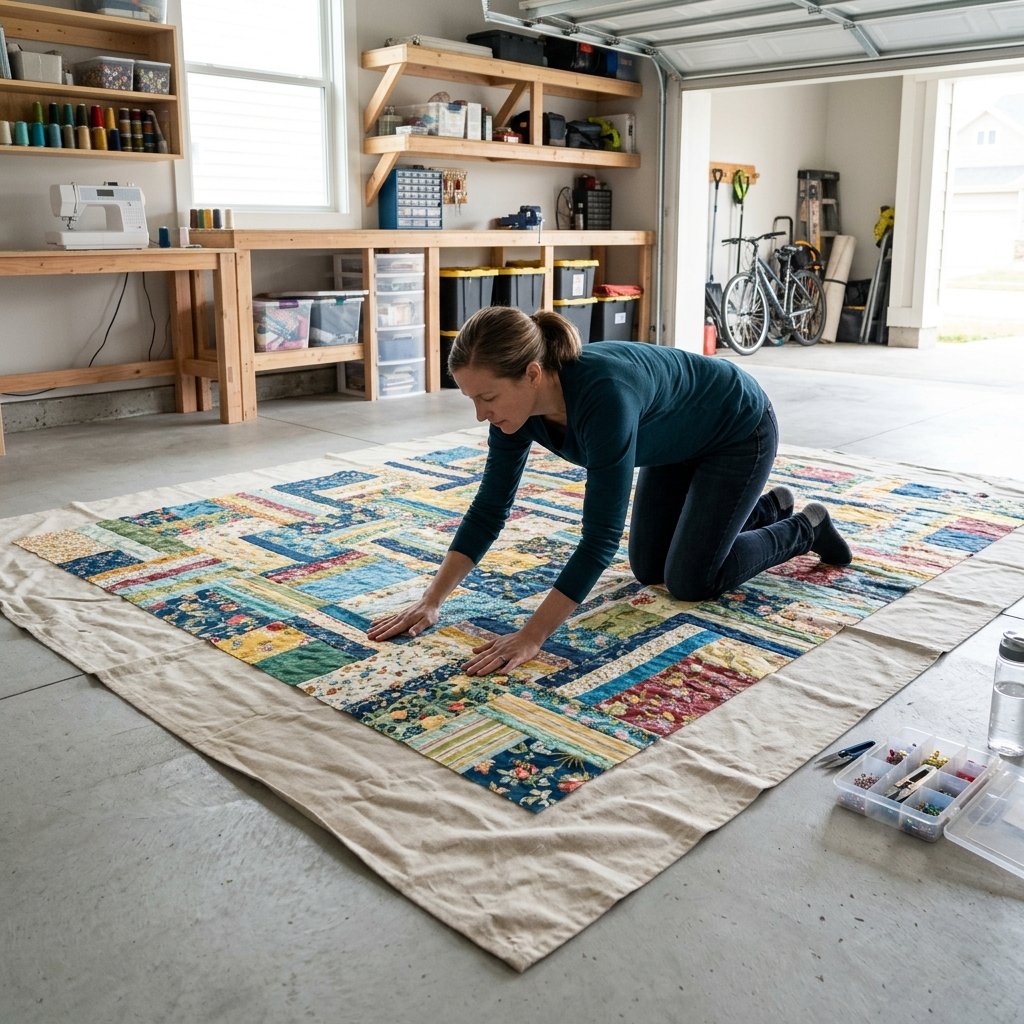
Upcycling the Backing Layer
A picnic blanket is only as good as its bottom layer. You need something that can handle damp grass and dirt. Instead of buying expensive waterproof backing, search your linen closet for an old flat bedsheet or a heavy-duty canvas drop cloth. For ultimate protection, you can even use an old polyester shower curtain sandwiched between the quilt top and the backing sheet. This creates a hidden moisture barrier for $0.
| Backing Material | Pros | Cons |
|---|---|---|
| Old Bed Sheet | Soft, easy to wash | Not waterproof |
| Canvas Drop Cloth | Extremely durable | Heavy to carry |
| Shower Curtain Liner | 100% Waterproof | Can be ‘crinkly’ |
Lay your finished quilt top over the backing material, trim to size, and pin the edges. To keep the layers from shifting, ‘quilt’ them together by sewing simple straight lines down the ‘valleys’ of your existing seams. This is called ‘stitching in the ditch’ and it provides a clean, professional look.
Finishing Touches: Binding and Portability
The Final Masculine-Elegant Details
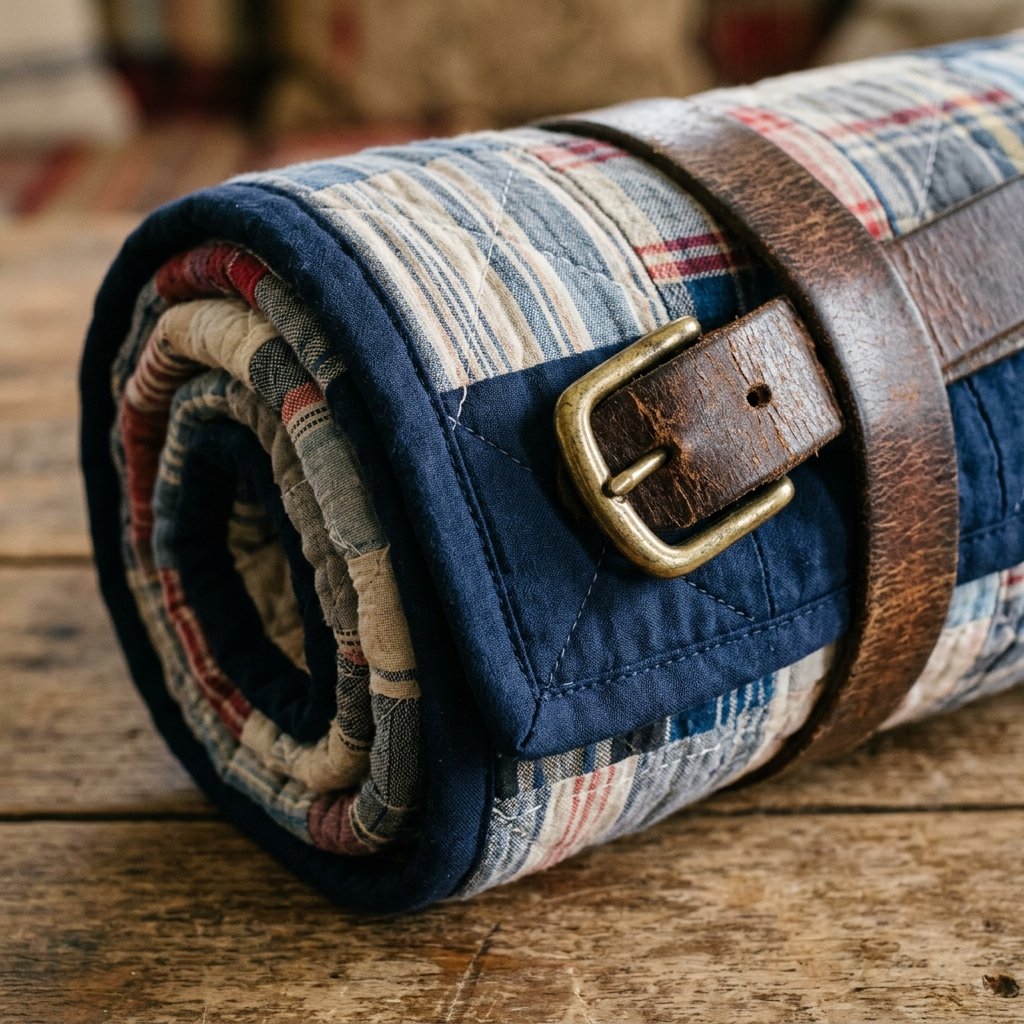
To finish the edges, you don’t need store-bought bias tape. Use the leftover scraps from your shirts to create a ‘scrappy binding.’ Cut 2.5-inch wide strips of fabric, sew them into one long continuous ribbon, and fold it over the raw edges of your blanket. This encases the edges and prevents fraying. For a truly ‘rugged’ look, you can make a carrying strap out of an old leather belt or a length of braided twine. This allows you to roll the blanket up tightly and secure it for transport to the park or beach.
Safety Note: When sewing through multiple layers of heavy fabric and canvas, use a ‘Denim’ or ‘Heavy Duty’ needle (Size 100/16) to prevent the needle from snapping.
Your finished masterpiece is now ready. It is durable, sentimental, and most importantly, it cost you absolutely nothing but your time and ingenuity.
Conclusion
Enjoying Your Handcrafted Heritage
You have successfully turned a pile of ‘trash’ into a functional work of art. This upcycled shirt quilt is more than just a picnic blanket; it is a testament to the power of frugal living and resourceful crafting. It will withstand years of outdoor adventures, from summer concerts to autumn stargazing. Whenever someone asks where you bought it, you can proudly say you made it for $0. Now, pack some sandwiches, grab your new favorite blanket, and head outside to enjoy the fruits of your labor!

Makenzie is the founder and lead writer at MoneyHackTips.com — a personal finance blog dedicated to delivering street-smart financial wisdom for real people on real budgets. With 300+ published articles covering everything from debt management to investing fundamentals, Makenzie’s mission is to make every dollar work harder. When not writing about money hacks, Makenzie is testing frugal living strategies, optimizing side hustles, and helping readers build financial freedom from scratch.