
The Art of the Shrewd Wedding Find
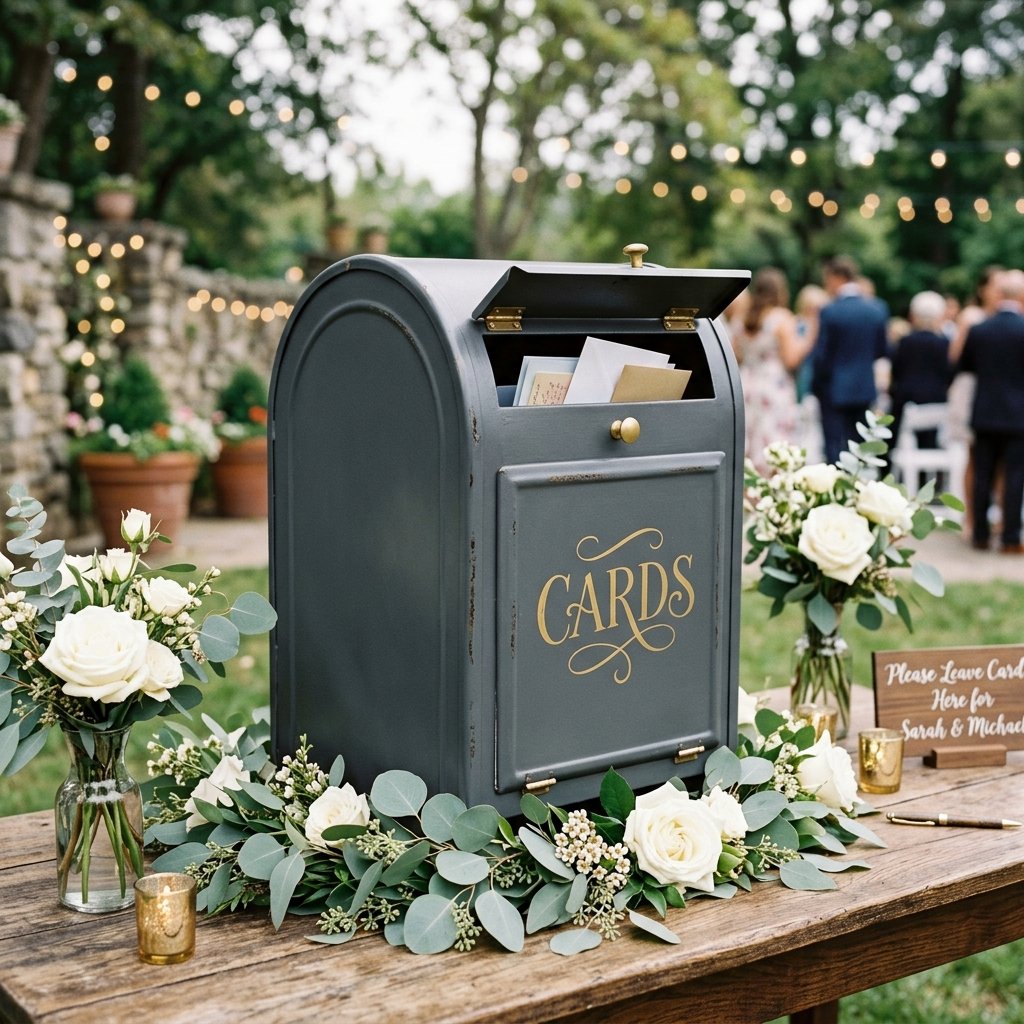
Let’s talk about the ‘Wedding Tax.’ The moment you add the word ‘wedding’ to a product, the price tag magically triples. But for the resourceful DIYer, the thrift store isn’t just a shop; it’s an arsenal. Today, we are taking one of the most overlooked items in the back corner of your local Goodwill—the humble, often rusty, metal mailbox—and transforming it into a masculine-elegant centerpiece that will leave your guests asking which high-end boutique you raided.
A vintage mailbox card box offers more than just a place for envelopes; it provides a rugged, tactile charm and a sense of permanence. Whether you’re planning a rustic barn wedding or a sleek industrial loft celebration, this project is the ultimate marriage of crafty expertise and budget-savvy strategy. We aren’t just painting a box; we are restoring a piece of history to serve a new, romantic purpose. Let’s get our hands dirty and save some serious cash.
Sourcing the Soul: Finding Your Mailbox Diamond in the Rough
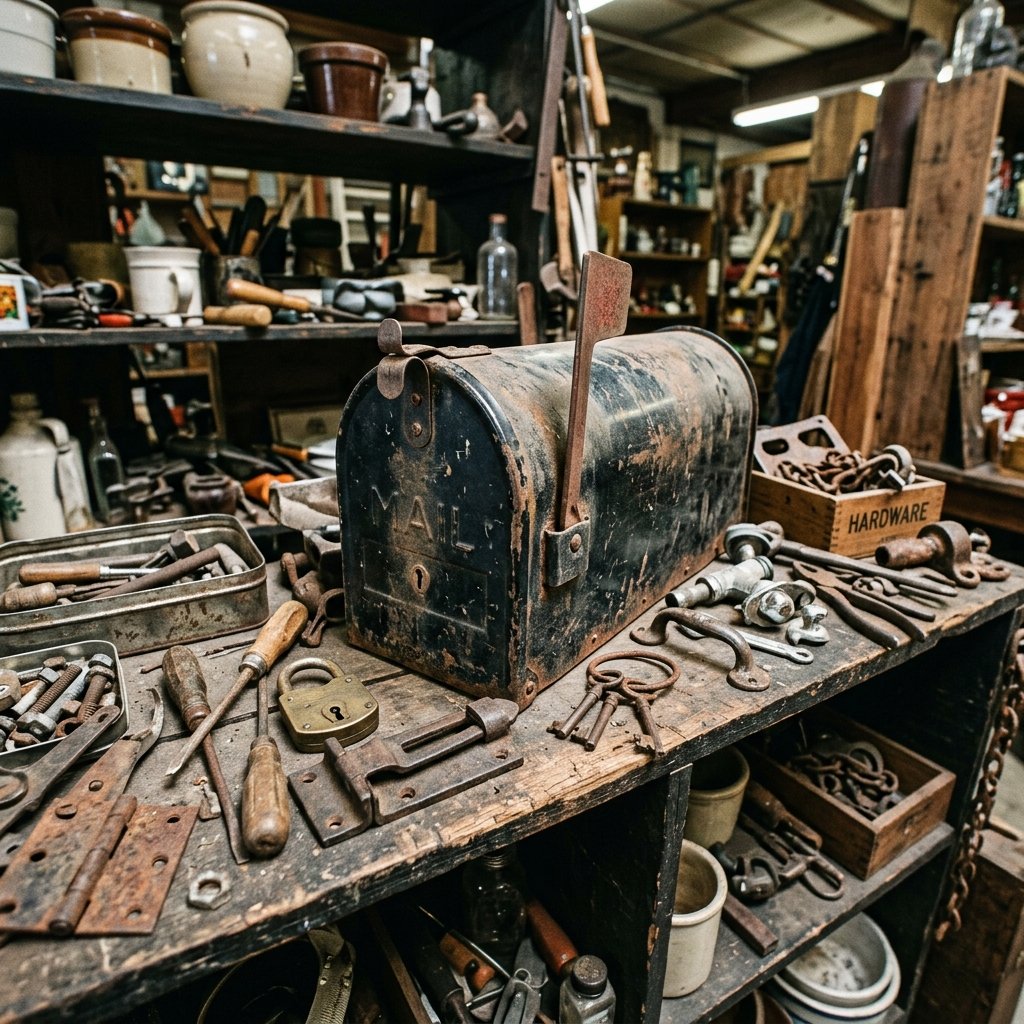
Your first mission is the hunt. You aren’t looking for a shiny new plastic box from a big-box hardware store. You want character. You want the heavy, clanking metal of a mid-century standard-issue mailbox. Look for the classic ‘U.S. Mail’ embossing—it adds an authentic, vintage weight to the final product.
Where to Look and What to Pay
- Local Thrift Stores: Check the outdoor or hardware sections. You can often snag these for $5 to $10.
- Estate Sales: The best place for heavy-duty steel models that have survived decades.
- Facebook Marketplace: Search for ‘old mailbox’ or ‘metal scrap’ to find people practically giving them away.
Pro-Tip: Don’t be afraid of a little rust. In fact, surface rust can provide a great ‘tooth’ for your primer, and it proves the item’s rugged heritage. Just ensure the hinge is functional and the metal isn’t rusted all the way through.
The Restoration Blueprint: Prep, Prime, and Power Tools
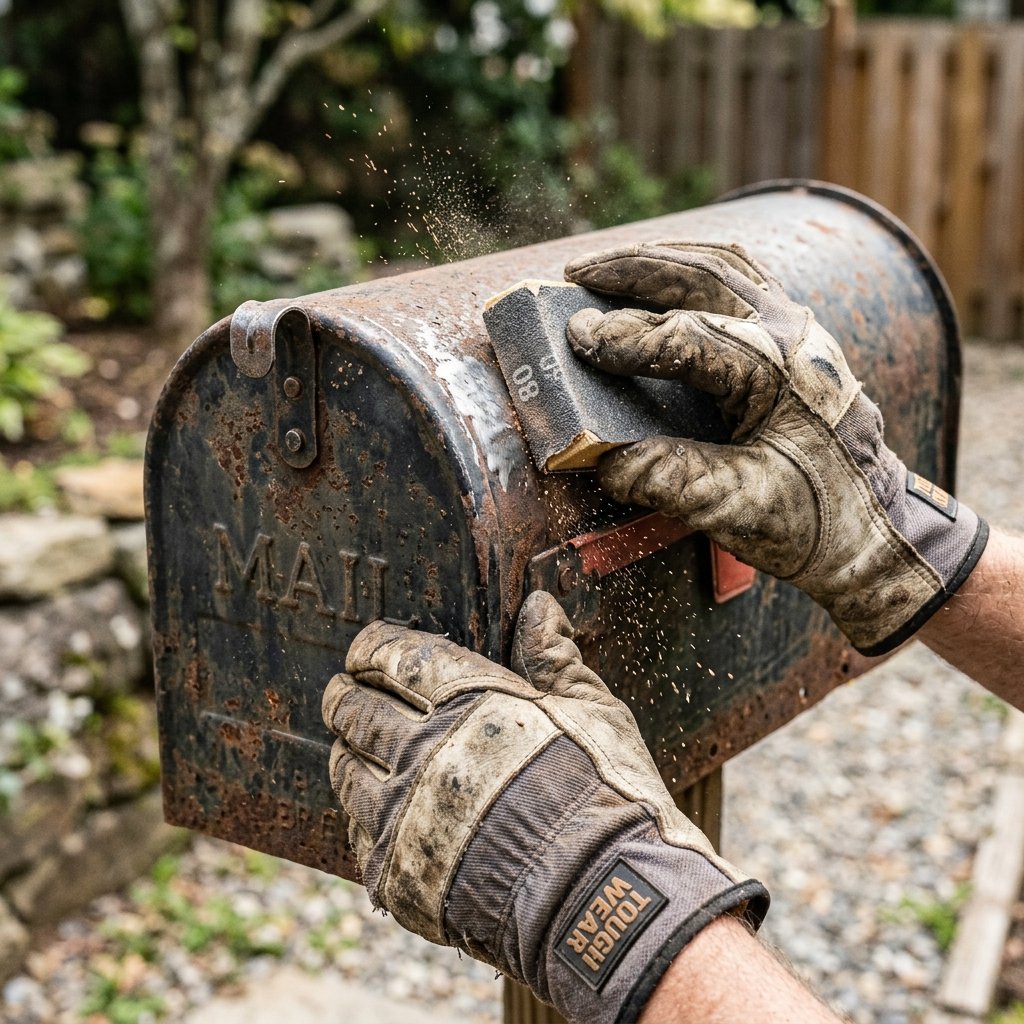
Before we make it pretty, we have to make it clean. A wedding card box needs to be pristine enough to touch a white lace dress without leaving a smudge. This is where the ‘rugged’ part of our crafting comes in. We’re going to strip back years of grime to create a professional-grade canvas.
The Prep Phase Checklist
- Deep Clean: Use a degreaser or a simple mix of white vinegar and water to remove outdoor oils and dirt.
- Sanding: Use 120-grit sandpaper to knock down any flaking paint or heavy rust. You don’t need to get to bare metal, just a smooth surface.
- The Hinge Check: If the hinge is squeaky, a drop of 3-in-1 oil will make it whisper-quiet for the reception.
- Taping Off: Use painter’s tape to cover the red flag handle if you want to keep it a contrasting color or metallic finish.
| Material | Estimated Cost | Purpose |
|---|---|---|
| Thrifted Mailbox | $7.00 | The Base Structure |
| Sandpaper (Multi-pack) | $4.50 | Surface Preparation |
| Self-Etching Primer | $6.00 | Ensuring Paint Adhesion to Metal |
| Total Prep Cost | $17.50 | – |
The Faux-Patina: Achieving the ‘Expensive’ Metallic Look
Sophisticated Finishes on a Dime
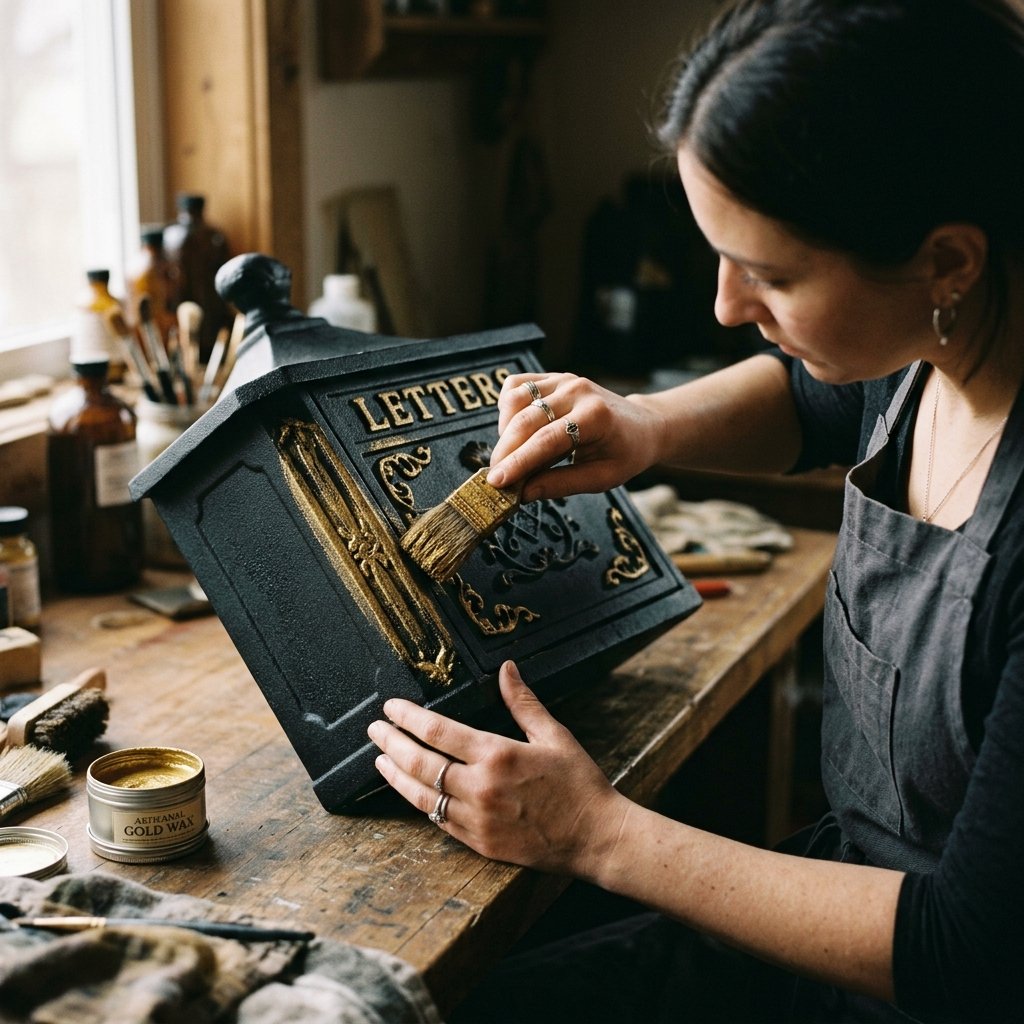
To get that Pottery Barn or Restoration Hardware look, we avoid basic ‘glossy’ spray paints. We want depth. My favorite trick for a masculine-elegant finish is the ‘Baking Soda Paint’ method or a layered metallic rub.
The Texture Trick
If your mailbox is plastic (it happens!), you can make it look like heavy cast iron by mixing one part baking soda with two parts matte acrylic paint. This creates a thick, stone-like texture that hides imperfections and looks incredibly high-end. If you have a metal box, a ‘Hammered Metal’ spray paint in Copper or Charcoal provides a rugged, industrial feel that is 100% foolproof.
“True luxury isn’t about how much you spent; it’s about the intentionality of the finish. A matte charcoal base with a dry-brushed gold trim says ‘custom-made’ more than any store-bought box ever could.”
Bespoke Branding: Personalizing for the Big Day
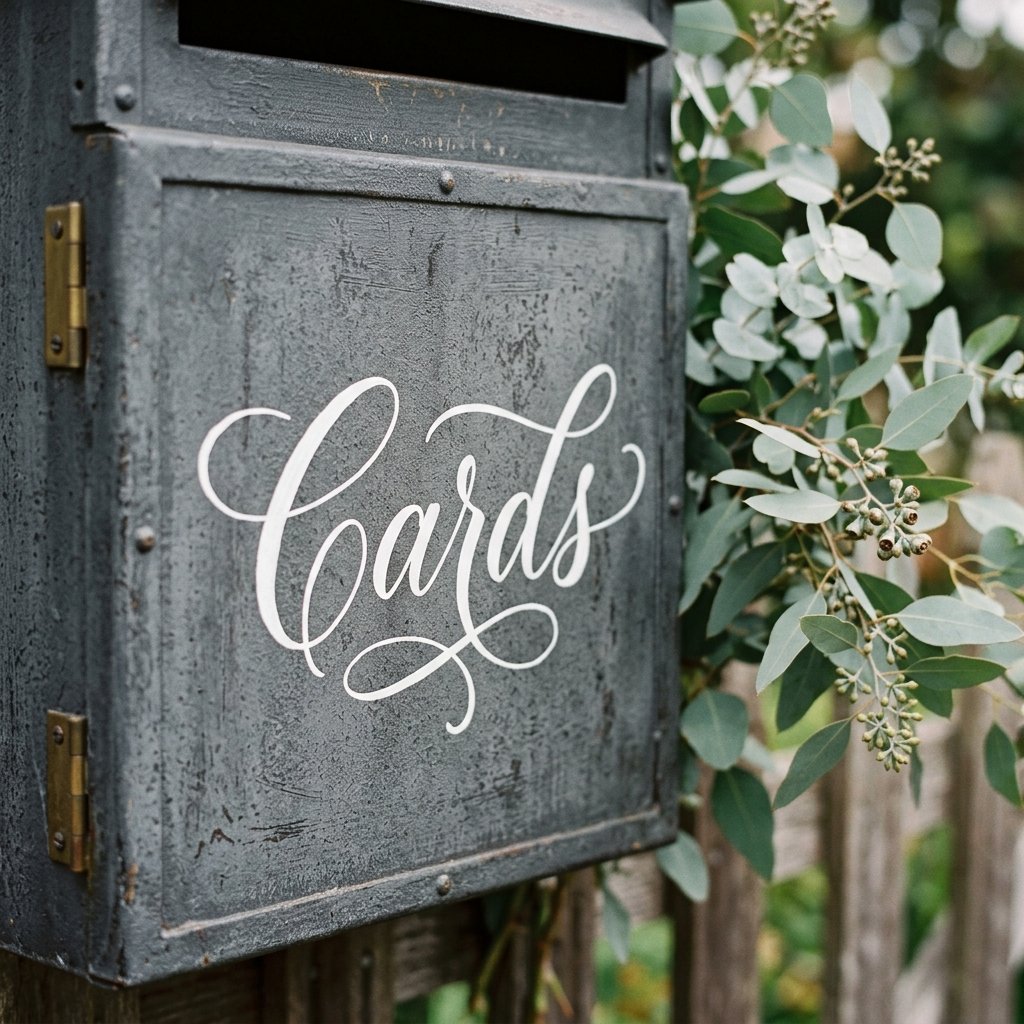
Now that the box looks like a million bucks, it needs to serve its purpose. You need to clearly mark it for ‘Cards’ and include the couple’s names or wedding date. This is where you can show off your crafty-expert skills without a fancy vinyl cutting machine.
Three Ways to Letter Like a Pro
- Hand-Stenciling: Buy a set of classic serif font stencils and use a sponge dauber to tap on cream-colored paint. It looks more ‘vintage’ than a sticker.
- Paint Pens: For those with steady hands, an oil-based Sharpie in gold or white allows for beautiful, hand-hewn calligraphy.
- The Flag Flip: Paint the classic red flag in your wedding’s accent color. When the mailbox is ‘full,’ someone can flip the flag up—a clever nod to traditional mail delivery.
| Method | Skill Level | Cost |
|---|---|---|
| Vinyl Decal (Etsy) | Beginner | $12.00 |
| Hand-Stenciled | Intermediate | $3.00 |
| Oil-Based Paint Pen | Advanced | $5.00 |
The Ultimate Savings: DIY vs. Boutique Comparison
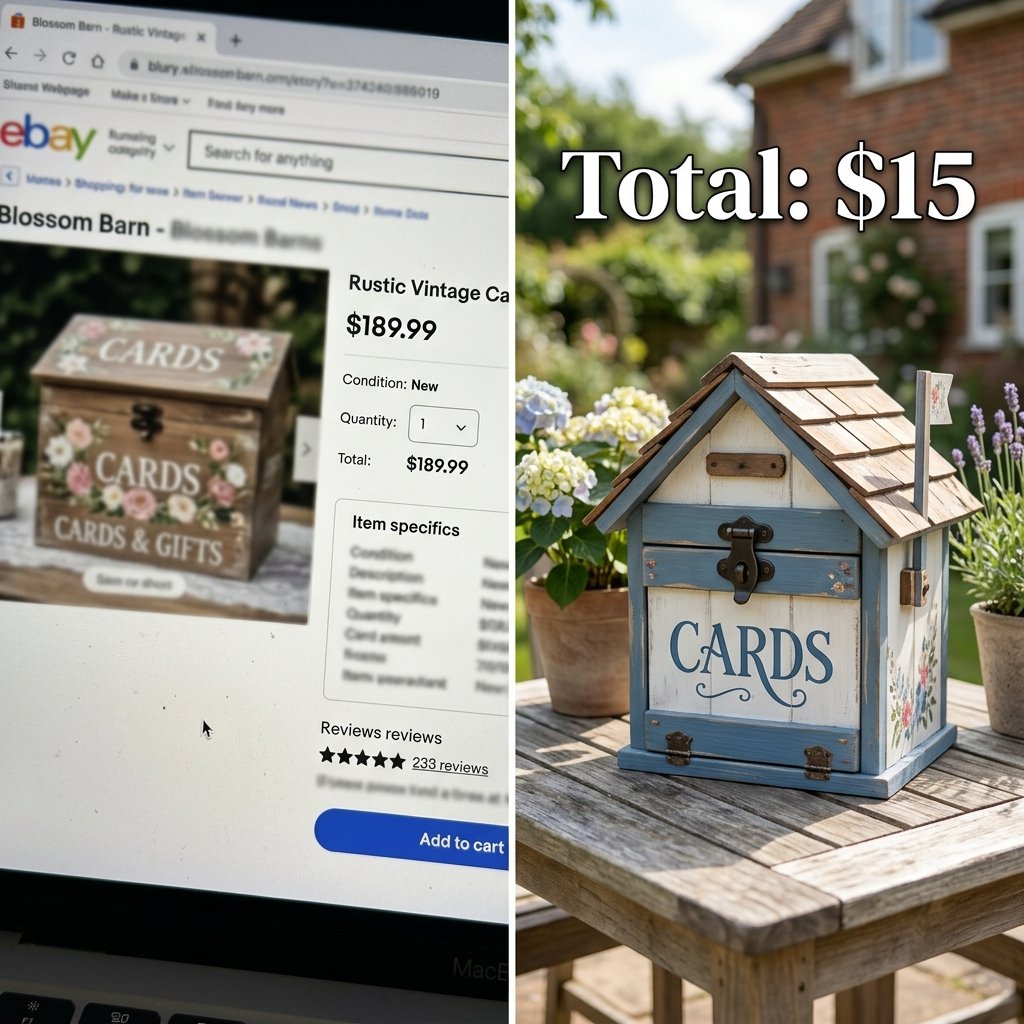
Why do we do this? Besides the creative satisfaction, the math is undeniable. When you choose to upcycle, you are reclaiming your wedding budget for the things that matter—like the honeymoon or the open bar.
The Financial Breakdown
A ‘Vintage Style Mailbox Card Box’ on sites like Etsy or at high-end bridal boutiques can easily run you $120 to $250 once shipping is included. By using our clever and budget-savvy approach, we are looking at a fraction of that cost.
| Item | Boutique Price | DIY Thrift Price |
|---|---|---|
| Metal Mailbox | $85.00 | $5.00 |
| Custom Painting | $40.00 | $6.00 |
| Personalization | $25.00 | $4.00 |
| Shipping/Markup | $50.00 | $0.00 |
| Grand Total | $200.00 | $15.00 |
That is a 92.5% savings. That’s not just a hack; that’s a financial victory.
Conclusion
A Piece of History for Your New Chapter
By the time you’ve finished this project, you won’t just have a place for your guests to drop their well-wishes; you’ll have a conversation piece that embodies your resourcefulness and style. This vintage mailbox card box is rugged enough to survive the trip to the venue, elegant enough to grace the finest gift table, and budget-friendly enough to keep your bank account happy.
Remember, the best DIY projects aren’t about settling for less—they’re about demanding more from the items others have cast aside. After the wedding, this box can serve as a beautiful keepsake chest in your home, holding your wedding cards and mementos for years to come. Now, get out there to your local thrift shop and find your ‘diamond’—your perfect wedding day awaits!

Makenzie is the founder and lead writer at MoneyHackTips.com — a personal finance blog dedicated to delivering street-smart financial wisdom for real people on real budgets. With 300+ published articles covering everything from debt management to investing fundamentals, Makenzie’s mission is to make every dollar work harder. When not writing about money hacks, Makenzie is testing frugal living strategies, optimizing side hustles, and helping readers build financial freedom from scratch.