
The Art of the High-End Illusion
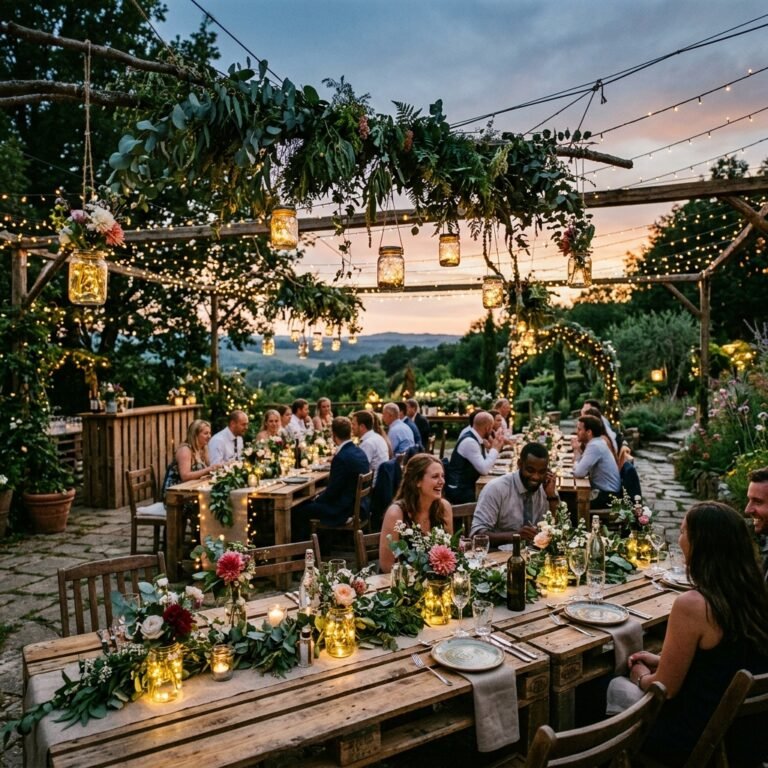
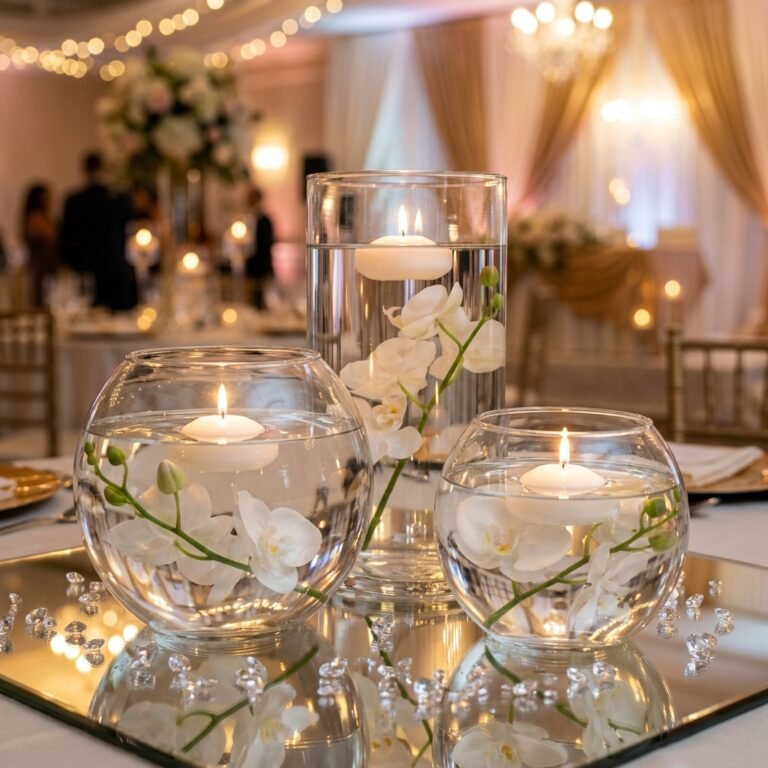
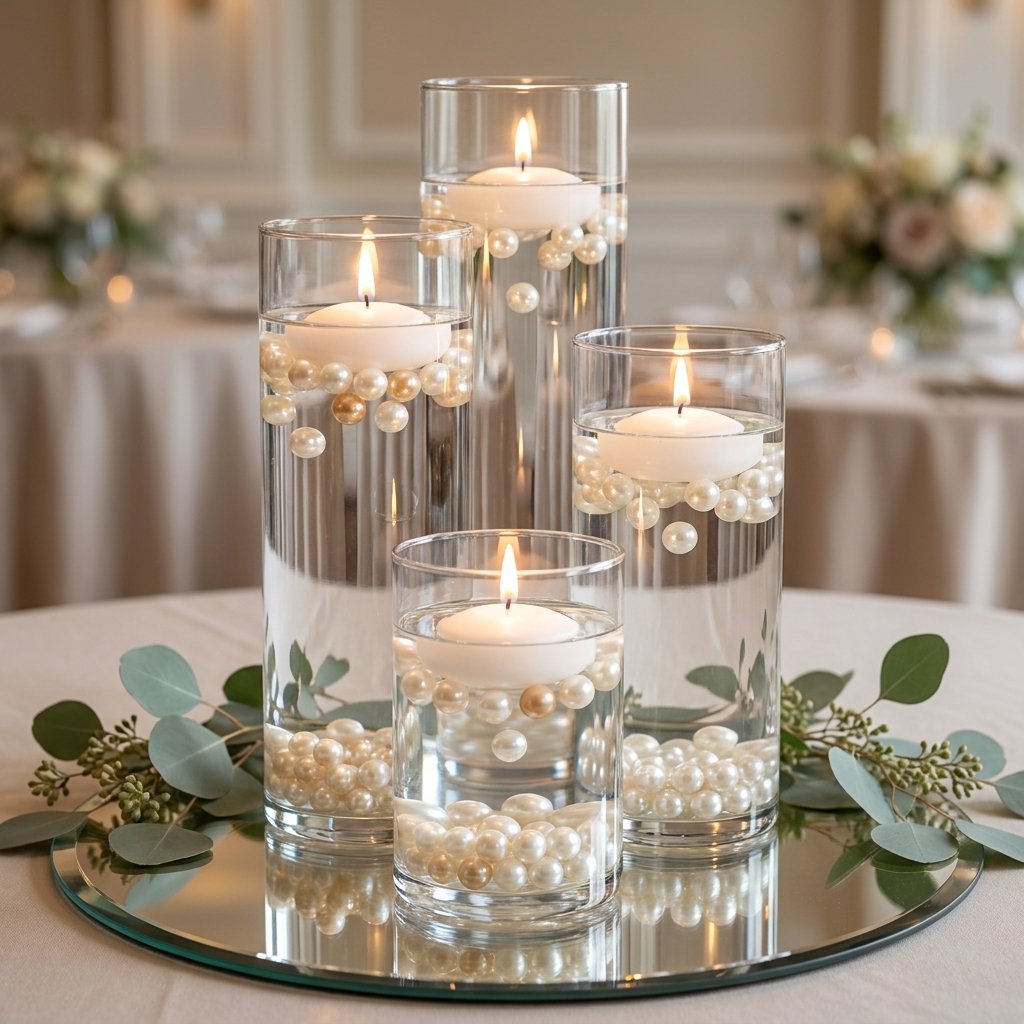
When it comes to wedding aesthetics, there is a fine line between a ‘budget’ look and a ‘bespoke’ masterpiece. As a frugal DIYer, your mission is to cross that line with tactical precision. You want your guests to walk into the reception and wonder if you spent your entire retirement fund on the decor, while you sit back knowing you spent less than the cost of a fancy steak dinner. The floating pearl centerpiece is the ultimate weapon in the arsenal of the budget-savvy event stylist. It uses the simple science of hydrogel refraction to create a gravity-defying, ethereal glow that mimics expensive crystal and high-end floral arrangements. In this guide, we aren’t just putting beads in water; we are engineering a visual experience that is ruggedly reliable and elegantly sophisticated. We will utilize the ‘secret sauce’ of transparent water gels to make pearls appear as if they are suspended in mid-air, providing a clean, modern, and undeniably luxurious atmosphere for your big day.
The Science of Suspended Elegance: Understanding Your Materials
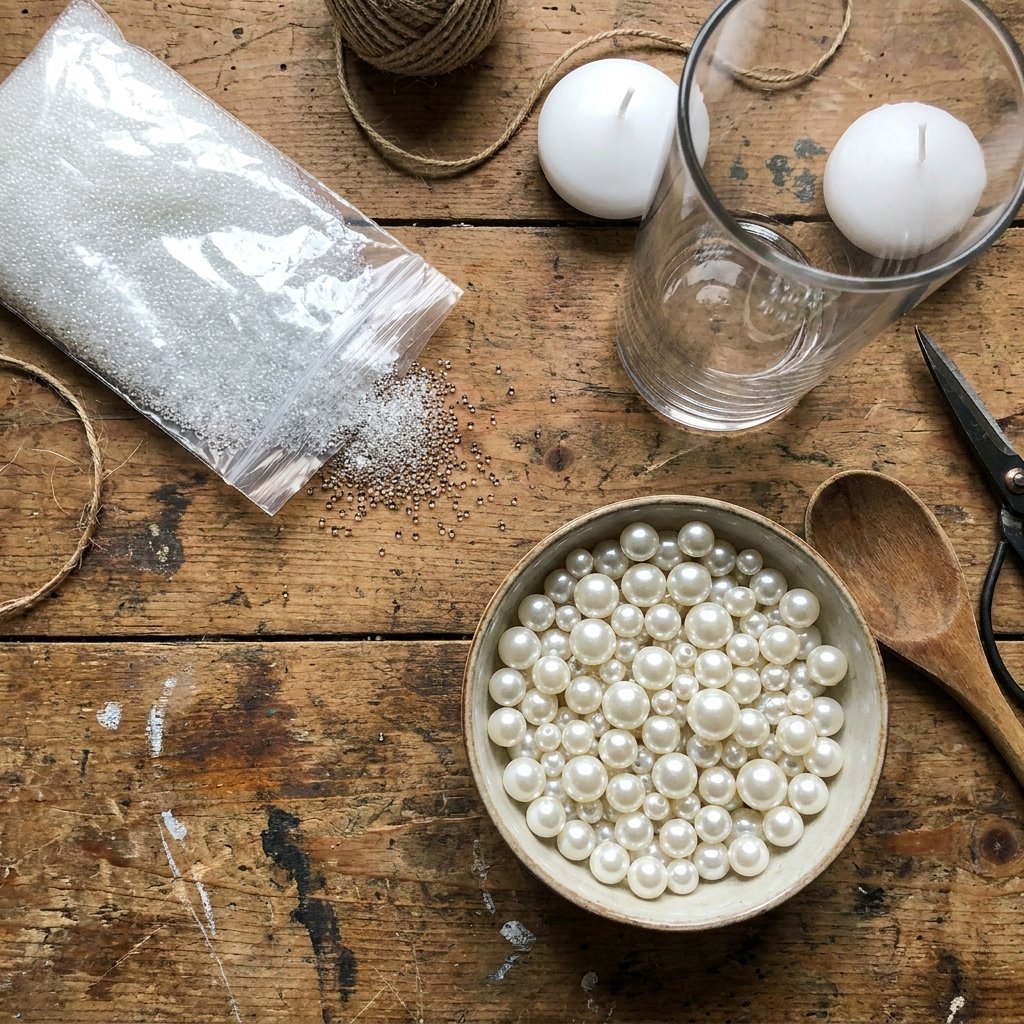
To achieve the magic of floating pearls, you need to understand the ‘Refractive Index’ of your materials. When transparent water beads (often called hydrogel beads) are fully hydrated, they have the same refractive index as water. This means that when they are submerged, they become completely invisible to the naked eye. This is the ‘crafty-expert’ secret that allows the pearls to sit on top of invisible layers of gel, creating the floating effect. You aren’t just dumping things into a vase; you are building a structural matrix. For a $100 budget, you can easily outfit 20 tables with this method, whereas a professional florist might charge $50 to $75 per centerpiece for something similar.
The Material Checklist
You don’t need a high-end boutique to source these. In fact, the more resourceful you are, the better the result. We recommend hitting the local Dollar Tree or buying in bulk from online wholesalers to maximize your savings.
| Material Item | Source Recommendation | Estimated Cost per Unit |
|---|---|---|
| Glass Cylinder Vases (Assorted Heights) | Dollar Tree / Thrift Stores | $1.25 – $3.00 |
| Transparent Water Gel Beads (Dehydrated) | Bulk Online Retailers | $0.10 |
| Faux Pearls (No-hole or Mixed Sizes) | Wholesale Craft Supply | $0.50 |
| Floating Candles (3-inch) | Bulk Wedding Supply | $0.75 |
| Distilled Water | Grocery Store | $0.05 |
“Budget Mantra: Luxury is not about how much you spend, but about the precision of your execution and the cleverness of your sourcing.”
The Tactical Assembly: A Step-by-Step Blueprint
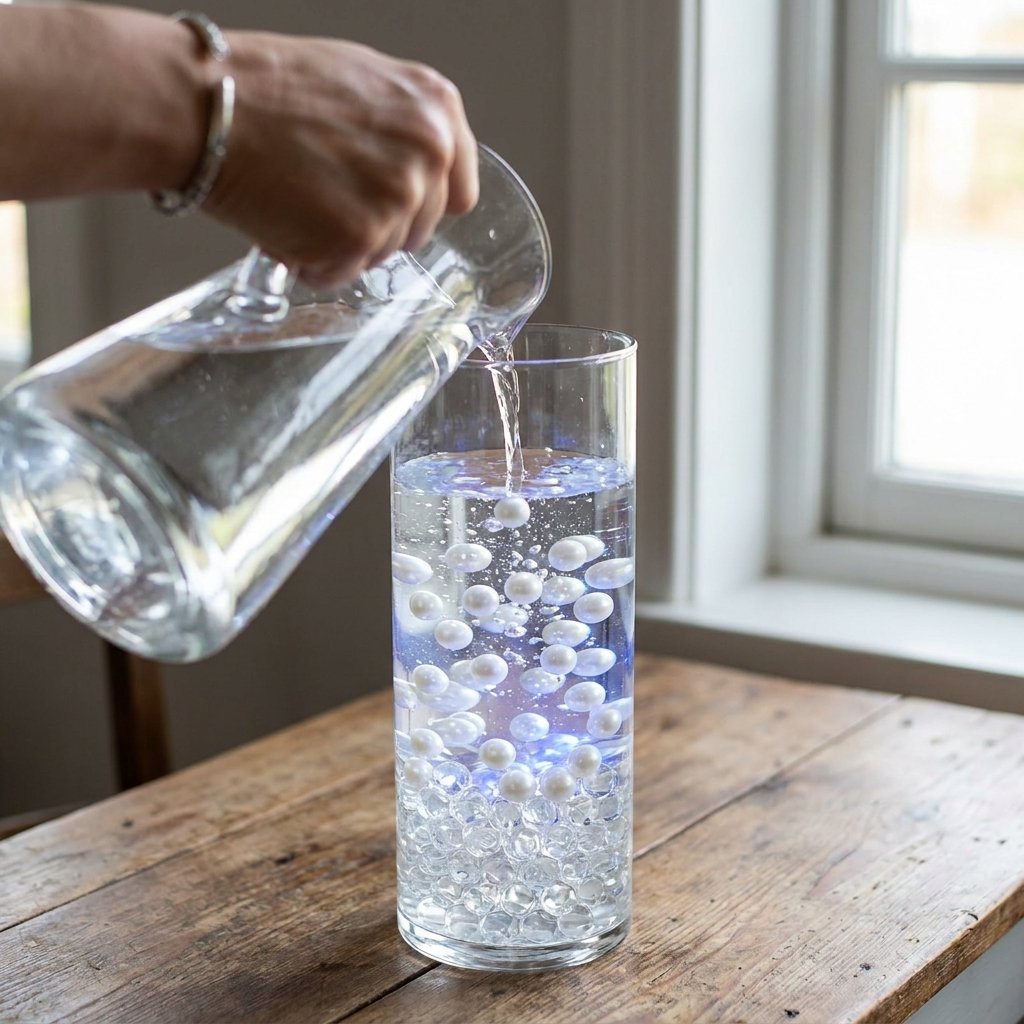
Precision is key. If you rush the hydration process, your beads will be lumpy; if you don’t layer correctly, your pearls will sink to the bottom. Follow this rugged, practical protocol for a flawless finish. Total assembly time: 5 minutes per vase (after hydration).
- Hydrate the Base: Place 1 tablespoon of dehydrated water beads into a large bucket and add 1 gallon of water. Let them soak for at least 6 to 8 hours. They will grow to about the size of a marble and become crystal clear.
- The Foundation Layer: Pour about 2 inches of hydrated beads into the bottom of your clean glass vase.
- The Pearl Drop: Scatter a handful of pearls over the beads. Use a mix of sizes (8mm, 14mm, and 20mm) to create a more organic, high-end look.
- The Structural Build: Add another 2-3 inches of beads, then another layer of pearls. Repeat this until you are about 2 inches from the top of the vase.
- The Reveal: Slowly pour water into the vase. Watch as the beads ‘disappear’ and the pearls remain suspended in space. Stop pouring when the water level is about 1 inch from the rim.
- The Final Flourish: Gently place a floating candle on the surface of the water. Ensure the wick stays dry.
Cost Comparison: DIY vs. Store Bought
Let’s look at the numbers. When you do it yourself, you aren’t paying for labor, overhead, or retail markup. You are paying for raw materials and your own crafty ingenuity.
| Feature | Professional Rental / Florist | DIY Resourceful Build |
|---|---|---|
| Price Per Table | $45.00+ | $3.65 |
| Customization | Limited to Stock | Infinite (Any color/size) |
| Setup Fee | $150.00 – $300.00 | $0.00 (Self-installed) |
| Post-Event Value | None (Returned) | Resaleable or Reusable |
Customization & Troubleshooting: The Pro-Level Hacks
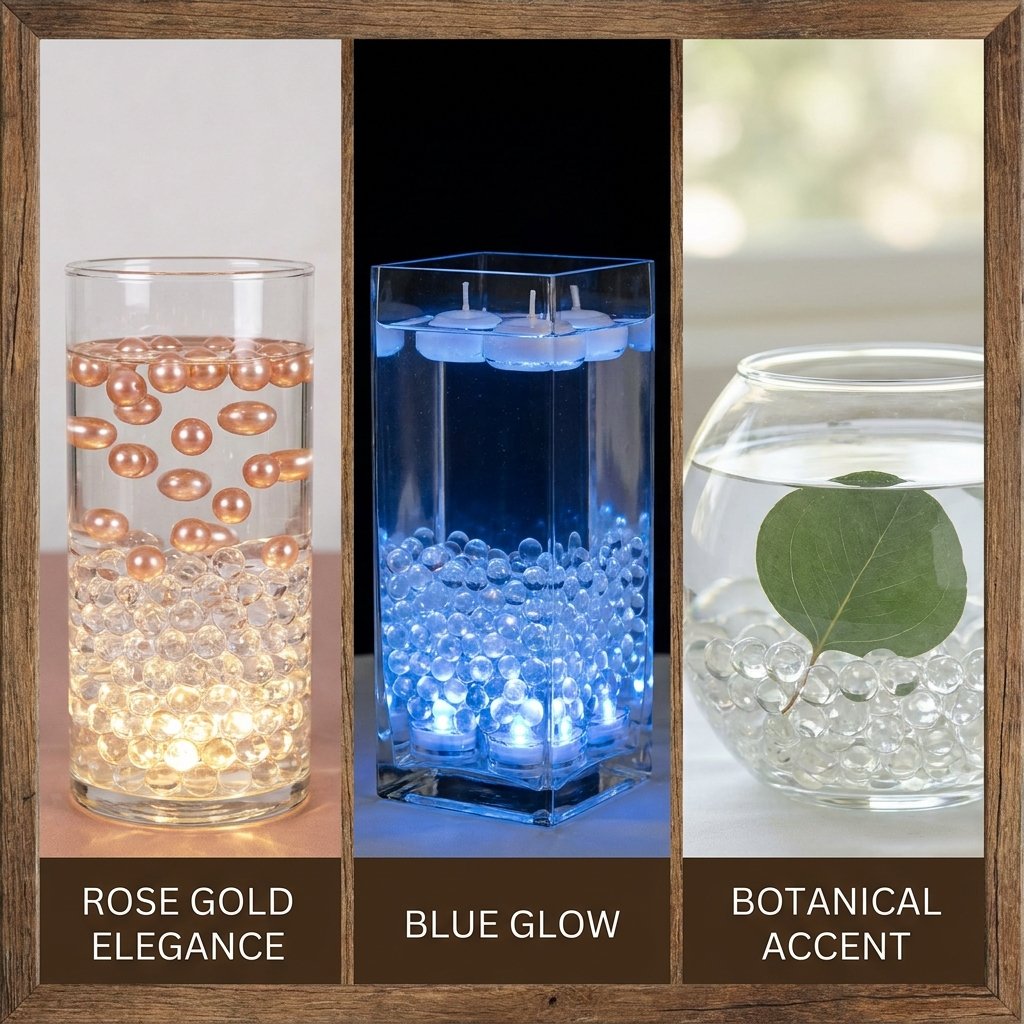
A true craftsman knows that things don’t always go according to plan. If your water looks cloudy or your pearls are drifting to one side, you need a tactical fix. Furthermore, you can elevate the ‘Masculine-Elegant’ vibe by incorporating different elements into the mix.
Troubleshooting Common Issues
- Cloudy Water: Always use distilled water if your tap water is hard. Mineral deposits can make the beads look visible or the water look hazy.
- Sinking Pearls: This happens if your beads aren’t fully hydrated or if you have too much water and not enough beads. Ensure the vase is packed with beads before adding water.
- Air Bubbles: Use a long skewer or a thin dowel to gently stir the beads after adding water to release trapped air pockets.
Creative Variations for a Custom Look
Don’t feel limited to white pearls. You can adapt this technique to fit any wedding theme or season. Consider these ‘Clever & Budget-Savvy’ swaps:
- The Midnight Gala: Use black and gold pearls with a gold-rimmed vase for a high-contrast, sophisticated look.
- The Botanical Twist: Tuck a sprig of waterproof faux eucalyptus or a single orchid bloom into the bead layers before adding water.
- The Submerged Glow: Place a waterproof LED submersible light at the very bottom of the beads before layering to illuminate the entire column from within.
“Pro-Tip: If you are preparing these in advance, do not add the water until you arrive at the venue. Transporting vases full of water is a recipe for a soggy disaster. Transport the hydrated beads and pearls in sealed buckets and ‘just add water’ on-site.”
Logistics of Scale: Managing 20+ Tables Without Stress
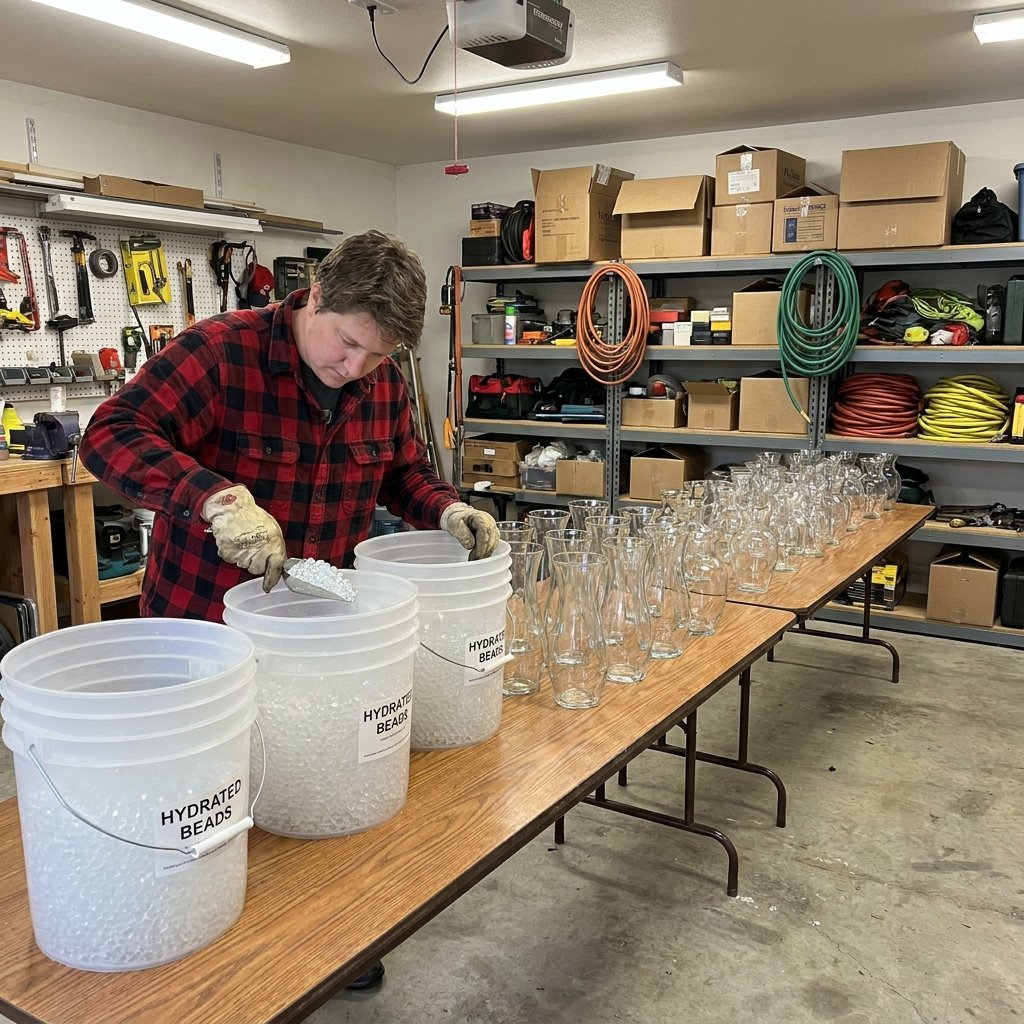
For a handy parent or a budget bride, the challenge isn’t making one centerpiece—it’s making thirty. You need a logistical workflow that minimizes time and maximizes consistency. This is where the ‘Rugged & Practical’ mindset comes into play.
The Production Line Method
- Batch Hydration: Hydrate all your beads 24 hours in advance in large 5-gallon buckets. One small jar of dehydrated beads can fill several buckets.
- Dry Assembly: On the day before the wedding, layer the beads and pearls into the vases while they are ‘dry’ (hydrated beads, but no extra water). Cover each vase with plastic wrap to prevent the beads from drying out.
- The Transport Kit: Use sturdy plastic bins with dividers (or the original cardboard boxes the vases came in) to transport the pre-layered vases to the venue.
- The On-Site Finish: Assign a ‘Tactical Decor Team’ (bridesmaids, groomsmen, or helpful family) to fill the vases with water and place the candles once the tables are set. This takes only 30 seconds per table.
Safety and Disposal Note
“Safety First: Never pour water beads down a drain. They are designed to absorb water and will cause a massive plumbing blockage. When the wedding is over, strain the beads, let them dry out to their original tiny size, and save them for a future craft or dispose of them in the trash.”
The After-Party: Upcycling and Resale Value
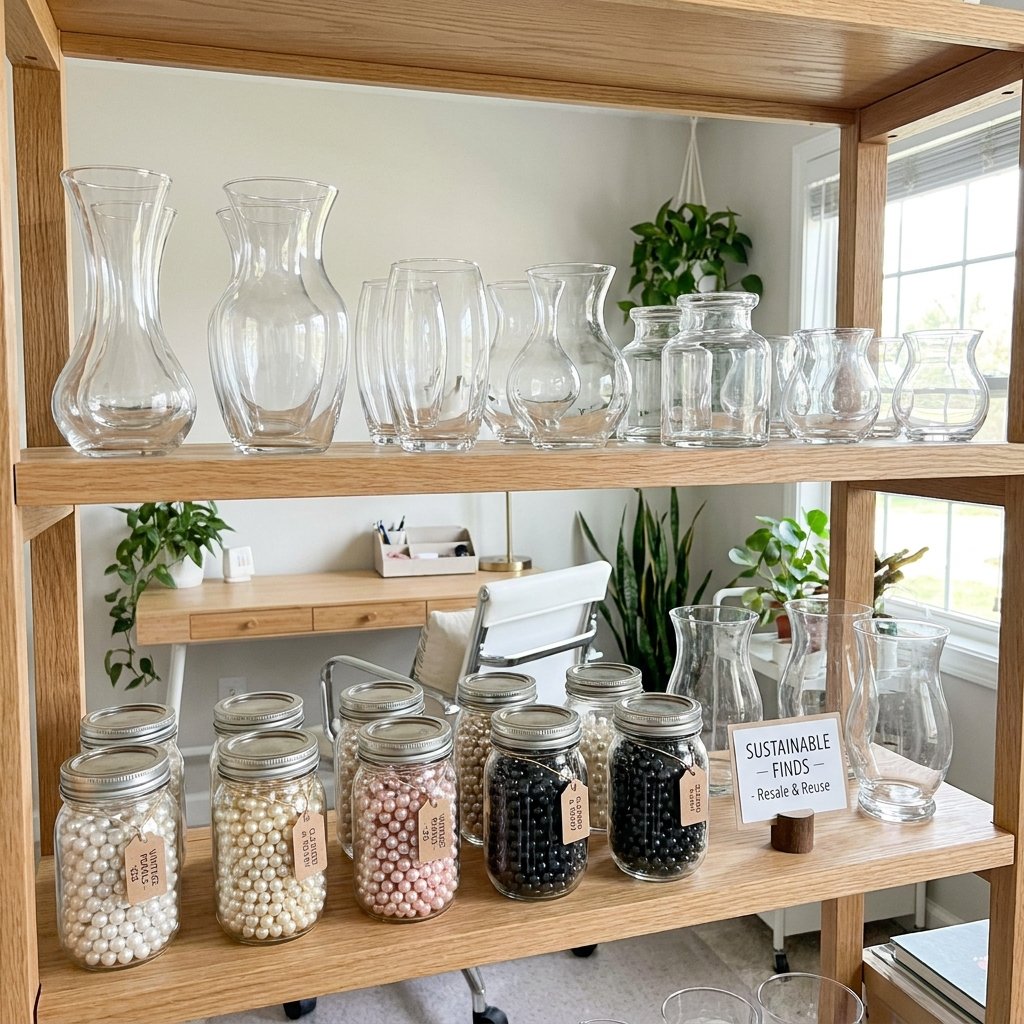
A truly frugal DIYer knows that the project doesn’t end when the music stops. One of the best parts of the floating pearl centerpiece is its resale potential. Because these items are durable and the look is timeless, you can often recoup 70-80% of your costs by selling the ‘centerpiece kits’ to another couple on local marketplaces.
Post-Wedding Recovery Plan
- Clean and Dry: Wash the vases thoroughly to remove candle wax and water spots.
- Pearl Salvage: Rinse the pearls and store them in a dry container. They can be used for future home decor, holiday ornaments, or jewelry crafts.
- The ‘Kit’ Sale: Package the vases, remaining beads, and pearls together. Market them as a ‘Complete Wedding Decor Kit’ to save another budget-savvy couple the time of sourcing.
By treating your wedding decor as an investment of both time and resourcefulness, you’ve not only saved thousands of dollars but also created a sustainable cycle of crafting. That is the hallmark of a master upcycler.
Conclusion
Victory on a Dime
Creating a ‘million-dollar’ wedding look doesn’t require a million-dollar bank account; it requires a strategic mind, a bit of science, and a lot of heart. By mastering the art of the floating pearl centerpiece, you have proven that elegance is accessible to anyone willing to get their hands a little wet. You’ve navigated the sourcing, the science of hydrogels, and the logistics of a large-scale event with the grace of a professional stylist and the grit of a DIY expert. As your guests admire the shimmering, suspended pearls and the soft glow of the candles, they won’t see the ‘Dollar Tree’ price tags—they will see the beauty and effort you poured into your celebration. Now, take that saved money and put it toward your honeymoon or your first home. You’ve earned it. Stay crafty, stay frugal, and keep creating magic from the mundane.

Makenzie is the founder and lead writer at MoneyHackTips.com — a personal finance blog dedicated to delivering street-smart financial wisdom for real people on real budgets. With 300+ published articles covering everything from debt management to investing fundamentals, Makenzie’s mission is to make every dollar work harder. When not writing about money hacks, Makenzie is testing frugal living strategies, optimizing side hustles, and helping readers build financial freedom from scratch.