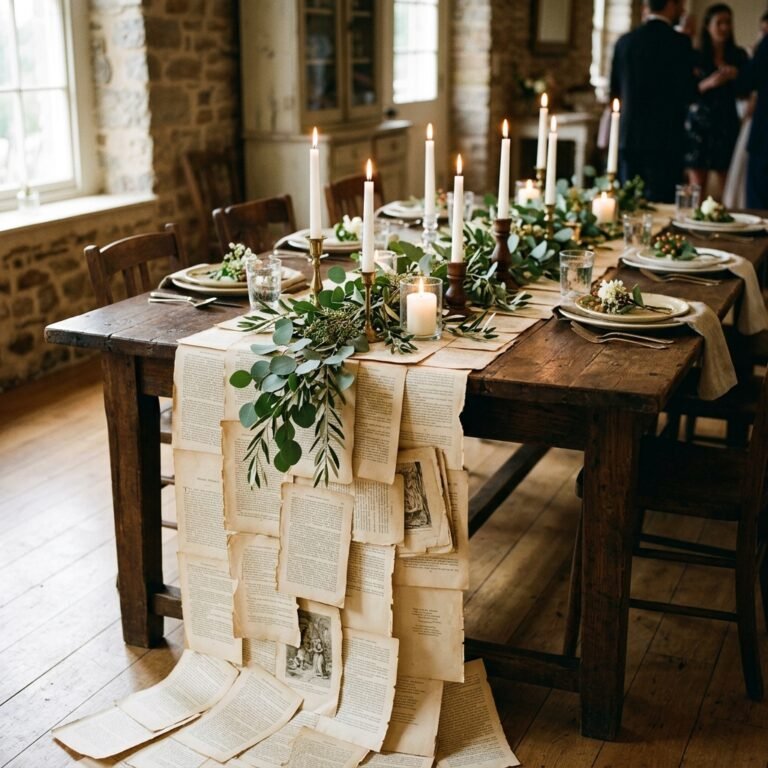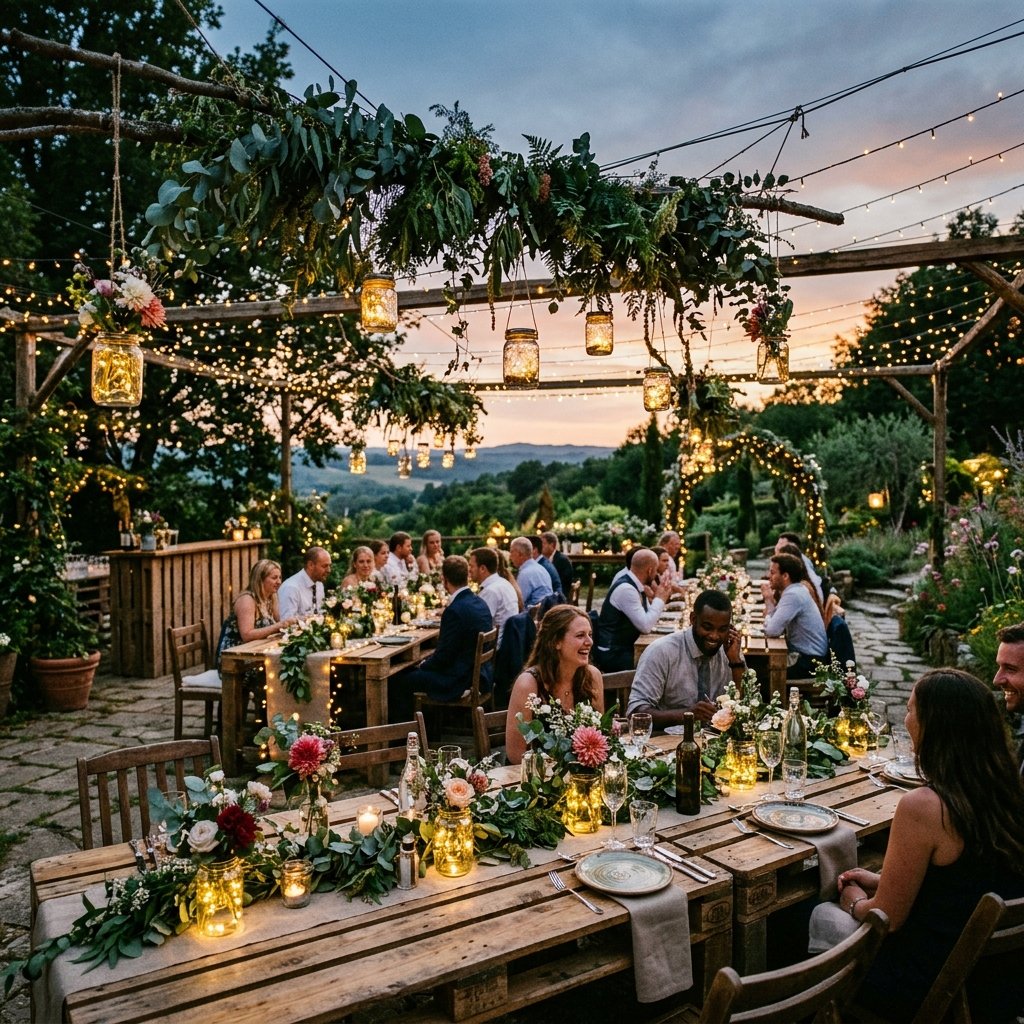

Welcome to the masterclass of the century for the budget-savvy visionary. If you have been told that a ‘jaw-dropping’ wedding requires a five-figure loan, you have been misled. As a veteran of the trash-to-treasure movement, I am here to tell you that with a rugged spirit, a clever eye, and a bit of elbow grease, you can style a rustic wedding that looks like it belongs on the cover of a high-end bridal magazine for less than $100. We aren’t just cutting corners; we are reinventing the entire square. This guide is for the crafty gift-givers, the handy parents, and the frugal DIYers who know that true elegance isn’t bought—it is built. We will transform discarded pallets, empty wine bottles, and roadside greenery into a cohesive, masculine-elegant aesthetic that will leave your guests speechless. Let’s get to work.
The Art of the Tactical Scavenge: Sourcing Your Foundation for $0
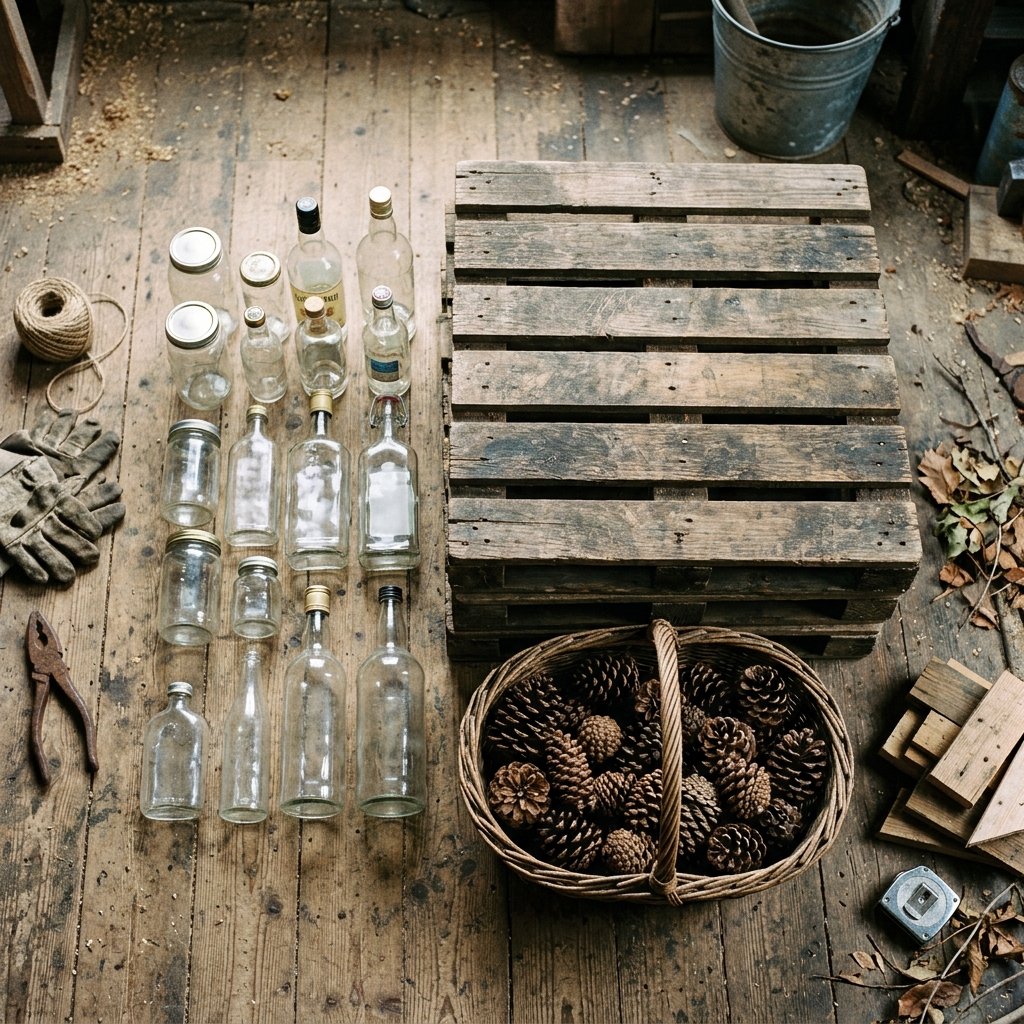
The secret to a $100 wedding is simple: never pay for what you can find for free. Your first mission is the ‘Tactical Scavenge.’ Rustic decor relies on natural textures—wood, glass, and metal—which are often discarded by businesses and neighbors. Start by scouting local warehouses for free wooden pallets. These are the gold mines of rustic styling. You can dismantle them to create signage, table runners, or even a rugged ceremony backdrop. Next, raid the recycling bins of local restaurants for clear glass bottles and mason jars. When cleaned and stripped of labels, these become high-end vessels for your floral arrangements.
Materials to Source for Zero Dollars
- Wooden Pallets: Check behind hardware stores (always ask permission first).
- Glass Jars and Bottles: Wine, beer, and pickle jars offer various heights and shapes.
- Fallen Branches and Logs: After a storm, look for birch or oak limbs that can be sliced into wood rounds.
- Pinecones and Acorns: Perfect for autumn-themed table scatter.
| Item | Retail Price | Scavenge Price | Total Savings |
|---|---|---|---|
| Wooden Crates (x5) | $75 | $0 | $75 |
| Mason Jars (x24) | $40 | $0 | $40 |
| Wood Rounds (x10) | $120 | $0 | $120 |
The budget-savvy mantra: If it has texture and it is free, it has potential. Never underestimate the power of a good scrub and a coat of matte sealant.
Tabletop Alchemy: Elevating Glass and Twine
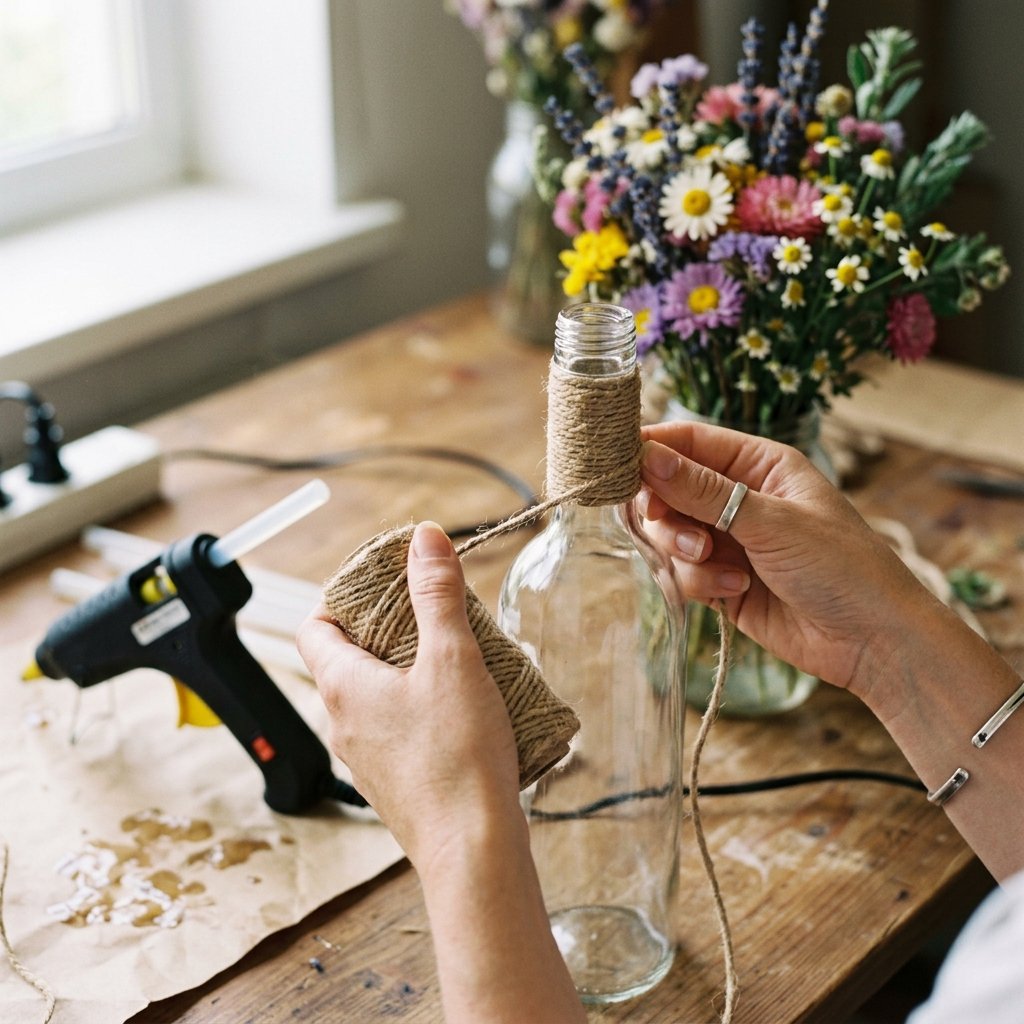
Once you have your scavenged glass, it’s time for Tabletop Alchemy. We are going to turn those mismatched jars into a unified set of centerpieces. The key is consistency. By using a single roll of $5 jute twine and a $4 can of matte white spray paint, you can create a ‘frosted’ or ‘dipped’ look that ties everything together. For the greenery, skip the professional florist. Use wildflowers from a friend’s garden or forage for eucalyptus-style weeds and ferns from the woods. These ‘free’ stems, when placed in a meticulously decorated jar, look intentional and sophisticated.
Step-by-Step Twine Wrapping Technique
- Clean the glass thoroughly with vinegar to remove all adhesive residue.
- Apply a small bead of hot glue at the base of the jar.
- Press the end of the twine into the glue and begin wrapping tightly, ensuring no glass shows through.
- Continue for 2 inches, then cut and glue the end.
- For a ‘dipped’ look, spray paint the bottom half of the jar before adding the twine.
To add a touch of masculine elegance, incorporate leather scraps or copper wire if you have them in your junk drawer. A simple strip of leather tied around a wine bottle neck instantly elevates the piece from ‘crafty’ to ‘custom-made.’
The Rugged Altar: Constructing a Timber Arch for Pennies
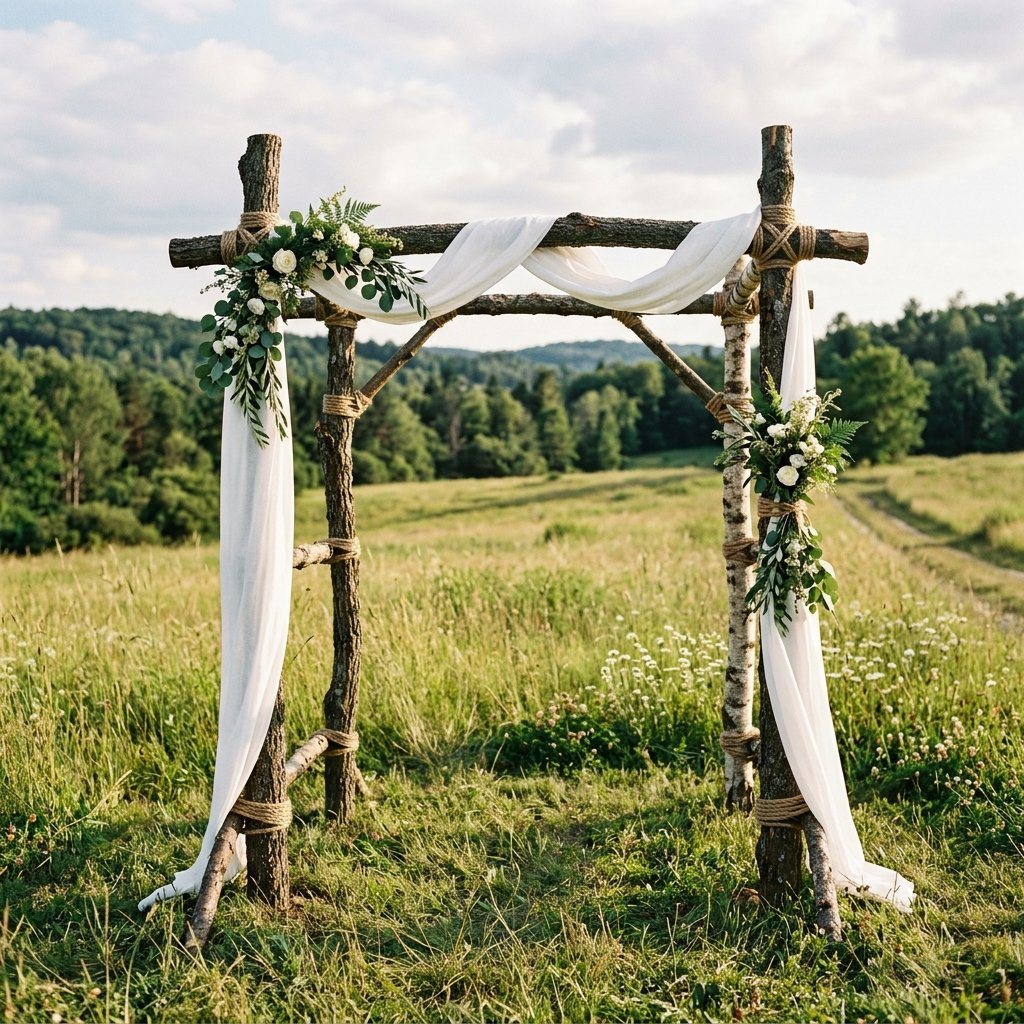
The ceremony arch is usually a major expense, often renting for $200 to $500. We are going to build one for $15. The secret is using structural saplings or large fallen limbs. If you live near a wooded area, look for long, straight branches that have recently fallen. You will need two vertical posts (roughly 7 feet) and one crossbeam (roughly 5 feet). To secure them, we won’t use expensive hardware; we will use the Square Lashing technique used by woodsmen for centuries. It’s strong, rugged, and fits the rustic theme perfectly.
The $15 Arch Budget
- Sturdy Branches: $0 (Foraged)
- Heavy Duty Sisal Rope: $8
- Second-hand Sheer Curtain: $5 (Thrifted)
- Floral Wire: $2
| Task | Estimated Time | Cost |
|---|---|---|
| Foraging Wood | 2 Hours | $0 |
| Lashing Joints | 45 Minutes | $8 |
| Draping Fabric | 15 Minutes | $5 |
| Total | 3 Hours | $13 |
Safety Note: Ensure your vertical posts are anchored in heavy buckets filled with rocks or buried 12 inches into the ground to prevent tipping during the ceremony.
Atmosphere on a Shoestring: The Tin-Can Lantern Method
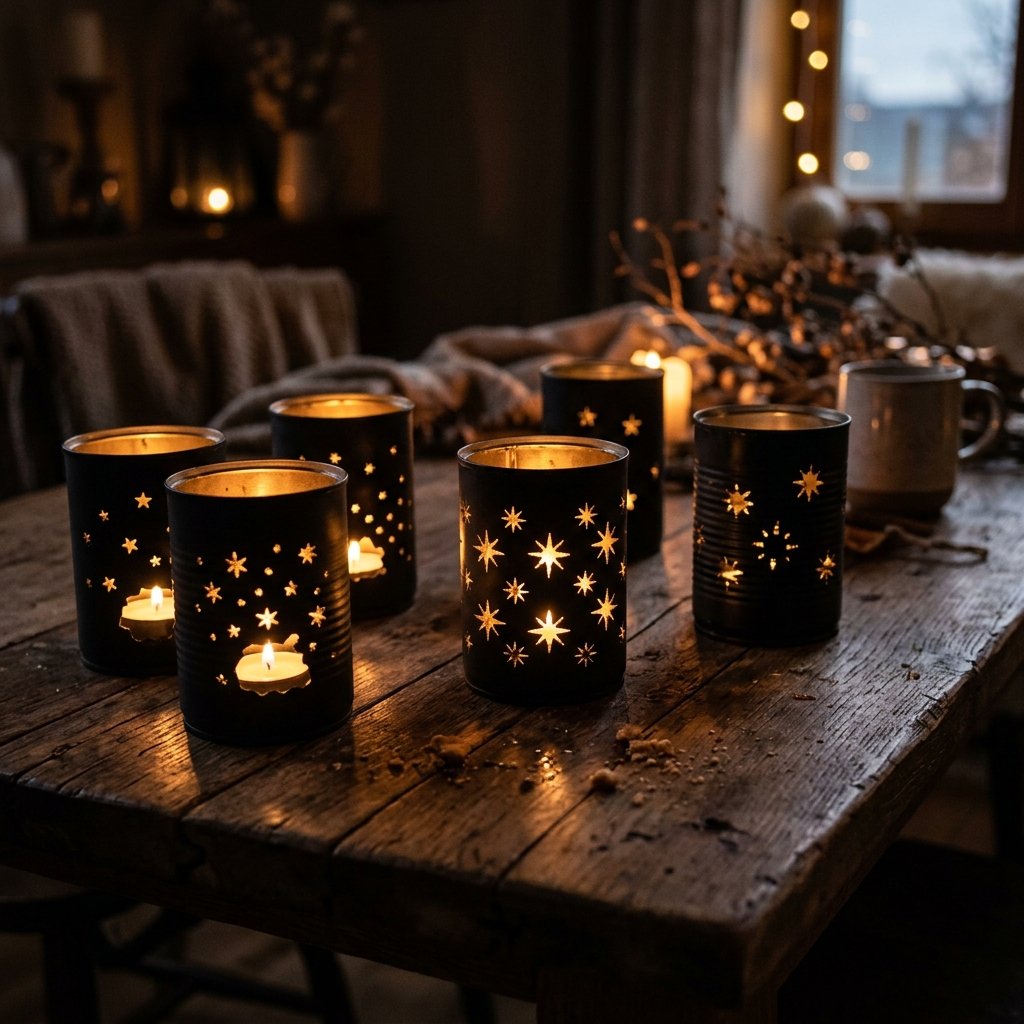
Lighting defines the mood. While professional uplighting costs a fortune, tin-can lanterns provide a flickering, romantic glow for the cost of a few recycled cans and a bit of ice. This is a classic ‘handy parent’ trick that looks stunning when lined along a walkway or clustered on pallet tables. By punching patterns into the metal, you create custom light projections that dance across the venue as the sun sets.
How to Create Patterned Tin Lanterns
- Fill clean tin cans with water and freeze them solid. This prevents the metal from denting when you strike it.
- Draw a simple geometric or floral pattern on the outside with a sharpie.
- Using a hammer and a large nail, punch holes along your pattern.
- Let the ice melt and dry the can thoroughly.
- Spray paint the exterior with a $4 can of metallic copper or matte black paint.
- Place a tea light candle (bought in bulk for $5) inside.
These lanterns are durable, wind-resistant, and provide a rugged elegance that store-bought plastic lanterns simply cannot match. Cluster them in groups of three for maximum visual impact.
Signage and Sentiment: Hand-Milled Aesthetics from Scrap
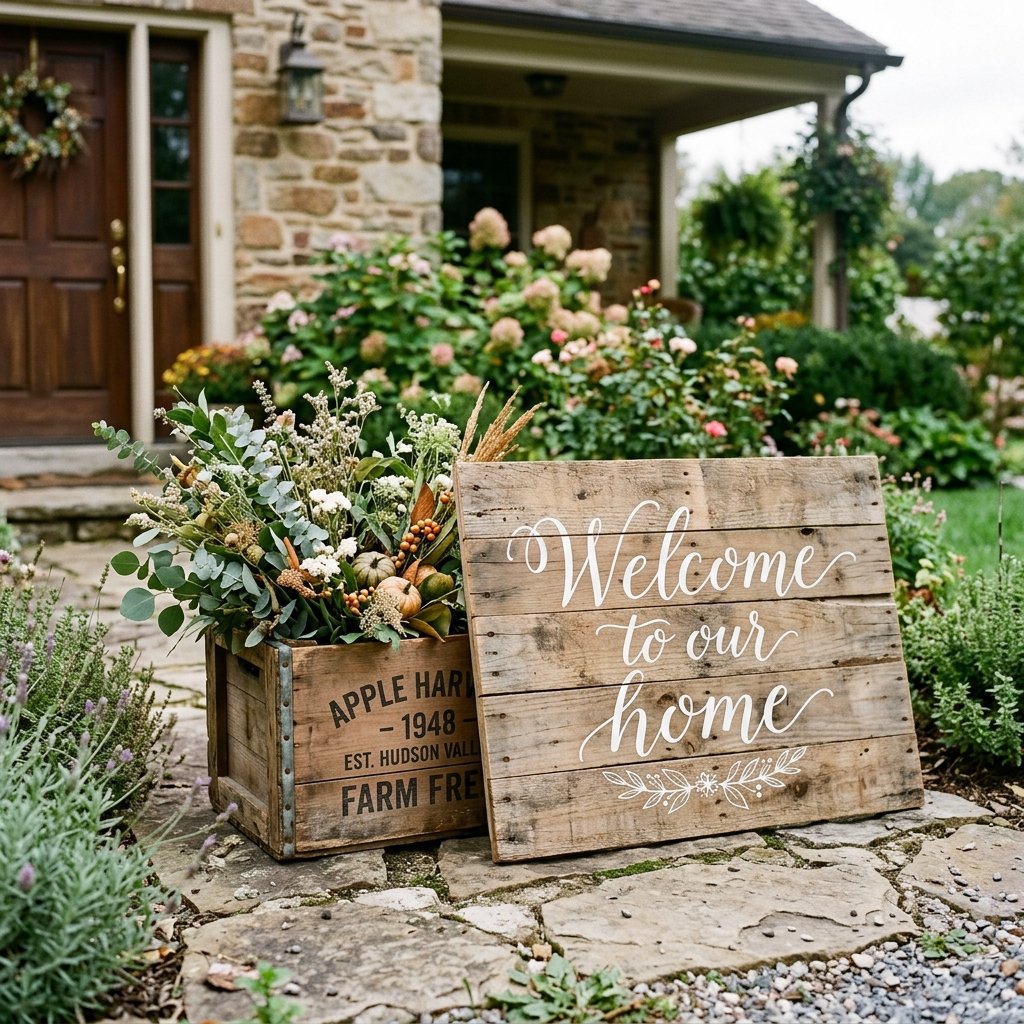
Professional wedding signage can easily eat up $150 of a budget. We are going to bypass that by using the Cardboard-to-Charcoal transformation or reclaimed pallet slats. If you have a steady hand, you can create ‘chalkboard’ signs using $6 chalkboard paint and scrap plywood. If you prefer a more rugged look, use a wood burner (or a steady hand with a dark stain marker) to etch names and directions directly into pallet wood.
DIY Signage Cost Comparison
| Sign Type | Store Bought | DIY Upcycled |
|---|---|---|
| Welcome Sign | $65 | $4 |
| Directional Signs | $45 | $2 |
| Table Numbers | $30 | $1 |
| Total | $140 | $7 |
To achieve professional-looking calligraphy without being an artist, use the transfer method: print your text on a standard printer, rub chalk on the back of the paper, tape it to your wood, and trace the letters. This leaves a faint outline that you can then fill in with a white paint pen ($3). It’s a clever, foolproof way to get high-end results on a ‘trash’ substrate.
Conclusion
Styling a jaw-dropping rustic wedding for under $100 isn’t just about saving money; it’s about the creative triumph of turning the overlooked into the unforgettable. By sourcing your own timber, upcycling glass, and mastering the art of the ‘tactical scavenge,’ you create an atmosphere that is deeply personal and authentically rugged. Your guests won’t remember the price tag of your centerpieces, but they will remember the warm glow of the tin-can lanterns and the hand-lashed arch where you said your vows. You are now equipped with the secrets of the frugal guru. Go forth, build something beautiful, and keep that extra several thousand dollars in your pocket for the honeymoon. Congratulations on your resourceful and elegant new beginning!

Makenzie is the founder and lead writer at MoneyHackTips.com — a personal finance blog dedicated to delivering street-smart financial wisdom for real people on real budgets. With 300+ published articles covering everything from debt management to investing fundamentals, Makenzie’s mission is to make every dollar work harder. When not writing about money hacks, Makenzie is testing frugal living strategies, optimizing side hustles, and helping readers build financial freedom from scratch.