
The Secret to Boutique Wedding Decor on a Shoestring Budget
Your wedding day is a symphony of personal touches, but let’s be honest: the costs can hit a high note that your bank account isn’t ready to sing. As a resourceful DIYer, you know that the difference between a ‘budget wedding’ and a ’boutique experience’ lies in the details. Enter the world of DIY resin table numbers. These aren’t just markers; they are miniature pieces of art so striking that your guests will be asking if they can take them home at the end of the night. By combining the rugged durability of epoxy with the elegant shimmer of gold leaf or the natural beauty of pressed flowers, you can create a high-end look for under $2 per unit. In this masterclass, we will dive deep into the craft, ensuring you achieve professional, bubble-free results that rival any luxury wedding rental service.
The Master Plan: Why Resin Table Numbers Are the Ultimate Budget Flex
The Economics of Elegance
When you look at high-end wedding catalogs, a single acrylic or resin table number can retail for anywhere from $15 to $45. For a wedding with 20 tables, that is a $900 expense just for signage. By sourcing your own resin in bulk and using clever upcycling techniques, you can slash that cost by 90%. The beauty of resin is its versatility; whether you are going for a masculine-elegant look with dark wood inlays or a whimsical botanical vibe, the process remains the same.
| Material Item | Store-Bought Price (Per Unit) | DIY Estimated Cost (Per Unit) |
|---|---|---|
| High-Gloss Resin Base | $25.00 | $1.10 |
| Custom Numbering/Decals | $10.00 | $0.15 |
| Decorative Fillers (Gold/Flowers) | $10.00 | $0.25 |
| Total Cost | $45.00 | $1.50 |
The ROI on your time is unmatched. Once you master the pour, you can produce a dozen of these in a single afternoon, leaving more room in your budget for the honeymoon or that extra-tier on the cake.
The Workshop Setup: Safety, Tools, and the Secret to a Bubble-Free Finish
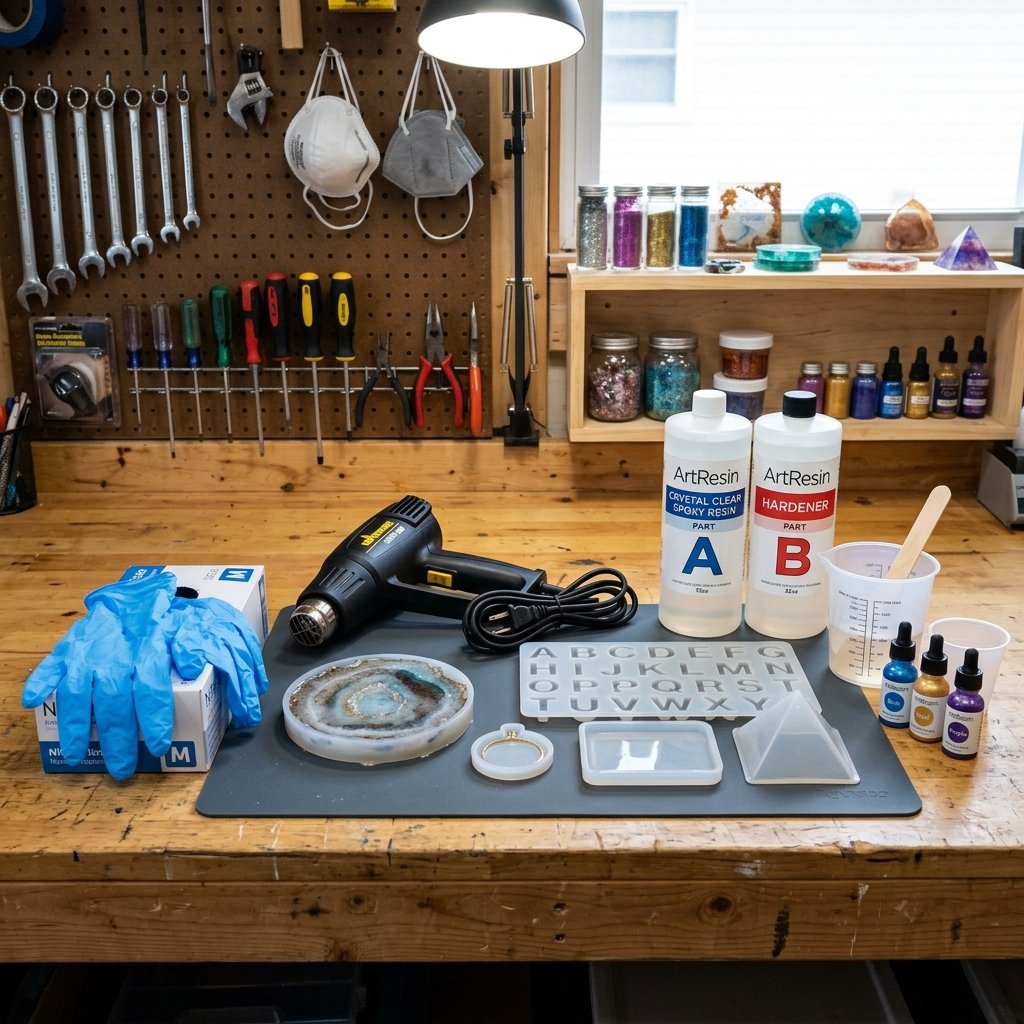
Creating Your Resin Command Center
Before we mix a single drop, we need to talk about the rugged reality of working with chemicals. Resin is a polymer that requires respect and precision. You want a workspace that is well-ventilated, level, and dust-free. Dust is the enemy of a glass-like finish. Use a spirit level to ensure your table is perfectly flat, or your numbers will have a slanted ‘meniscus’ that looks amateur.
Safety is paramount: Always wear nitrile gloves, work in a space with cross-ventilation, and use a respirator if you are working with large volumes of resin. Your health is the one thing you can’t DIY.
- Nitrile Gloves: Protect your hands from the sticky, uncured resin.
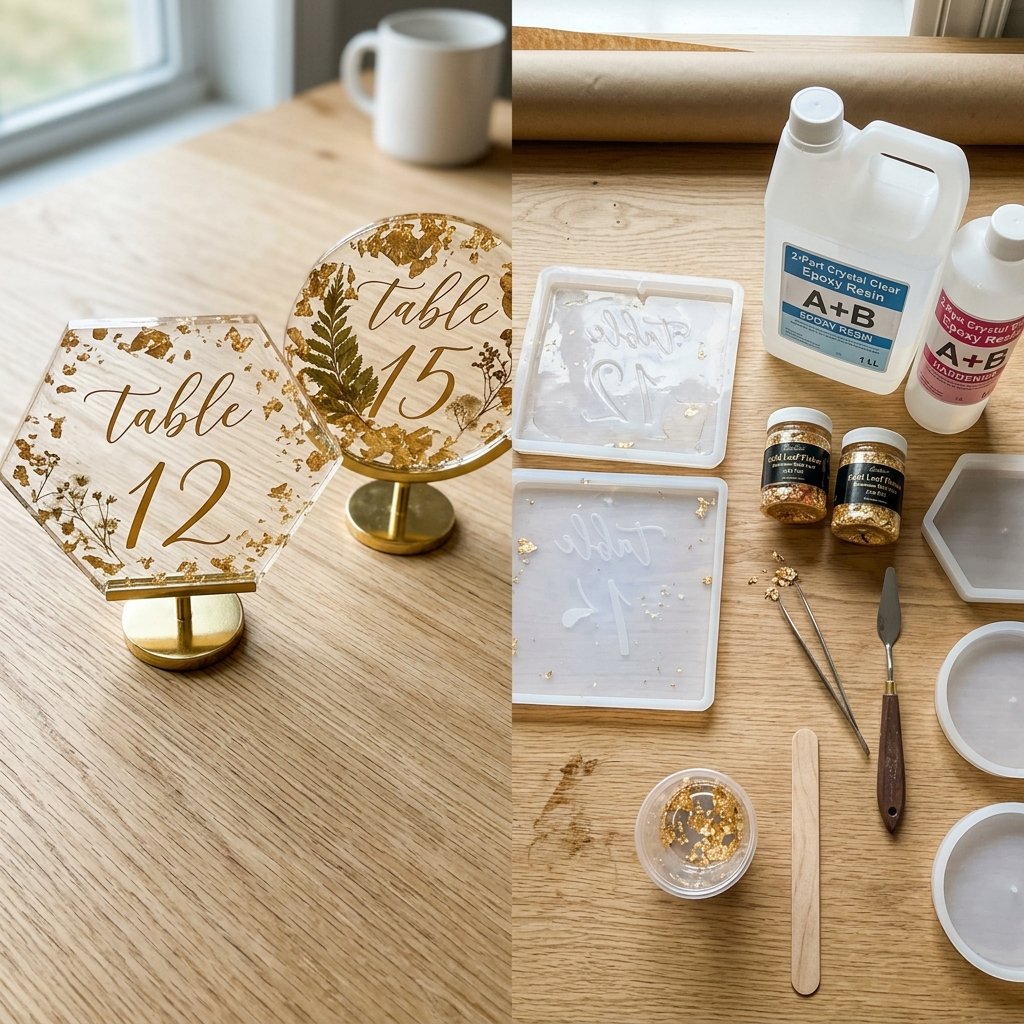
- Silicone Molds: Standard 4×6 or 5×7 rectangular molds work best for table numbers.
- Heat Gun or Butane Torch: This is the pro secret for popping bubbles instantly.
- Mixing Cups: Use graduated cups to ensure a perfect 1:1 or 2:1 ratio depending on your resin brand.
Precision is key. A 1% error in your mixing ratio can lead to ‘tacky’ resin that never fully cures, ruining your hard work and wasting your materials.
The Pouring Protocol: A Step-by-Step Guide to Professional Resin Casting

The Perfect Mix and Pour
Achieving that crystal-clear, high-end look requires a methodical approach. Follow these steps to ensure your table numbers are flawless:
- Measure Twice, Pour Once: Use your graduated cups to measure Part A (Resin) and Part B (Hardener). Accuracy is everything.
- The Three-Minute Stir: Stir slowly and steadily for 3 full minutes. Scrap the sides and the bottom of the cup constantly. Do not whip the resin; we want to minimize air entrapment.
- The First Layer: Pour a thin ‘base layer’ (about 1/8th of an inch) into your mold. Use your heat gun to sweep across the surface to pop any surface bubbles.
- Adding Your Elements: Place your numbers (vinyl stickers, laser-cut wood, or printed transparency film) face down into the resin.
- The Final Cap: After the first layer has set for about 2 hours (retaining some ‘tack’), pour the final clear layer to seal everything in.
By pouring in layers, you prevent your decorative elements from sinking to the bottom or floating to the top in an uneven mess. This ‘sandwich’ technique is what gives the numbers their 3D depth.
Customizing Your Aesthetic: From Rugged Wood Inlays to Delicate Florals
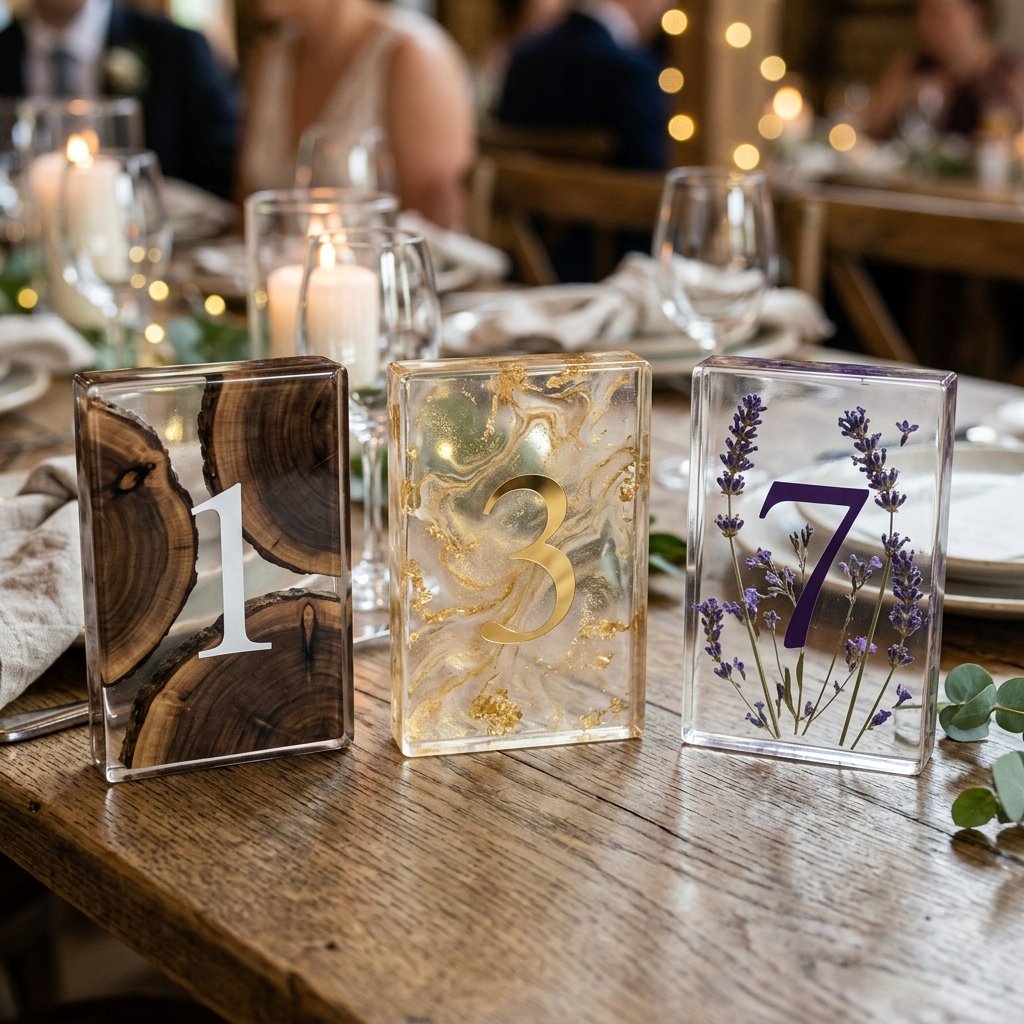
Designing for Your Wedding Theme
This is where your crafty expertise shines. You aren’t limited to just clear plastic. Think about your wedding’s ‘vibe.’ For a rugged, masculine-elegant wedding, consider using reclaimed wood slivers. For a budget-savvy bride, use dried wildflowers from your own backyard.
- The Gold Leaf Trick: Use imitation gold flakes (much cheaper than real gold) and stir them slightly into the resin for a ‘floating’ marbled effect.
- The Transparency Hack: Print your table numbers on transparency film using a standard inkjet printer. When submerged in resin, the plastic disappears, leaving only the floating ink.
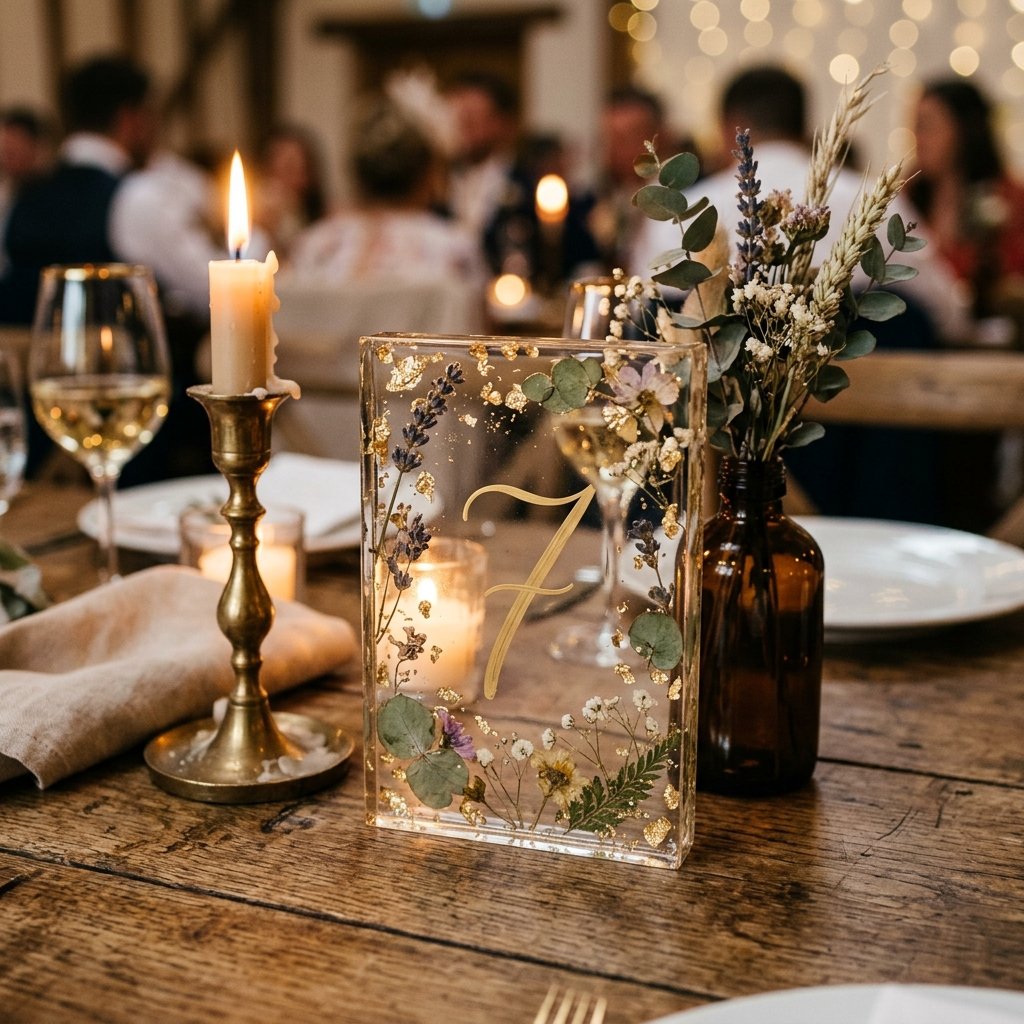
- The Naturalist Approach: Use pressed ferns, lavender, or even small pebbles to create a 3D landscape inside the number.
Pro Tip: If using organic materials like wood or flowers, they must be 100% dry. Moisture reacts with resin to create unsightly white foam and brown rot over time.
The Final Polish: Sanding, Buffing, and Mounting Your Masterpieces
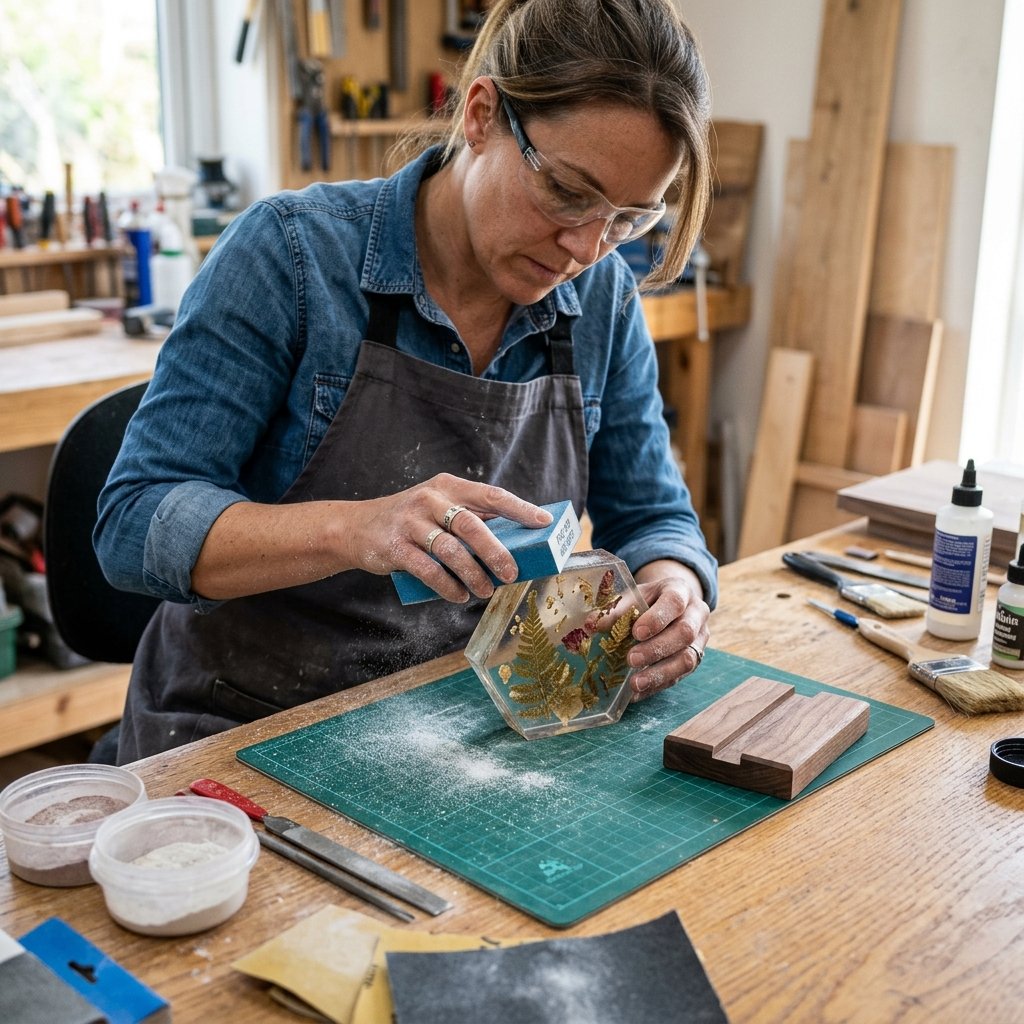
Achieving the ‘Steal-Worthy’ Finish
Once your resin has cured for 24 to 48 hours, pop them out of the molds. You might notice some sharp edges on the back. This is where the handy crafter separates themselves from the amateur. To get that high-gloss, store-bought look, you need to finish the edges.
- Sanding: Start with 240-grit sandpaper to remove the sharp ‘lip’ and work your way up to 3000-grit wet/dry paper for a smooth finish.
- Polishing: Use a small amount of plastic polishing compound and a microfiber cloth to bring back the shine after sanding.
- The Stand: You can buy cheap wooden blocks from the craft store, stain them a dark espresso or oak, and cut a small groove in the top. This rugged wood base provides a beautiful contrast to the sleek resin.
Total time spent on finishing is about 5 minutes per piece, but it adds $20 of perceived value to each item.
The Budget Breakdown: Boutique Luxury on a DIY Dime
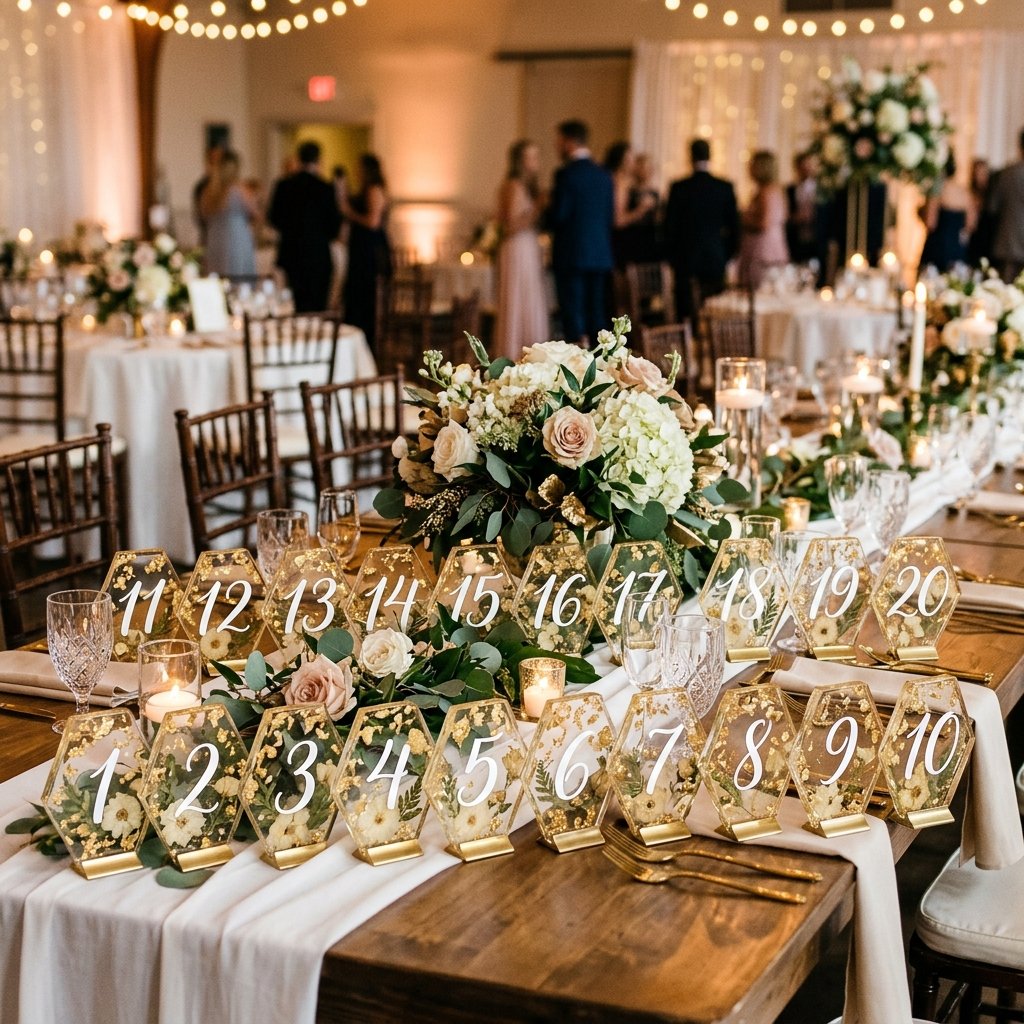
Final Cost Analysis
Let’s look at the final numbers. By being resourceful and clever, you’ve saved enough to potentially cover the cost of your wedding shoes or a significant portion of your floral budget.
| Expense Category | Bulk Purchase Price | Usage Per 20 Numbers |
|---|---|---|
| Epoxy Resin (1 Gallon Kit) | $75.00 | $35.00 |
| Silicone Molds (Set of 2) | $12.00 | $12.00 |
| Gold Leaf & Dried Florals | $15.00 | $5.00 |
| Wooden Bases (Upcycled Scrap) | $0.00 | $0.00 |
| Total Investment | $102.00 | $52.00 |
That brings your total cost to roughly $2.60 per table number, including the reusable molds. Compared to the $900 boutique price tag, you have saved $848. That is the power of the frugal guru mindset!
Conclusion
A Toast to Your Craftsmanship
Creating your own DIY resin wedding table numbers is more than just a money-saving tactic; it’s a statement of your creativity and dedication to the craft. By following this guide, you’ve mastered the art of the pour, the science of the cure, and the finesse of the finish. These numbers will guide your guests to their seats with elegance and style, and don’t be surprised if a few of them ‘accidentally’ end up in a guest’s purse as a memento of your beautiful day. You’ve proven that with a little resourcefulness and a lot of heart, you can create a wedding that looks like a million bucks on a real-world budget. Happy crafting, and cheers to your big day!

Makenzie is the founder and lead writer at MoneyHackTips.com — a personal finance blog dedicated to delivering street-smart financial wisdom for real people on real budgets. With 300+ published articles covering everything from debt management to investing fundamentals, Makenzie’s mission is to make every dollar work harder. When not writing about money hacks, Makenzie is testing frugal living strategies, optimizing side hustles, and helping readers build financial freedom from scratch.