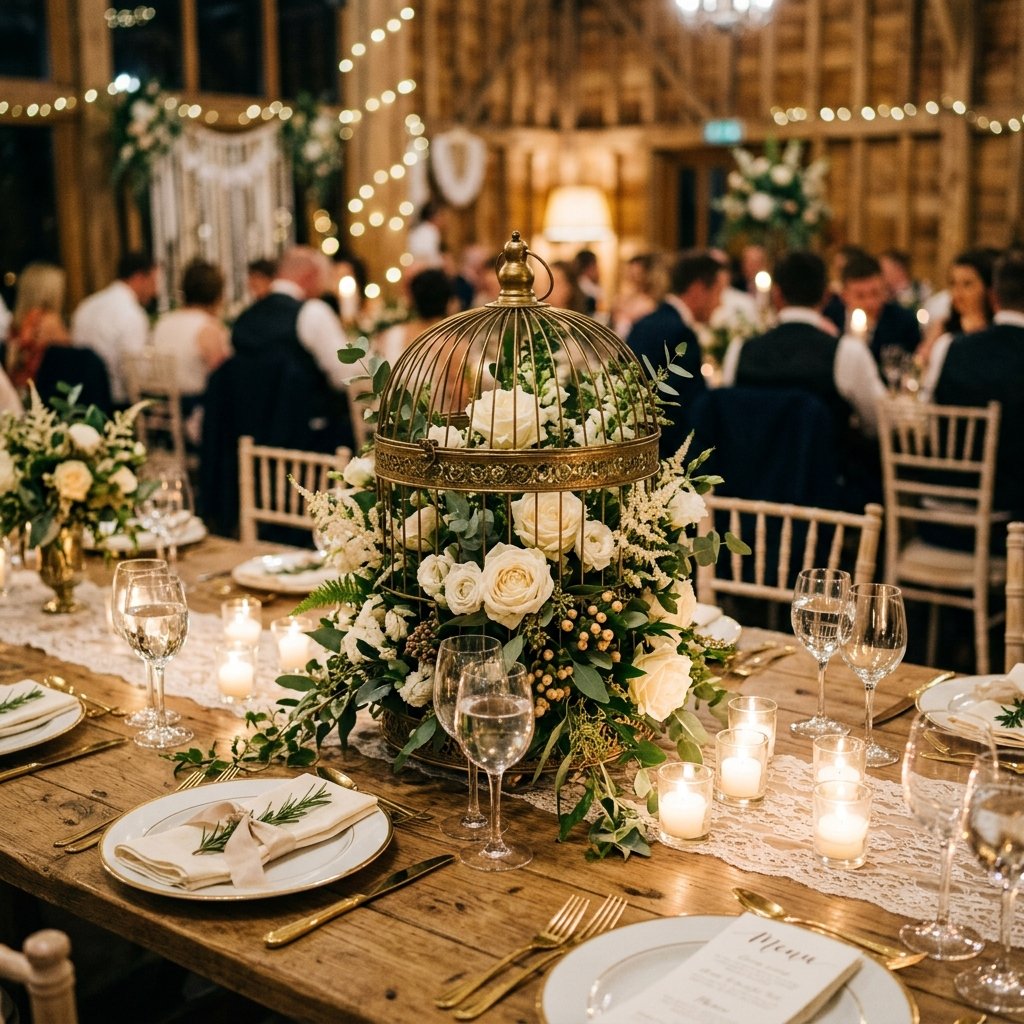

Planning a wedding often feels like a tactical exercise in budget management. The ‘wedding industry tax’ is real, and nowhere is it more apparent than in floral arrangements and table decor. But here is the secret: luxury is an aesthetic, not a price tag. If you are a resourceful DIYer with a keen eye for potential, you can bypass the $100-per-table rental fees by engineering your own high-end centerpieces. The vintage brass birdcage is the holy grail of wedding decor—it offers height, architectural interest, and a timeless ‘Old World’ romance. In this guide, we are going to strip away the fluff and show you exactly how to source, restore, and style these cages for a fraction of the cost of a professional florist. We are talking about a $15 masterpiece that looks like it stepped out of a $50,000 wedding budget.
Scavenging the Skeleton: Sourcing Cages Without Breaking the Bank
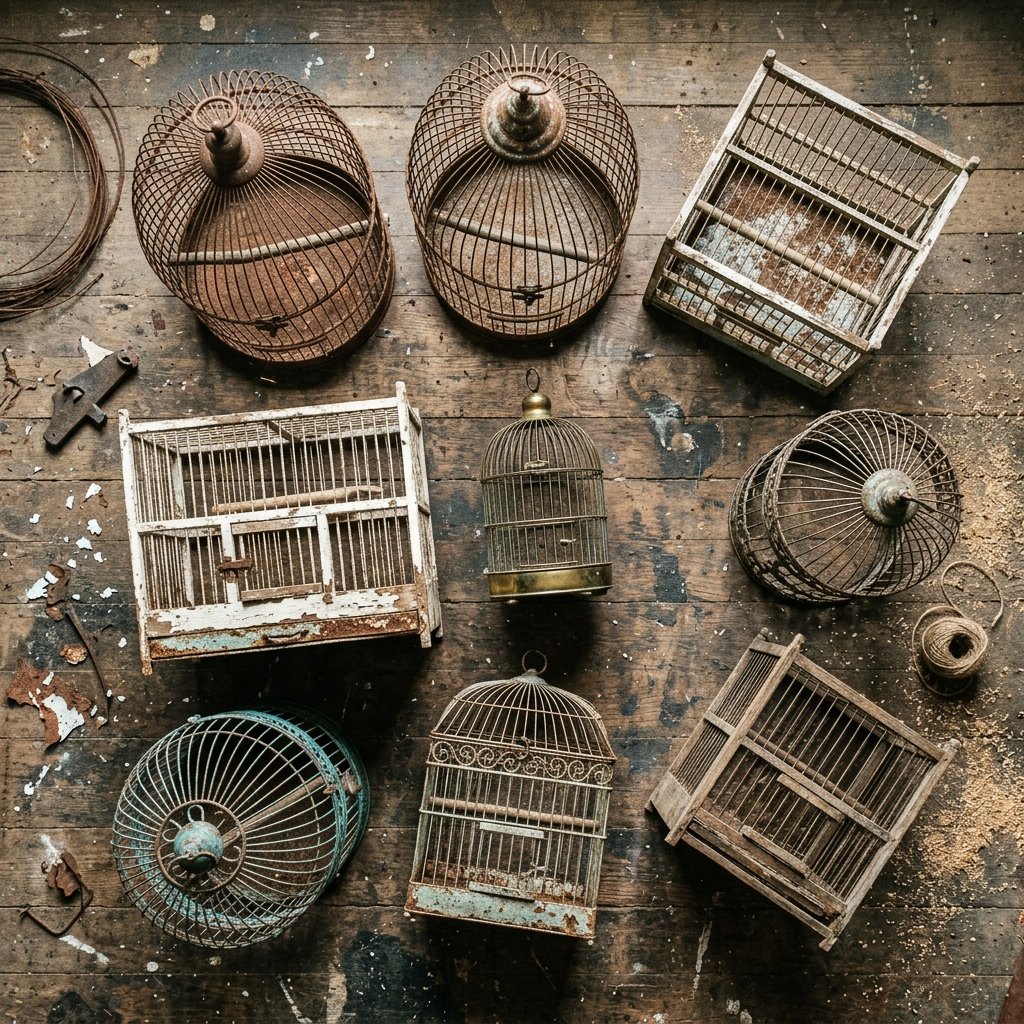
The first step in our mission is procurement. You are not looking for brand-new, shiny birdcages from a boutique; you are looking for ‘skeletons’ with great lines. Check local thrift stores, Facebook Marketplace, and estate sales. Don’t be deterred by rust, chipped white paint, or even a missing door. These flaws are your leverage for a lower price. Aim for a variety of heights—12 inches to 18 inches is the sweet spot for visibility across a dinner table.
The Scavenger’s Checklist
- Structural Integrity: Ensure the base is flat so it doesn’t wobble on the table.
- Latch Quality: If the cage opens at the top, it makes floral installation 50% faster.
- Scale: Mix and match sizes for a more organic, collected-over-time look.
| Source | Estimated Cost | Potential Quality |
|---|---|---|
| Thrift Stores | $5 – $12 | High (Real metal) |
| Garage Sales | $2 – $8 | Excellent (Negotiable) |
| Online Marketplaces | $10 – $20 | Moderate (Check shipping) |
| Retail Craft Stores | $35 – $60 | Low (Thin plastic/wire) |
The Liquid Gold Secret: Mastering the High-End Brass Patina
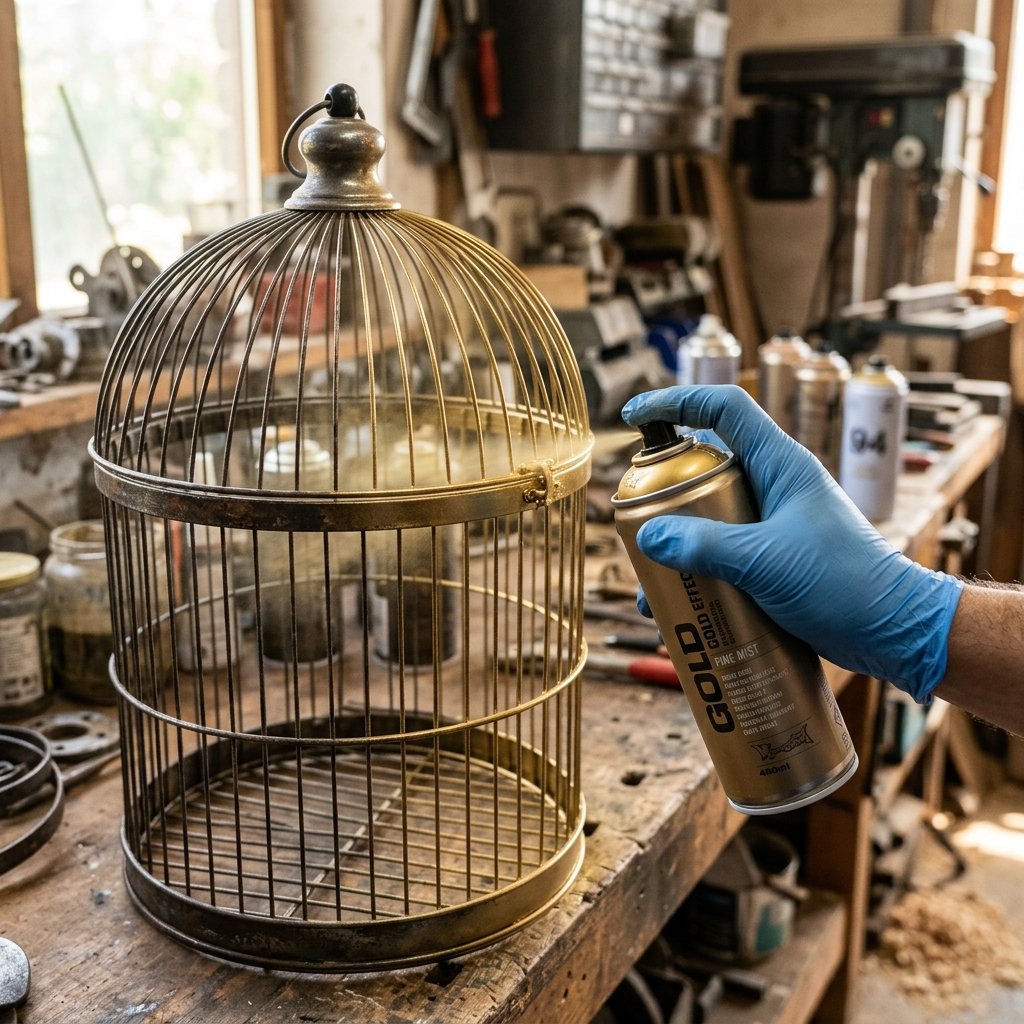
The ‘secret’ to making a $5 cage look like a $100 antique is the finish. Most cheap ‘gold’ spray paints look like yellow plastic. To achieve a high-end, heavy brass look, we use a two-step metallic layering process. This adds depth and that ‘masculine-elegant’ weight that signifies quality.
The Golden Rule of DIY: Two thin coats are always superior to one thick, drippy coat. Patience is the difference between ‘homemade’ and ‘hand-crafted.’
- Preparation: Scrub the cage with a wire brush to remove loose rust. Wipe down with 90% isopropyl alcohol to ensure a clean bond.
- The Base Coat: Use a high-quality metallic ‘Antique Brass’ or ‘Oil Rubbed Bronze’ spray paint. Cover the entire cage, including the interior.
- The Midas Touch: Once dry, lightly mist a ‘Bright Gold’ metallic paint from 12 inches away. This creates a shimmering highlight on the edges without looking cheap.
- The Aging Wash (Optional): Mix a tiny drop of black acrylic paint with water and brush it into the crevices, then wipe away the excess. This mimics years of natural oxidation.
Floral Architecture: Volume and Elegance on a Tiny Budget
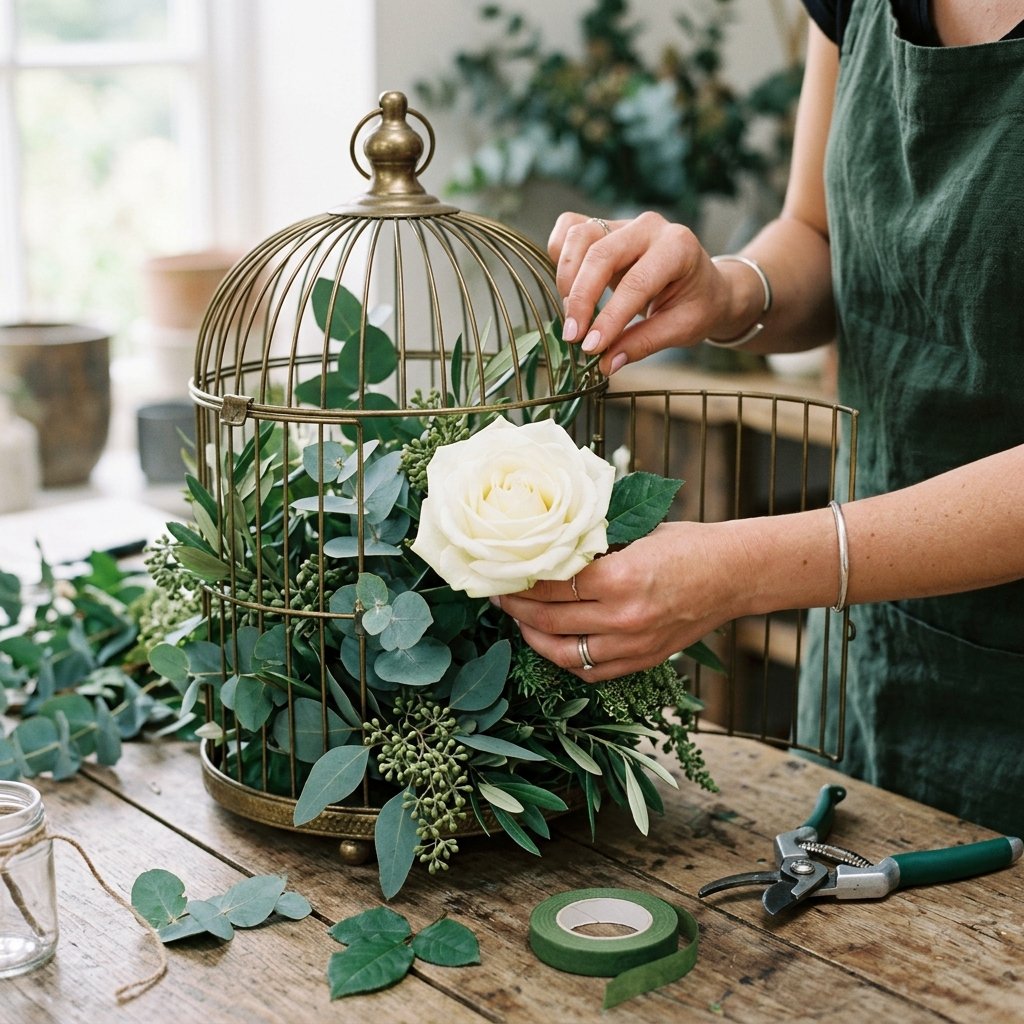
Now that the cage is restored, we need to fill it. The mistake most beginners make is buying expensive out-of-season blooms. Instead, we use ‘architectural fillers’ and greenery to create 80% of the volume, saving the ‘hero flowers’ for the focal points. This strategy can save you over 70% on your floral bill.
The Budget Floral Blueprint
- The Base: Use floral foam (soaked in water if using real stems). Secure it to the bottom of the cage with floral wire.
- The Greenery: Use Eucalyptus, Ruscus, or even forage-able branches from your backyard. Let the greenery spill out through the bars of the cage for a ‘wild’ look.
- The Hero Flowers: You only need 3 to 5 large blooms per cage (like Roses, Peonies, or Mums). Place these at the front and slightly off-center.
- The Filler: Use Baby’s Breath or Waxflower to plug any remaining gaps.
| Material Type | Quantity Needed | Budget Tip |
|---|---|---|
| Floral Foam | 1/2 Block | Buy in bulk packs of 12. |
| Greenery Bundles | 2-3 Stems | Use ‘Silver Dollar’ Eucalyptus for maximum spread. |
| Hero Flowers | 3 Stems | Buy from wholesale clubs or grocery stores. |
| Floral Wire | 6 Inches | Reuse scraps from other projects. |
The Final Polish: Lighting and Table Staging
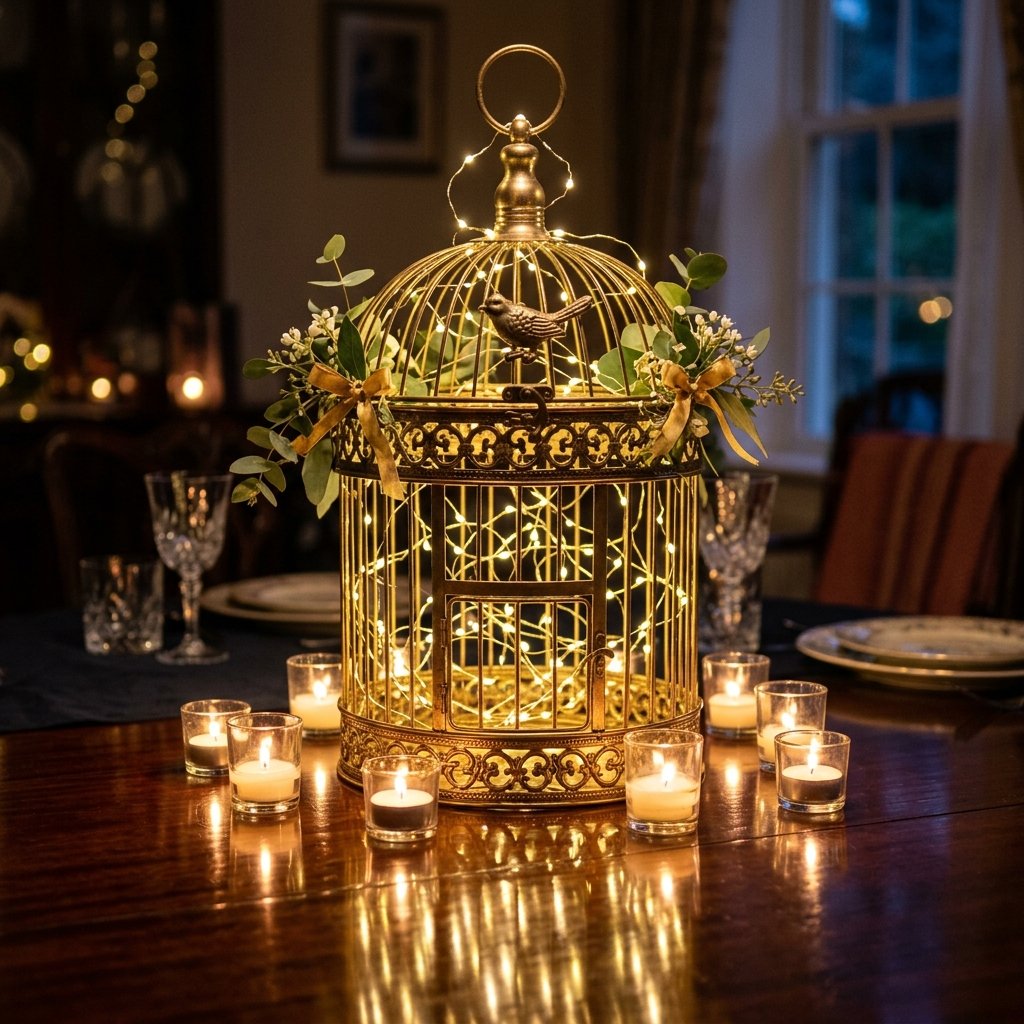
A centerpiece is only as good as its presentation. To elevate the birdcage, you need to consider the lighting and the ‘negative space’ on the table. For a truly high-end look, we want the cage to appear as if it’s glowing from within.
Lighting Safety and Style
Pro-Tip: Never use real candles inside a birdcage filled with dry floral foam or silk flowers. The ‘chimney effect’ of the cage can create a fire hazard in seconds. Always opt for high-quality LED flickering tea lights.
- Fairy Lights: Weave a 5-foot strand of warm-white LED fairy lights through the greenery inside the cage. This creates a magical, ‘firefly’ effect.
- The Pedestal: Place the cage on a wood slice or a mirrored plate to give it more presence and catch the light.
- Surrounding Decor: Scatter a few loose petals and 3 tea lights around the base of the cage to ground the arrangement.
Cost Comparison: DIY vs. Professional Rental
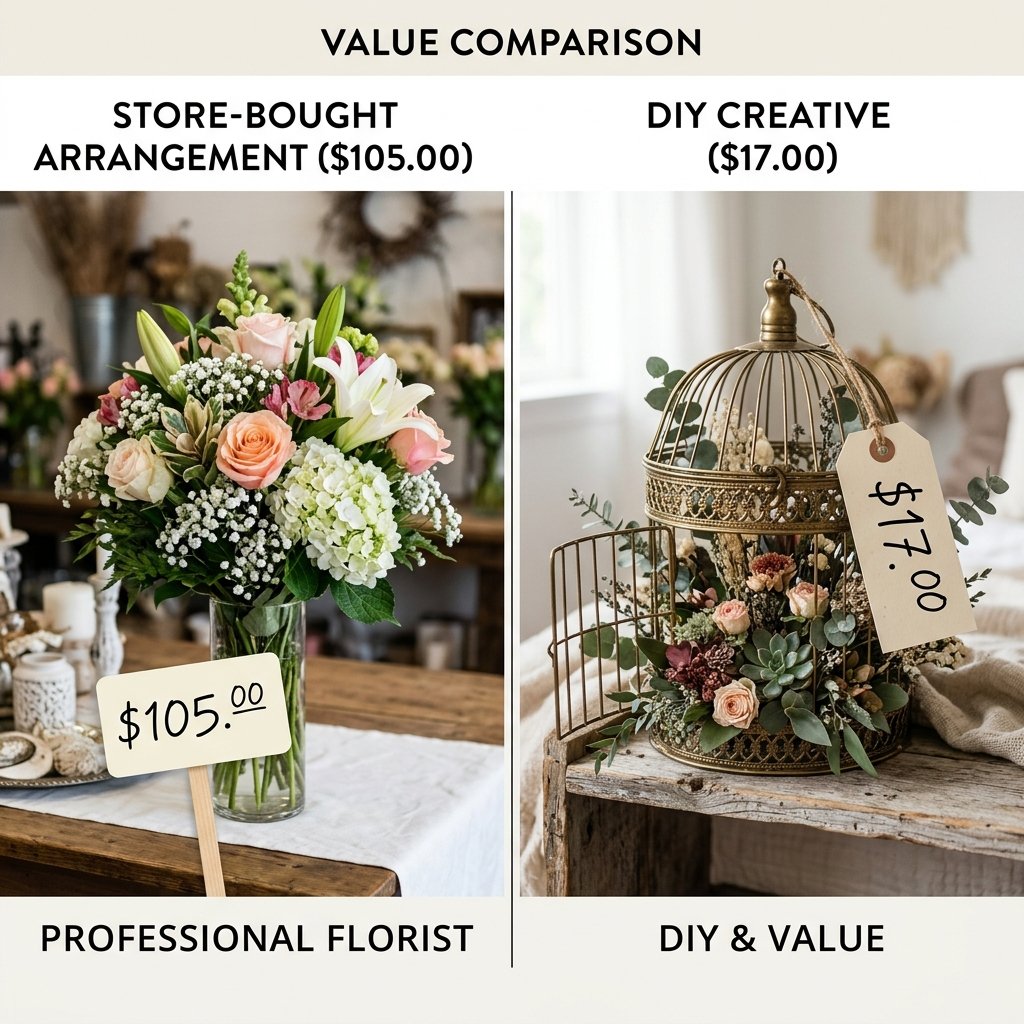
To truly appreciate the value of this project, let’s look at the numbers. By sourcing and building these yourself, you aren’t just saving money—you are creating a custom piece that you can resell after the wedding to recoup 100% of your costs, or even turn a profit.
| Item | Professional Rental/Florist | DIY Scrappy Method |
|---|---|---|
| Vintage Birdcage | $25.00 (Rental Only) | $7.00 (To Keep) |
| Floral Arrangement | $65.00 | $8.00 |
| Lighting & Setup | $15.00 | $2.00 |
| Total Per Table | $105.00 | $17.00 |
By choosing the DIY route for a 10-table wedding, you are saving $880.00. That is money that can be reallocated to the honeymoon, the photography, or the open bar.
Conclusion
Creating high-end wedding decor doesn’t require a high-end bank account; it requires a bit of grit, a can of spray paint, and the willingness to see the beauty in a discarded birdcage. By following this blueprint, you’ve mastered the art of the ‘upscale upcycle.’ You now have a centerpiece that is not only beautiful and budget-friendly but carries the story of your own creativity and resourcefulness. Remember, the best weddings aren’t the ones where the most money was spent—they are the ones where every detail was crafted with intention. Now, go forth, hit those thrift stores, and start building your dream wedding, one brass bar at a time.

Makenzie is the founder and lead writer at MoneyHackTips.com — a personal finance blog dedicated to delivering street-smart financial wisdom for real people on real budgets. With 300+ published articles covering everything from debt management to investing fundamentals, Makenzie’s mission is to make every dollar work harder. When not writing about money hacks, Makenzie is testing frugal living strategies, optimizing side hustles, and helping readers build financial freedom from scratch.