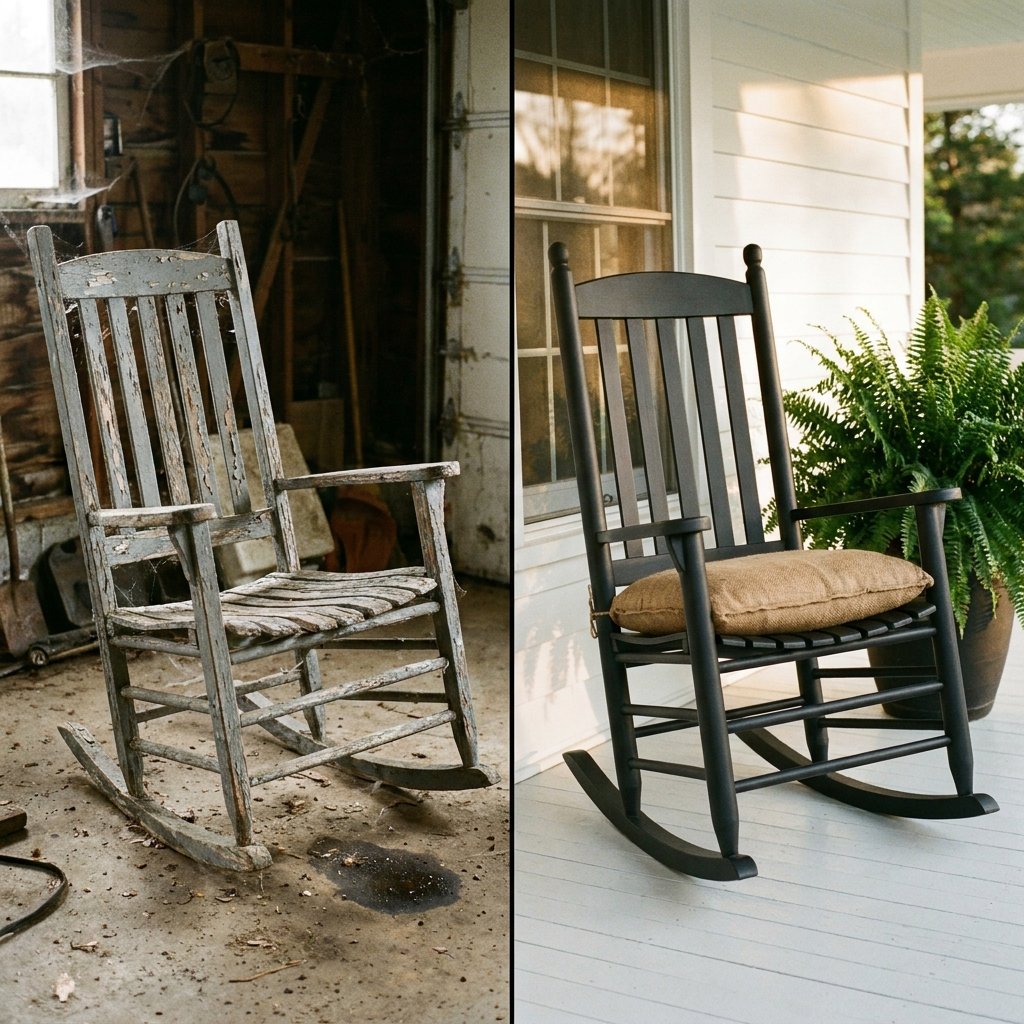

The Art of the Curbside Rescue
There is a specific kind of magic found in the discarded. To the untrained eye, a peeling, wobbly rocking chair left on the curb for trash day is just junk. But to the resourceful DIYer, it is a canvas of potential. This guide is dedicated to the thrill of the hunt and the satisfaction of the transformation. We aren’t just slapping a coat of paint on an old chair; we are performing a high-end restoration using budget-savvy alchemy. Whether you found your prize at a yard sale for $5 or rescued it from the sidewalk for $0, you are about to turn that ‘ugly’ relic into a ‘chic’ centerpiece that looks like it stepped out of a high-end boutique catalog.
Bringing a piece of furniture back to life requires a blend of rugged practicality and creative elegance. We will cover everything from structural stabilization to the secret ‘baking soda paint’ trick that mimics expensive chalk paint for a fraction of the cost. Grab your sandpaper and your vision—it’s time to breathe new life into old wood.
The Scavenger’s Assessment: Is It Worth the Effort?
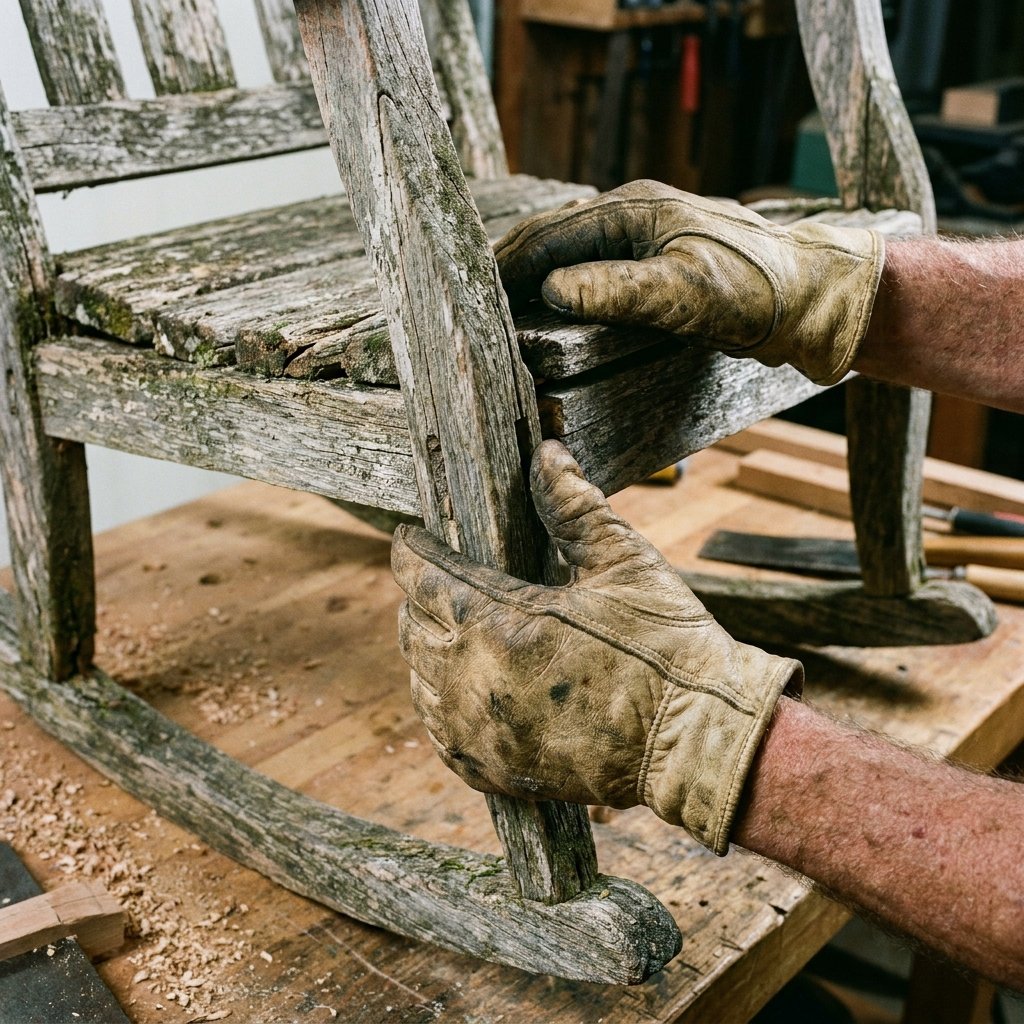
Before you invest your sweat equity, you must assess the ‘bones’ of your find. Not every piece of furniture is a candidate for a makeover, though most can be saved with enough grit. Check the joints first. A rocking chair takes a lot of structural stress. If the spindles are missing, you might be in for a more complex repair, but if they are simply loose, that is an easy $2 fix with wood glue.
The Structural Integrity Checklist
- The Rocker Test: Sit in it. Does it creak or sway laterally? Side-to-side movement usually indicates loose dowels.
- Wood Rot Check: Press a screwdriver into the feet of the rockers. If the wood is soft or crumbles, it has been sitting in water and may be beyond a simple cosmetic fix.
- Finish Identification: Is it old lacquer, oil-based paint, or raw wood? This determines how much sanding you’ll actually need to do.
Pro Tip: Never pass up a chair just because the seat is ugly. As long as the frame is solid, we can upcycle almost any textile into a high-end cushion. Look for the silhouette, not the color.
The $10 Restoration Kit: Budget vs. Retail

One of the biggest mistakes new crafters make is overspending on supplies. You do not need a $100 orbital sander or $40 designer chalk paint to get a professional finish. By raiding your own garage and using smart substitutions, we can keep the entire project cost under the price of a single movie ticket.
| Supply Item | Retail/High-End Version | Frugal DIY Alternative | Estimated Savings |
|---|---|---|---|
| Paint | Designer Chalk Paint ($38) | Leftover Latex + Baking Soda ($2) | $36 |
| Abrasives | Power Sander ($65) | Hand Sanding Block & Grit Paper ($4) | $61 |
| Sealer | High-Gloss Polyurethane ($18) | Clear Paste Wax or Spar Urethane ($7) | $11 |
| Total | $121 | $13 | $108 |
As you can see, the clever crafter saves over $100 by choosing manual labor and smart chemistry over brand-name convenience. This is how we achieve a high-end look on a ‘dime’ budget.
Sanding and Structural Secrets: The Rugged Prep
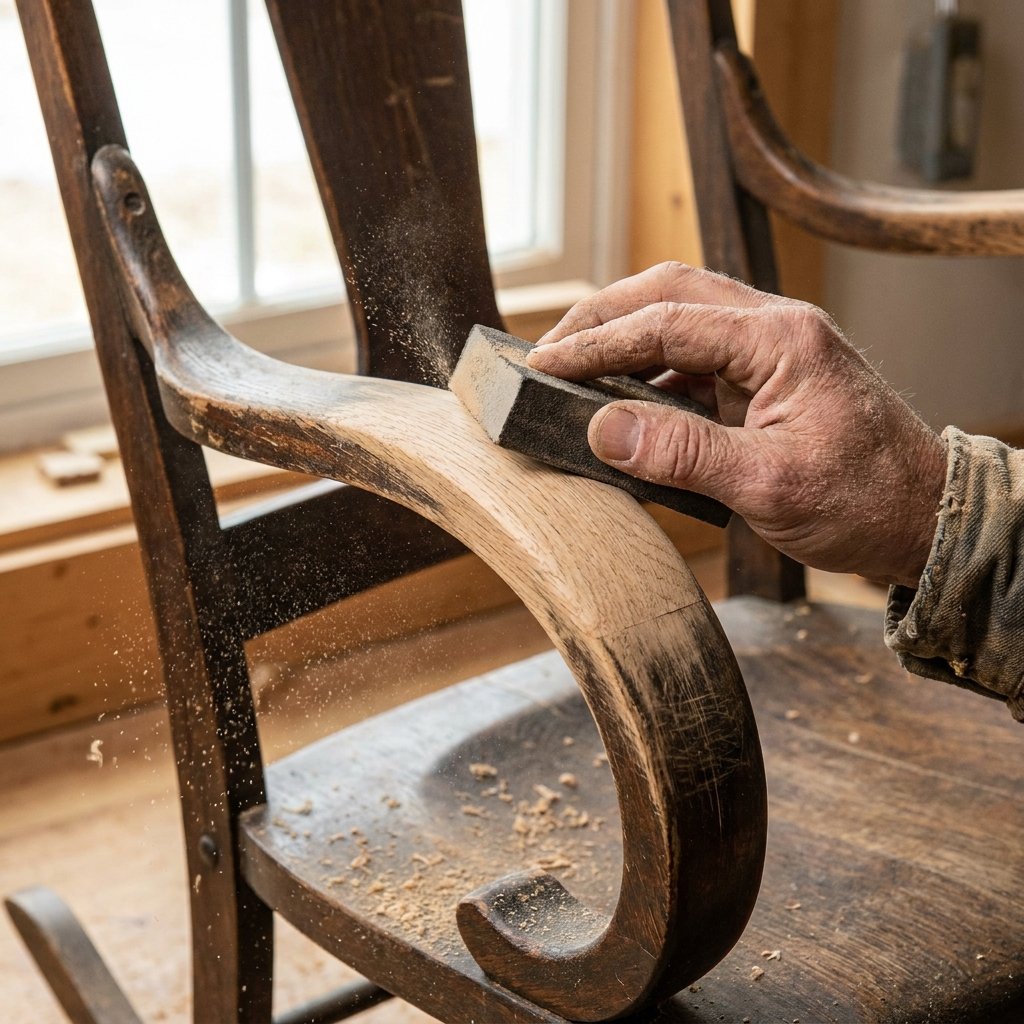
Preparation is 90% of the work. If you skip the prep, your paint will peel within a season. Since this chair will live on the front porch, it needs to withstand humidity and temperature shifts. Start by cleaning the chair with a simple solution of water and white vinegar to remove years of ‘porch grime.’
The Sanding Sequence
- 80-Grit: Use this for heavy removal of old, flaking paint or deep scratches.
- 120-Grit: This is your ‘smoothing’ stage. It levels the wood grain and prepares it for the primer or paint.
- 220-Grit: A quick ‘scuff sand’ after your first coat of paint will ensure a buttery-smooth professional finish.
If you find cracks in the wood, don’t panic. Mix a little bit of the sawdust from your sanding with a dab of wood glue to create a 100% color-matched wood filler for free. This is an old carpenter’s trick that ensures your repairs are invisible under the final finish.
Safety Note: If the chair is an antique (pre-1978), wear a mask and test for lead paint before sanding. Your health is worth more than any piece of furniture.
The Baking Soda Paint Alchemy: High-End Texture for Pennies

To get that trendy, matte, stone-like or ‘European plaster’ look, we use the Baking Soda Trick. This turns any basic latex paint into a thick, forgiving medium that hides imperfections in old wood and dries to a sophisticated, chalky finish.
The Perfect Ratio
| Ingredient | Measurement | Purpose |
|---|---|---|
| Latex/Acrylic Paint | 1 Cup | Base Color & Binding |
| Baking Soda | 1/4 Cup | Texture & Matte Finish |
| Warm Water | 1 Tablespoon | Thinning for Smoothness |
Mix the baking soda and water first to create a slurry, then fold it into your paint. The reaction creates a slightly aerated, thickened paint that grips the wood like a dream. Apply it in thin, even coats. For a rugged, masculine look, choose deep charcoals, forest greens, or a classic navy. If you want a more ‘farmhouse chic’ vibe, go with an antique white or a soft sage.
Weatherproofing and Finishing: Protecting Your Investment
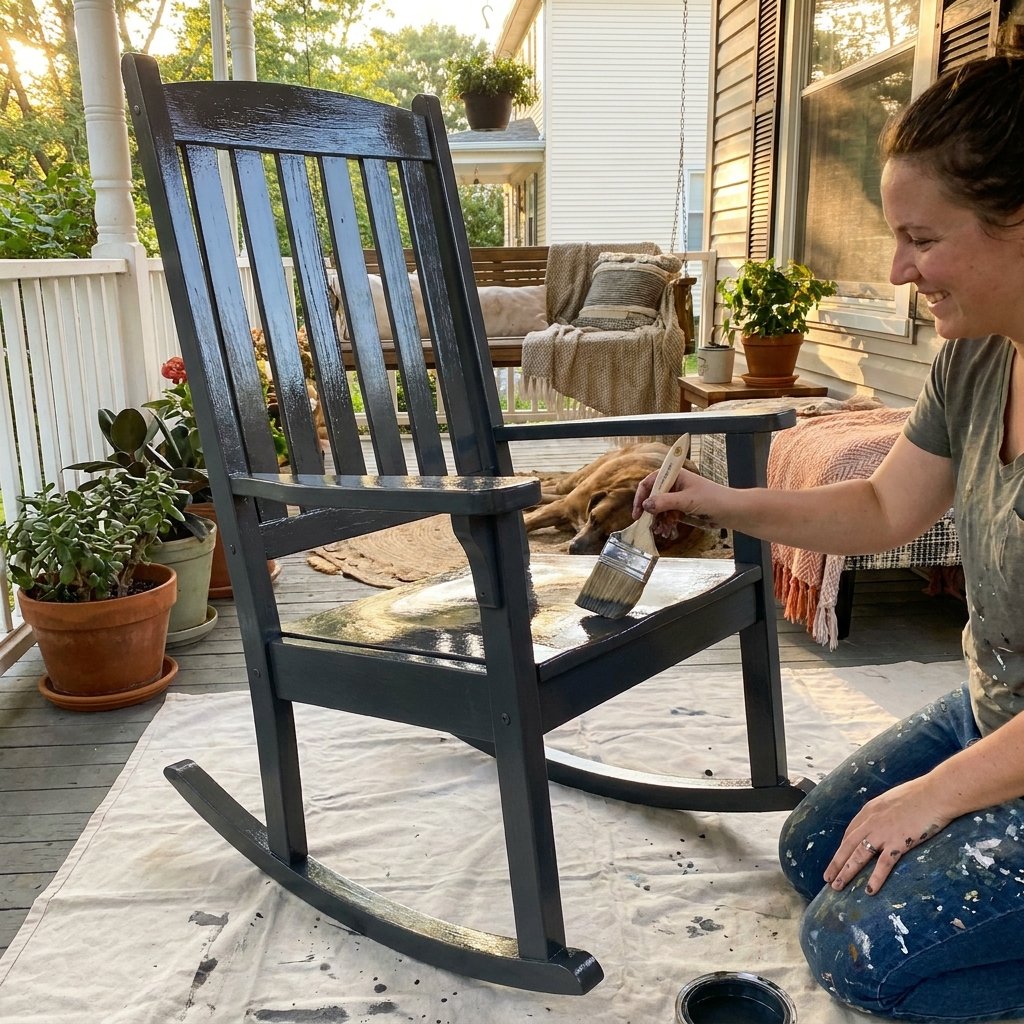
Since your masterpiece will be braving the elements on the front porch, you must seal it. For a matte look that doesn’t look like plastic, I recommend a Spar Urethane in a satin finish or a simple outdoor furniture wax. Spar Urethane is superior to standard poly because it contains UV blockers and expands/contracts with the wood as the temperature changes—essential for outdoor rockers.
Application Steps
- Ensure the paint has cured for at least 24 hours.
- Apply the sealer using a high-quality natural bristle brush or a lint-free rag.
- Focus extra attention on the ‘feet’ of the rockers, as these sit in the most moisture.
If you prefer a more ‘aged’ look, you can take a piece of fine-grit sandpaper and lightly distress the edges of the arms and the rockers before sealing. This gives the chair a timeless, lived-in elegance that suggests it has been in the family for generations.
The Final Flourish: Upcycled Textiles & Styling
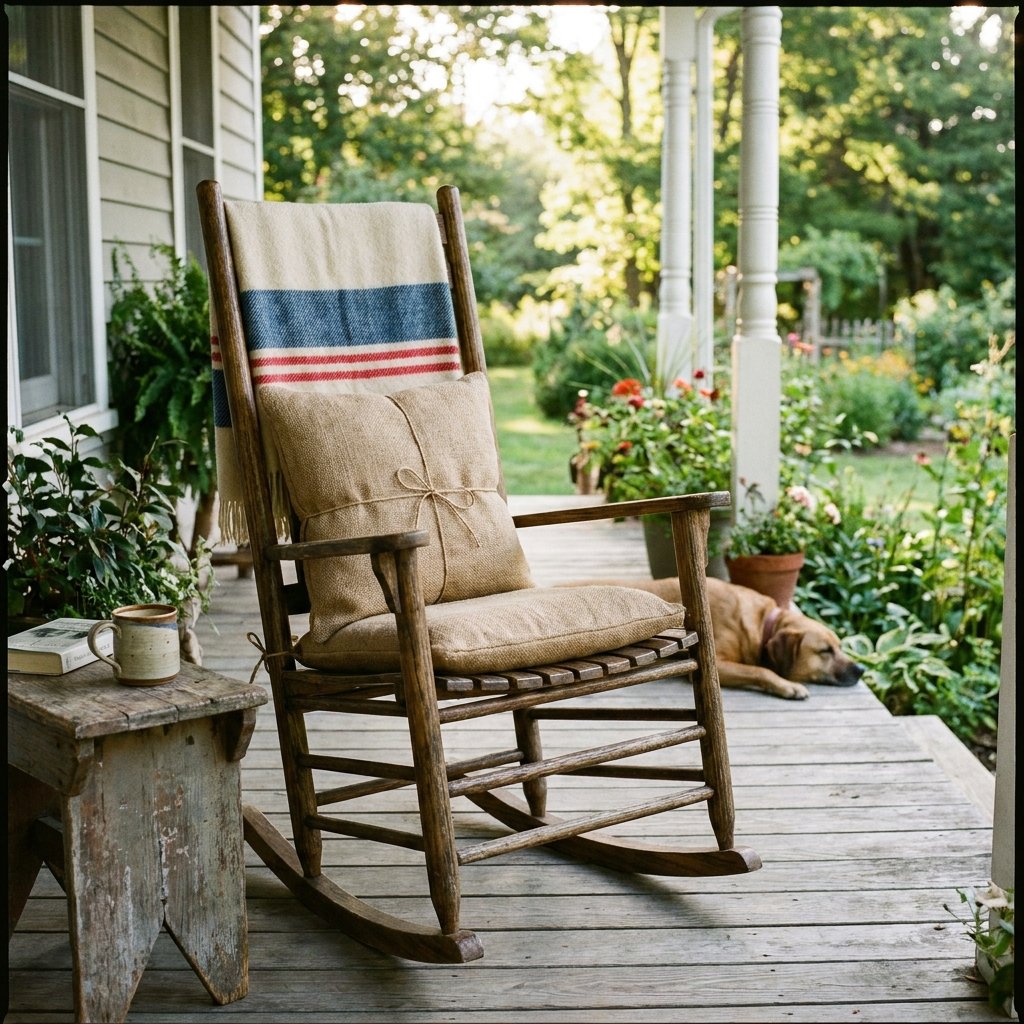
A rocking chair isn’t complete without a cushion, but custom outdoor cushions can cost $40 or more. Instead, look to your linen closet or the local thrift store. An old coffee bean sack (burlap), a heavy canvas drop cloth, or even a wool blanket can be transformed into a ruggedly elegant seat pad.
The No-Sew Envelope Cushion
- Cut a piece of high-density foam (or upcycle foam from an old mattress topper) to fit the seat.
- Wrap your chosen fabric around the foam like a gift box.
- Secure the back with heavy-duty safety pins or a few simple hand-stitches using a ladder stitch for an invisible finish.
- Tie it to the chair using jute twine for a nautical, rugged aesthetic.
Place a small galvanized bucket with some lavender or a simple outdoor lantern next to your chair, and you have officially moved from ‘trash’ to ‘magazine-ready’ for under $15 total.
Conclusion
From Eyesore to Heirloom
The journey from a curbside ‘ugly’ chair to a chic porch centerpiece is more than just a weekend project; it’s a testament to the power of resourceful creativity. By choosing to mend rather than discard, and by using clever hacks like the baking soda paint trick, you’ve saved a piece of history and kept over $100 in your pocket. This rocking chair now stands as a rugged, elegant invitation to slow down and enjoy the view from your front porch. Remember: the best furniture isn’t bought from a showroom—it’s built with grit, imagination, and a little bit of elbow grease. Happy rocking!

Makenzie is the founder and lead writer at MoneyHackTips.com — a personal finance blog dedicated to delivering street-smart financial wisdom for real people on real budgets. With 300+ published articles covering everything from debt management to investing fundamentals, Makenzie’s mission is to make every dollar work harder. When not writing about money hacks, Makenzie is testing frugal living strategies, optimizing side hustles, and helping readers build financial freedom from scratch.