
The High Cost of Elegance—And How to Cheat It
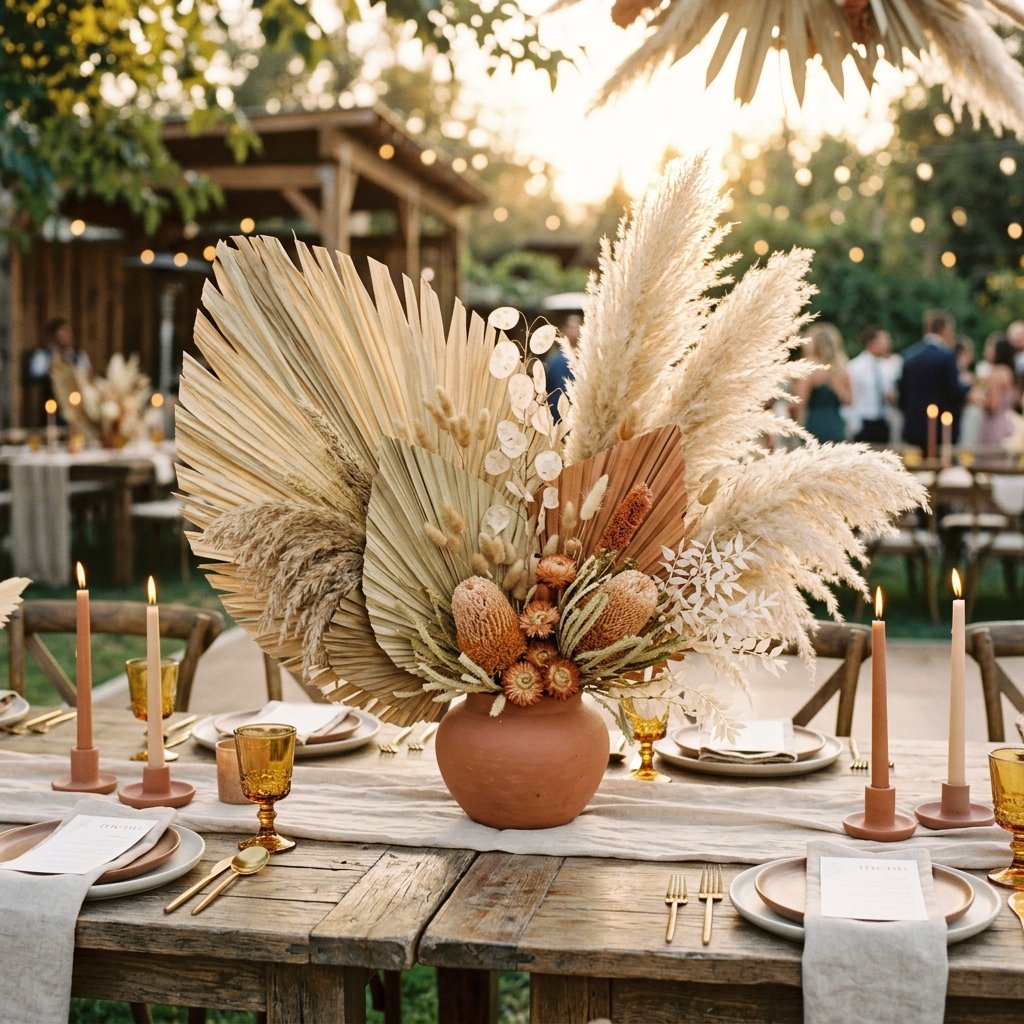
Let’s be honest: the wedding industry is designed to make you feel like you need a million-dollar inheritance just to have a stylish reception. When did a few leaves and stems start costing as much as a used sedan? If you’ve been scrolling through Pinterest and falling in love with the ‘Desert Chic’ or ‘Boho-Minimalist’ aesthetic, you know that dried palm leaves are the current kings of the wedding world. But here is the secret the florists don’t want you to know: those architectural, structural beauties are actually one of the easiest and most cost-effective items to DIY. By sourcing resourcefully and using a bit of rugged, practical creativity, you can achieve that high-end, masculine-elegant look for less than 10% of the professional price. Today, we are going to master the art of the dried palm centerpiece, turning humble foliage into a sophisticated statement of style.
The Great Florist Heist: Why Dried Palms Save Your Budget
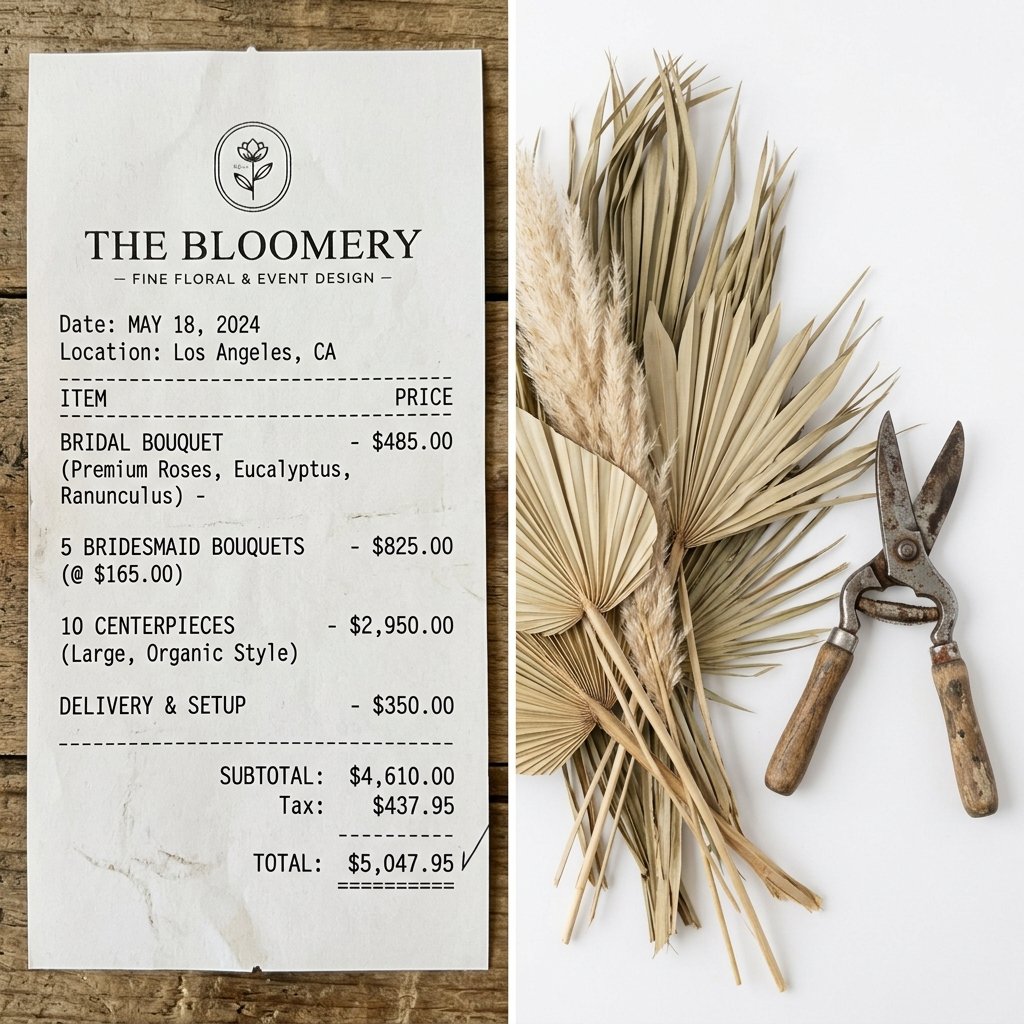
Before we pick up the shears, let’s look at the numbers. Florists often charge a premium for dried elements because they are ‘on-trend’ and require specific storage. However, dried palms are incredibly durable, meaning you can make your centerpieces months in advance without worrying about wilting or refrigeration. This is a game-changer for the DIY bride or groom. By taking the ‘trash-to-treasure’ approach, you can even source palms from local landscaping or yard waste for $0.
| Item | Florist Quote (Per Table) | DIY Budget (Per Table) | Total Savings |
|---|---|---|---|
| Large Dried Palm Spear | $25.00 | $2.50 | 90% |
| Structural Filler (Grasses) | $15.00 | $1.00 | 93% |
| Designer Ceramic Vase | $45.00 | $1.25 (Upcycled) | 97% |
| Labor & Styling | $65.00 | $0.00 | 100% |
| Total Per Centerpiece | $150.00 | $4.75 | $145.25 Saved |
As you can see, the savings are astronomical. When you multiply that by 15 or 20 tables, you are looking at saving over $2,000 on your floral budget alone. That is money that can go toward your honeymoon, a down payment, or a much better open bar.
Sourcing and Prepping: From Backyard Scraps to Bridal Beauty
Where to Find Your Palms
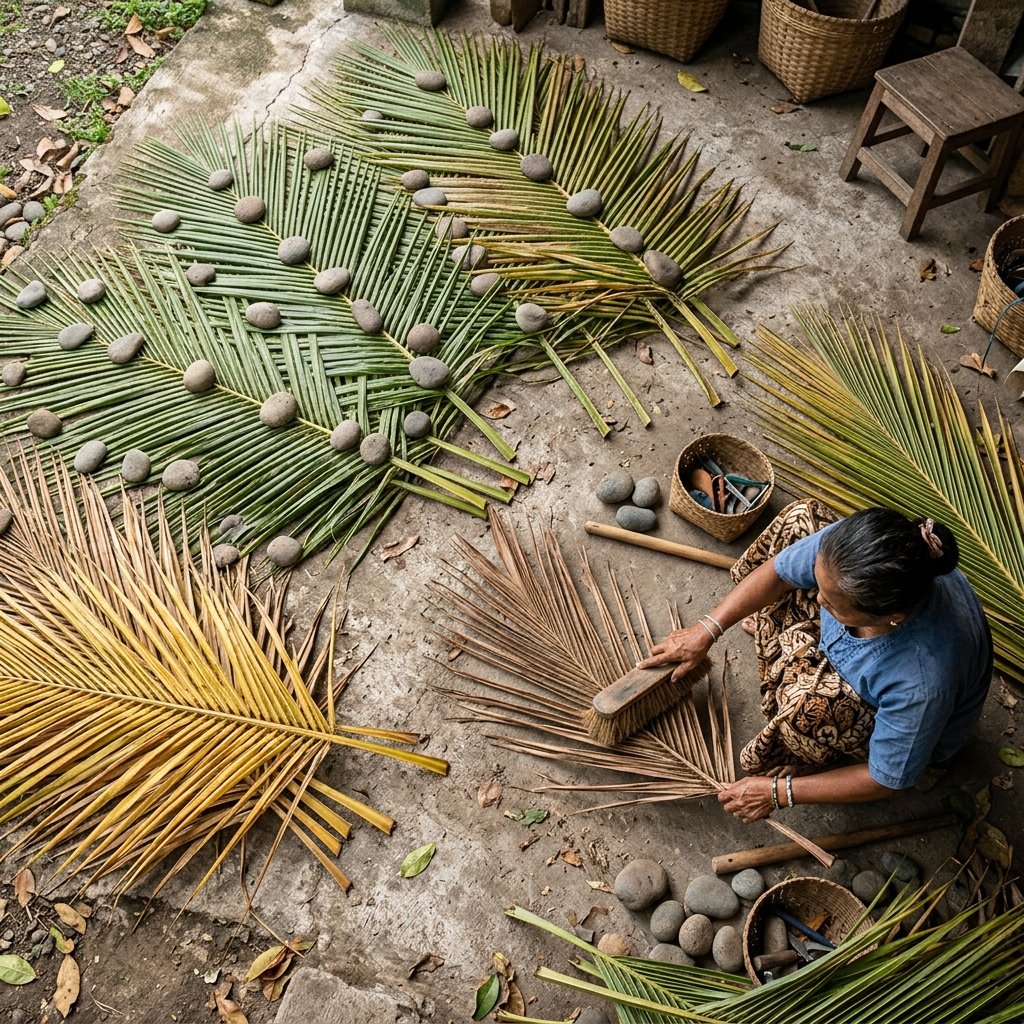
You don’t need a tropical plantation to find beautiful palms. If you live in a warm climate, check local neighborhood groups or ‘Buy Nothing’ pages. People trim their palm trees year-round and usually throw the fronds in the green waste bin. If you are in a colder climate, the secret is bulk wholesale ordering or hitting up the Dollar Tree for their seasonal faux versions which can be transformed with a simple paint trick.
The Cleaning and Drying Process
If you are using fresh-cut palms, you need to prep them properly to ensure they don’t mold. Follow these steps for a perfect, rugged finish:
- Scrub: Use a soft-bristled brush and a mixture of mild soap and water to remove dust and any hitchhiking insects.
- Trim: Cut the heavy stem at a 45-degree angle to the desired length.
- Dry: Lay them flat in a dry, shaded area for 10 to 14 days. Do not put them in direct sun immediately, as they may curl too aggressively.
- Flatten: If you want that crisp, fan-like look, place them under a heavy piece of plywood during the last 3 days of drying.
“The beauty of the palm lies in its structure. Don’t be afraid of imperfections; a small tear or a bit of discoloration adds to the rugged, organic charm of the boho aesthetic.”
The ‘Sun-Spear’ Technique: Trimming for Architectural Impact
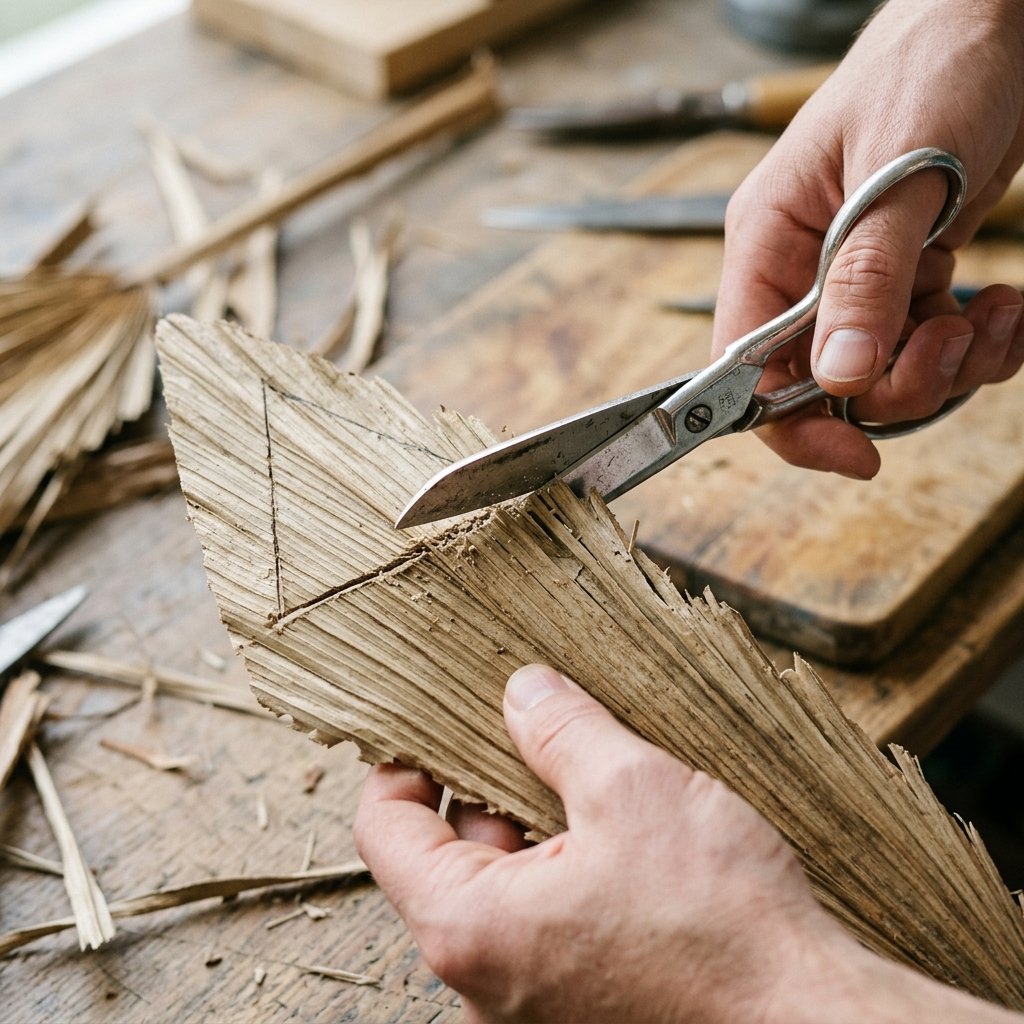
The difference between a ‘dead leaf’ and a ‘boho masterpiece’ is the trim. Most high-end centerpieces use ‘Palm Spears’ or ‘Sun Palms,’ which have been meticulously cut into geometric shapes. You can do this with a simple pair of heavy-duty kitchen shears or garden snips.
Step-by-Step Shaping Guide
- Identify the Center: Find the central rib of the palm frond. This is your anchor point.
- The Triangle Cut: Starting from the outer edge about 5 inches up from the base of the leaf, cut diagonally toward the tip of the central rib. Repeat on the other side to create a sharp, spear-like triangle.
- The Rounded Fan: For a softer look, use your shears to cut a large semi-circle across the top of the frond. This mimics the look of a rising sun.
- The Zig-Zag Edge: Following the natural folds of the palm, cut small ‘V’ shapes into the edges to create a fringed, textured perimeter.
By varying these shapes across your centerpieces, you create visual interest and a professional, curated feel. Aim for 3 different heights and 2 different shapes per arrangement to ensure a dynamic look.
Vessel Selection: The $1.25 Designer Dupe
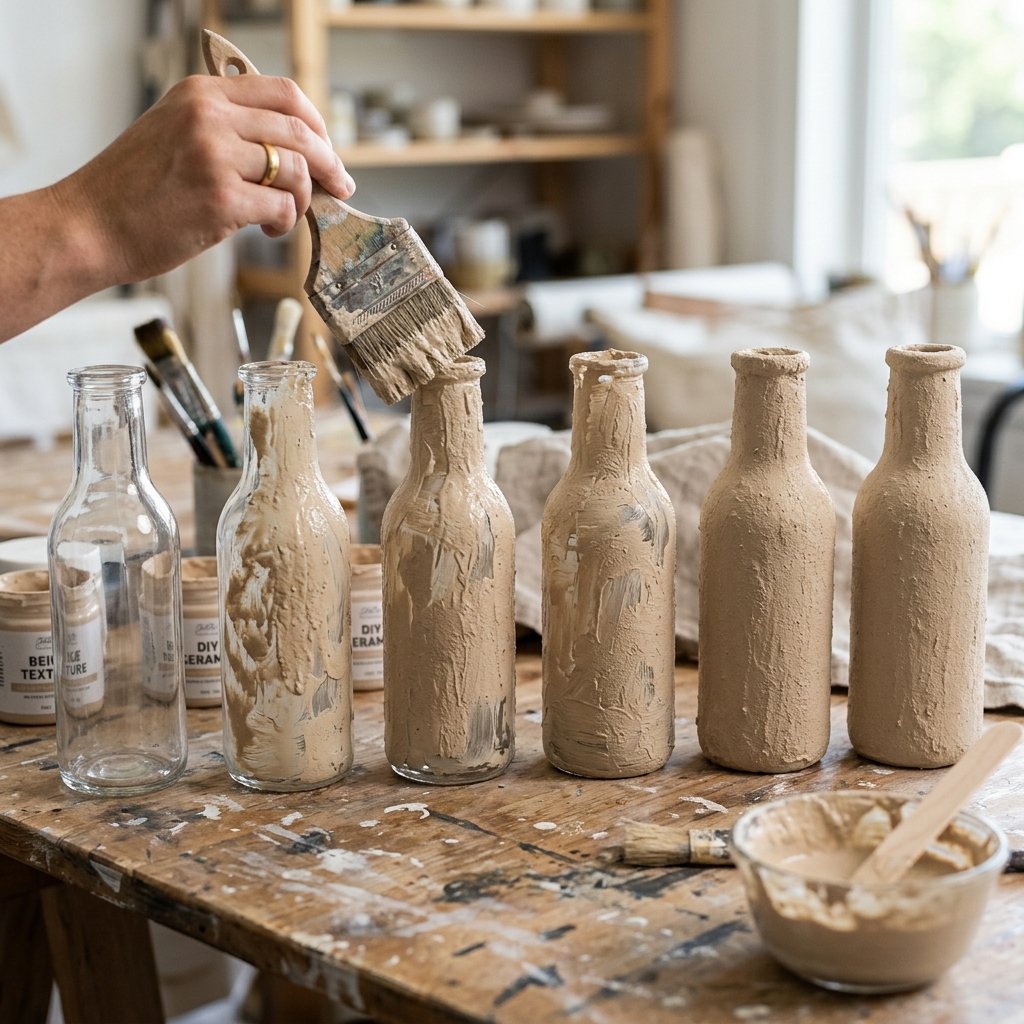
A high-end palm needs a high-end home. Instead of buying expensive ceramic vases, we are going to use the ‘Baking Soda Paint Trick’ to turn Dollar Tree glass or thrift store finds into matte, stone-like vessels.
| Material | Ratio/Quantity | Purpose |
|---|---|---|
| Water-based Acrylic Paint | 1 Cup | Base Color (Terracotta, Sand, or Charcoal) |
| Baking Soda | 1/4 Cup | Creates a stone-like, gritty texture |
| Cheap Foam Brush | 1 | Even application without brush marks |
The Transformation Process
Mix your paint and baking soda until it reaches the consistency of thick cake batter. Apply a thin coat to your glass vessel and let it dry completely. Apply a second, thicker coat using a dabbing motion to create ‘peaks’ and ‘valleys’ in the texture. Once dry, your $1.25 glass cylinder will look like a $60 artisan ceramic piece from a boutique home store.
“Texture is the secret language of expensive design. When your vase looks like it was carved from desert stone, the entire centerpiece is elevated.”
The Assembly: Building the Desert Chic Arrangement
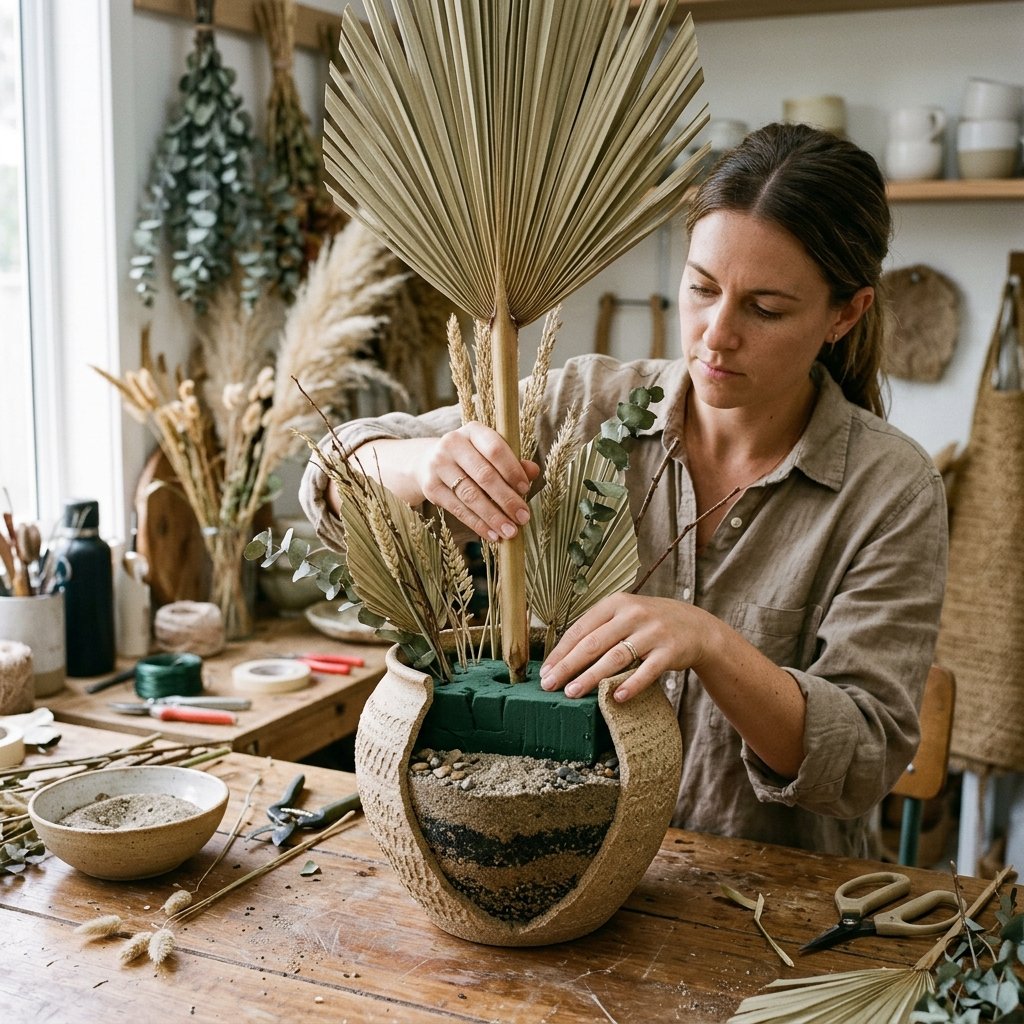
Now comes the assembly. Unlike fresh flowers, dried palms are top-heavy. You need a solid foundation to ensure your centerpieces don’t topple over mid-toast.
- Weight the Base: Fill the bottom 1/3 of your vase with sand, pea gravel, or polished river stones. This provides the ‘rugged’ stability needed for tall palms.
- The Anchor: Use a piece of dry floral foam (the grey kind, not the green wet kind) wedged tightly into the neck of the vase.
- The Rule of Three: Start with your largest, tallest palm spear in the center-back. Add two smaller palms at varying angles in front of it.
- The Filler: Tuck in some ‘scavenged’ elements like dried tall grass, pampas grass, or even dried eucalyptus to hide the foam and add softness.
For a truly sophisticated look, keep your color palette monochromatic. Use shades of cream, tan, and sand, or go bold with a matte black and gold theme for a modern masculine-elegant vibe.
Conclusion
Mastering the Art of the Frugal Feast
Creating your own boho wedding centerpieces isn’t just about saving money—though saving thousands of dollars is a pretty fantastic perk. It’s about the pride of craftsmanship and the ability to tell a story through your decor. By using dried palm leaves, you are embracing a sustainable, durable, and breathtakingly beautiful medium that stands the test of time. You’ve taken something that others might consider ‘yard waste’ and transformed it into a focal point of one of the most important days of your life. So, grab your shears, hit the thrift stores, and start crafting. Your dream wedding is within reach, and you don’t need a million-dollar budget to prove it. Stay crafty, stay savvy, and happy making!

Makenzie is the founder and lead writer at MoneyHackTips.com — a personal finance blog dedicated to delivering street-smart financial wisdom for real people on real budgets. With 300+ published articles covering everything from debt management to investing fundamentals, Makenzie’s mission is to make every dollar work harder. When not writing about money hacks, Makenzie is testing frugal living strategies, optimizing side hustles, and helping readers build financial freedom from scratch.