
The Art of the High-End Harvest on a Shoestring Budget
There is a specific kind of magic that happens when the air turns crisp and the light begins to golden. As a DIYer with a penchant for resourceful elegance, I believe that a romantic, sophisticated atmosphere shouldn’t require a second mortgage. You don’t need a high-priced florist or a luxury home goods store to create a centerpiece that stops guests in their tracks. In fact, some of the most stunning decor pieces I’ve ever designed came from a combination of Dollar Tree staples and a quick forage in the backyard.
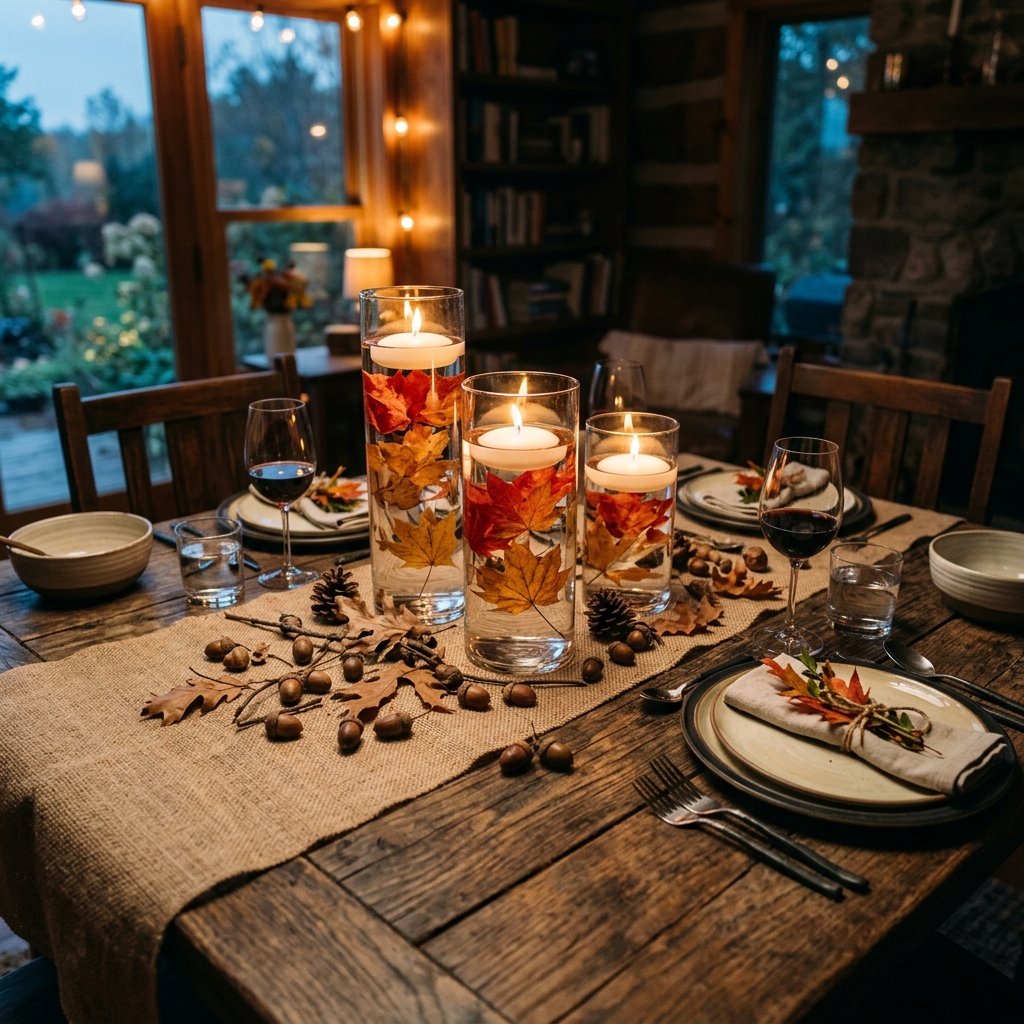
Today, we are mastering the Submerged Autumn Leaf Floating Candle Centerpiece. This project is a masterclass in using physics—specifically water refraction—to magnify the natural beauty of fall foliage while keeping your costs strictly under $10. Whether you are a budget bride looking for the perfect reception glow, a handy parent hosting Thanksgiving, or a crafty gift-giver setting the mood for a special dinner, this guide is your tactical roadmap to rugged, masculine-elegant decor that looks like it cost hundreds.
The Budget Blueprint: Sourcing Your Materials
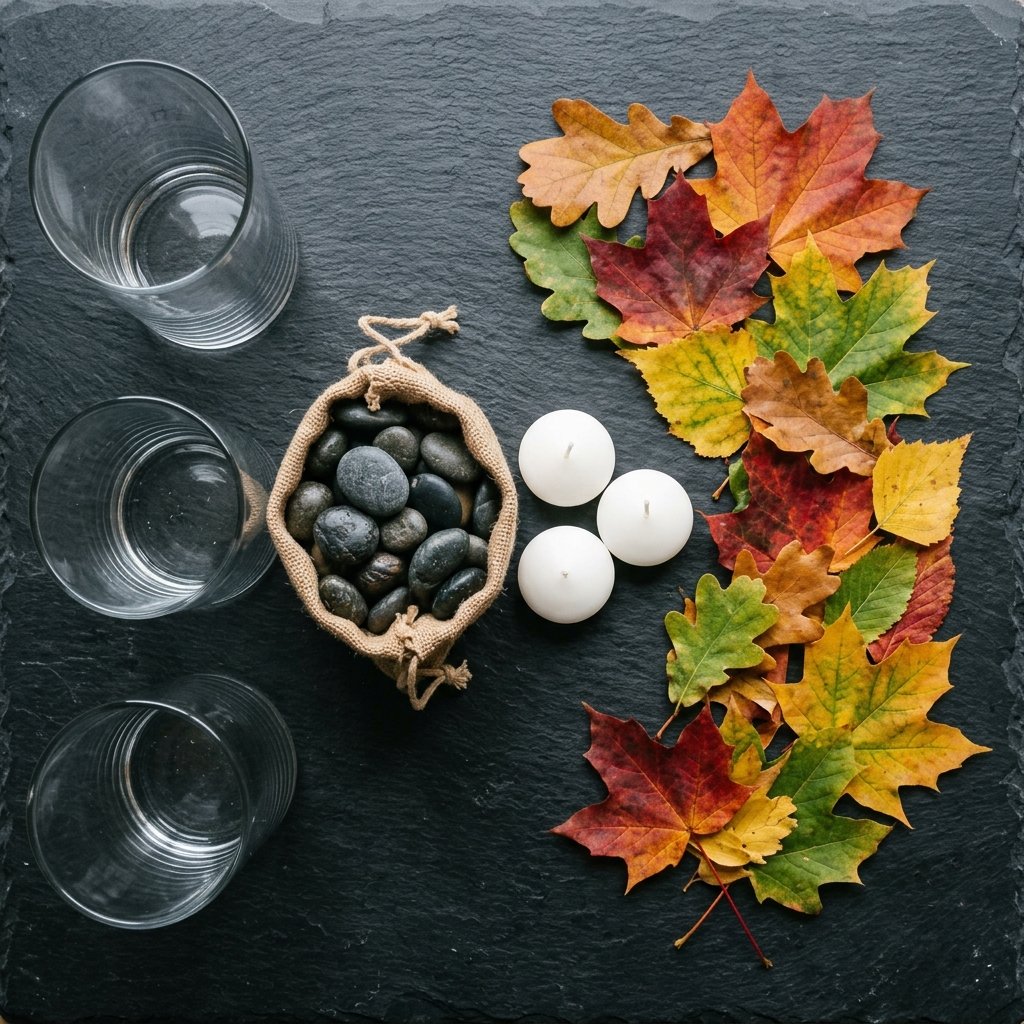
To achieve a look that screams ’boutique hotel’ rather than ‘discount bin,’ we need to be strategic about our sourcing. The key to this project is the triad of heights. Using varying heights creates visual interest and leads the eye across the table. We will be sourcing our glass and candles from discount retailers and our ‘hero’ elements from nature itself.
| Item | Source | Estimated Cost |
|---|---|---|
| 3 Glass Cylinder Vases (Small, Med, Large) | Dollar Tree / Thrift Store | $3.75 |
| 3-Pack Floating Candles (White or Cream) | Dollar Store / Bulk Buy | $1.50 |
| Decorative River Stones or Glass Gems | Dollar Store / Backyard | $1.25 |
| Vibrant Fall Leaves (Maple/Oak) | The Great Outdoors | $0.00 |
| Distilled Water (Prevents Bubbles) | Grocery Store | $1.00 |
| Total Investment | – | $7.50 |
The Pro-Crafter’s Secret: Distilled Water
If you want that crystal-clear, high-end look, do not use tap water. Tap water contains minerals and gases that create unsightly bubbles on the surface of your submerged leaves. $1 spent on distilled water is the difference between a professional-looking display and a science project. It ensures the light from the candle travels through the water with zero interference, making those orange and red hues pop with 100% clarity.
Step-by-Step Assembly: The Submerged Leaf Technique
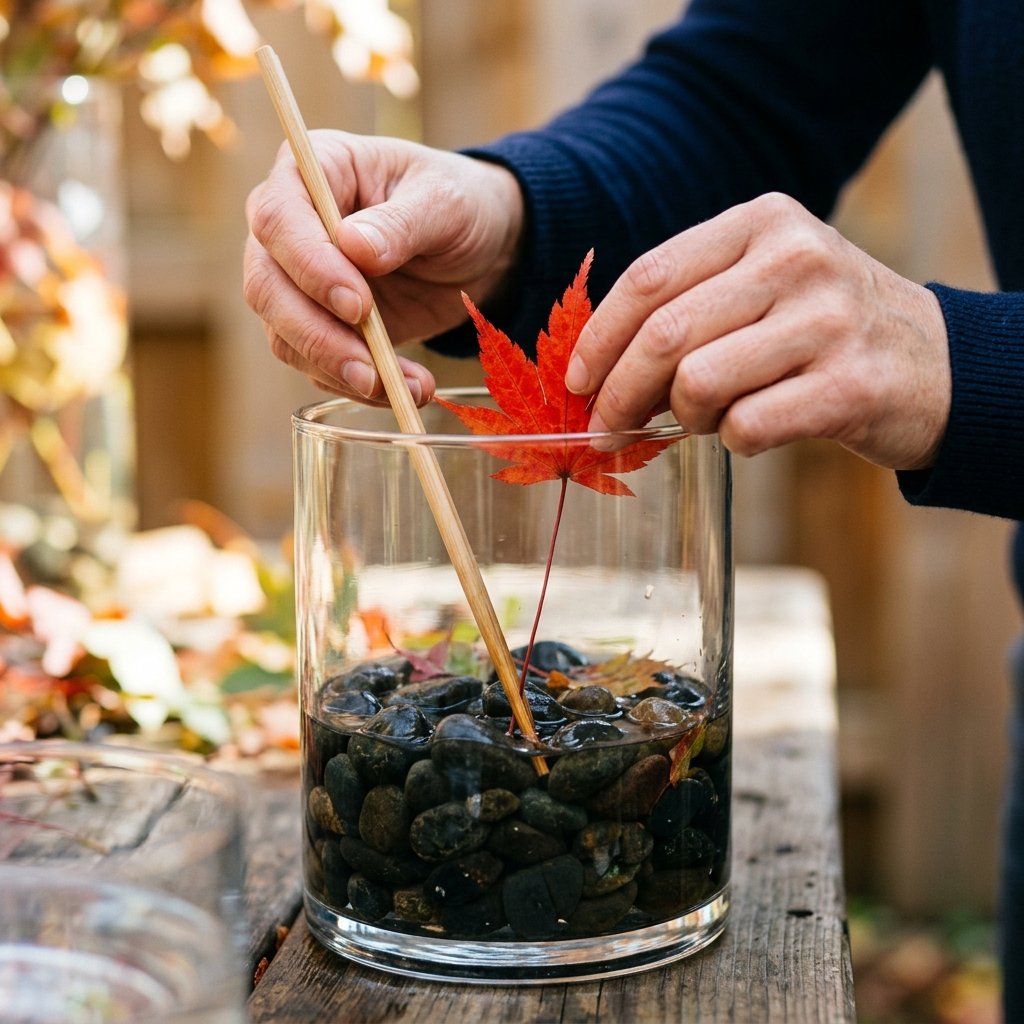
Assembling these centerpieces is a tactical process. You aren’t just throwing leaves in a jar; you are composing a 360-degree landscape. Because leaves naturally want to float, we have to use a bit of ‘crafty engineering’ to keep them submerged and looking natural.
- Clean the Glass: Use a 50/50 vinegar and water solution to wipe down the interior of your vases. Any fingerprint or dust mote will be magnified once the water is added.
- The Anchor Layer: Drop a handful of river stones into the bottom of each vase. These aren’t just for aesthetics; they serve as the ballast for our leaf stems.
- Prepping the Foliage: Select leaves that are flexible, not brittle. If they are too dry, they will snap. Pro-Tip: Lightly coat your leaves in a clear acrylic spray or even hairspray to preserve their color and prevent the water from leaching the pigment.
- The Tuck and Pin: Use a long skewer or a chopstick to tuck the stems of the leaves into the gaps between the stones. Arrange them so they spiral upward, mimicking how they might fall through the air.
- The Slow Pour: Tilt the vase at a 45-degree angle and slowly pour the distilled water down the side of the glass. This minimizes agitation and prevents the leaves from dislodging from their stone anchors.
“The secret to a ruggedly elegant centerpiece is intentional asymmetry. Don’t make the vases identical; let the leaves in the tallest vase reach higher, while the shortest vase stays dense and grounded.”
Styling for Romance: Masculine-Elegant Accents

Now that your focal points are built, we need to integrate them into the wider table environment. To avoid the ‘too-feminine’ trap, we lean into rugged textures and practical elements that provide a grounded, masculine-elegant aesthetic. Think of this as the ‘Woodsman’s Formal’ look.
The Texture Palette
- Burlap & Twine: Instead of a lace runner, use a $2 strip of natural burlap. The coarse weave contrasts beautifully with the smooth glass and flickering candlelight.
- Wood Elements: Place your vases on a cross-section of a log (a wood slice) or a dark-stained wooden plank. This adds height and a sense of permanence to the display.
- Metallic Contrast: Scatter a few copper-painted acorns or small brass nuts and bolts around the base for a clever, ‘industrial-meets-nature’ vibe that appeals to the handy DIYer.
| Element | Style Impact | Budget Tip |
|---|---|---|
| Burlap Runner | Rugged Texture | Buy by the yard at hardware stores for $1.50 |
| Wood Slices | Organic Height | Cut from a fallen branch for FREE |
| Copper Accents | Reflective Warmth | Use leftover copper spray paint on backyard acorns |
Lighting and Atmosphere: The Science of the Glow
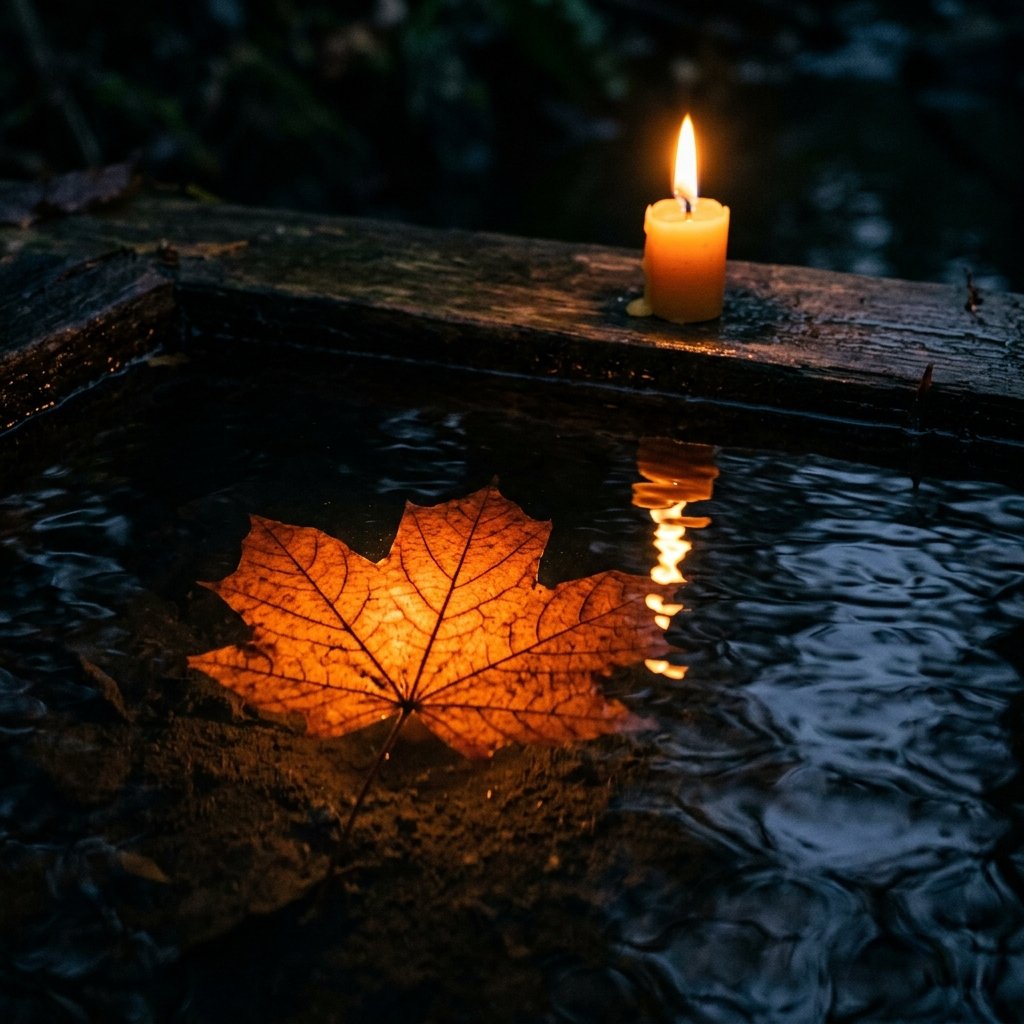
A centerpiece is only as good as the light it emits. When you light that floating candle, the flame sits just above the water line. The water acts as a natural fiber-optic cable, carrying the light down through the vase and illuminating the leaves from within. This creates a ‘glow from the depths’ effect that is incredibly romantic and sophisticated.
Safety First: The Fire-and-Water Balance
Safety Note: Always ensure your floating candles are specifically designed for water. Standard tea lights have a metal casing that can get too hot and potentially crack thin glass if they drift to the side. Ensure there is at least 1 inch of clearance between the flame and any overhanging foliage.
To maximize the burn time (usually 4-6 hours for standard floating discs), keep the vases out of direct drafts. If you are hosting an outdoor fall event, consider placing the vases inside a larger glass lantern to shield the flame while maintaining the ‘under $10’ budget by using found lanterns or upcycled jars.
Upcycling After the Event: Zero-Waste Transition

The mark of a truly resourceful DIYer is knowing how to reuse materials. Once your romantic dinner is over, don’t just toss the components. This setup is designed for maximum versatility and longevity.
- The Stones: Rinse and dry. They can be used for drainage in potted plants or as the base for a winter-themed centerpiece using evergreen sprigs and cranberries.
- The Vases: Glass cylinders are the ‘little black dress’ of home decor. Store them in the original boxes to prevent scratching. In the spring, swap the leaves for submerged tulips or lemon slices.
- The Water: Use the leftover distilled water to top off your steam iron or water your sensitive indoor plants like orchids.
By investing in quality basics (the glass) and using ephemeral hero pieces (the leaves), you are practicing sustainable, budget-savvy styling that evolves with the seasons without ever costing more than a few dollars in ‘refresh’ items.
Conclusion
Mastering the High-End Look for Less
Creating a breathtaking, romantic fall table doesn’t require a massive budget; it requires cleverness, resourcefulness, and an eye for natural beauty. By spending less than $10, you’ve managed to harness the power of light and water to create a centerpiece that rivals professional event designs. You’ve taken simple glass, backyard foliage, and a few stones to create an atmosphere that is both ruggedly masculine and elegantly soft.
Remember, the best DIY projects aren’t just about saving money—they are about the satisfaction of looking at a beautiful space and knowing you built it with your own two hands. So, grab your shears, head to the backyard, and start crafting your most romantic autumn yet. Happy making!

Makenzie is the founder and lead writer at MoneyHackTips.com — a personal finance blog dedicated to delivering street-smart financial wisdom for real people on real budgets. With 300+ published articles covering everything from debt management to investing fundamentals, Makenzie’s mission is to make every dollar work harder. When not writing about money hacks, Makenzie is testing frugal living strategies, optimizing side hustles, and helping readers build financial freedom from scratch.