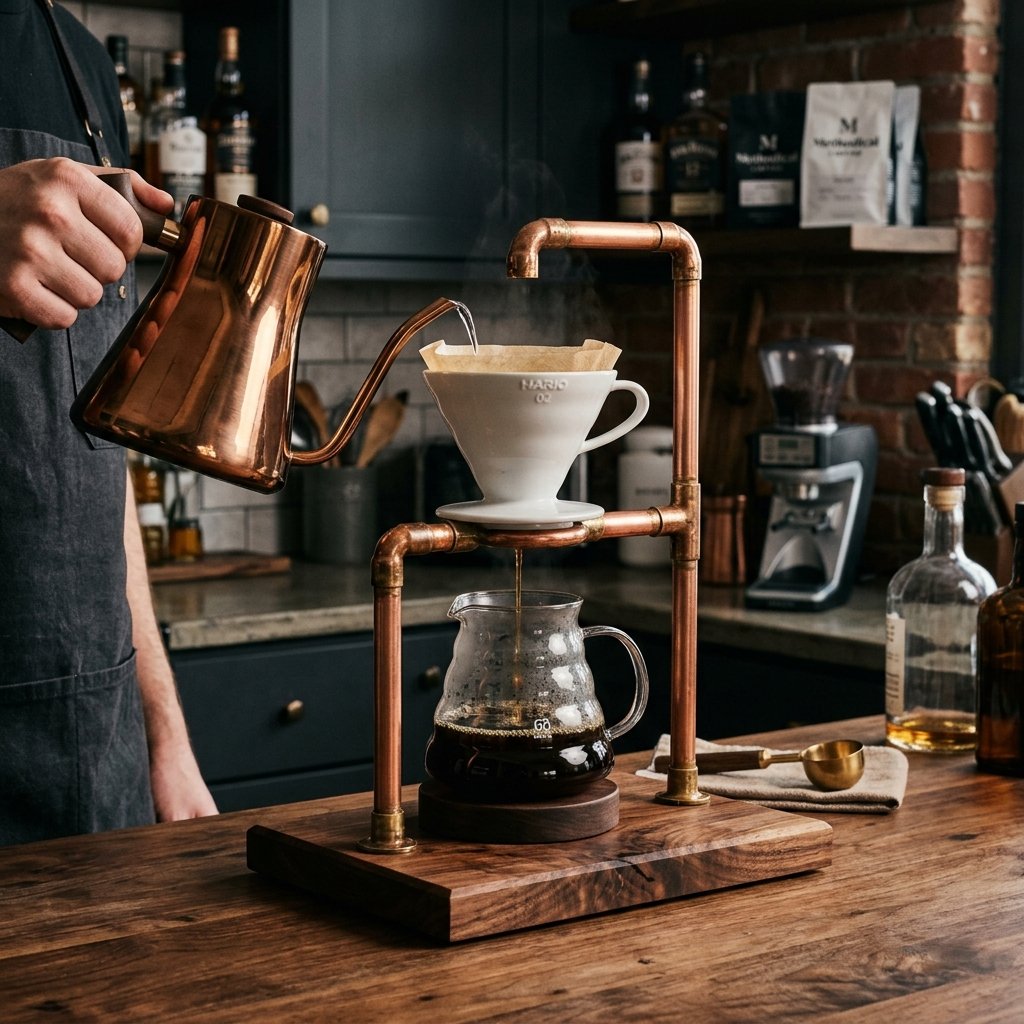

The Art of the Morning Brew: Why a Handmade Station Matters
There is something inherently rugged and soulful about the morning coffee ritual. For the father who appreciates the precision of a perfect pour-over and the aesthetic of industrial design, a store-bought plastic machine simply won’t do. We are diving deep into the world of resourceful craftsmanship to create a piece that looks like it belongs in a high-end Soho boutique but costs less than a bag of premium beans. This isn’t just a gift; it’s a daily experience. By combining the warm, metallic glow of copper piping with the sturdy, grounding presence of reclaimed wood, we are building a functional piece of art. This guide is designed for the frugal DIYer who refuses to sacrifice style for savings. We will walk through every cut, every polish, and every drop of epoxy to ensure your Father’s Day gift is the highlight of his year.
Budget Mantra: Excellence isn’t found in the price tag, but in the precision of the hand and the heart behind the craft.
Scouting Your Materials: The Budget-Savvy Blueprint
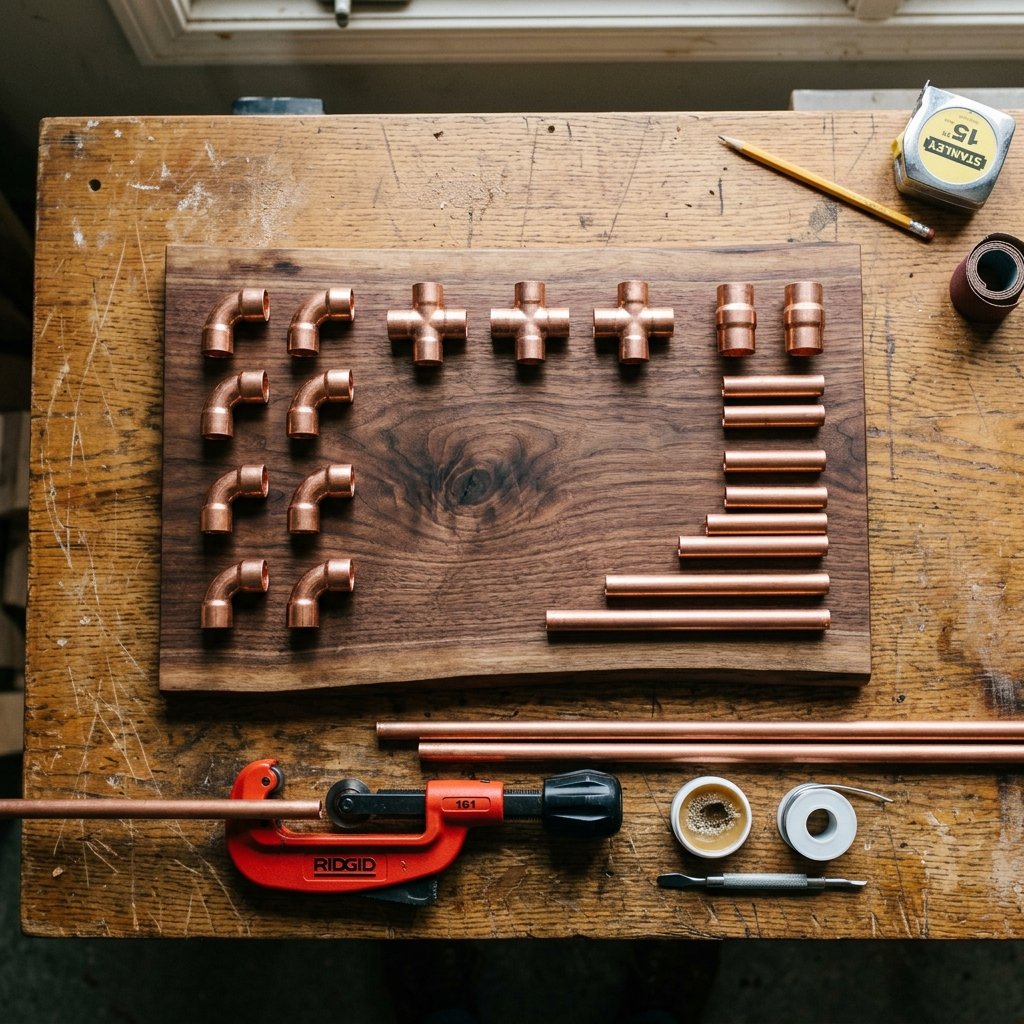
Before we strike a single match or cut a single pipe, we must gather our supplies with the eye of a seasoned upcycler. Copper is currently a premium material, but with a bit of clever sourcing, you can keep your costs remarkably low. Check local scrap yards or the ‘as-is’ section of hardware stores for short lengths of 1/2-inch copper pipe. For the base, look no further than your own scrap pile or a local cabinet shop’s offcuts. A piece of walnut, oak, or even thick reclaimed pallet wood provides the necessary weight and masculine elegance to anchor the station.
The Essential Inventory
To ensure a seamless build, you will need the following components. Remember, buying in bulk or using scraps can save you upwards of 70% compared to buying pre-cut kits.
| Material Item | Quantity/Size | Estimated Cost (DIY) | Retail Equivalent |
|---|---|---|---|
| 1/2-inch Copper Pipe | 5 Linear Feet | $12.00 | $45.00 |
| 90-Degree Copper Elbows | 4 Units | $4.00 | $15.00 |
| Copper T-Fittings | 2 Units | $3.00 | $10.00 |
| Copper End Caps | 2 Units | $2.00 | $8.00 |
| Hardwood Base Scrap | 10″ x 6″ x 1″ | FREE | $25.00 |
| Total Investment | — | $21.00 | $103.00+ |
Safety Note: When cutting copper pipe, always wear eye protection to guard against stray metal shavings. If using a torch for soldering, ensure you are in a well-ventilated area away from flammable materials.
Precision Cutting: Mastering the Pipe Cutter
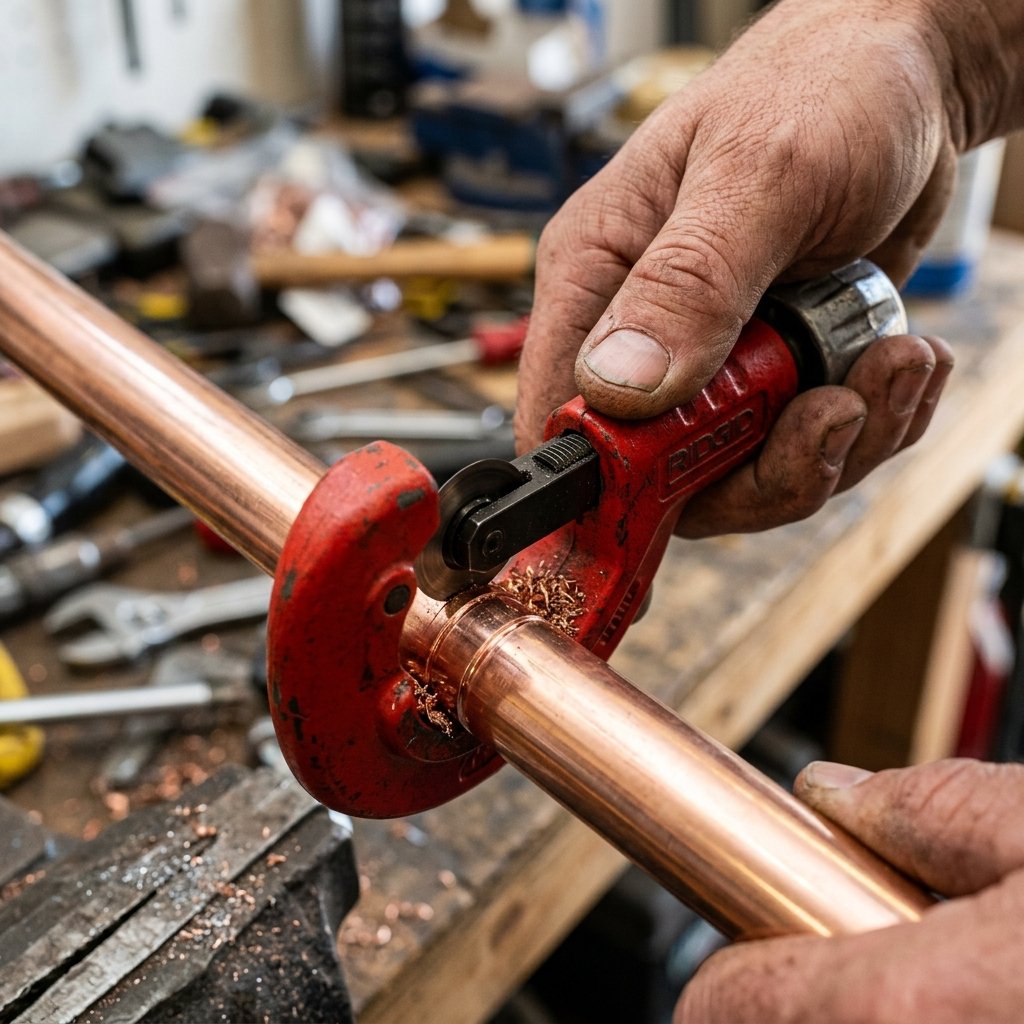
The secret to a professional-looking coffee station lies in the precision of your cuts. We aren’t using a hacksaw here; that leaves jagged edges and a ‘basement-plumbing’ look. Instead, we use a simple, budget-friendly rotary pipe cutter. This tool creates perfectly square, clean edges that allow the copper fittings to slide on like a glove. For a standard Hario V60 or Chemex setup, we want the dripper to sit approximately 7 to 8 inches above the base to accommodate most mugs and carafes.
The Cut List
- 2 x 8-inch pieces: These are your main vertical pillars.
- 2 x 4-inch pieces: These form the depth of your base support.
- 1 x 6-inch piece: This is your horizontal crossbar where the coffee dripper will rest.
- 2 x 2-inch pieces: These small connectors link the T-fittings to the base caps.
To cut, simply tighten the tool onto the pipe at your mark, rotate it 360 degrees, tighten slightly more, and repeat until the pipe snaps cleanly. Use the deburring tool (usually attached to the back of the cutter) to smooth the inside of the pipe. This ensures no metallic taste ever interferes with Dad’s morning brew.
The Assembly: Glue vs. Solder

For this project, you have two paths: the rugged, traditional solder or the clever, modern epoxy. If you want a clean, minimalist look without the industrial ‘burn’ marks of a torch, a high-strength two-part clear epoxy is your best friend. It provides a permanent bond that is more than strong enough to hold a ceramic dripper filled with water.
Step-by-Step Construction
- Dry Fit Everything: Before applying any adhesive, assemble the entire station. Ensure it sits level on the wood base. If it wobbles, adjust your cuts now.
- Clean the Joints: Use 0000 grade steel wool or a fine-grit sandpaper to scuff the ends of the pipes and the insides of the fittings. This creates ‘teeth’ for the glue to grab onto and removes oxidation for a brighter shine.
- Apply Adhesive: Mix a small amount of epoxy and apply it to the inside of the fitting using a toothpick. This prevents excess glue from squeezing out and ruining the copper’s finish.
- Square the Frame: Once assembled, place the frame on a flat surface. Use a carpenter’s square to ensure the uprights are perfectly 90 degrees to the table.
Pro Tip: If you choose to solder for that authentic ‘plumber’ aesthetic, remember to wipe away excess flux immediately, or it will leave green spots on your copper within 24 hours!
Crafting the Foundation: The Wood Base
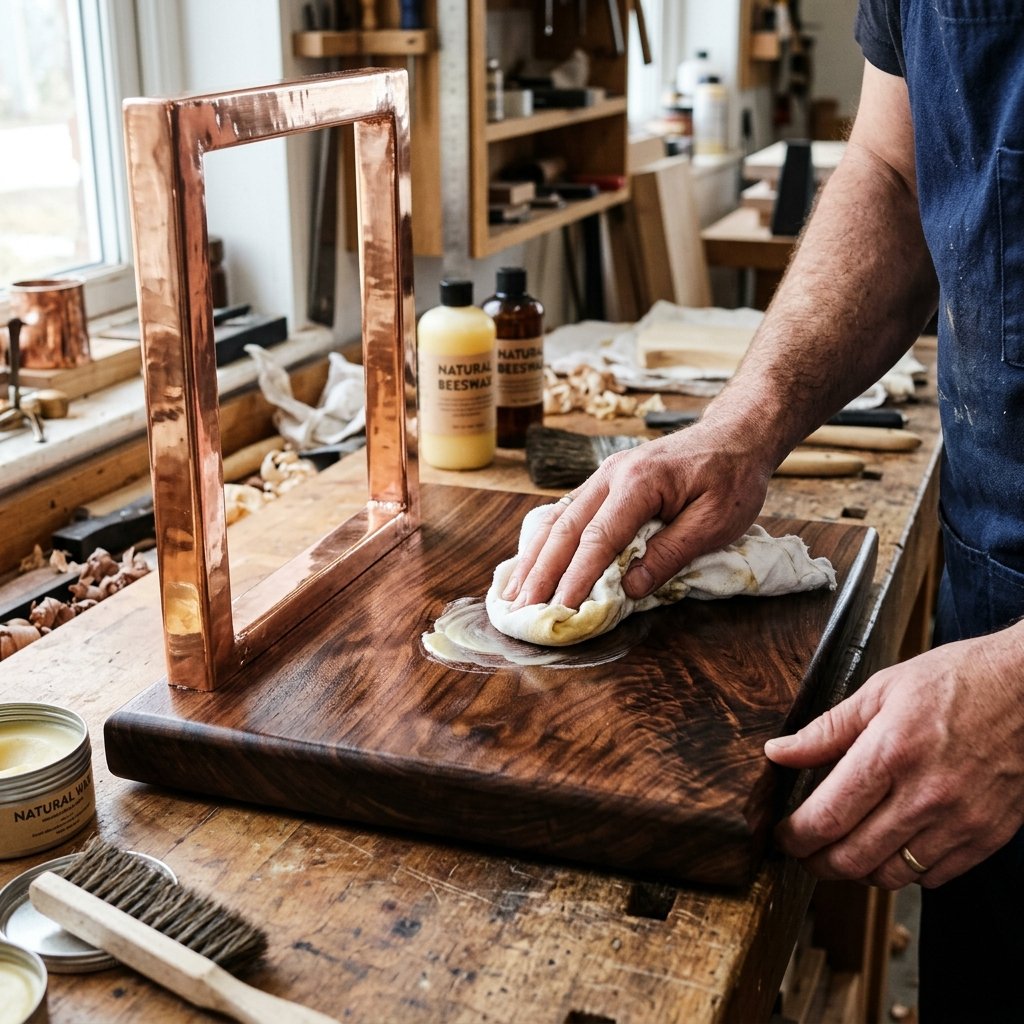
The base is what transforms this from a ‘pipe project’ into a piece of furniture. We want a heavy, stable base to prevent the station from tipping. If you are using a piece of reclaimed wood, the goal is to highlight its history while making it food-safe and water-resistant. Coffee brewing is a messy business, and splashes are inevitable.
Prepping the Wood
- Sanding: Start with 80-grit to remove imperfections, then move to 120, 220, and finally 400-grit for a buttery-smooth finish.
- Drilling: You can either mount the copper caps directly to the surface using small brass screws, or for a ‘floating’ look, use a 5/8-inch Forstner bit to drill shallow recesses for the pipes to sit inside.
- Sealing: Use a natural beeswax and mineral oil finish. It’s non-toxic, easy to repair, and smells incredible. Apply it liberally, let it soak in for 20 minutes, and buff it to a soft sheen with a lint-free cloth.
This combination of warm wood and bright copper creates a masculine-elegant aesthetic that fits perfectly in a modern kitchen or a rustic workshop office.
The Final Polish: Protecting the Shine
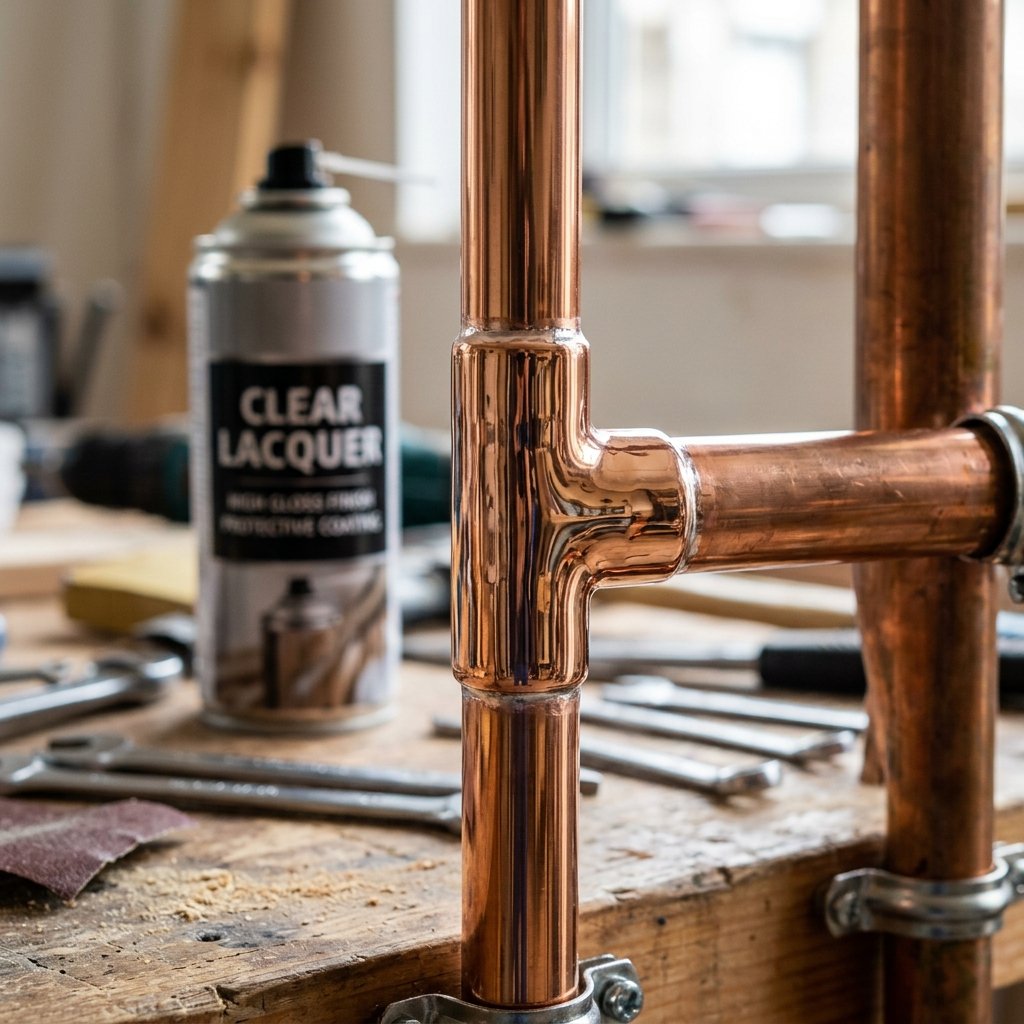
Copper is a ‘living’ metal. Left untouched, it will develop a dark, moody patina over time. Some dads love this rugged, aged look. However, if you want it to retain that ‘new penny’ glow, you must seal it. After a final rub-down with steel wool to remove any fingerprints (the oils in your skin will cause spotting!), you have two options for finishing.
The Finish Comparison
| Finish Type | Appearance | Maintenance |
|---|---|---|
| Raw Patina | Industrial, Antique, Darkens over time | Zero maintenance; gets better with age. |
| Clear Lacquer | High-gloss, Permanent Shine | Occasional dusting; prevents all oxidation. |
| Carnauba Wax | Satin Sheen, Natural feel | Requires re-application every 6 months. |
For the ultimate Father’s Day presentation, we recommend a thin coat of spray-on clear acrylic lacquer. It locks in the brilliance and makes the station incredibly easy to wipe clean after a morning spill.
The Ritual: How to Use the Station
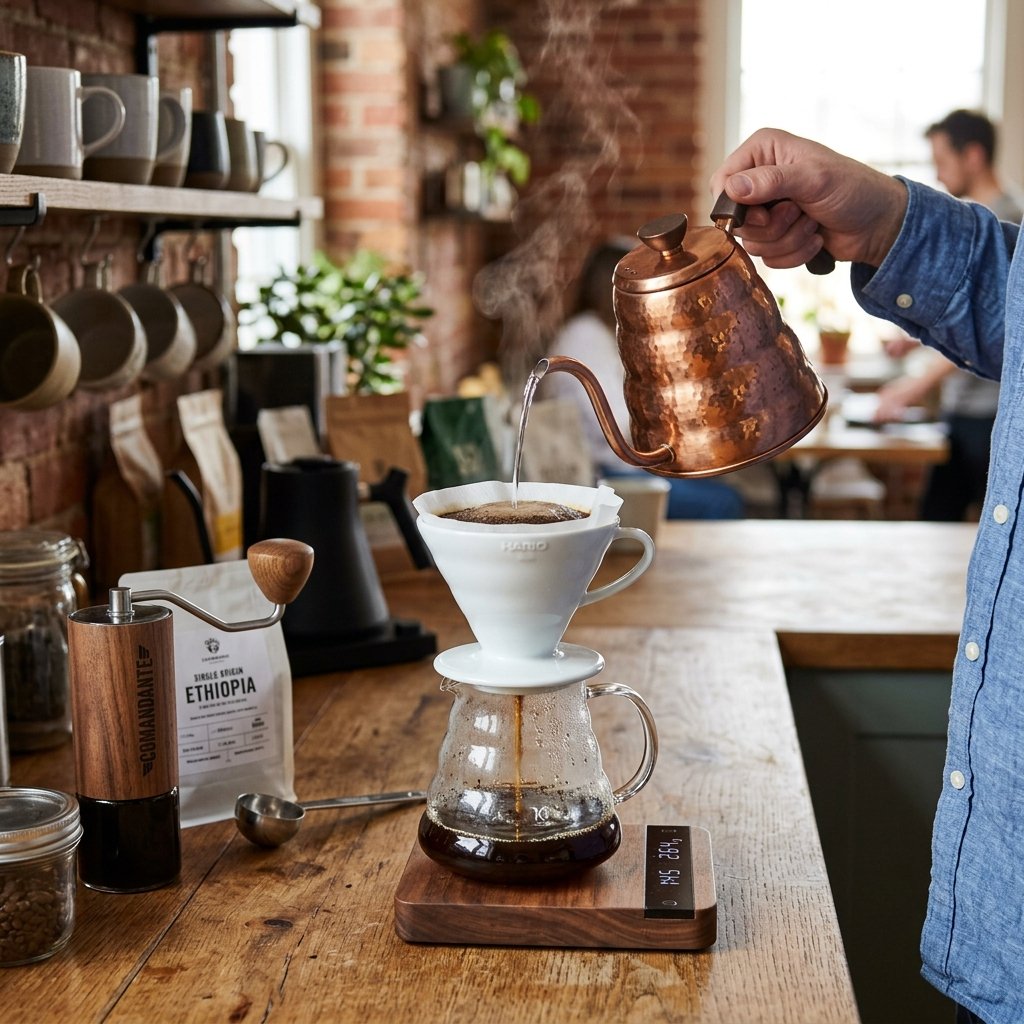
Your gift isn’t complete until Dad knows how to use it like a pro. The copper pour-over station is designed to hold a standard ceramic or glass dripper. The 6-inch crossbar is the perfect width to support the ‘wings’ of most drippers while allowing the coffee to flow freely into the vessel below.
The Perfect Pour Formula
- The Ratio: Use 1 gram of coffee for every 16 grams of water. For a standard mug, that’s about 22g of coffee to 350g of water.
- The Grind: Use a medium-coarse grind, similar to the consistency of sea salt.
- The Bloom: Pour just enough hot water (about 200°F) to wet the grounds. Wait 30 seconds. This releases the CO2 and prevents a sour taste.
- The Spiral: Pour the remaining water in slow, steady concentric circles, avoiding the very edges of the filter.
Present the station with a bag of his favorite locally-roasted beans and a pack of unbleached filters. You’ve just upgraded his morning from a ‘caffeine fix’ to a moment of zen.
Conclusion
A Gift That Lasts a Lifetime
By choosing to build instead of buy, you’ve created a Father’s Day gift that carries the weight of your time and effort. This DIY Copper Pipe Pour Over Station is more than a kitchen accessory; it’s a testament to resourceful living and practical elegance. It’s sturdy enough to survive a lifetime of mornings and stylish enough to be a conversation starter for years to come. Whether he’s a coffee connoisseur or just a man who appreciates a well-built tool, this station will remind him of your creativity every time he smells that first morning brew. Now, go forth, get your hands a little dirty, and craft something extraordinary!

Makenzie is the founder and lead writer at MoneyHackTips.com — a personal finance blog dedicated to delivering street-smart financial wisdom for real people on real budgets. With 300+ published articles covering everything from debt management to investing fundamentals, Makenzie’s mission is to make every dollar work harder. When not writing about money hacks, Makenzie is testing frugal living strategies, optimizing side hustles, and helping readers build financial freedom from scratch.