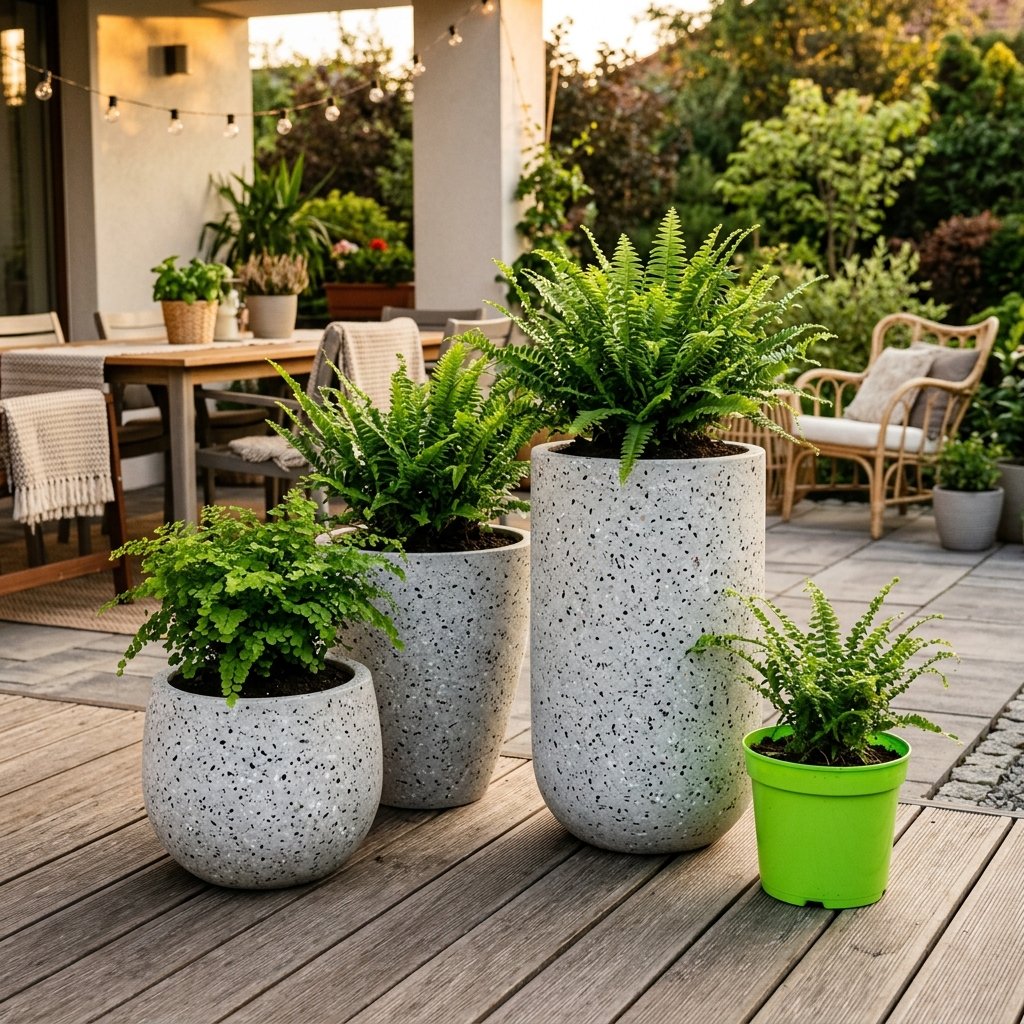

The Plastic Problem and the Terrazzo Solution
We have all seen them: those flimsy, neon-colored, or depressingly generic plastic pots lining the shelves of the $1.25 section. They serve a purpose, sure, but they lack the soul, weight, and architectural presence of high-end masonry. Real terrazzo—a composite material made of marble, quartz, granite, and glass chips set in cement—is a timeless symbol of mid-century modern elegance and rugged durability. However, a single genuine terrazzo planter can easily set you back $80 to $200 at a boutique garden center. As frugal DIYers, we don’t pay retail. We innovate. We are going to take those ugly plastic ‘trash’ pots and engineer a stunning, masculine-elegant faux stone finish that will fool even the most discerning eye. This isn’t just a paint job; it’s a total material transformation that adds texture, weight, and high-end aesthetic to your porch or living room for less than the price of a fancy latte.
The Strategic Advantage: Why Faux Terrazzo?
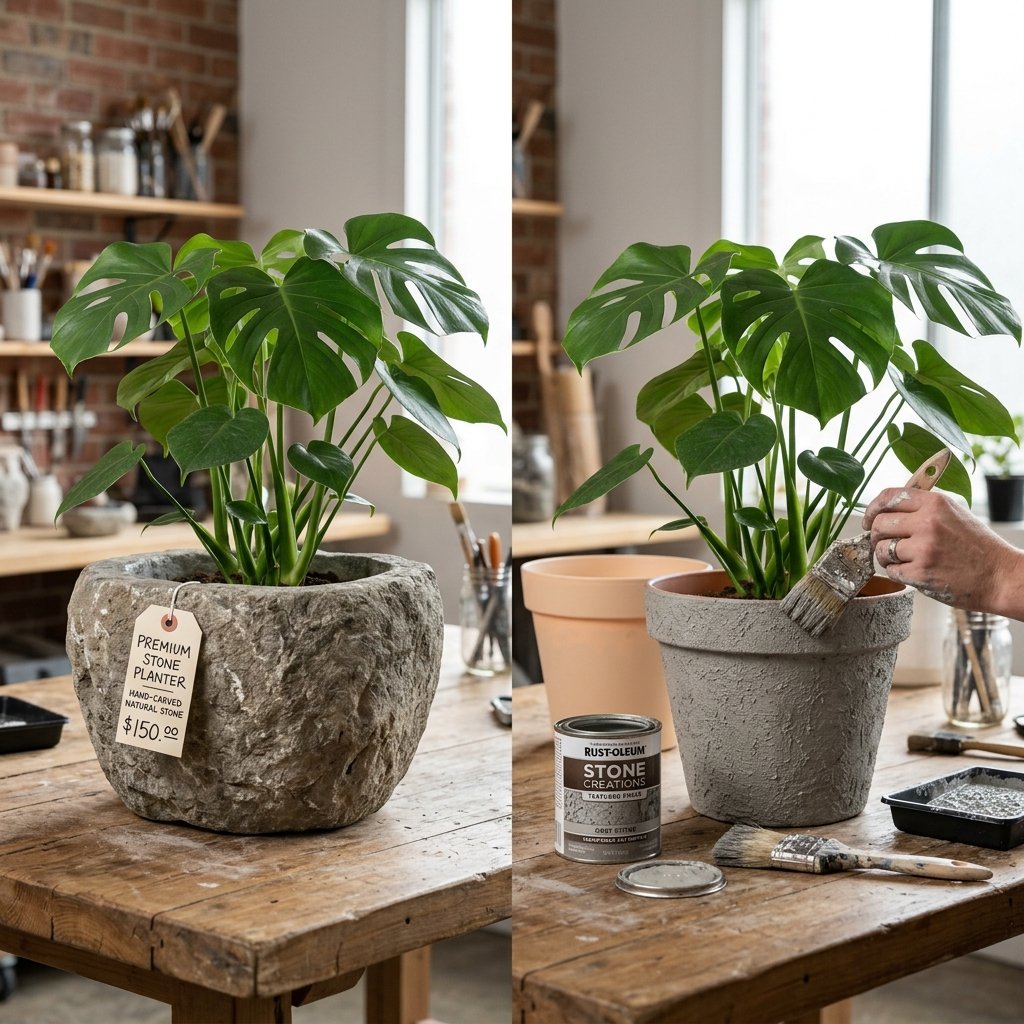
Before we get our hands dirty, let’s look at the logistics of why this project is a mandatory addition to your DIY repertoire. Real stone is heavy, expensive, and prone to cracking in freeze-thaw cycles. By using plastic as our substrate, we retain the lightweight portability and shatter-resistance of poly-materials while gaining the visual gravity of stone. This is the ultimate clever hack for renters and budget-savvy homeowners alike.
| Feature | Retail Terrazzo Planter | DIY Faux Terrazzo Pot |
|---|---|---|
| Average Cost | $120.00 | $4.50 |
| Weight | Heavy (Hard to move) | Lightweight & Portable |
| Durability | Brittle/Can crack | Flexible/Shatterproof |
| Customization | Limited to stock colors | Infinite color palettes |
By choosing to DIY, you aren’t just saving 95% on the cost; you are gaining the ability to match your decor perfectly. Whether you want a rugged, industrial grey base with black obsidian flecks or a warm, desert-sand base with terracotta chips, you are the lead designer here.
The Treasure Map: Materials and Budget Breakdown
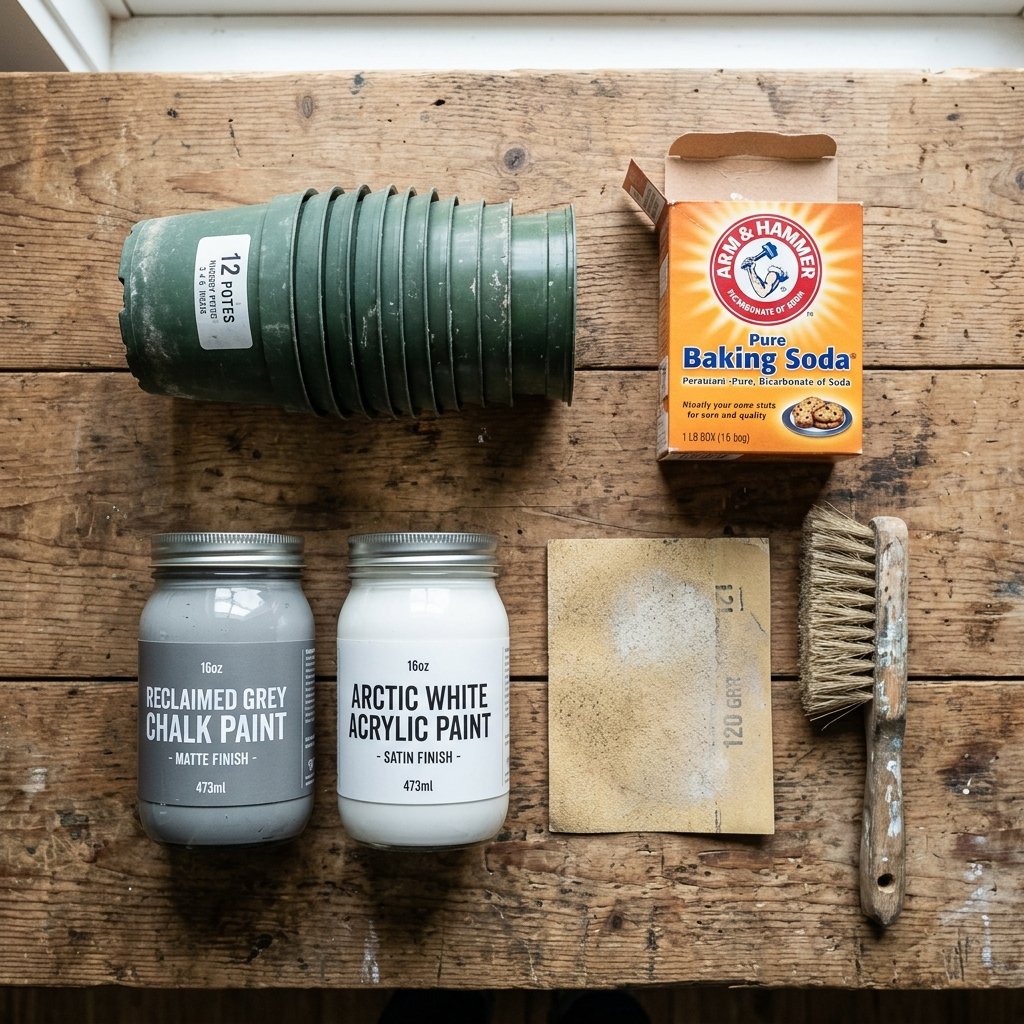
A resourceful crafter is only as good as their toolkit. To achieve a finish that doesn’t look like ‘painted plastic,’ we need specific materials that add physical dimension. Our secret weapon? Baking soda. This common pantry staple reacts with acrylic paint to create a thick, terracotta-like paste that mimics the porous nature of stone.
| Material | Source | Estimated Cost |
|---|---|---|
| Plastic Planters (Various sizes) | Dollar Store | $1.25 each |
| Matte Acrylic Paint (Base Color) | Craft Store/Pantry | $2.00 |
| Acrylic Paint (Speckle Colors) | Craft Store/Pantry | $1.00 |
| Baking Soda | Grocery Store | $0.50 |
| Fine Grit Sandpaper (120-220) | Hardware Store | $0.50 |
| Matte Clear Sealer | Hardware Store | $1.50 (pro-rated) |
| Total Per Pot | — | ~$6.75 |
Budget Mantra: Look for ‘oops’ paint at the hardware store. You can often snag a quart of high-quality exterior latex paint for $2.00-$5.00, which provides a rugged base for dozens of planters.
Surface Engineering: Prepping the Plastic
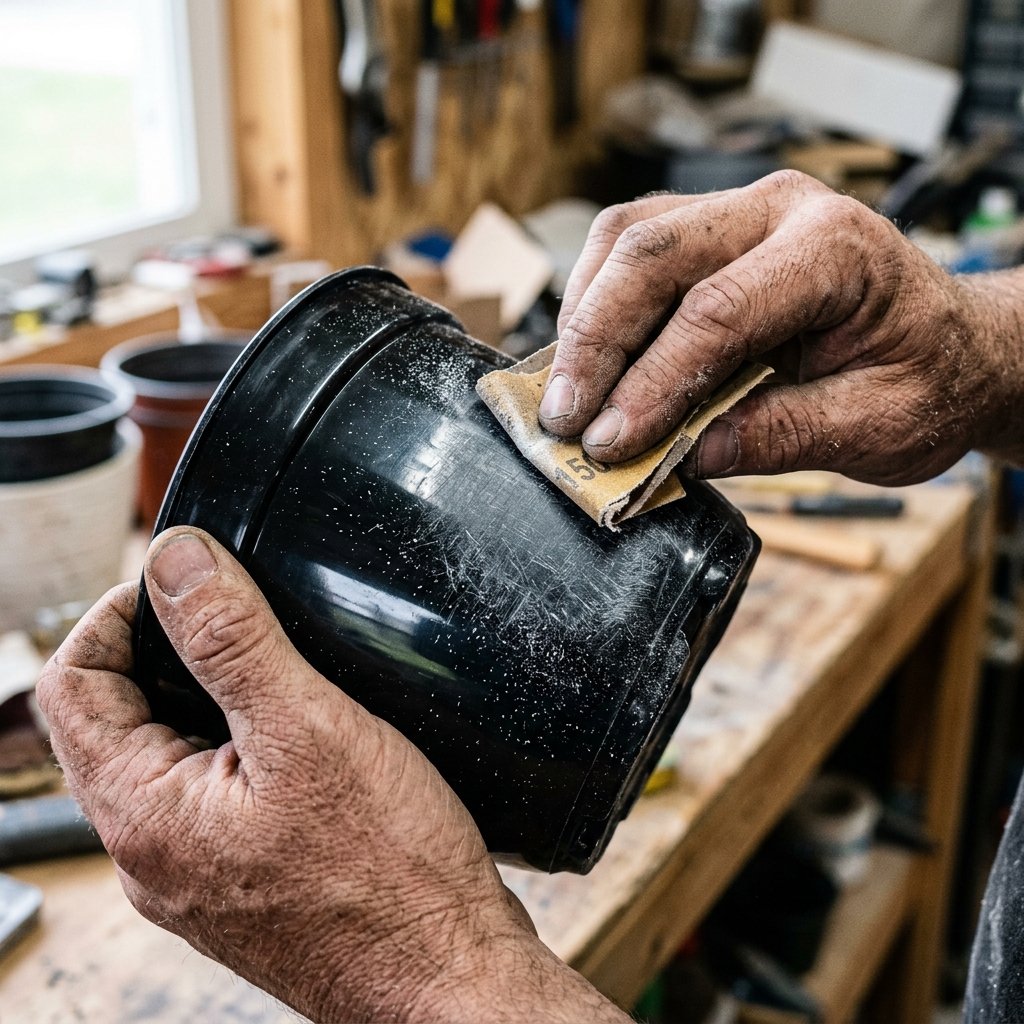
The biggest mistake novices make is painting directly onto smooth plastic. Plastic is non-porous and often has a ‘mold release’ oily film from the factory. If you skip the prep, your beautiful terrazzo finish will peel off in 24 hours. We need to create ‘tooth’ for our mixture to grab onto.
- Scuffing: Take your 120-grit sandpaper and aggressively sand the entire exterior of the pot. You aren’t trying to remove material, just to dull the shine and create microscopic scratches.
- Cleaning: Wipe the pot down with rubbing alcohol or a vinegar-water solution. This removes all dust and oils.
- Priming (Optional but Recommended): If your pot is a dark color and you want a light finish, a quick coat of plastic-bonding primer will save you three coats of paint later.
Spend 5-10 minutes on this phase; it is the difference between a professional-grade finish and a ‘Pinterest fail.’
The Alchemy of Faux Stone: Mixing the Base
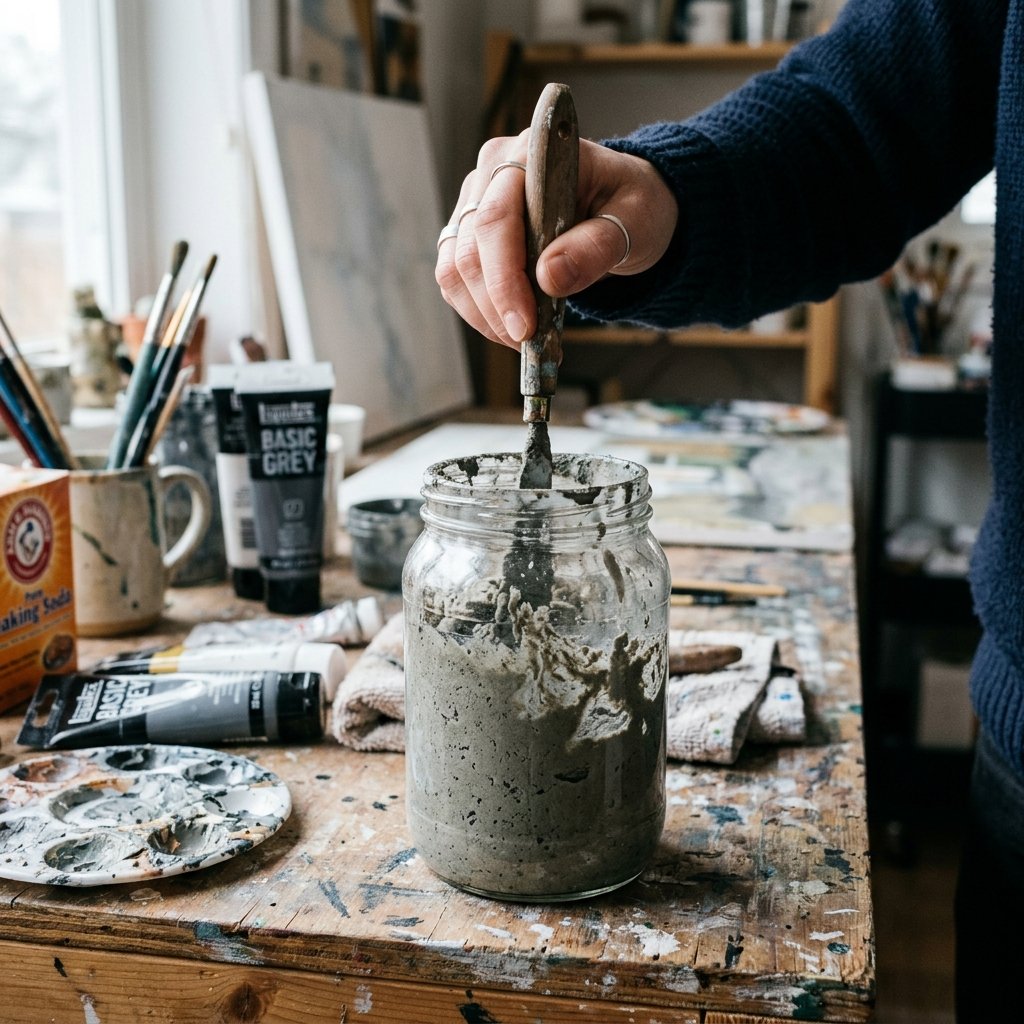
Now we create the ‘cement’ of our terrazzo. We want a mixture that is thick enough to hide the plastic seams but smooth enough to spread. This is where our crafty-expert skills shine.
The Master Formula
Mix 1 cup of matte acrylic paint with 1/4 cup of baking soda. Stir slowly until it reaches the consistency of thick pancake batter or frosting.
Apply this mixture using a stiff-bristled brush or a small foam roller. Instead of long, smooth strokes, use a ‘stippling’ or ‘pouncing’ motion. This creates a natural, uneven texture that mimics cast concrete. Allow the first coat to dry for at least 45 minutes before applying a second. You will see the transformation immediately as the shiny plastic disappears under a heavy, matte, stone-like shell.
The Art of the Speckle: Precision Terrazzo Technique
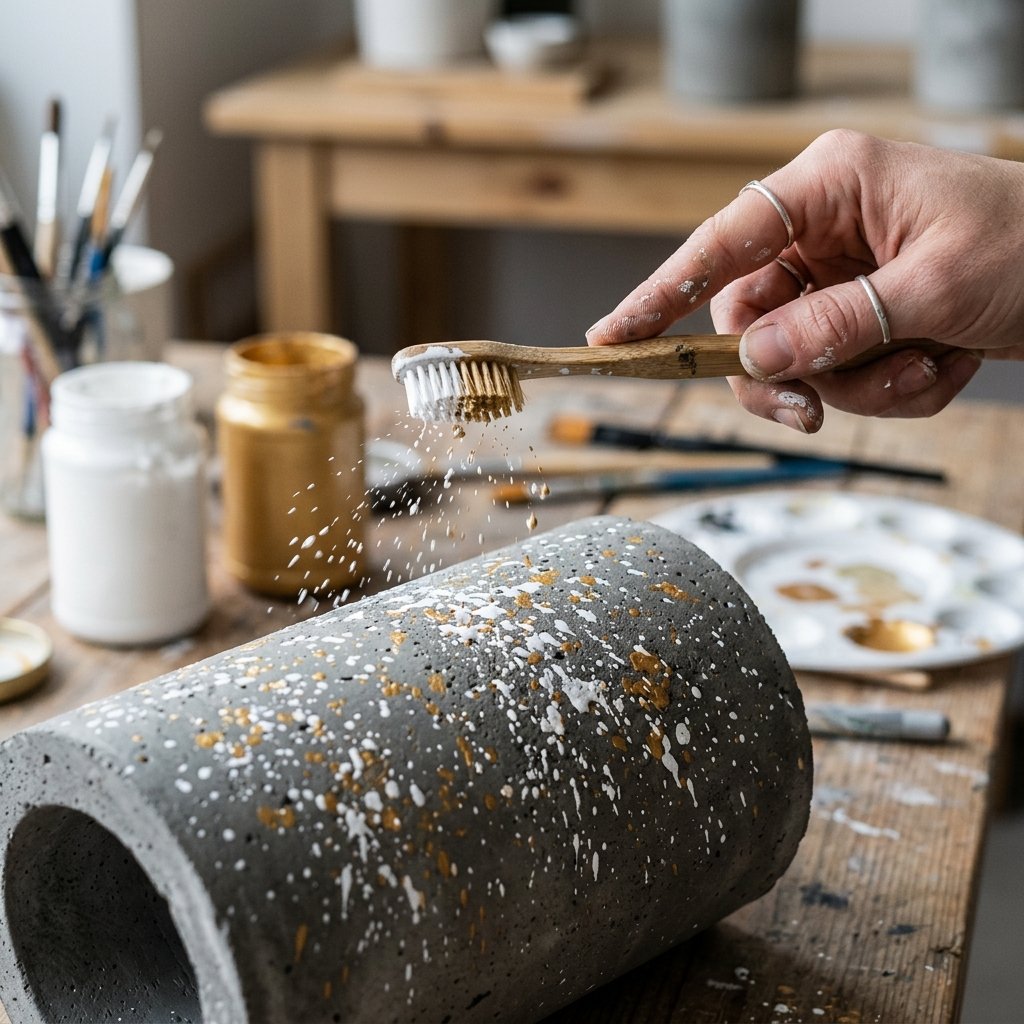
This is where the magic happens. Real terrazzo is defined by its colorful aggregate. To replicate this, we use the ‘flicking’ technique. Select 3-4 accent colors. For a classic look, try charcoal, white, and a muted ochre.
- The Toothbrush Method: Dip an old toothbrush into your accent color (dilute the paint with 2-3 drops of water first). Hold the brush about 6 inches from the pot and run your thumb across the bristles to flick tiny ‘chips’ onto the surface.
- The Sponge Method: For larger ‘marble’ chunks, take a sea sponge or a torn piece of kitchen sponge, dip it lightly into the paint, and dab it sporadically.
- The Layering Secret: Don’t do all the colors at once. Start with your darkest flecks, let them dry for 10 minutes, then add your highlights. This creates a sense of depth, as if some chips are buried deeper in the ‘cement’ than others.
Pro Tip: Rotate the pot as you go to ensure even coverage. Don’t overthink it—randomness is the key to a rugged, organic look.
Sealing and Weatherproofing for Longevity
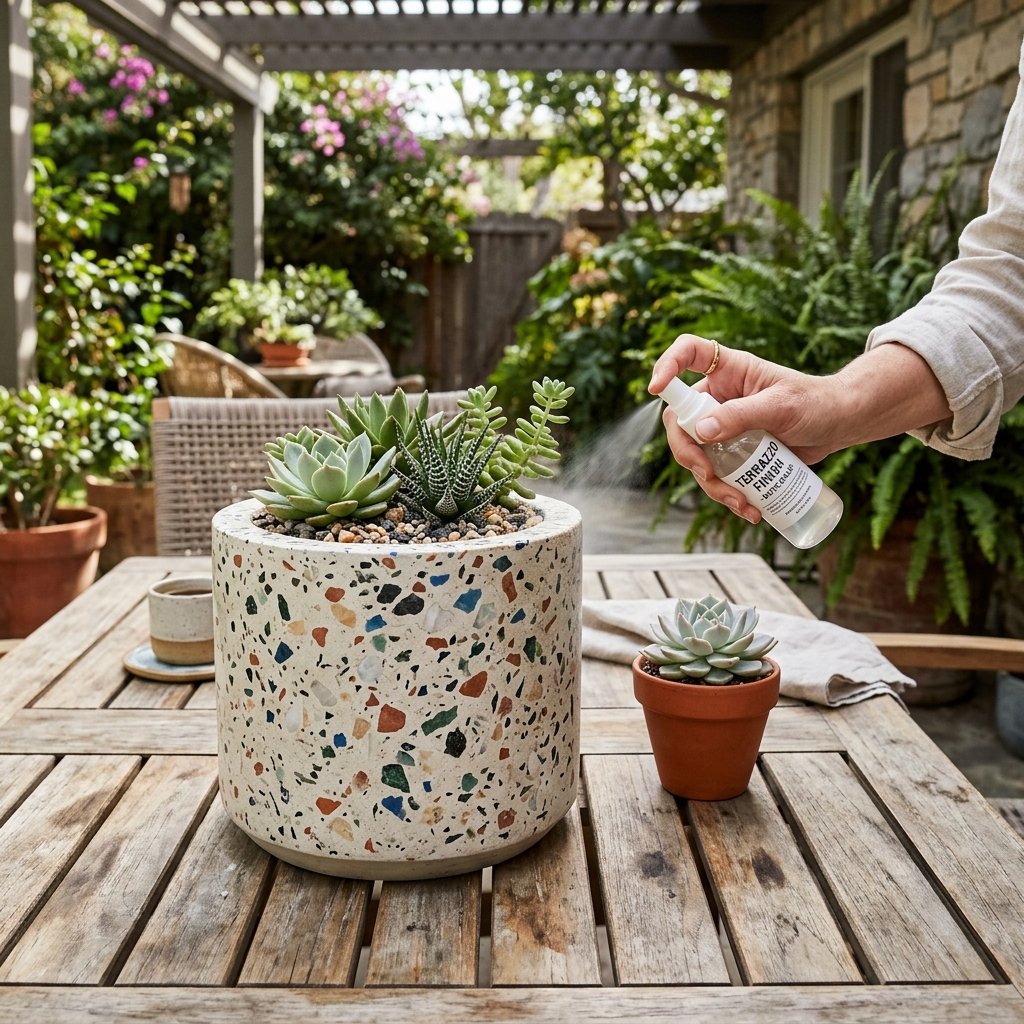
Because baking soda is water-soluble, an unsealed pot will ‘melt’ or become chalky if it gets rained on. To make these pots porch-ready, we must seal the deal. Use a matte or satin clear coat spray. Avoid high-gloss, as it will make the stone look like plastic again, defeating the purpose of our hard work.
Final Assembly Tips
- Wait 24 hours for the paint to fully cure before spraying the sealer.
- Apply two thin coats of sealer rather than one thick one to prevent drips.
- If using these for live plants, ensure you haven’t clogged the drainage holes with your thick paint mixture. Use a skewer or drill bit to clear them out if necessary.
Your finished product will not only look stunning but will be durable enough to withstand the elements, giving you a high-end look for a fraction of the price.
Conclusion
From Bargain Bin to Boutique Aesthetic
You have successfully navigated the journey from ‘trash’ to ‘treasure.’ By combining a few dollars’ worth of plastic with some clever chemistry and artistic flicking, you’ve created a piece of home decor that looks like it belongs in a high-end architectural digest. This project proves that style isn’t about how much you spend, but how resourcefully you can manipulate the materials around you. Whether you are gifting these to a fellow plant-lover or lining your own entryway, you can take pride in the fact that you’ve saved over $100 per pot while keeping plastic out of the landfill and in a place of honor in your home. Now, grab those ugly pots and start mixing—your stunning faux terrazzo garden awaits!

Makenzie is the founder and lead writer at MoneyHackTips.com — a personal finance blog dedicated to delivering street-smart financial wisdom for real people on real budgets. With 300+ published articles covering everything from debt management to investing fundamentals, Makenzie’s mission is to make every dollar work harder. When not writing about money hacks, Makenzie is testing frugal living strategies, optimizing side hustles, and helping readers build financial freedom from scratch.