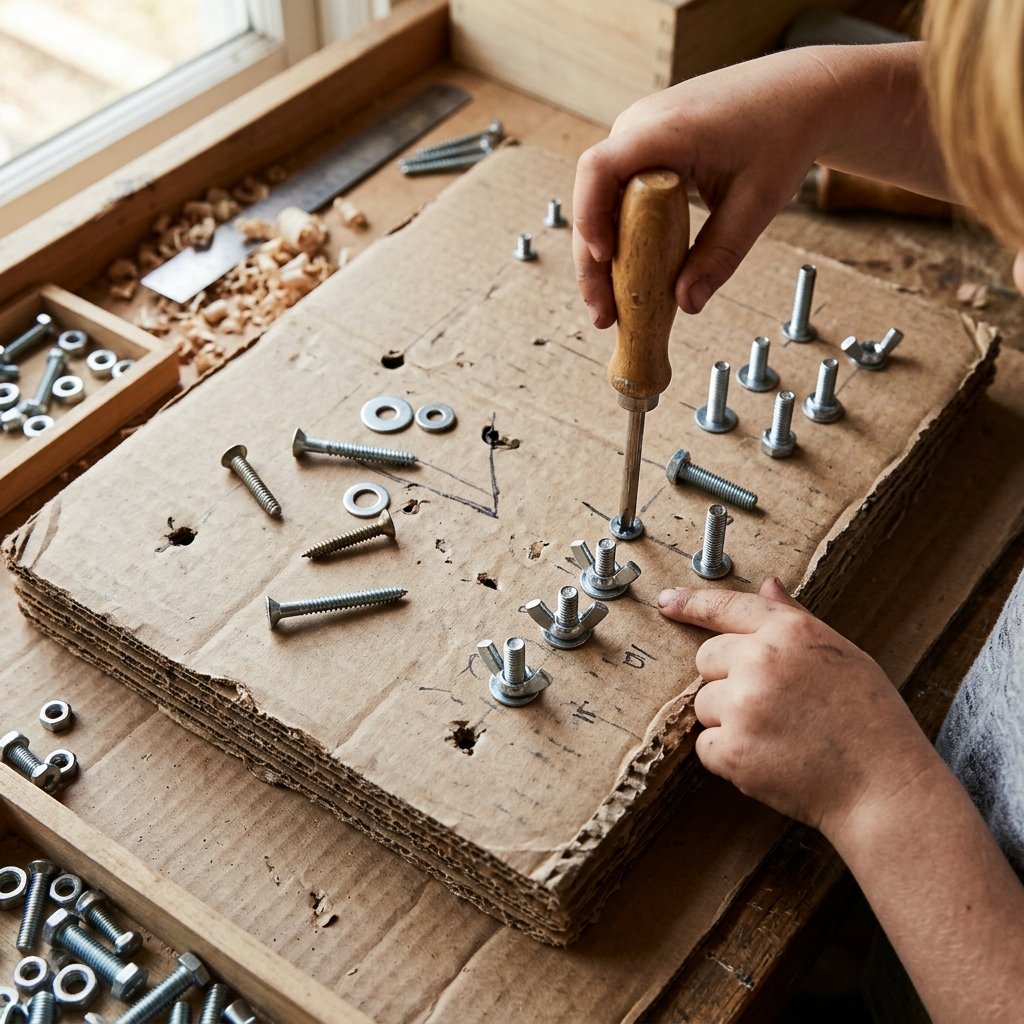

The Magic of Practical Life: Why Your Toddler Needs a Screwdriver Board
In the world of Montessori education, ‘Practical Life’ activities are the cornerstone of a child’s development. These tasks—mimicking the real-world work of adults—empower toddlers with independence, focus, and incredible fine motor control. But if you have ever browsed the aisles of a high-end toy store or scrolled through curated ‘Montessori-inspired’ catalogs, you have likely seen the price tags. A simple wooden screwdriver board can easily fetch $35 to $60. As a frugal DIYer, you know there is a better way. Why buy when you can upcycle? This project takes the humble shipping box—the ‘trash’ of our modern age—and transforms it into a rugged, masculine-elegant engineering station for your little apprentice. We are talking about a project that costs $0 to $2 but provides hours of deep concentration. This isn’t just a toy; it is a gateway to mechanical understanding, hand-eye coordination, and the sheer joy of ‘doing it myself.’ By using real hardware and real tools, we respect the child’s capability and provide a tactile experience that plastic toys simply cannot replicate. Let’s dive into how you can turn that Amazon box into a heirloom-quality learning tool.
The Scavenger Hunt: Sourcing Your Materials for $0
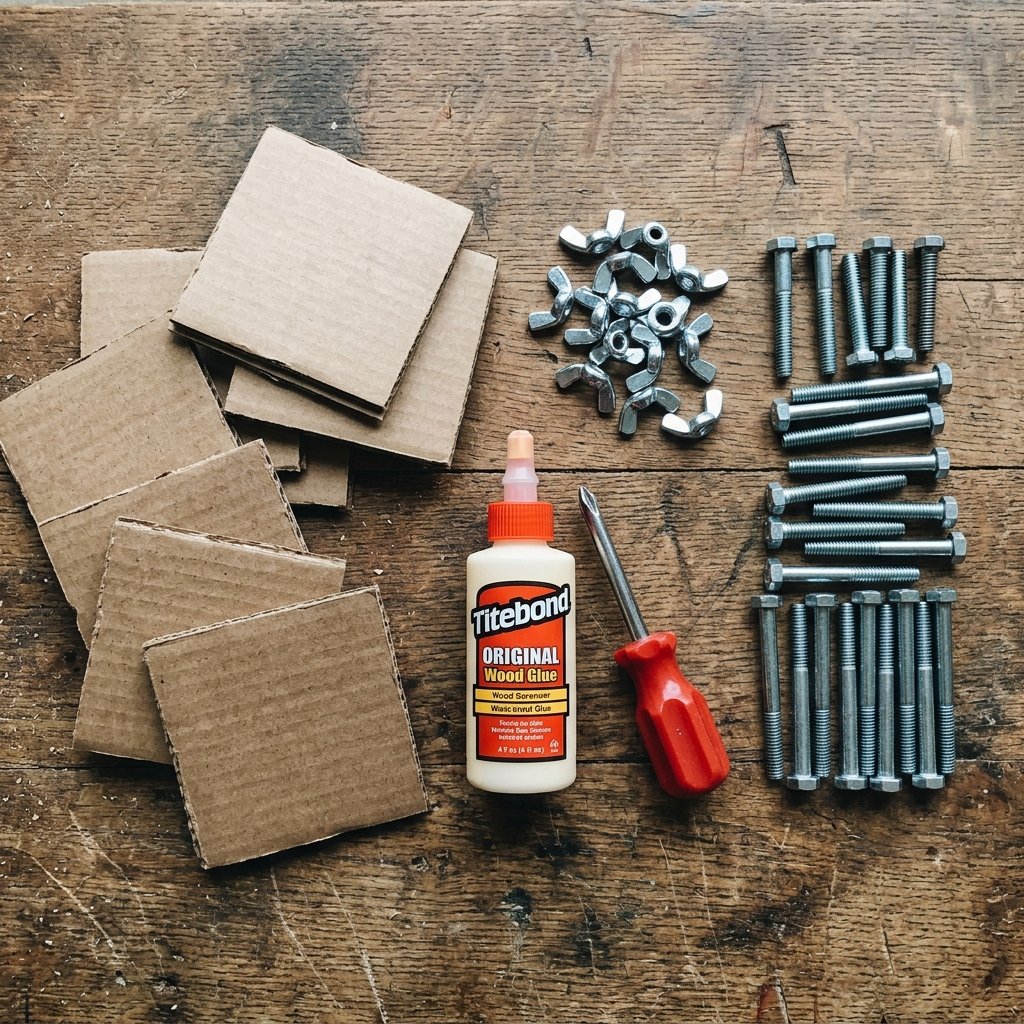
The beauty of this project lies in its resourcefulness. You likely already have every single component sitting in your recycling bin or your ‘junk’ drawer. We are looking for high-density corrugated cardboard and a variety of hardware that offers different ‘twisting’ experiences. When selecting your cardboard, look for double-walled boxes or plan to laminate multiple layers together to create a ‘chassis’ that is at least 1 inch thick. This ensures the screws have enough ‘meat’ to bite into without wobbling. For the hardware, the goal is diversity. You want different head types (Phillips, Flathead, Allen) and different resistance levels (short screws vs. long bolts with nuts).
| Material | Source | Estimated Cost |
|---|---|---|
| Heavy-Duty Cardboard | Shipping Boxes / Grocery Store | FREE |
| Assorted Screws & Bolts | The Junk Drawer / Old Furniture Kits | FREE |
| Wingnuts & Washers | Hardware Spare Parts Bin | FREE |
| Wood Glue or Hot Glue | Craft Supplies | $0.50 |
| Total Project Cost | – | $0.50 |
The ‘Rugged’ Hardware Checklist
- Machine Bolts: These are perfect because they have blunt ends, making them safer for small hands.
- Wingnuts: These provide a fantastic pincer-grasp workout as toddlers spin them up and down the bolt.
- Washers: Adding washers creates a satisfying ‘clink’ sound and adds a layer of visual complexity.
- Phillips Head Screws: Choose wide-head screws (like pan-head) to make it easier for the screwdriver to stay seated.
Engineering the Base: Building an Indestructible Cardboard Chassis
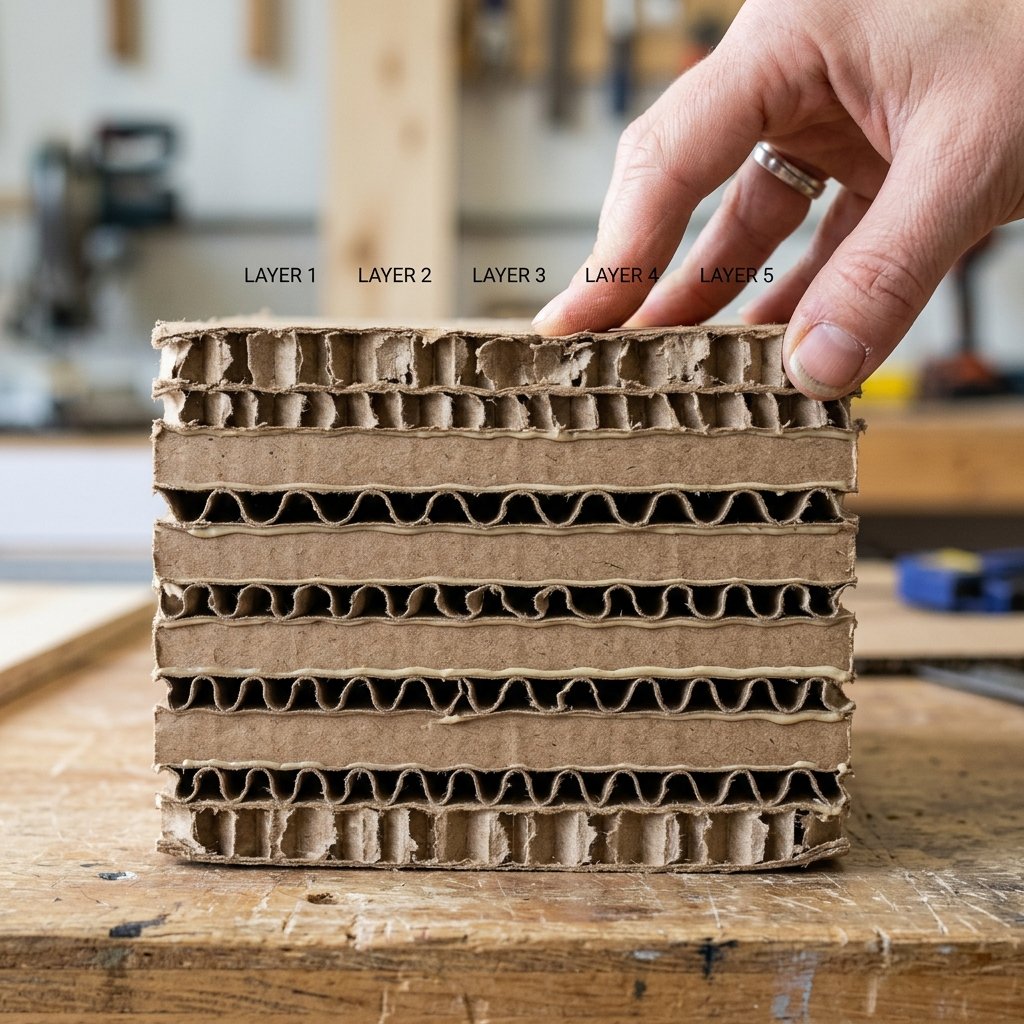
A single sheet of cardboard is too flimsy for the torque a toddler can apply. To make this board feel like a solid block of wood, we need to use a lamination technique. This ‘rugged’ approach involves gluing multiple layers of cardboard together with the grain of the corrugation alternating. This creates a cross-laminated structure similar to plywood. You want your final board to be roughly 6×8 inches or 8×10 inches—large enough to be stable, but small enough for a toddler to manage on their lap.
Budget Mantra: ‘Strength comes from the layers, not the price tag. Glue and grain direction are your best friends in the cardboard shop.’
- Measure and Cut: Cut 4 to 6 identical rectangles of cardboard. Use a sharp utility knife for clean edges.
- Grain Orientation: Lay the first piece down. Apply a generous amount of glue. Place the second piece on top, but rotate it 90 degrees so the internal ‘ribs’ (corrugation) are perpendicular to the first.
- The Press: Repeat until you reach your desired thickness. Place a heavy stack of books on top and let it cure for at least 2 hours.
- Edge Finishing: For that ‘high-end’ look, you can wrap the edges in kraft paper tape or simply sand the cardboard edges with a fine-grit sandpaper once the glue is dry. This gives it a smooth, professional feel that belies its humble origins.
The Assembly Line: Installing the Hardware
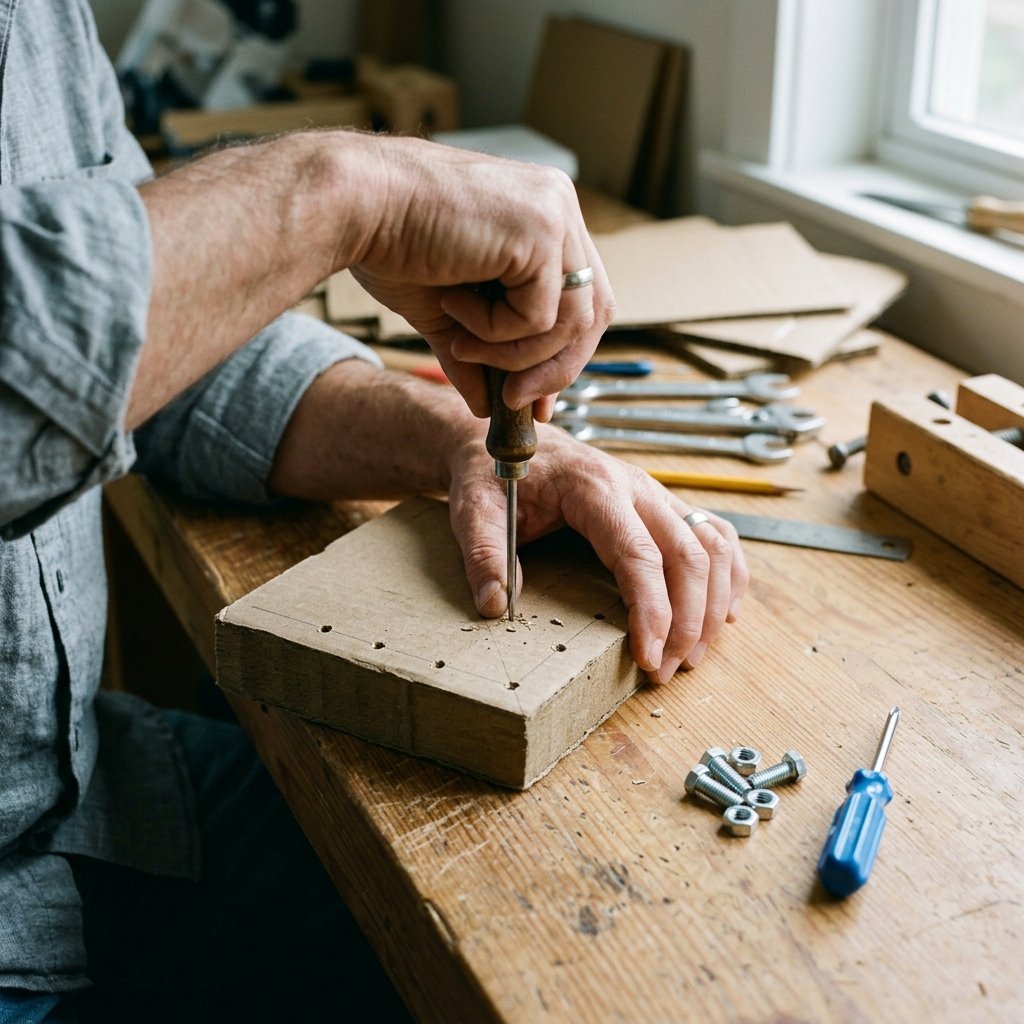
Now comes the clever part: setting up the ‘problems’ for your toddler to solve. We want to create a progression of difficulty. Start with simple ‘drop-in’ bolts and move toward screws that require a tool. Using a nail or a small awl, pre-puncture the holes. This is a crucial step; if the hole is too big, the screw won’t stay; if it’s too small, the toddler will get frustrated. You want the hardware to be ‘snug’ but movable.
Step-by-Step Hardware Layout
- The Bolt Row: Push 3 long machine bolts through the cardboard from the bottom. Secure them with a drop of glue at the base so they don’t fall out. On the top side, provide wingnuts for the child to screw on.
- The Screw Row: Pre-drill small pilot holes. Insert various screws (Phillips and Flathead) about halfway. The goal is for the toddler to finish the job.
- The Washer Stack: Place a few washers on a bolt before the nut. This teaches the child about ‘order of operations’—a key pre-coding and logic skill.
| Hardware Type | Skill Developed | Difficulty Level |
|---|---|---|
| Wingnuts | Pincer Grasp / Finger Strength | Beginner |
| Flathead Screw | Hand-Eye Alignment | Intermediate |
| Phillips Head | Torque & Pressure Application | Advanced |
| Nut & Bolt | Bilateral Coordination (Two-handed) | Expert |
Safety First: The Rugged Parent’s Guide to Hardware Play
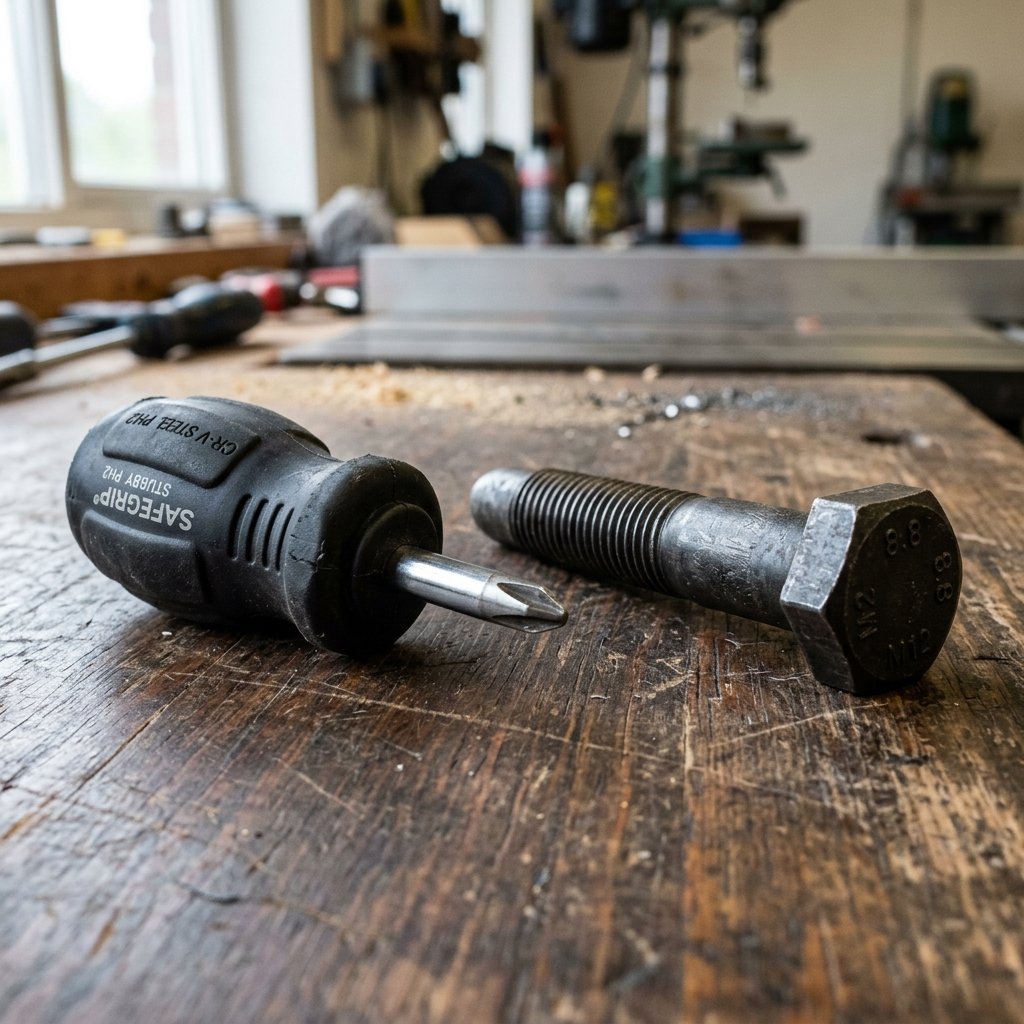
While we want to encourage rugged, independent play, we must be crafty experts when it comes to safety. Real hardware has real edges. Before handing this over to your ‘mini-mechanic,’ perform a thorough safety check. This is especially important when using upcycled items from the garage.
Safety Note: ‘Always supervise play with small parts. Ensure all hardware is too large to be a choking hazard (the ‘toilet paper roll test’) and check for any sharp burrs on old metal.’
- De-burring: If you are using old screws, rub the heads with a bit of steel wool or sandpaper to ensure there are no sharp metal slivers.
- Stability: If your toddler is particularly enthusiastic, use a bit of Velcro or Command Strips to secure the board to a table or the floor. This prevents the board from spinning while they try to apply torque.
- Tool Selection: Use a ‘stubby’ screwdriver. These have short handles that fit perfectly in a toddler’s palm, giving them much better control and reducing the risk of them poking themselves with a long shaft.
Why This Works: The Science of the ‘Busy’ Toddler

Why does a piece of cardboard and some metal keep a child busy for 45 minutes? It’s not magic; it’s developmental alignment. At ages 2 to 4, children are entering a ‘sensitive period’ for small objects and refined movement. They are obsessed with how things fit together. By providing a ‘Screwdriver Board,’ you are satisfying several developmental needs at once:
- Bilateral Coordination: Using one hand to hold the board and the other to turn the tool.
- Proprioception: Understanding how much force is needed to turn a screw without stripping the ‘threads’ of the cardboard.
- Visual Discrimination: Matching the shape of the screwdriver tip to the slot in the screw head.
Compared to store-bought plastic ‘activity centers’ that flash lights and play music, this DIY version is ‘passive.’ In Montessori terms, the toy should do nothing so the child can do everything. When the toy is quiet, the child’s mind is loud with discovery.
Customizing and Upgrading: From Beginner to Pro

Once your toddler has mastered the basic board, don’t throw it away! This is a modular system. Because it’s made of cardboard, you can easily add new ‘modules’ or features as their skills grow. This is where you can get really crafty and resourceful.
Ideas for Expansion:
- The Latch Module: Glue a small door hinge or a sliding barrel bolt to a new piece of cardboard and attach it to the side.
- The Electrical Module: Use an old light switch (not connected to power!) for a satisfying ‘click’ sound.
- The Color Match: Paint the heads of the screws and the corresponding holes with matching acrylic paint to add a color-sorting element.
| Age Range | Recommended Upgrade | Skill Focus |
|---|---|---|
| 18-24 Months | Large Wingnuts & Washers | Grasping |
| 2-3 Years | Screwdrivers & Bolts | Tool Use |
| 3-4 Years | Locks, Keys, & Latches | Problem Solving |
Conclusion
The Ultimate Trash-to-Treasure Win
Building this DIY Montessori Screwdriver Board is a testament to the power of frugal creativity. You’ve taken items destined for the bin and turned them into a high-functioning educational tool that rivals expensive boutique toys. Not only have you saved $40 or more, but you’ve also modeled resourcefulness for your child. Every time they pick up that board, they aren’t just practicing their grip; they are learning that the world is something they can manipulate, fix, and understand. So, the next time a package arrives at your door, don’t just see a box—see a workshop waiting to happen. Happy crafting, and enjoy the silence of a busy, focused toddler!

Makenzie is the founder and lead writer at MoneyHackTips.com — a personal finance blog dedicated to delivering street-smart financial wisdom for real people on real budgets. With 300+ published articles covering everything from debt management to investing fundamentals, Makenzie’s mission is to make every dollar work harder. When not writing about money hacks, Makenzie is testing frugal living strategies, optimizing side hustles, and helping readers build financial freedom from scratch.