
The Art of the Rugged Rescue
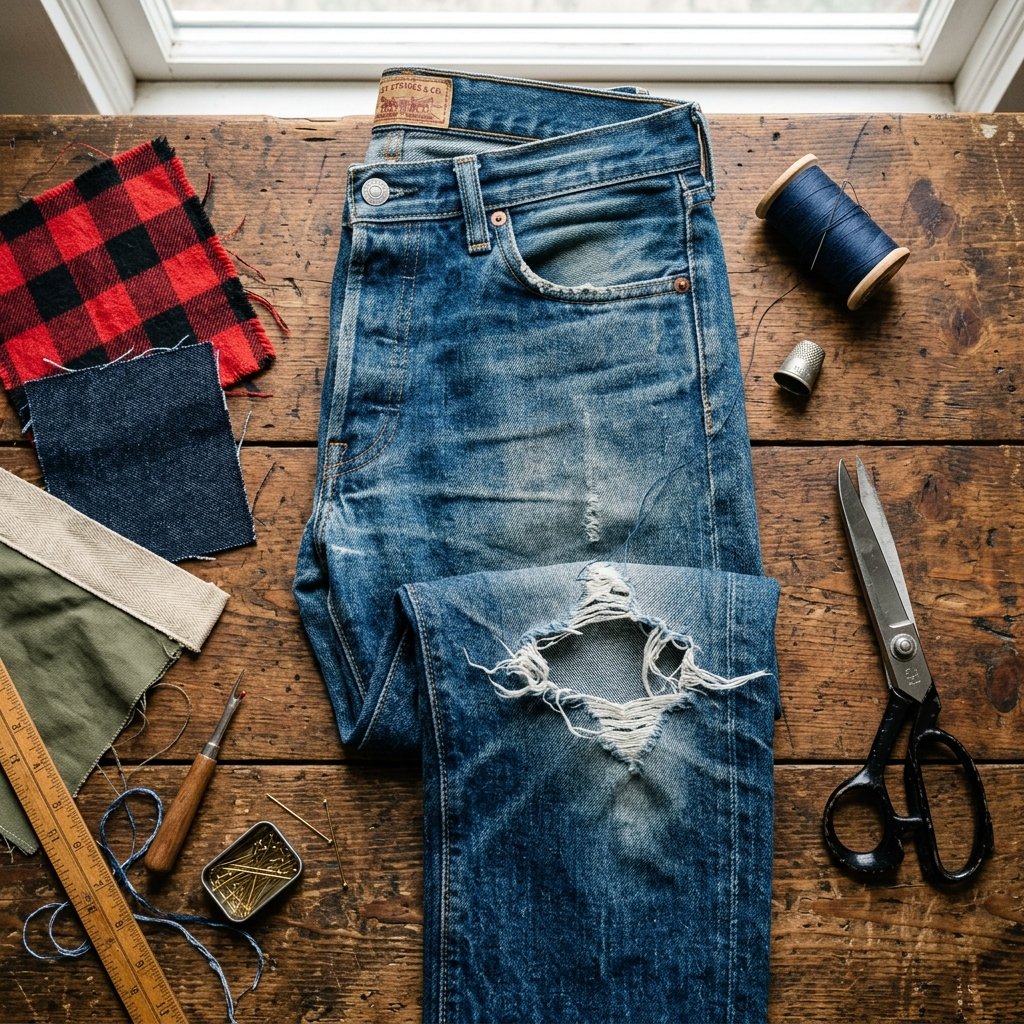
There is nothing quite like a pair of jeans that has been through the trenches with you. They’ve molded to your frame, softened with every wash, and carry the history of every project, hike, and weekend hustle. But eventually, the fabric gives way. Instead of mourning the loss of your favorite denim or spending $100+ on a new pair that lacks character, it is time to embrace the ‘mended’ aesthetic. Patching from the inside isn’t just a repair; it is a design choice that adds structural integrity while showcasing a peek-a-boo distressed look that screams high-end boutique style. As a frugal DIYer, you aren’t just saving money; you are preserving a piece of your personal history with a zero-budget solution that looks intentionally cool.
The Mender’s Arsenal: Budget-Friendly Tools
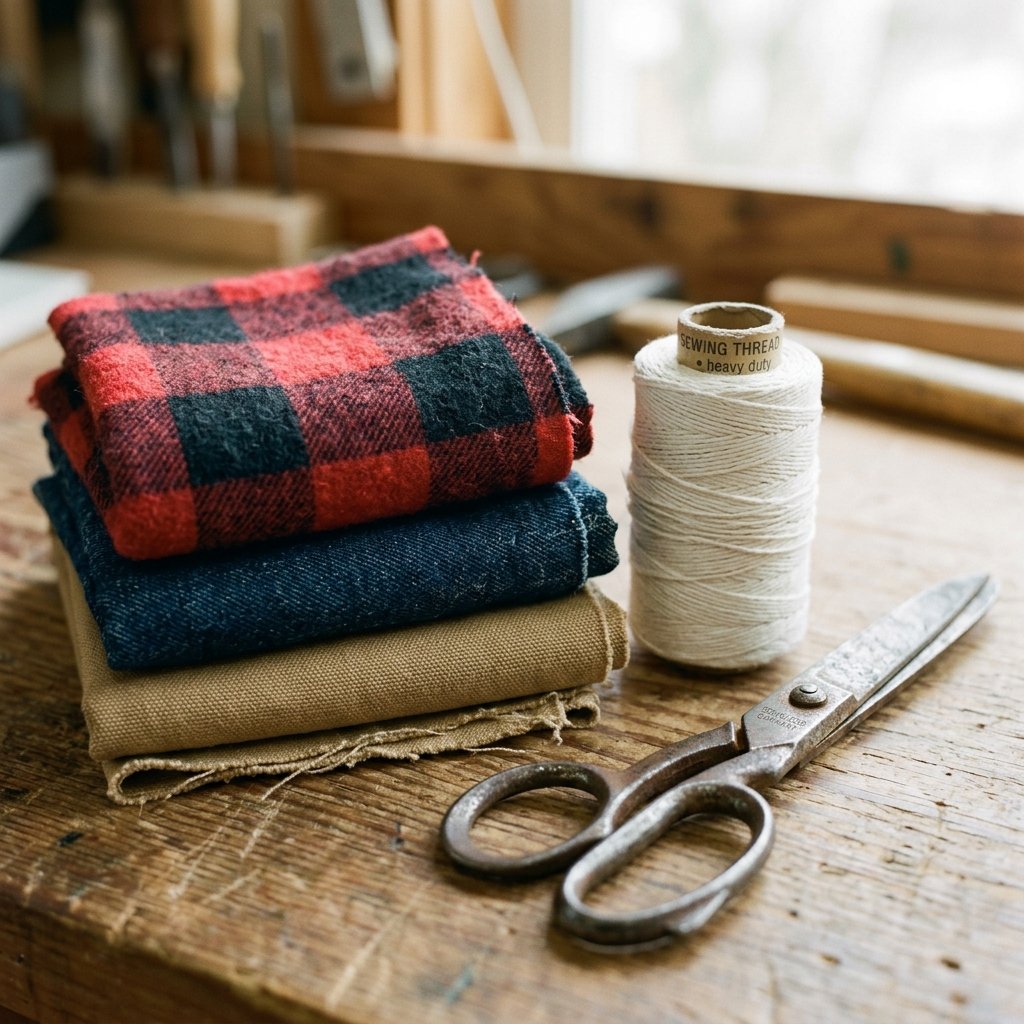
Before you dive into the repair, you need to gather your supplies. The beauty of this project is that most of these items are already hiding in your junk drawer or a basic sewing kit. If you have to buy them, a trip to a local craft store or even a dollar store will keep your total investment under $5.
| Material | Purpose | Estimated Cost |
|---|---|---|
| Heavy-Duty Needle | Piercing thick denim layers | $1.00 |
| Indigo or Contrast Thread | Securing the patch and adding style | $1.50 |
| Fabric Scraps | The internal patch (old shirts or jeans) | $0.00 |
| Straight Pins | Holding the patch in place | $1.00 |
| Fabric Shears | Clean cuts on heavy material | $0.00 (Owned) |
Choosing Your Patch Fabric
The ‘secret sauce’ of the internal patch is the fabric that peeks through. For a rugged, masculine look, consider using heavyweight cotton flannel in a buffalo plaid. For a classic workwear vibe, use a darker shade of indigo denim to create a subtle contrast. If you are feeling creative, even a piece of canvas or an old bandana can provide a pop of color that makes the repair look like a deliberate fashion statement.
Step-by-Step: The Internal Patch Technique
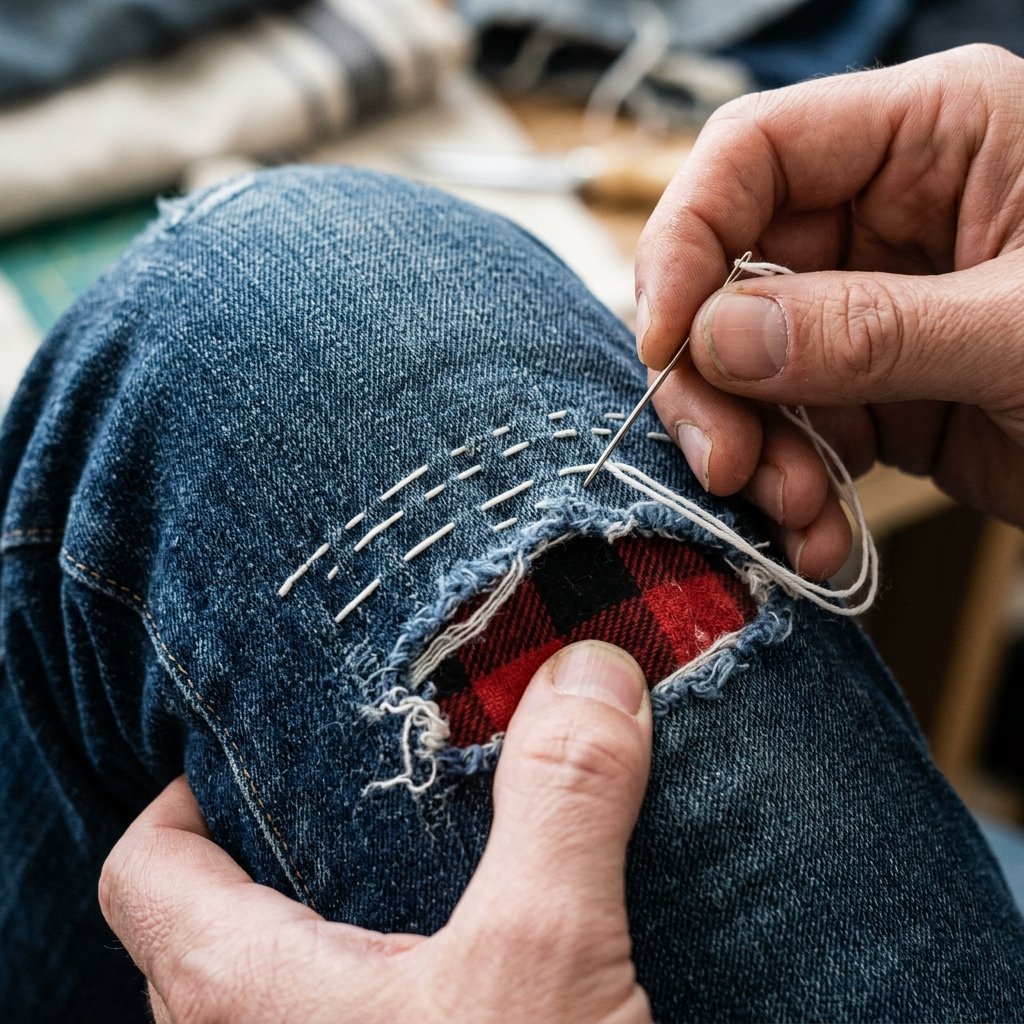
This method focuses on the ‘Sashiko’ style of mending—a traditional Japanese technique that uses a simple running stitch to reinforce fabric. It is incredibly strong and visually striking.
1. Trim any excessively long, messy white threads from the hole, but leave the frayed edges of the blue denim for that ‘distressed’ look.
2. Cut your patch fabric so it is at least 1 inch larger than the hole on all sides.
3. Turn the jeans inside out and center the patch over the hole, pinning it securely.
4. Turn the jeans right-side out to ensure the patch looks exactly how you want it through the gap.
5. Using a double-threaded needle, begin stitching parallel lines across the patch, catching both the original denim and the new fabric.
The Power of the Running Stitch
You don’t need a sewing machine for this. In fact, the hand-stitched look is what gives these jeans their ’boutique’ value. Aim for stitches that are roughly 1/8th of an inch long. Consistency is key, but slight imperfections only add to the rugged, handmade charm of the piece.
Structural Integrity vs. Aesthetic Flair
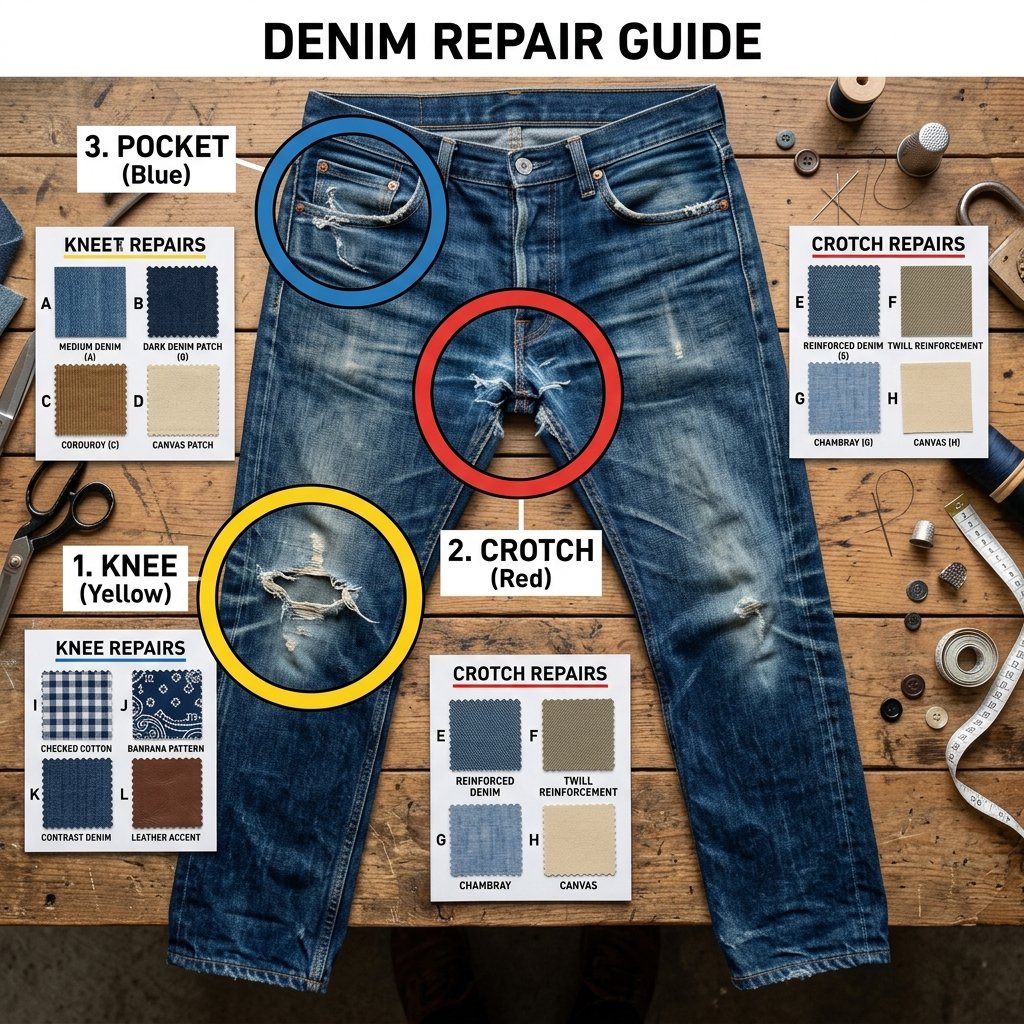
Not all holes are created equal. A blowout in the crotch requires a different approach than a stylish rip in the knee. Use the table below to determine your strategy based on the location of the wear and tear.
| Hole Location | Recommended Stitch | Fabric Choice |
|---|---|---|
| Knee | Sashiko Grid (Horizontal & Vertical) | Contrasting Flannel or Pattern |
| Crotch/Thigh | Densely Packed Parallel Lines | Matching Heavy Denim |
| Back Pocket | Whip Stitch around edges | Canvas or Leather Scrap |
| Hem/Cuff | Blanket Stitch | Heavy Canvas |
When patching high-stress areas like the inner thigh, ensure your patch is 2 inches larger than the worn area. This distributes the tension across healthy fabric, preventing the ‘repair’ from causing a new tear right next to the old one. This clever reinforcement can extend the life of your jeans by 2 to 3 years.
The ‘Cool Factor’: Customizing Your Distressed Look
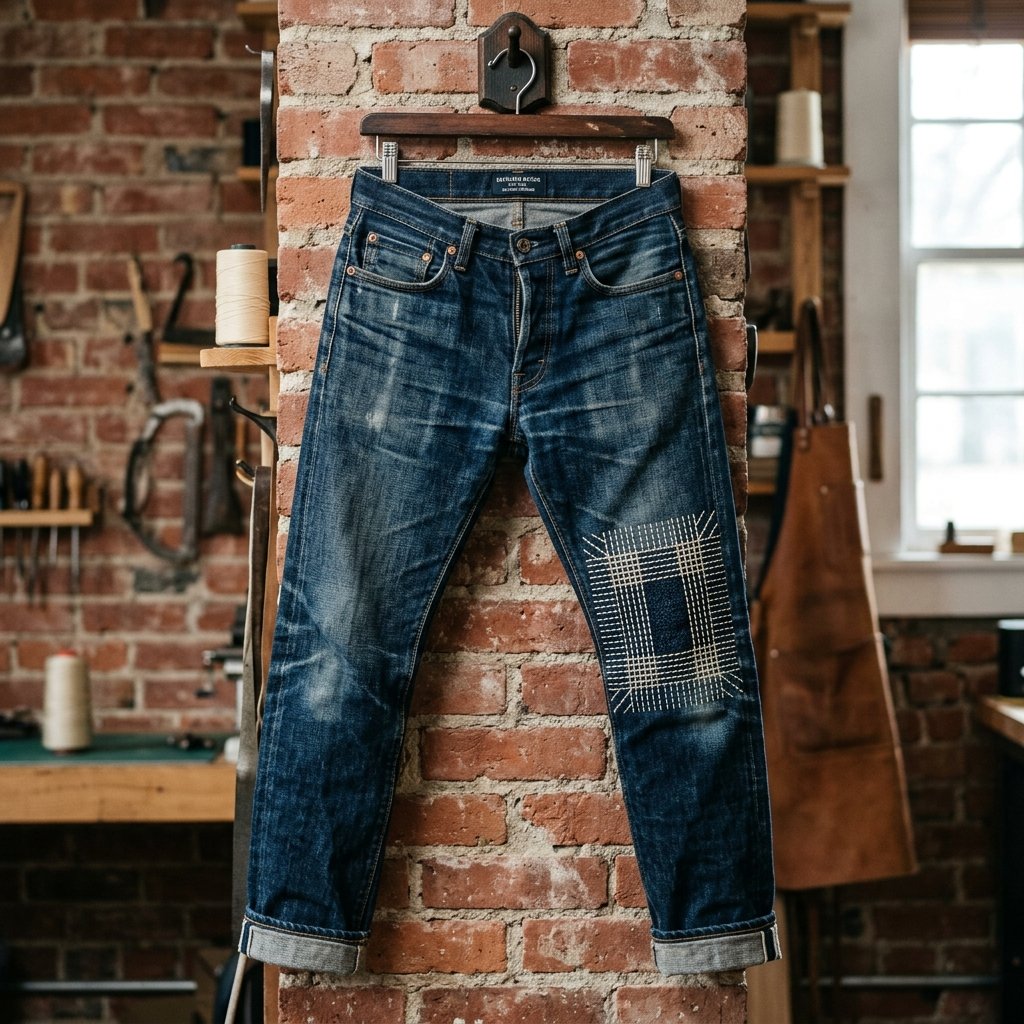
Once the patch is structurally sound, you can play with the aesthetics. To get that high-end distressed look without the high-end price tag, follow these crafty tips:
- Fraying: Use a clean mascara wand or a stiff toothbrush to agitate the edges of the hole, pulling out more of the white ‘weft’ threads.
- Thread Color: Use a bright ‘safety orange’ thread for a construction-chic look, or a ‘glow-in-the-dark’ thread for a subtle surprise.
- Layering: Use two different patches layered on top of each other. As the first patch wears down over time, a second color will be revealed—a ‘living’ garment that changes with you.
Mender’s Mantra: A patch is not a sign of poverty, but a badge of honor. It says you value your gear enough to keep it in the fight.
Conclusion
Wear Your Repair with Pride
By choosing to patch your jeans from the inside, you’ve successfully navigated the intersection of frugality and style. You’ve saved roughly $50 to $120 by avoiding a new purchase, and you’ve kept textile waste out of the landfill. Your ‘new’ jeans are now a one-of-a-kind masterpiece that reflects your resourcefulness and handiwork. Whether you’re heading to a job site or a casual dinner, these mended denims stand as a testament to the fact that with a little bit of thread and a lot of creativity, nothing is ever truly ‘trash.’ Now, get out there and break them in all over again!

Makenzie is the founder and lead writer at MoneyHackTips.com — a personal finance blog dedicated to delivering street-smart financial wisdom for real people on real budgets. With 300+ published articles covering everything from debt management to investing fundamentals, Makenzie’s mission is to make every dollar work harder. When not writing about money hacks, Makenzie is testing frugal living strategies, optimizing side hustles, and helping readers build financial freedom from scratch.