
The Tragedy of the Underarm Tear
We’ve all been there. You reach for your most trusted, perfectly broken-in wool sweater, only to feel that dreaded draft. You check the mirror and there it is: a gaping hole in the underarm. Most people see this as a death sentence for their garment, a one-way ticket to the rag bin or the landfill. But as a resourceful DIYer, you know better. That hole isn’t a failure; it’s an opportunity to perform a bit of rugged maintenance on your wardrobe.
In this guide, we aren’t just ‘fixing’ a shirt; we are mastering the art of the 5-minute darning trick. This isn’t your grandmother’s fussy embroidery. This is a practical, clever, and budget-savvy solution designed to keep your favorite gear in rotation for another decade. Whether you want an invisible mend that disappears into the weave or a bold, sashiko-style repair that adds character, you’re about to save $100+ on a replacement cashmere or wool piece with just a few cents’ worth of thread.
The Mender’s Arsenal: Tools for the Practical Crafter
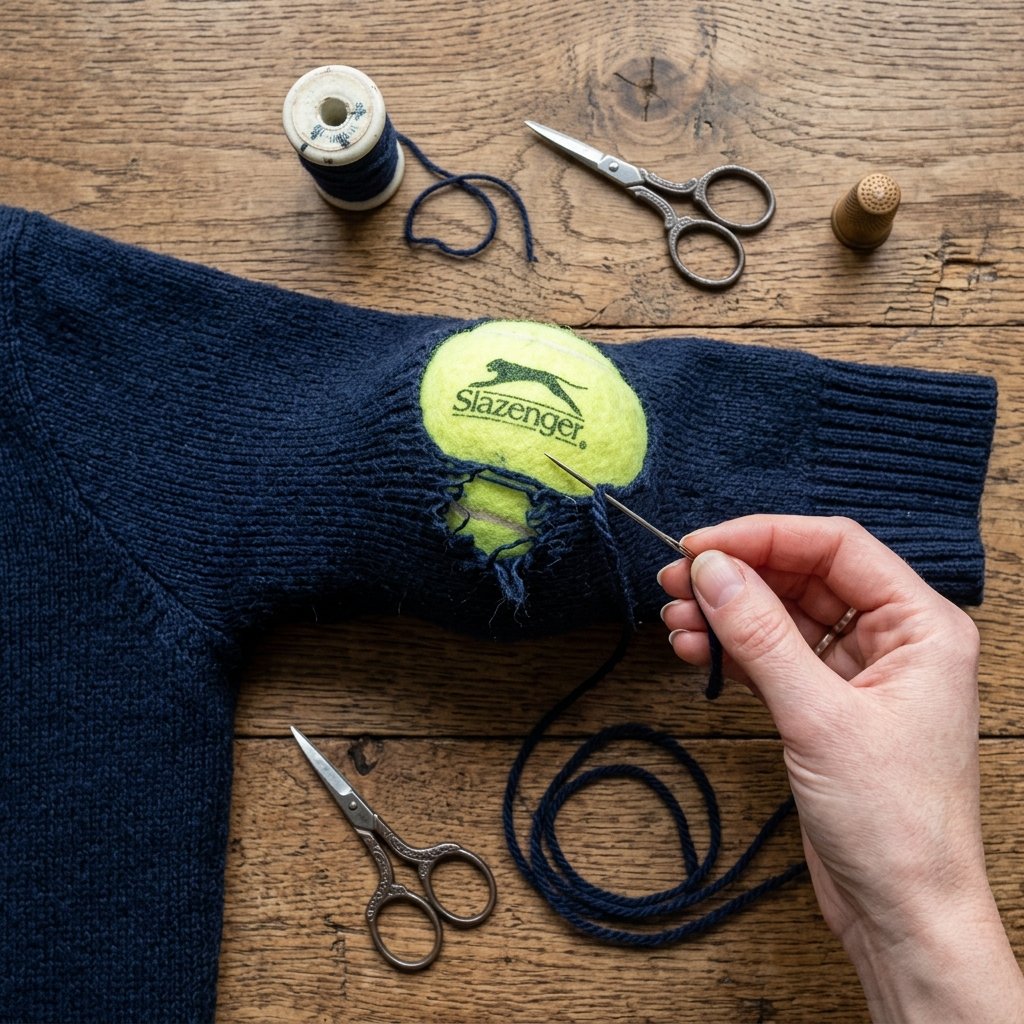
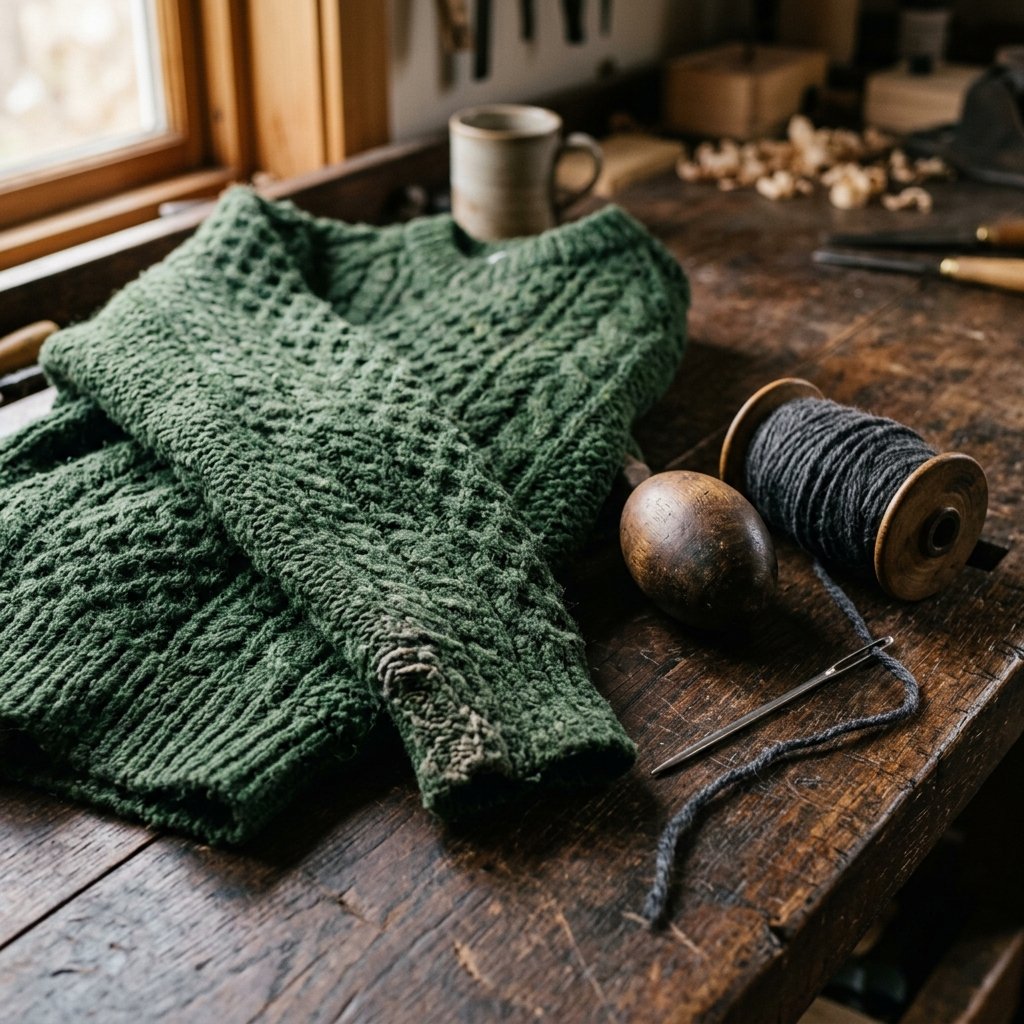
Before we dive into the stitch, we need to gather our supplies. You don’t need a fancy sewing machine or an expensive kit. In fact, most of these items are likely hiding in your junk drawer or can be found for under $2 at a local thrift shop. The key is matching the weight and fiber of your repair material to the original garment.
Essential Materials & Cost Breakdown
| Tool/Material | Budget Source | Estimated Cost |
|---|---|---|
| Darning Needle | Dollar Store / Sewing Kit | $0.50 |
| Matching Yarn/Thread | Scrap bin / Thrifted skein | $0.10 |
| Darning Egg (or Tennis Ball) | Garage Sale / Sports Closet | $0.00 |
| Small Scissors | Household tool drawer | $0.00 |
If you don’t have a traditional wooden darning egg, don’t worry. A tennis ball, a lightbulb (careful!), or even a smooth citrus fruit works perfectly to provide the tension needed to keep the hole open and flat while you work. This is the ultimate crafty-expert hack for the frugal minimalist.
Mending Mantra: A stitch in time doesn’t just save nine; it saves your hard-earned cash and keeps quality craftsmanship out of the trash.
The 5-Minute ‘Woven’ Darning Technique
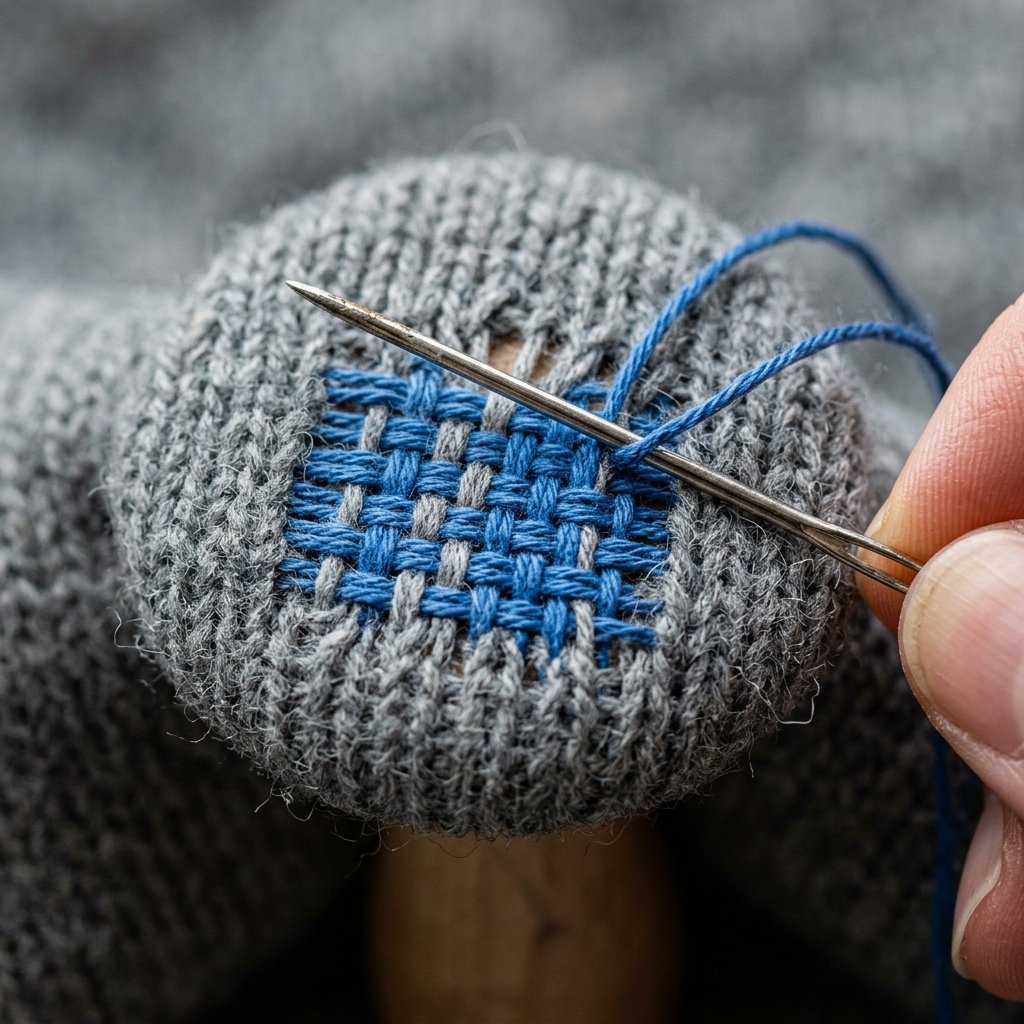
This technique is essentially creating a miniature fabric loom over the hole. It’s sturdy, flexible, and surprisingly fast once you find your rhythm. Follow these steps to achieve a professional-grade repair:
- Prep the Area: Turn the sweater inside out. Insert your darning egg or tennis ball into the sleeve and center it directly under the hole. This stretches the knit just enough to prevent puckering.
- The Anchor: Start about 1/2 inch away from the edge of the hole. Weave your needle in and out of the healthy fabric to anchor the thread. Do not use knots; they are bulky and can pull through the knit.
- The Warp (Vertical Lines): Run long, parallel stitches across the hole from top to bottom. Keep them close together, but not overlapping. You are creating the ‘vertical’ foundation of your new patch.
- The Weft (Horizontal Weaving): Now, turn your work 90 degrees. Weave the needle over and under each of the vertical threads you just created. This ‘basketweave’ pattern creates a new piece of fabric that is integrated into the sweater.
- The Finish: Once the hole is completely filled, weave the remaining tail into the healthy fabric for about an inch and snip the thread.
By using this woven method, you ensure the repair moves with the sweater, preventing the hole from reopening under the stress of movement. It’s a clever, tactile solution that feels as good as it looks.
Invisible vs. Visible Mending: Choosing Your Aesthetic
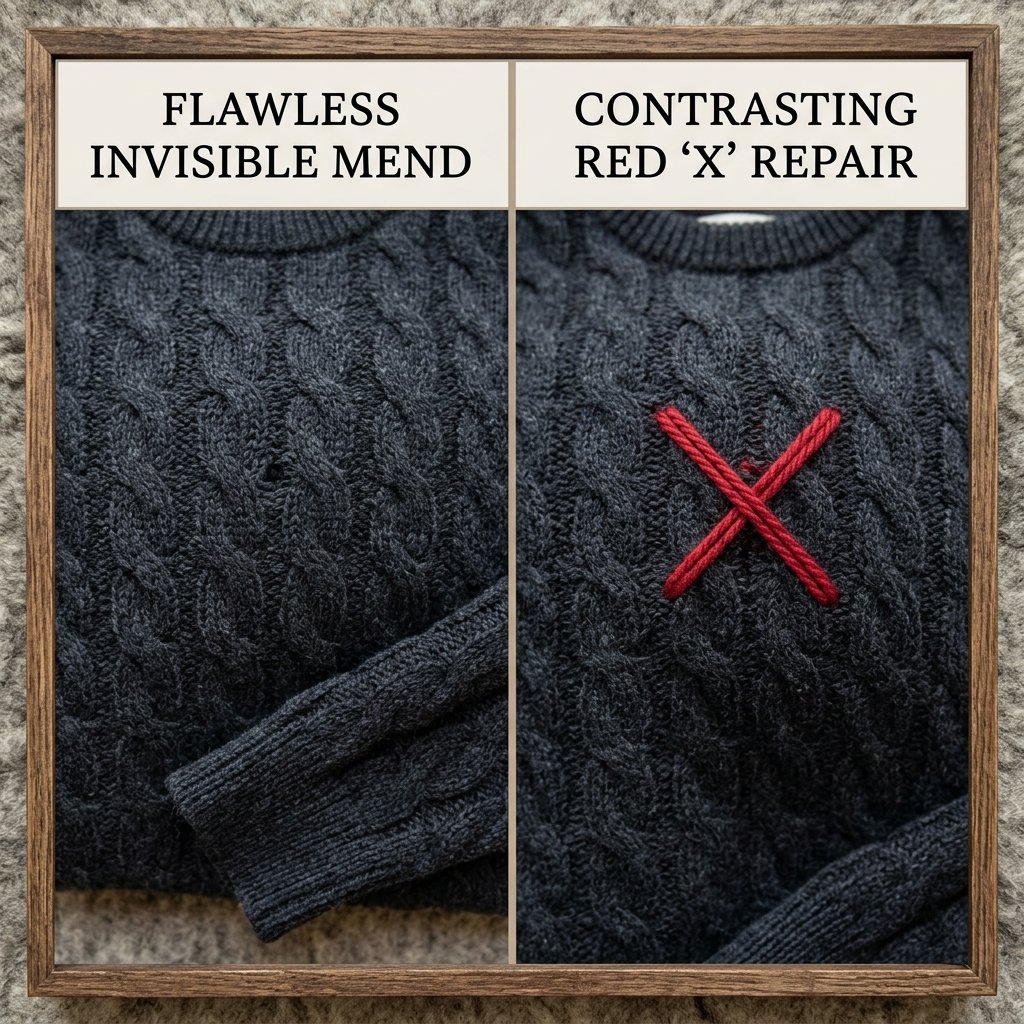
Depending on the garment, you might want your repair to be a total secret, or you might want to wear it as a badge of honor. For high-end office wear, invisible mending is the goal. For a rugged weekend cardigan, visible mending (inspired by Japanese Sashiko) adds a masculine-elegant flair.
Fabric Compatibility & Style Guide
| Fabric Type | Best Stitch Method | Visual Result |
|---|---|---|
| Fine Cashmere | Ladder Stitch / Fine Darning | Invisible |
| Chunky Wool Knit | Woven Darning (Matching Yarn) | Seamless |
| Cotton Sweatshirts | Reverse Patching | Rugged/Industrial |
| Cotton/Poly Blends | Cross-Stitch Reinforcement | Decorative |
If you choose to go the visible route, try using a contrasting color like a deep burgundy thread on a charcoal sweater. It tells a story of a garment that is loved and maintained, rather than just consumed and discarded. This is the hallmark of the creative gift-giver and the handy parent who values longevity over fast fashion.
Safety Note: When darning, always ensure your needle is blunt-tipped (a tapestry needle) if working with loose knits to avoid splitting the delicate fibers of the original yarn.
Reinforcing the ‘Blowout’ Zone
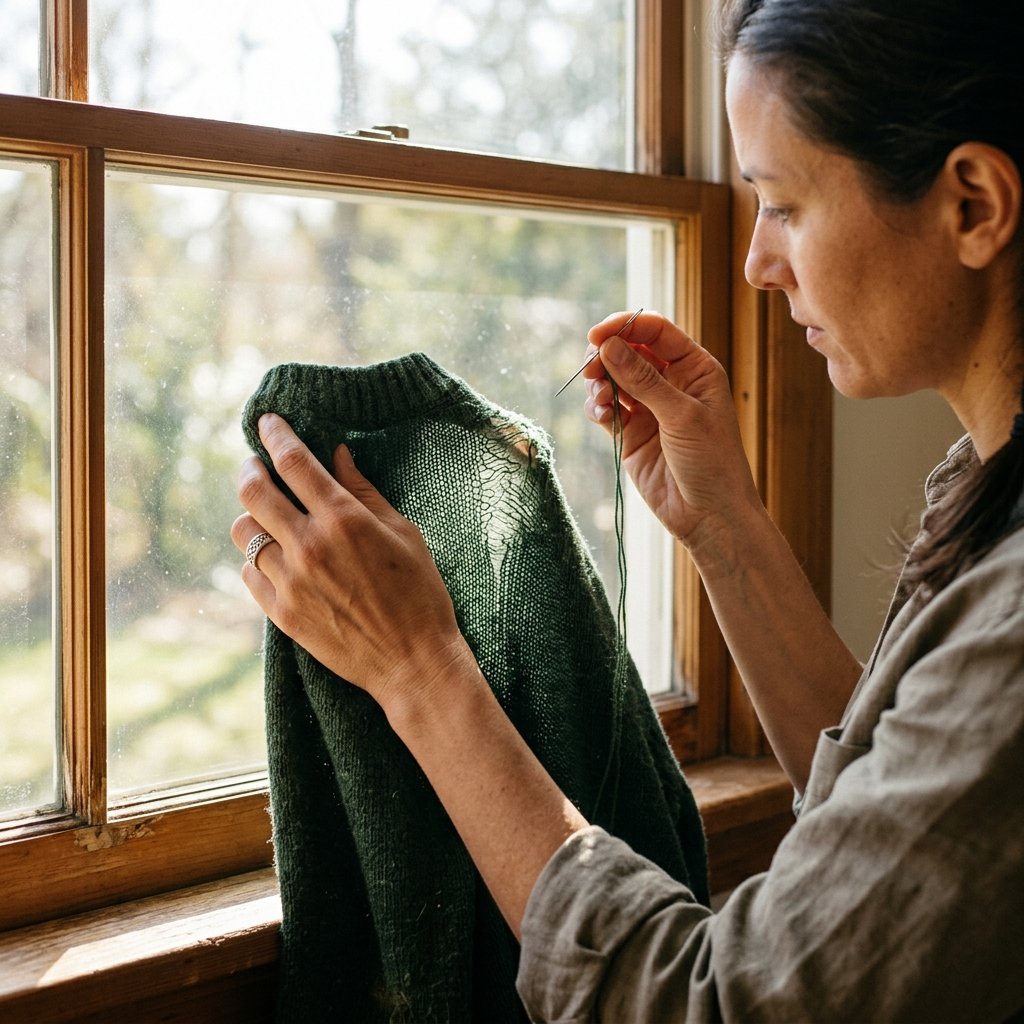
Why wait for a hole to happen? If you notice the fabric in the underarm or elbow area getting thin (often called ‘pilling’ or ‘balding’), you can apply a preventative darn. This involves weaving a few rows of thread through the existing thinning fibers to add structural integrity.
- Identify Thin Spots: Hold your sweater up to a light source. Areas that look ‘brighter’ or more translucent are your primary targets.
- The ‘Swiss Darn’: Also known as duplicate stitching, this mimics the path of the original knit. It’s the crafty-expert way to double the thickness of a high-friction area.
- Friction Reduction: For heavy-duty use, consider sewing a small, soft flannel patch on the inside of the underarm. It’s a budget-savvy trick that prevents skin-on-fabric friction from eating away at the wool.
Taking 5 minutes now to reinforce your gear can save you hours of mending later. It’s the practical, rugged approach to wardrobe management that separates the true DIYer from the amateur.
Conclusion
The Wealth of a Well-Mended Wardrobe
By mastering this 5-minute underarm darning trick, you’ve done more than just save a sweater. You’ve rebelled against the ‘throwaway’ culture and embraced a resourceful, clever lifestyle. You’ve saved $50, $100, or even $200 on a new garment while honing a skill that will serve you for a lifetime. Whether you’re a frugal DIYer looking to stretch a paycheck or a handy parent teaching your kids the value of maintenance, mending is a superpower.
Next time you see a snag or a small tear, don’t feel frustration. Reach for your darning egg, grab your needle, and take pride in the fact that you have the crafty expertise to make it better than new. Your favorite sweater thanks you, and so does your bank account. Happy mending!

Makenzie is the founder and lead writer at MoneyHackTips.com — a personal finance blog dedicated to delivering street-smart financial wisdom for real people on real budgets. With 300+ published articles covering everything from debt management to investing fundamentals, Makenzie’s mission is to make every dollar work harder. When not writing about money hacks, Makenzie is testing frugal living strategies, optimizing side hustles, and helping readers build financial freedom from scratch.