
The Art of the Gentleman’s Lather
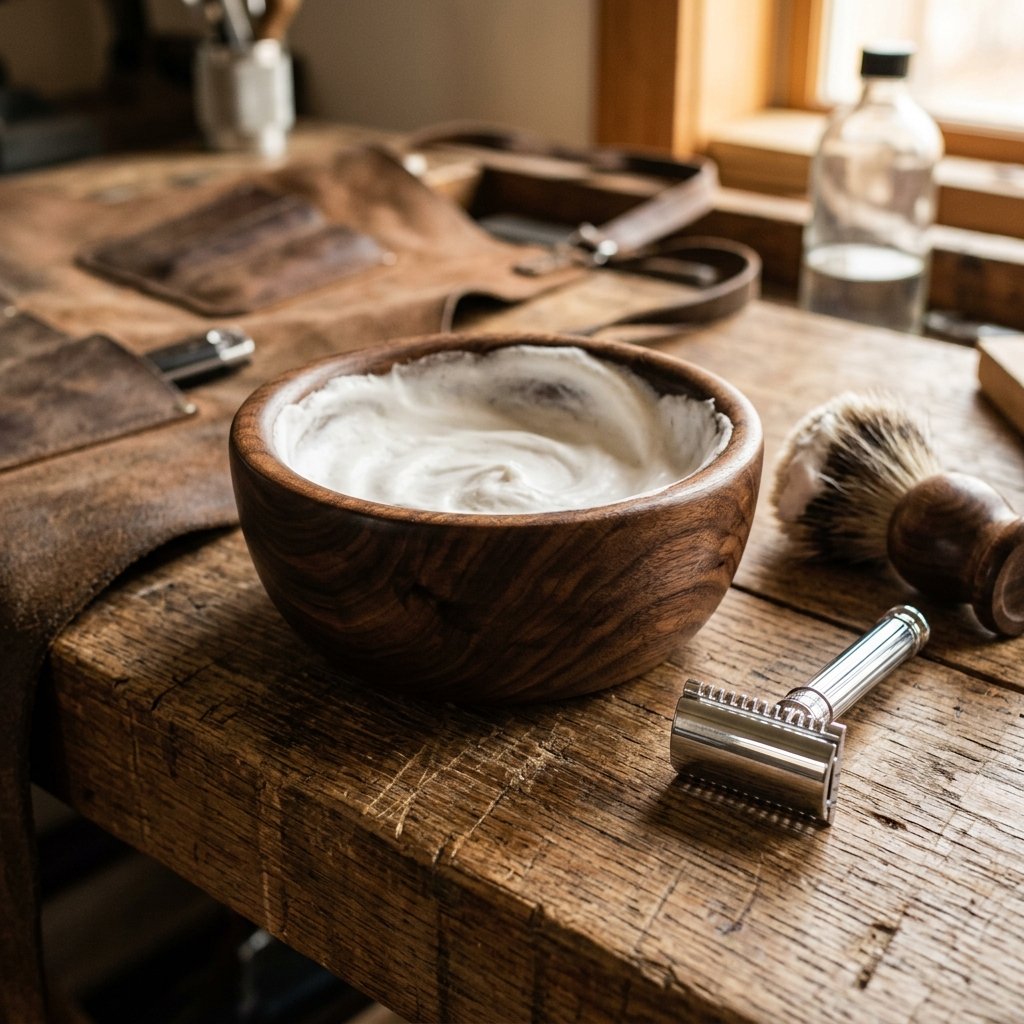
There is a certain rugged elegance in the ritual of a wet shave. It is a moment of pause, a craft in itself, and a far cry from the hurried aerosol cans of the modern era. However, if you have ever stepped into a high-end apothecary or browsed luxury grooming sites, you know that the price of entry for this lifestyle can be staggering. A simple wooden shaving bowl, often turned from exotic hardwoods, can easily fetch $50 to $120. But here is the secret: you do not need a designer label to achieve a world-class lather. With a bit of resourcefulness, a few basic tools, and a piece of reclaimed timber, you can craft a bespoke shaving bowl that outperforms the store-bought versions and develops a beautiful patina over time. This guide is for the frugal DIYer who values quality over brand names and the satisfaction of building something with their own two hands.
A wooden bowl is not just about aesthetics; wood is a natural insulator. Unlike ceramic or metal, wood retains the heat from your warm water, keeping your shaving cream at the perfect temperature throughout your shave. In this masterclass, we will cover everything from sourcing free hardwood to applying a waterproof, food-safe finish that will protect your heirloom-quality creation for decades.
Sourcing Your Timber: The Treasure Hunt for Hardwood
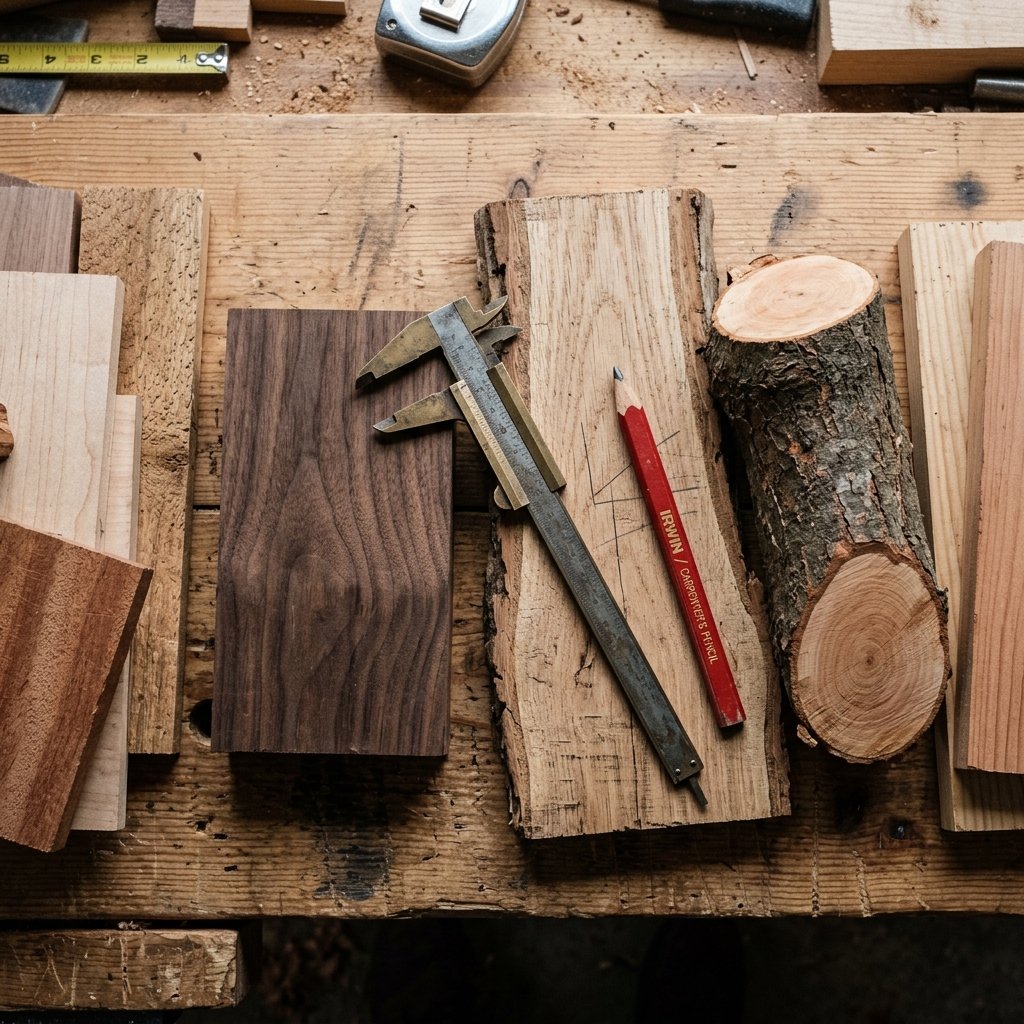
Finding the Perfect Scrap
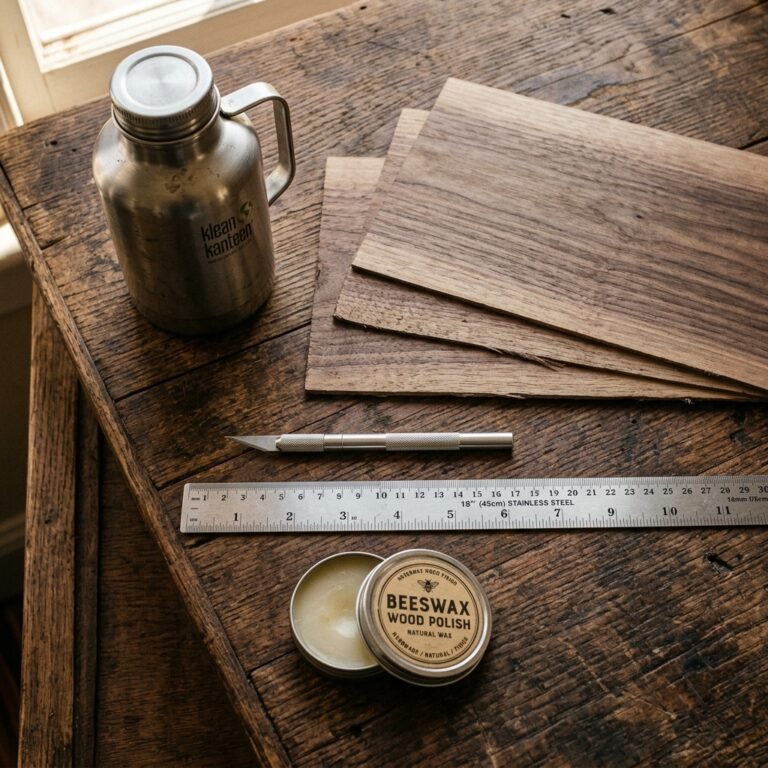
You do not need to spend a dime at a specialty lumber yard to find high-quality wood. In fact, the most characterful pieces often come from the most unlikely places. Look for hardwoods like Oak, Walnut, Maple, or Cherry. These dense woods are water-resistant and heavy enough to stay put on your bathroom counter. Check local cabinet shops for ‘offcuts’ (the small pieces they usually throw away), or look for fallen branches in your backyard after a storm. A thick branch from a fruit tree like Apple or Pear makes for an incredibly durable and fragrant shaving bowl.
| Wood Type | Durability | Water Resistance | Estimated Cost |
|---|---|---|---|
| Oak (Scrap) | High | Excellent | $0.00 |
| Walnut (Offcut) | Medium-High | Good | $2.00 |
| Pine (Pallet) | Low | Poor (Requires Heavy Sealing) | $0.00 |
| Exotic (Boutique) | Very High | Excellent | $45.00+ |
Budget Guru Tip: Thrift stores are gold mines for ‘blank’ materials. Look for thick, old wooden salad bowls or heavy coasters. These can be re-carved and refinished into high-end grooming gear for less than the price of a cup of coffee.
The Minimalist Tool Kit: Crafting Without a Lathe
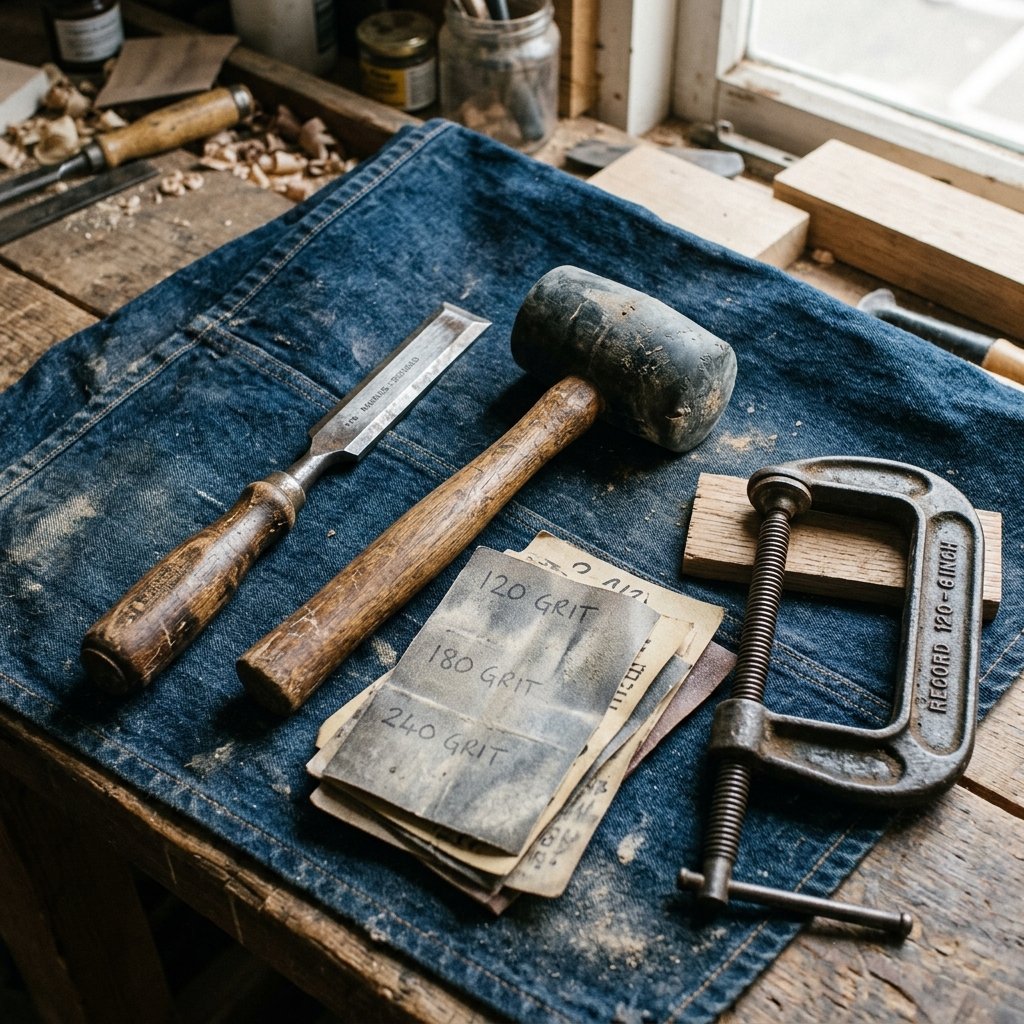
Essential Gear for the Budget Woodworker
Many professional bowls are made on a lathe, but you do not need expensive machinery to get professional results. We are going to use the ‘hand-carved’ method, which adds a rugged, artisanal charm to the finished product. You likely already have most of these tools in your garage. If not, they can be picked up second-hand for a few dollars.
- A Sharp Chisel or Gouge: For hollowing out the center.
- A Mallet: To provide the force for your chisel.
- Sandpaper: A variety of grits (60, 120, 220, and 400).
- A Power Drill: With a ‘Forstner bit’ if you want to speed up the hollowing process.
- Hand Saw: To cut your wood block to size.
| Tool | Purpose | Budget Alternative |
|---|---|---|
| Forstner Bit | Rapid Wood Removal | Hand Chisel & Patience |
| Orbital Sander | Smoothing Exterior | Hand Sanding Block |
| Wood Gouge | Creating the Bowl Curve | Large Flat Chisel |
Safety First: Always secure your wood block in a vice or with heavy-duty clamps before you begin carving. Never carve toward your body or your hands; one slip can lead to a nasty injury. Wear eye protection to shield against flying wood chips.
Step-by-Step: From Raw Block to Polished Vessel
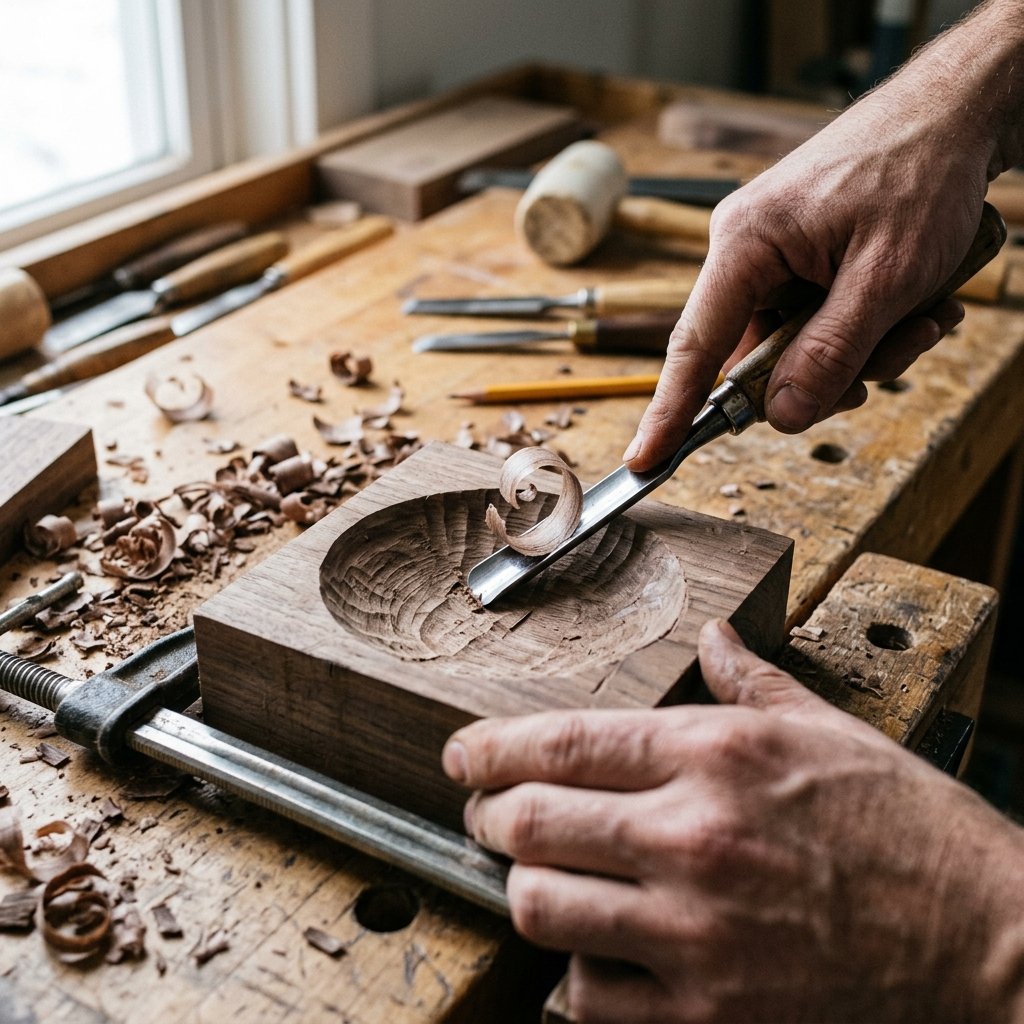
The Carving Process
- Prep the Block: Cut your wood into a square block approximately 5 inches by 5 inches and at least 3 inches thick. Mark the center and draw a circle that will be the inner rim of your bowl.
- The Rough Hollow: Use your drill and a large bit to drill several shallow holes (about 1.5 to 2 inches deep) within the circle. This removes the bulk of the material quickly and gives your chisel a place to start.
- Refining the Interior: Using your chisel and mallet, carefully chip away the remaining wood between the holes. Work from the center outward toward your marked circle. Aim for a smooth, rounded bottom to allow your shaving brush to move freely.
- Shaping the Exterior: Once the inside is hollowed, use a hand saw or a rasp to taper the outside of the block. You can leave it slightly ‘faceted’ for a rugged, hand-hewn look, or sand it perfectly round.
- The Sanding Marathon: Start with 60-grit sandpaper to remove tool marks. Move to 120-grit to smooth the surface, then 220-grit. For a high-end feel, finish with 400-grit. Pro Tip: Dampen the wood slightly between grits to ‘raise the grain,’ then sand it back down for an ultra-smooth finish.
The Secret Sauce: Waterproofing Your Heirloom
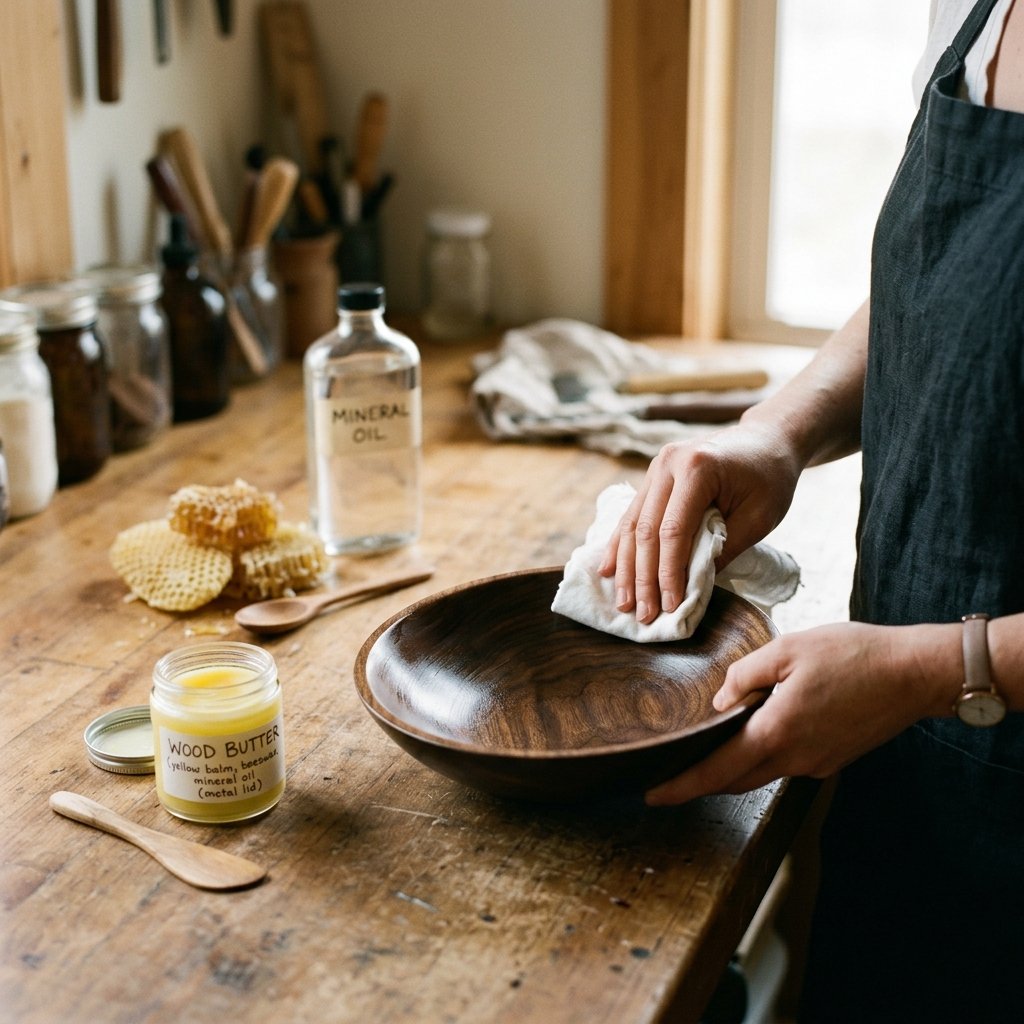
Natural Finishes for Longevity
A shaving bowl lives in a wet environment, so the finish is the most critical step. You want something that is 100% waterproof but also skin-safe. Avoid harsh chemical varnishes. Instead, we will use a DIY ‘Wood Butter’ that provides a deep, masculine luster and superior protection.
| Ingredient | Ratio | Benefit |
|---|---|---|
| Food-Grade Mineral Oil | 3 Parts | Penetrates wood to prevent cracking. |
| Pure Beeswax | 1 Part | Creates a waterproof surface barrier. |
| Essential Oil (Cedar or Sandalwood) | Few Drops | Adds a subtle, masculine scent. |
How to Apply the Finish
Melt the beeswax and mineral oil together in a double boiler. Once liquid, rub it generously into the wood with a lint-free cloth. Let it sit for 24 hours to soak in, then buff it with a clean rag until it shines. This finish is easy to ‘refresh’ every few months, ensuring your bowl never dries out or rots. This simple mixture costs pennies to make and provides a finish that rivals any high-end commercial product.
The High-End Reveal: Cost Comparison and Gifting
Luxury for Less
Now that your bowl is complete, let’s look at the math. You have created a functional piece of art that would retail for a premium price, all while spending almost nothing. This makes the DIY wooden shaving bowl one of the best budget-friendly gifts for Father’s Day, groomsmen, or any man who appreciates quality craftsmanship.
| Item | Luxury Store Price | DIY Budget Price |
|---|---|---|
| Hardwood Shaving Bowl | $65.00 | $0.00 – $2.00 |
| Waterproof Sealant | $15.00 | $0.50 (DIY Butter) |
| Labor/Craftsmanship | Included | Priceless (1-2 Hours) |
| Total | $80.00 | $2.50 |
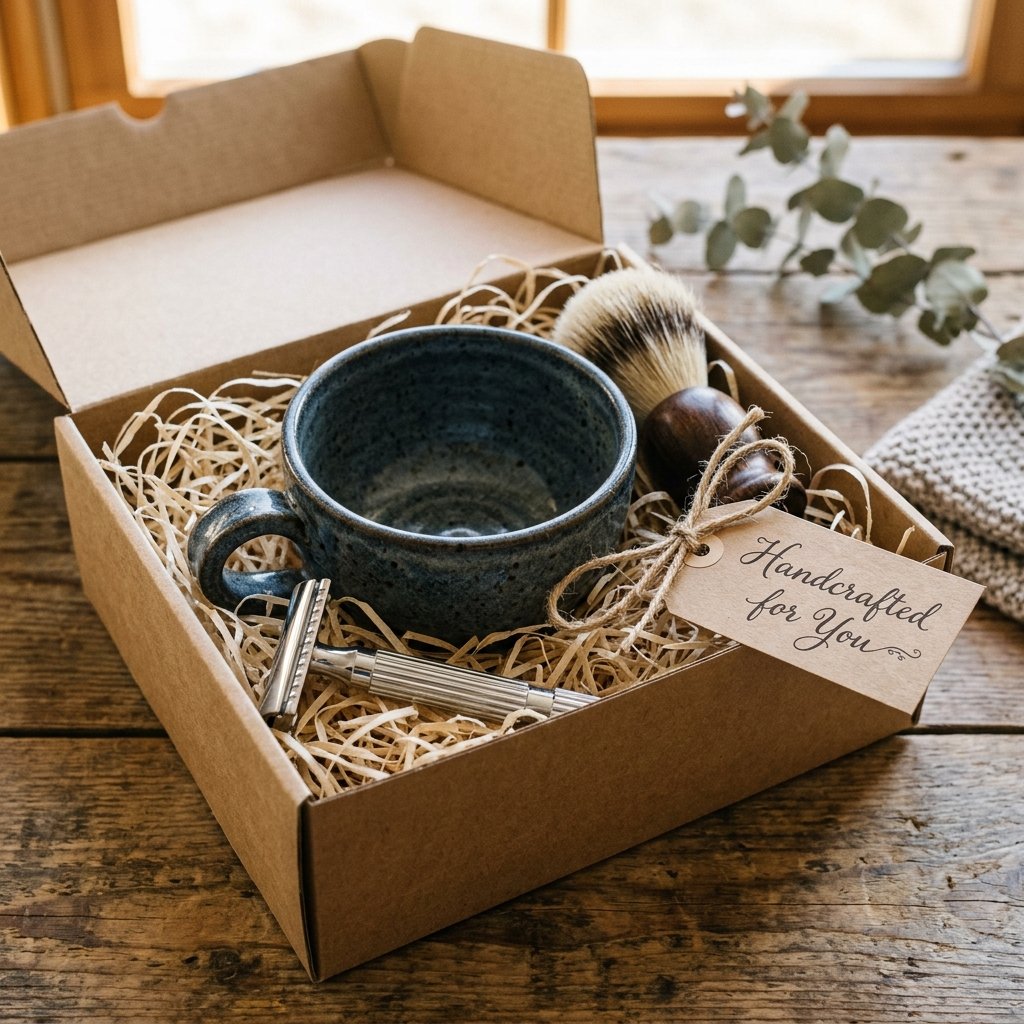
To turn this into a gift set, place the bowl in a simple cardboard box lined with wood shavings. Add a puck of artisan shaving soap and a budget-friendly synthetic brush. You have just created a $100 value gift set for under $15. It is thoughtful, rugged, and shows a level of effort that no store-bought gift can match.
Conclusion
The Reward of the Resourceful Crafter
Crafting your own high-end grooming gear is about more than just saving money; it is about reclaiming the quality of the past through modern resourcefulness. By turning a piece of discarded wood into a functional masterpiece, you have proven that luxury isn’t something you buy—it’s something you create. Your new shaving bowl will not only provide a superior lather for your morning shave but will also serve as a daily reminder of your own handiwork and savvy. So, the next time you see a ‘designer’ grooming accessory, remember that with a chisel, some sandpaper, and a bit of grit, you can do it better, cheaper, and with a hell of a lot more style. Happy carving!

Makenzie is the founder and lead writer at MoneyHackTips.com — a personal finance blog dedicated to delivering street-smart financial wisdom for real people on real budgets. With 300+ published articles covering everything from debt management to investing fundamentals, Makenzie’s mission is to make every dollar work harder. When not writing about money hacks, Makenzie is testing frugal living strategies, optimizing side hustles, and helping readers build financial freedom from scratch.