
When it comes to wedding planning, the costs for your wedding party gifts can spiral out of control faster than a runaway bachelor party. You want to give your groomsmen something that feels substantial, rugged, and personalized—not a piece of plastic junk that will end up in a junk drawer. Enter the DIY Wood-Wrapped Flask. By combining the sleek, industrial feel of stainless steel with the warm, organic texture of real wood, you can create a gift that looks like it stepped out of a high-end boutique for a fraction of the retail price. This project is the epitome of resourceful elegance, allowing you to flex your crafty-expert muscles while keeping your wallet comfortably full. We aren’t just slapping stickers on a bottle; we are engineering a bespoke accessory that your best men will carry with pride for years to come. Whether you are a seasoned woodworker or a budget-savvy bride/groom looking for a clever project, this guide will walk you through the process of turning a $2 flask into a $40 masterpiece.
The Blueprint of the Budget Flask

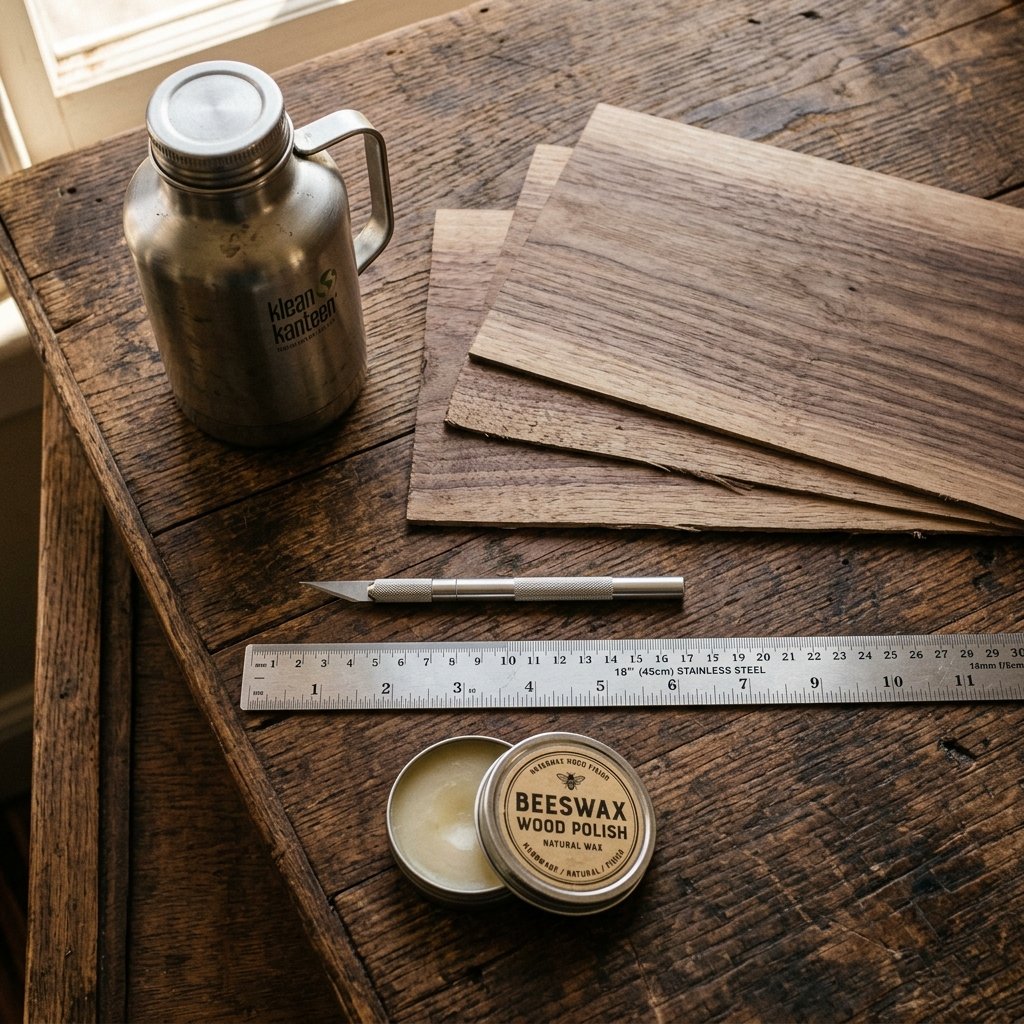
Success in any DIY project begins with the right materials. To keep this project truly budget-friendly, we need to source our components with a shrewd eye. The core of our project is the flask itself. While you can find these at specialty gift shops for $15 to $25, the savvy crafter knows that wholesale sites, dollar stores, or bulk wedding supply outlets offer the exact same 6oz stainless steel blanks for as little as $1.50. The real magic, however, lies in the veneer. We aren’t using thick planks of lumber; we are using ‘paper-backed’ or ‘pressure-sensitive’ wood veneer. This allows for a flexible, wrap-around application that conforms perfectly to the flask’s curves.
Essential Materials & Cost Breakdown
| Material | Source Tip | Estimated Cost Per Unit |
|---|---|---|
| 6oz Stainless Steel Flask | Bulk online retailers or Dollar Store | $2.00 |
| Wood Veneer (Walnut, Cherry, or Oak) | Lumber scrap bin or small craft sheets | $0.75 |
| Contact Cement or Heavy-Duty Adhesive | Hardware store (standard tube) | $0.25 |
| Sanding Block (220 Grit) | Use scraps from previous projects | $0.05 |
| Natural Finish (Beeswax or Mineral Oil) | Kitchen pantry or local honey stall | $0.10 |
| Total Cost | DIY Brilliance | $3.15 |
Budget Mantra: The quality of the finish determines the perceived value. Spend your time on the details, and the materials will look like they cost a fortune.
Precision Engineering: Measuring and Cutting Your Wrap
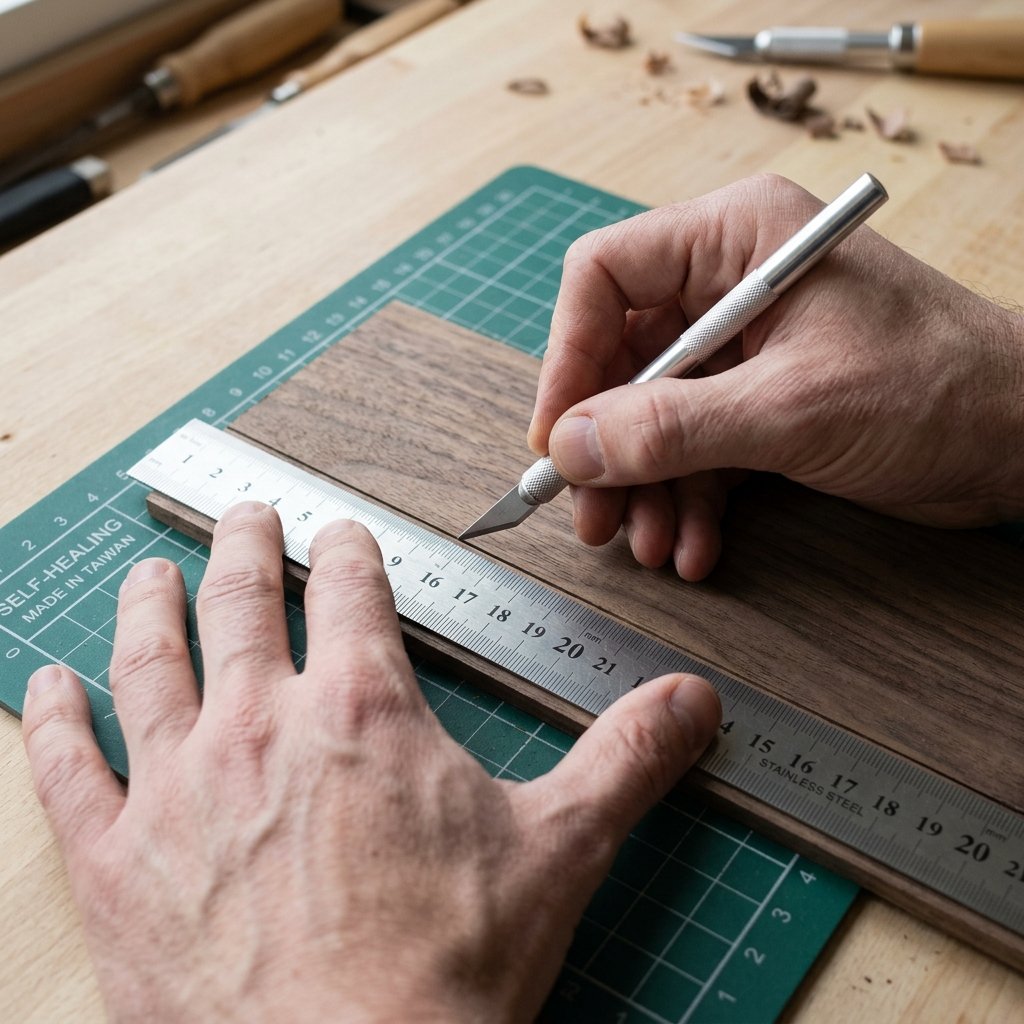
The difference between a ‘homemade’ look and a ‘hand-crafted’ look is the precision of the fit. Most 6oz flasks have a standard dimension, but manufacturing variances can occur. We will use the ‘wrap and mark’ method to ensure a seamless butt-joint where the wood meets. This step requires a steady hand and a very sharp blade. A dull knife will tear the wood fibers of the veneer, leaving you with jagged edges that ruin the masculine-elegant aesthetic we are aiming for.
Step-by-Step Cutting Instructions
- Clean the Surface: Wipe the flask with rubbing alcohol to remove any oils or factory residues. This ensures 100% adhesion later.
- Template Creation: Use a strip of masking tape or paper to wrap around the flask. Mark the exact point where the paper overlaps. This is your length. Measure the height of the flat middle section of the flask (usually about 3.5 to 4 inches).
- The Cut: Lay your veneer flat on a self-healing cutting mat. Using a metal straight edge, cut your wood to the height determined in step 2.
- Length Calibration: Cut the length about 1/8th of an inch longer than your measurement. We will trim the excess for a perfect fit once it is on the flask.
Always cut with the grain when possible for the cleanest lines. If you are using a very thin veneer, a pair of heavy-duty craft shears can work, but a rotary cutter or a fresh X-Acto blade is preferred for that professional edge.
The Master’s Bond: Adhesion and Application
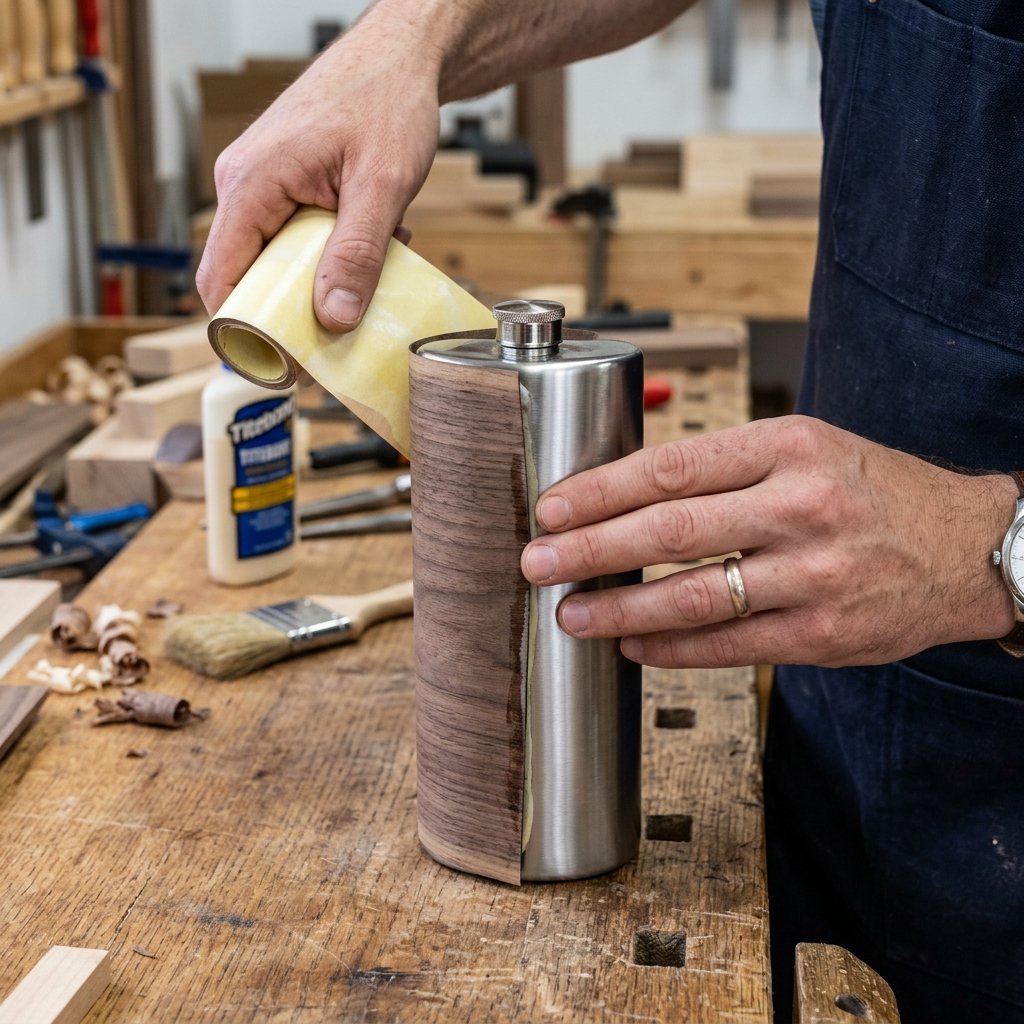
Now we reach the most critical phase: the bond. If you are using pressure-sensitive veneer (peel-and-stick), your job is easy. However, for a truly rugged and long-lasting gift, many pros prefer a thin layer of contact cement. This creates a permanent weld between the metal and the wood that won’t peel even if the flask gets a bit of ‘liquid courage’ spilled on it. You must be careful here; contact cement is unforgiving. Once the two surfaces touch, they are locked in place.
The Bonding Process
- Apply Adhesive: If using contact cement, apply a very thin, even coat to both the back of the wood and the middle section of the flask. Wait about 5 to 10 minutes until the glue is tacky but not wet.
- The Alignment: Start at the center of the flask’s ‘back’ (the side opposite the main face). Press the edge of the wood down firmly, ensuring it is perfectly level.
- The Wrap: Slowly roll the flask over the veneer, smoothing out any air bubbles with your thumb as you go. Use a firm, rolling pressure to ensure every millimeter of the wood is in contact with the metal.
- The Seam: Where the two ends meet, use your craft knife to trim away any slight overlap. A perfect butt-joint will make the flask look like it was carved from a single block of timber.
Safety Note: When working with contact cement or solvent-based adhesives, ensure you are in a well-ventilated area. These fumes are strong, and your lungs deserve as much care as your crafts.
Finishing Touches: Sanding and Sealing
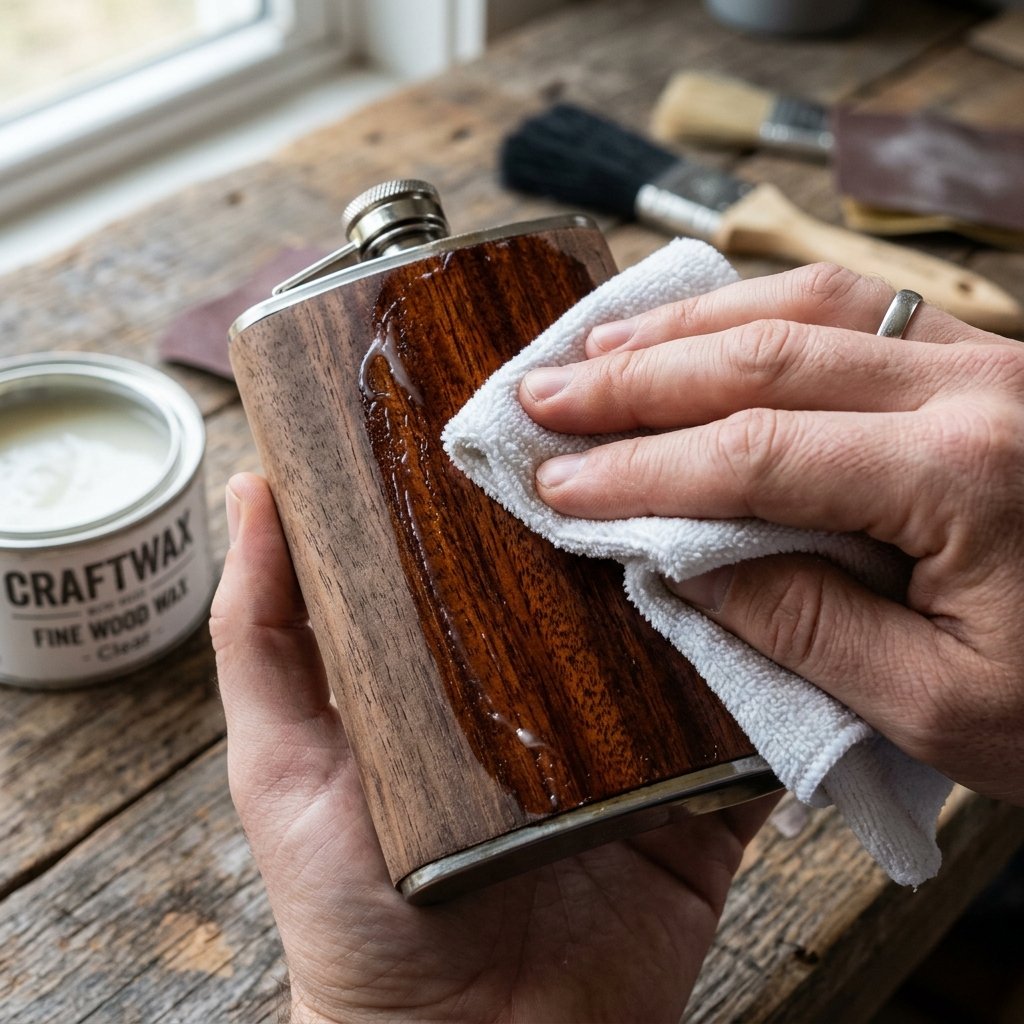
Raw wood is beautiful, but it is vulnerable. To give your groomsmen gifts that ‘high-end’ glow and to protect them from moisture, we need to sand and seal. Because veneer is very thin, you must sand with a gentle touch. We aren’t trying to remove material; we are simply smoothing the grain and softening the top and bottom edges where the wood meets the steel. This makes the flask feel comfortable in the hand and prevents snagging on pockets.
The Polishing Protocol
Use a 220-grit sandpaper or higher. Lightly sand the seam and the top/bottom edges at a 45-degree angle. This creates a tiny bevel that looks incredibly sophisticated. Once smooth, wipe away the dust with a tack cloth or a damp rag. For the finish, we recommend a food-safe oil or wax. Since these flasks will be near mouths and hands, natural is better. A simple Beeswax and Mineral Oil blend (often sold as ‘butcher block conditioner’) provides a deep, rich luster that highlights the grain without the plastic-like look of polyurethane.
Comparison: Store-Bought vs. DIY Finish
| Feature | Mass-Produced Flask | DIY Wood-Wrapped Flask |
|---|---|---|
| Texture | Cold, smooth metal | Warm, organic wood grain |
| Durability | Dents easily visible | Wood absorbs character/scuffs |
| Scent | Metallic/Industrial | Natural cedar or beeswax aroma |
| Personalization | Generic engraving | Unique grain patterns for every man |
Customization: The Mark of the Groomsman

To truly elevate these gifts, personalization is key. You don’t need an expensive laser engraver to add initials or a wedding date. For the budget-savvy crafter, there are several ‘clever’ ways to mark the wood. One of the most effective is using a wood-burning pen (pyrography). Even a basic $10 tool can be used to freehand initials or use a stencil for a clean, branded look. If you prefer a more modern look, you can use a high-quality permanent ink stamp before you apply the final wax seal.
Creative Personalization Ideas
- The Minimalist: Simple three-letter initials in the bottom right corner.
- The Wilderness: A small silhouette of a mountain range or a pine tree.
- The Commemorative: The wedding date (e.g., 10.14.24) stamped on the bottom edge of the wood wrap.
- The Secret Message: Use a fine-tip permanent marker to write a personal note to each groomsman on the inside of the wood veneer before you glue it down. It’s a hidden ‘time capsule’ only they know about.
The Grand Reveal: Presentation and Gifting
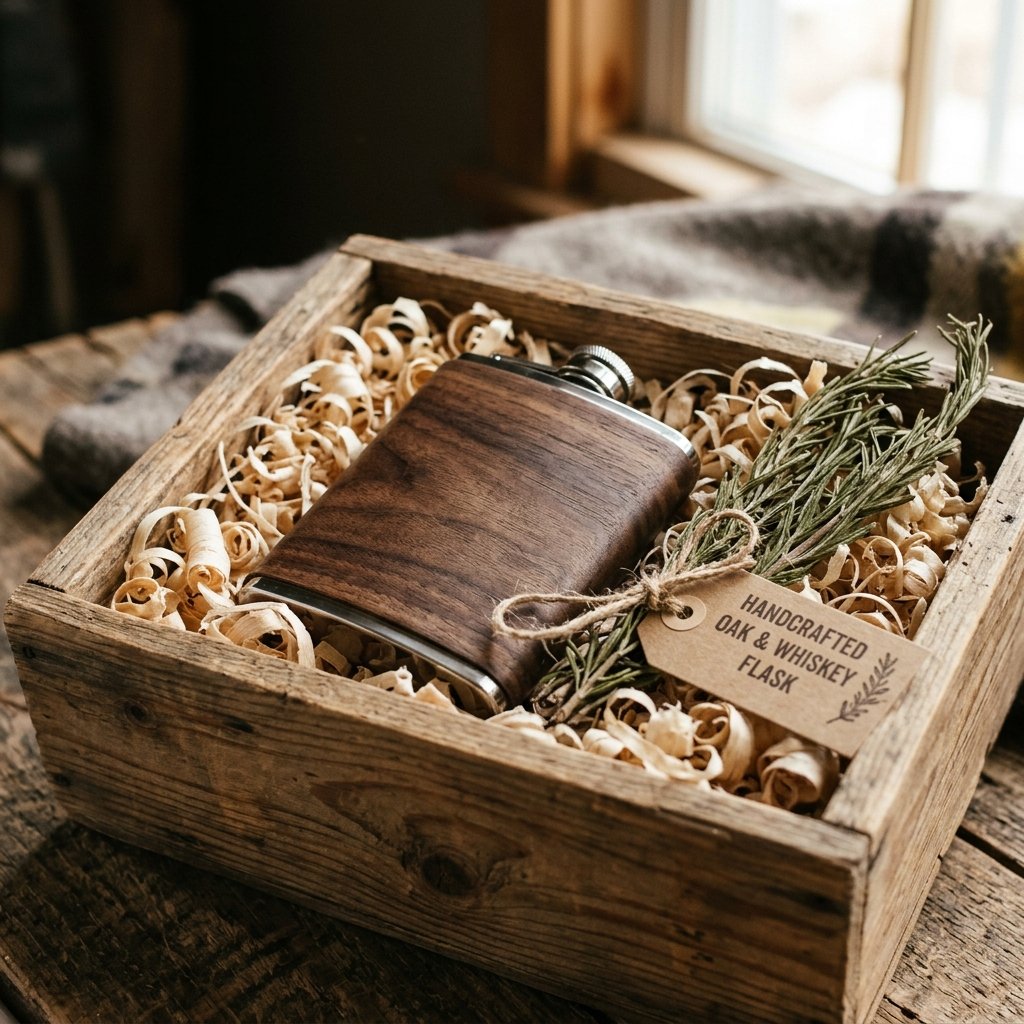
You’ve done the hard work; now it’s time for the presentation. A bespoke gift deserves bespoke packaging. Instead of a cheap cardboard box, consider a ‘rugged-elegant’ approach. Wrap each flask in a piece of repurposed flannel or a scrap of burlap tied with twine. You can even include a small ‘instruction card’ on how to care for the wood (e.g., ‘Do not soak in water; hand wash only; oil occasionally’).
Packaging Materials Checklist
- Scrap Fabric: Old flannel shirts or canvas drops (Free/Upcycled).
- Jute Twine: For that rustic, hand-tied look ($0.05 per gift).
- Kraft Paper Tags: Hand-written names for a personal touch ($0.10 per gift).
- The ‘Extra’: Pair the flask with a single high-quality cigar or a small nip of the groom’s favorite whiskey.
By spending an extra 10 minutes on the packaging, you increase the ‘wow factor’ exponentially. Your groomsmen will see the effort, the craft, and the heart you put into their gift, making it far more valuable than any store-bought item could ever be.
Conclusion
Creating stunning DIY wood flask wraps is the ultimate ‘trash-to-treasure’ win for any budget-conscious wedding. You’ve taken basic, inexpensive materials and, through the power of resourcefulness and a bit of ‘crafty-expert’ elbow grease, transformed them into sophisticated keepsakes. These flasks aren’t just containers for spirits; they are symbols of the rugged bonds of friendship and the clever creativity that makes a wedding truly personal. So, grab your veneer, sharpen your blade, and get to work—your groomsmen (and your bank account) will thank you. Cheers to a project well done and a wedding celebrated with style and savvy!

Makenzie is the founder and lead writer at MoneyHackTips.com — a personal finance blog dedicated to delivering street-smart financial wisdom for real people on real budgets. With 300+ published articles covering everything from debt management to investing fundamentals, Makenzie’s mission is to make every dollar work harder. When not writing about money hacks, Makenzie is testing frugal living strategies, optimizing side hustles, and helping readers build financial freedom from scratch.