
The Quest for the Masculine Meal Carrier
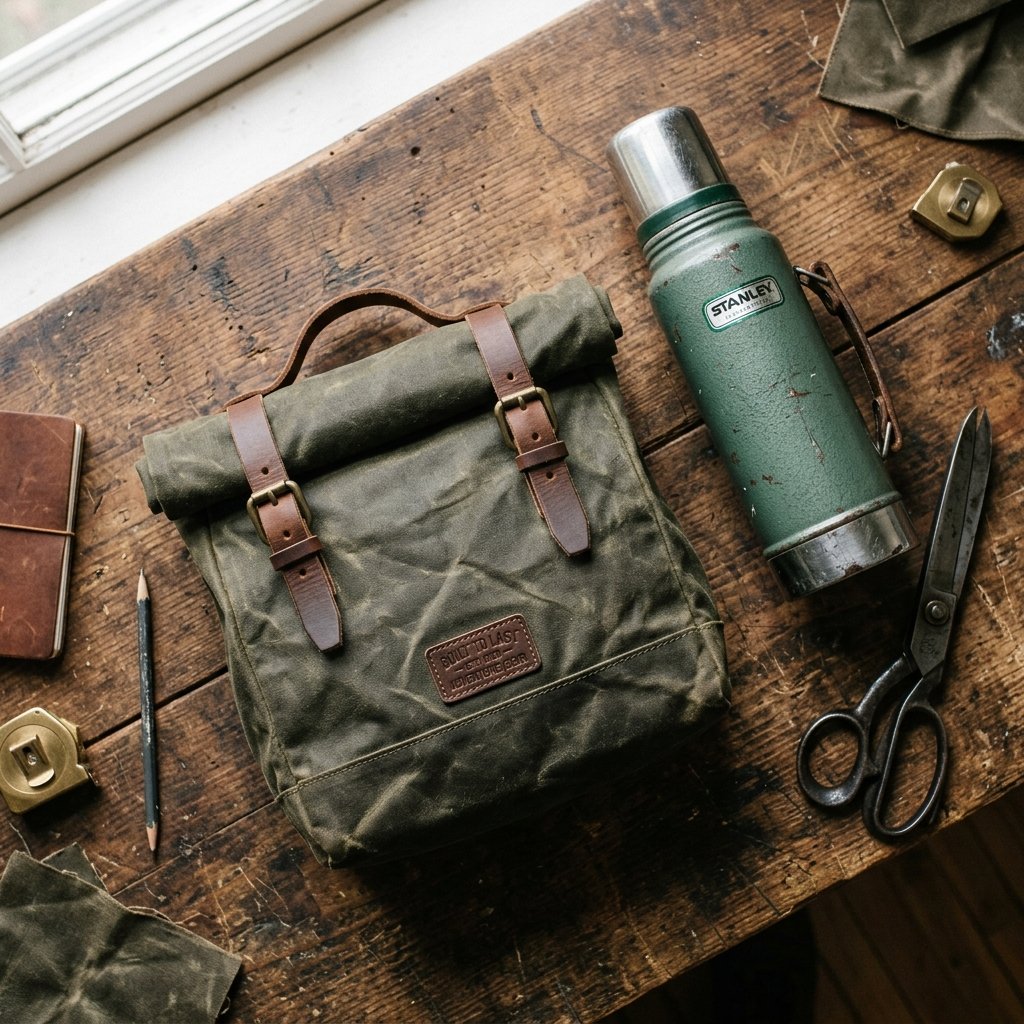
Let’s be honest: most lunch bags on the market fall into two categories: the ‘Primary School Neon’ or the ‘Corporate Cubicle Black Polyester.’ For the man who appreciates heritage quality, rugged aesthetics, and gear that actually lasts, these options are lackluster at best. Whether he’s heading to a construction site, a woodshop, or a high-rise office, he deserves a lunch carrier that looks like a piece of heirloom equipment rather than a plastic afterthought. As frugal DIYers, we aren’t going to drop $80 on a boutique waxed canvas bag. Instead, we are going to build one from the ground up using upcycled materials and clever hacks that make it look like it came from a high-end outfitter.
This project is designed for the resourceful crafter who isn’t afraid to get their hands a little waxy. We will be combining the durability of heavy-duty canvas (or upcycled denim) with the thermal properties of modern insulation, all finished with a DIY waterproofing treatment that adds a beautiful, rugged patina over time. By the end of this guide, you’ll have a 100% custom, insulated roll-top bag that is as functional as it is stylish.
Sourcing Your Materials: The Trash-to-Treasure Blueprint
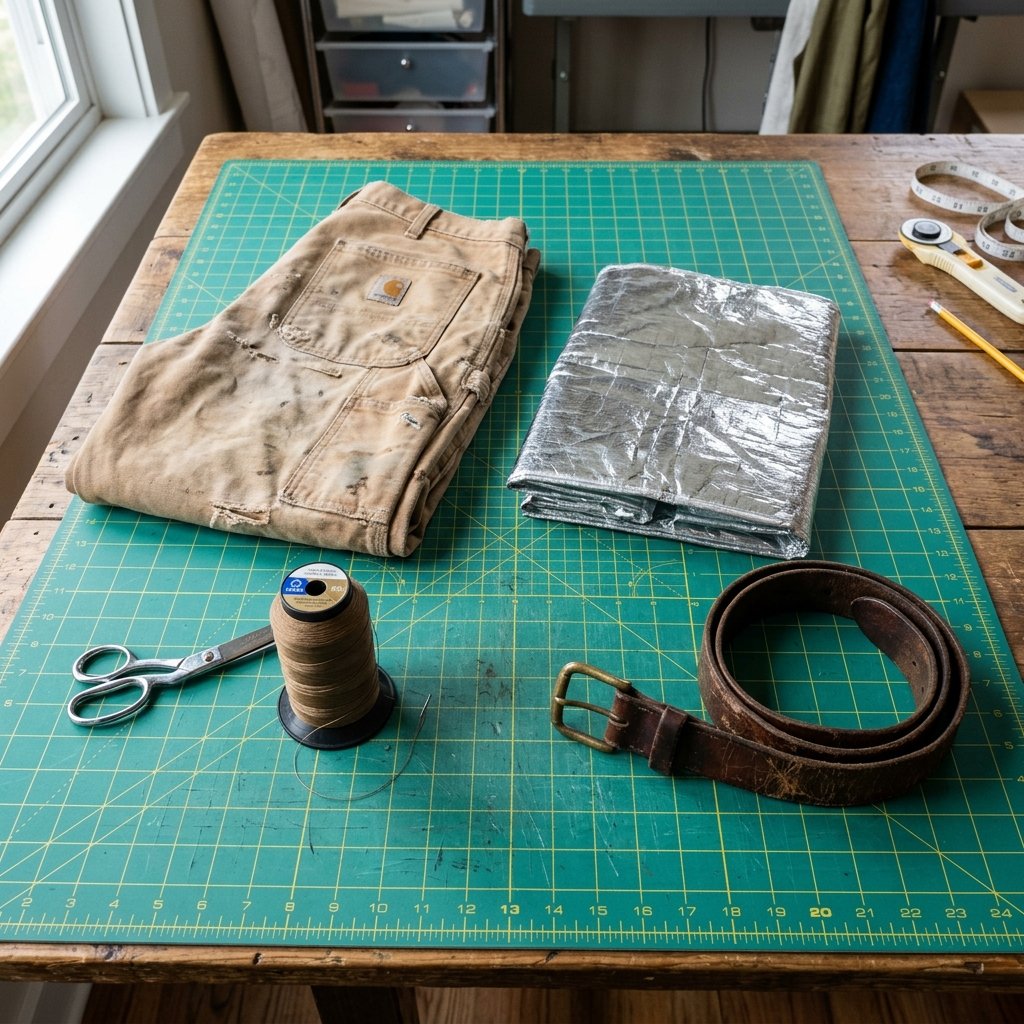
The secret to a rugged look is starting with the right ‘bones.’ You don’t need to buy expensive fabric by the yard. In fact, some of the best materials for this project are likely sitting in your ‘to-be-donated’ pile or at the local thrift store for $2 to $5.
The Fabric Foundation
We want a heavy-weight outer shell. Look for old Carhartt jackets, heavy-duty cotton duck curtains, or even the legs of some 100% cotton ‘dad’ jeans. The key is that the fabric must be a natural fiber (cotton) so it can properly absorb the wax treatment later.
The Insulation Secret
Instead of buying expensive thermal lining, we are going to upcycle. Those silver-lined grocery bags or the padded envelopes from meal-kit delivery services are perfect. They provide excellent thermal reflection and are practically free.
| Material Item | Source Idea | Estimated Cost |
|---|---|---|
| Outer Shell (Canvas) | Thrifted Work Pants / Old Curtains | $0.00 – $4.00 |
| Insulation Layer | Upcycled Mylar Grocery Bag | $0.00 |
| Inner Lining | PUL Fabric or Thick Trash Bag | $1.00 |
| Closure Hardware | Old Leather Belt / Paracord | $0.00 – $2.00 |
| Total Project Cost | DIY Savvy | $1.00 – $7.00 |
The Rugged Mantra: If it doesn’t look like it could survive a trek through the woods, add another row of top-stitching.
The DIY Waxing Process: Achieving That Heritage Patina

To get that ‘rugged’ look that he won’t be ashamed of, we need to wax the fabric. This provides water resistance and that classic ‘crinkle’ look that only gets better with age. We aren’t buying pre-waxed fabric; we are making our own for pennies on the dollar.
The Wax Recipe
You will need a 50/50 mix of Paraffin Wax (for stiffness and water-shedding) and Beeswax (for flexibility and a pleasant scent). You can find paraffin in the canning section of most grocery stores and beeswax at craft stores or local apiaries.
- Melt the waxes together in a double boiler (or a clean tin can set inside a pot of simmering water).
- Apply the molten wax to your cut fabric pieces using a cheap chip brush.
- Use a heat gun or a high-heat hair dryer to ‘melt’ the wax into the fibers until the fabric changes color and the white waxy residue disappears.
- Let the fabric cure for 24 hours before sewing.
Pro Tip: Always wax your fabric *before* sewing the bag together. It’s much easier to work with flat sheets than a finished 3D object.
The Cut and Assembly: Building for Durability
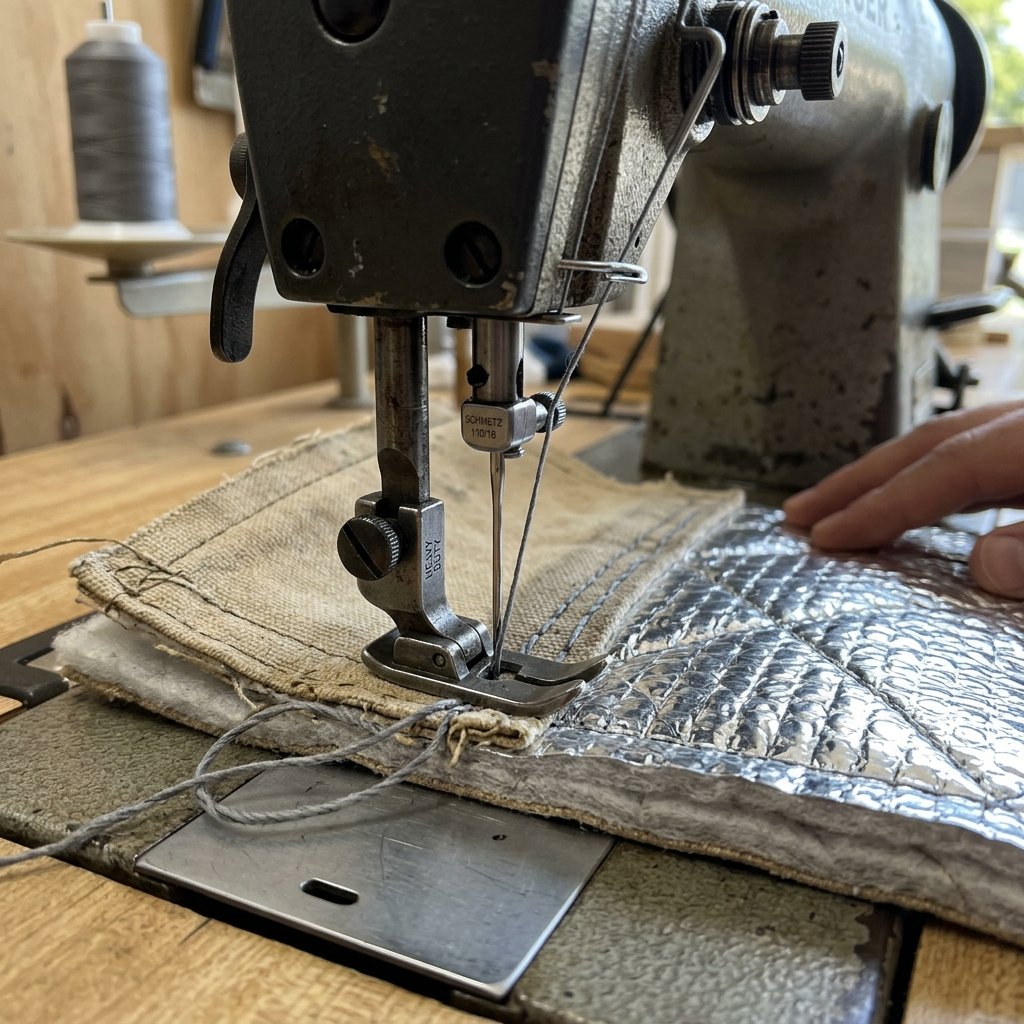
A lunch bag needs to be ‘overbuilt’ to handle heavy glass containers and daily use. We are using a simple ‘Box Bottom’ construction with a roll-top closure. This eliminates the need for zippers, which are often the first part of a bag to break.
Dimensions for a Standard ‘Man-Sized’ Lunch
Cut your outer fabric and your insulation lining to the following specs:
- Main Body (2 pieces): 12 inches wide by 18 inches tall.
- Bottom Gusset: We will create this by ‘boxing’ the corners 3 inches deep.
- Straps: Two 6-inch strips of leather or heavy webbing.
| Step | Action | Key Detail |
|---|---|---|
| 1 | Sew Outer Shell | Right sides together, 1/2 inch seam allowance. |
| 2 | Box the Corners | Creates a flat bottom so the bag stands upright. |
| 3 | Insert Insulation | Slide the mylar bag inside the canvas shell. |
| 4 | Top-Stitch Rim | Secures all layers together at the opening. |
The ‘No-Fail’ Roll-Top Step
- Fold the top edge over by 1/2 inch and sew to create a clean finish.
- Attach a leather strap or a piece of heavy-duty velcro 4 inches down from the top.
- When the bag is full, simply roll the top down and secure. This creates an airtight seal that keeps food cold for 4-6 hours.
Insulation Hacks: Keeping It Ice Cold on a Budget
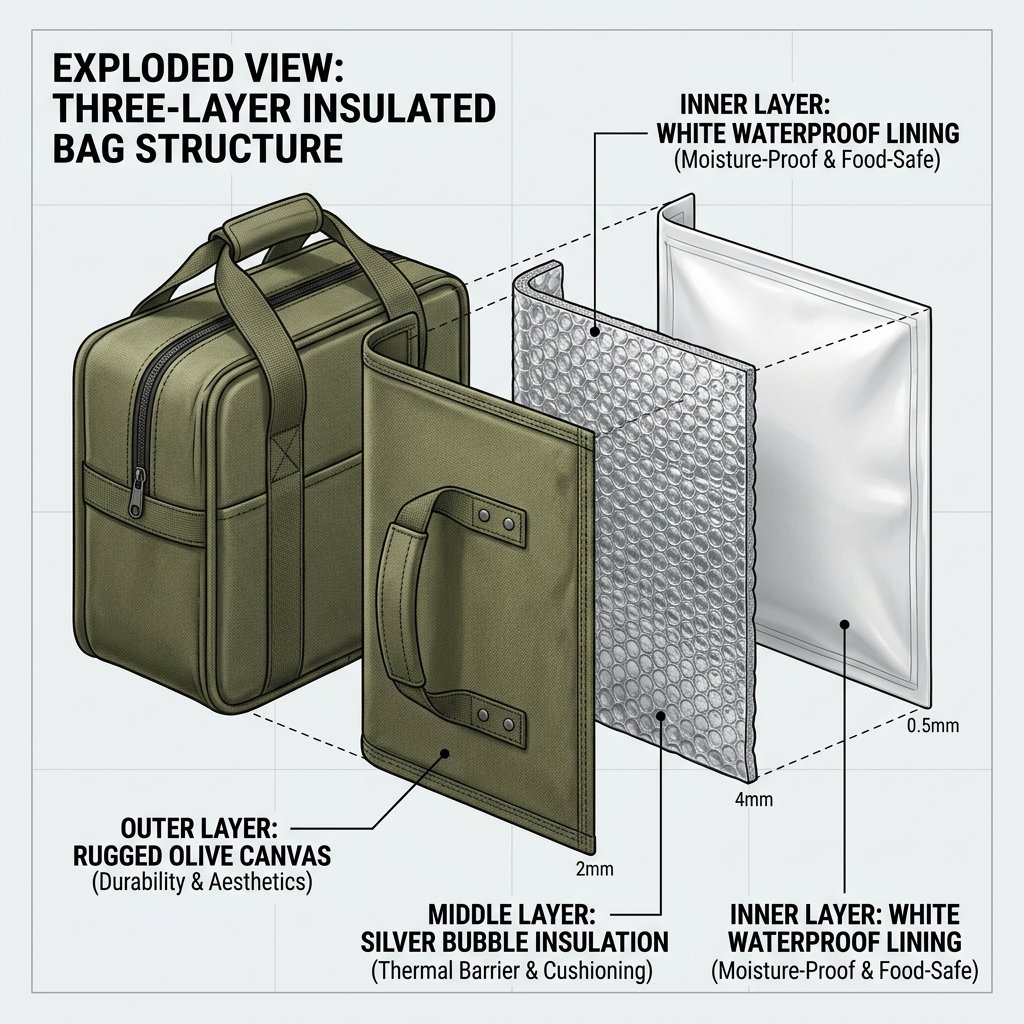
The difference between a ‘sack’ and a ‘lunch bag’ is the thermal barrier. Since we are being budget-savvy, we are going to use a multi-layer approach that rivals high-end brands like Yeti or Filson.
The Triple-Layer Method
To ensure his lunch stays cold even in a hot truck or locker, follow this layering sandwich:
- Layer 1 (Outer): The waxed canvas shell (wind and water resistant).
- Layer 2 (Middle): The upcycled Mylar/bubble wrap (thermal reflection).
- Layer 3 (Inner): A heavy-duty vinyl or PUL (Polyurethane Laminate) lining.
By using a $1.25 vinyl tablecloth from the Dollar Tree as your innermost lining, you make the bag ‘wipe-clean’ in case of leaks. Simply spray it with a bit of vinegar and water, and it’s good as new. No more stinky lunch bags!
Safety Note: When sewing through Mylar or plastic, use a longer stitch length (3.5mm to 4.0mm). If the stitches are too close together, they will act like a perforation and cause the plastic to tear easily.
Masculine Details: Hardware and Finishing Touches
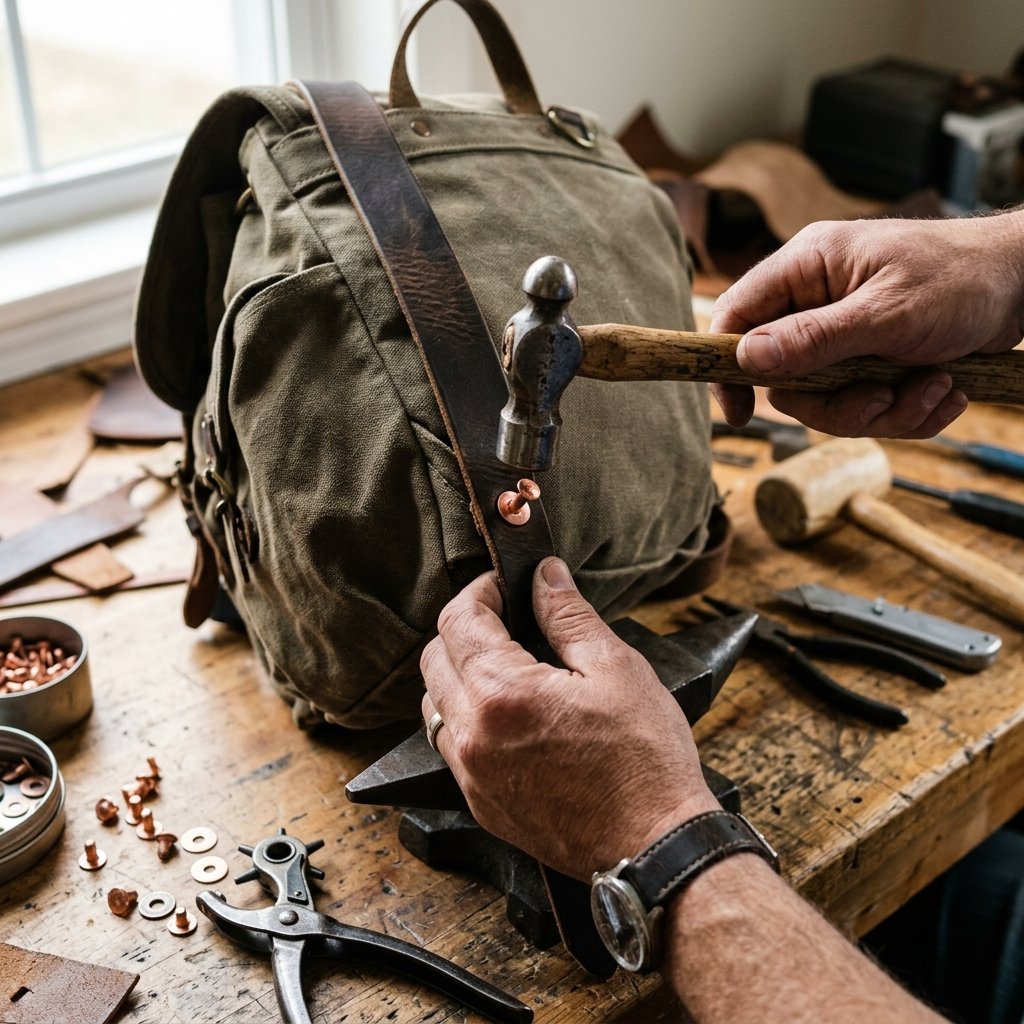
What makes a bag ‘rugged’ isn’t just the fabric; it’s the hardware. Avoid plastic buckles or colorful webbing. Instead, look for materials that suggest utility and strength.
Upcycled Hardware Ideas
- Leather Accents: Cut up an old, cracked leather belt to create the closure strap and a carrying handle. The worn leather adds instant ‘street cred.’
- Copper Rivets: If you have a hammer and a small anvil (or the back of a vise), solid copper rivets are indestructible and look incredibly professional.
- Paracord: Use 550 paracord in ‘Coyote Brown’ or ‘OD Green’ for pull tabs or decorative knots.
| Feature | Store-Bought Look | The Rugged DIY Alternative |
|---|---|---|
| Closure | Plastic Clip | Leather Strap with Brass Stud |
| Handle | Nylon Ribbon | Thick Upcycled Leather Belt Section |
| Corners | Single Stitched | Reinforced ‘X’ Stitch with Nylon Thread |
Adding a simple monogram by stamping the leather with his initials or using a wood-burning tool to ‘brand’ the leather adds a bespoke touch that makes this a perfect Father’s Day or anniversary gift.
Conclusion
A Gift Built to Last
By taking the time to wax the fabric and reinforce the seams, you’ve created more than just a lunch bag—you’ve built a piece of gear. This rugged carrier is a testament to the fact that ‘frugal’ doesn’t have to mean ‘cheap.’ For a total investment of about $5 and two hours of your time, you have produced an item that would easily retail for ten times that amount in a boutique shop.
He’ll appreciate the utility, the masculine aesthetic, and the fact that it can take a beating and still look better every day. Whether it’s filled with a hearty sub or a few containers of meal-prepped protein, this bag is ready for the task. Now, go forth and upcycle those old work pants—there’s a lunch bag waiting to be born from them!

Makenzie is the founder and lead writer at MoneyHackTips.com — a personal finance blog dedicated to delivering street-smart financial wisdom for real people on real budgets. With 300+ published articles covering everything from debt management to investing fundamentals, Makenzie’s mission is to make every dollar work harder. When not writing about money hacks, Makenzie is testing frugal living strategies, optimizing side hustles, and helping readers build financial freedom from scratch.