The Art of the Handmade Heirloom
There is something inherently respectable about a man who brings his own gear to the table—especially when that gear is handcrafted. While you could easily drop $60 to $100 on a generic, flimsy aluminum poker case from a big-box retailer, building your own allows you to infuse rugged elegance and personal history into the game. This project is designed for the resourceful DIYer who values quality over mass production. We aren’t just making a box; we are crafting a vessel for late-night stories, high-stakes bluffs, and the kind of camaraderie that only happens around a deck of cards. Whether you are upcycling old pallet wood for a weathered, tactical look or using premium scrap hardwood for a polished finish, this guide will show you how to achieve professional results for under $20 in new materials.
Blueprint and Budget: Planning Your Poker Masterpiece
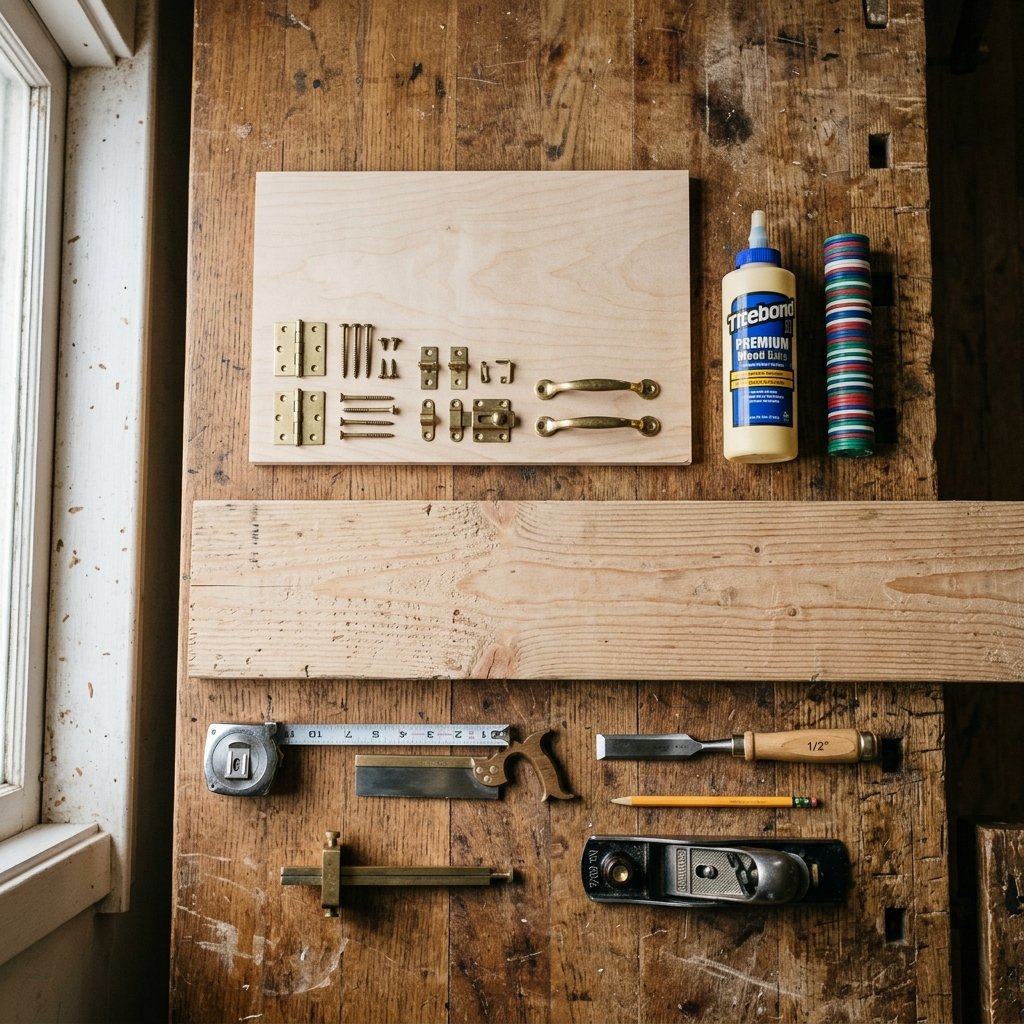
Strategic Planning for the Budget-Savvy Builder
Before we make the first cut, we need to talk strategy. A standard poker set holds 300 to 500 chips. Our design focuses on a modular internal system that can be adjusted based on your specific chip count. By using clever joinery and inexpensive materials, we can replicate the look of a $150 boutique case for a fraction of the cost.
Material Cost Breakdown
| Material | Source | Estimated Cost |
|---|---|---|
| 1×4 Pine or Poplar (6ft) | Home Center / Scrap Pile | $8.00 |
| 1/4″ Plywood (Scrap) | Workshop Leftovers | $0.00 |
| Brass Hinges & Latches | Hardware Store | $7.50 |
| Adhesive Felt Sheet | Craft Store | $2.50 |
| Wood Glue & Finish | Existing Supplies | $0.00 |
| Total Investment | – | $18.00 |
The secret to a high-end look on a low-end budget is in the sanding. Spend 20 minutes extra on your grits, and pine will look like mahogany under the right stain.
Rugged Construction: Cutting and Assembly
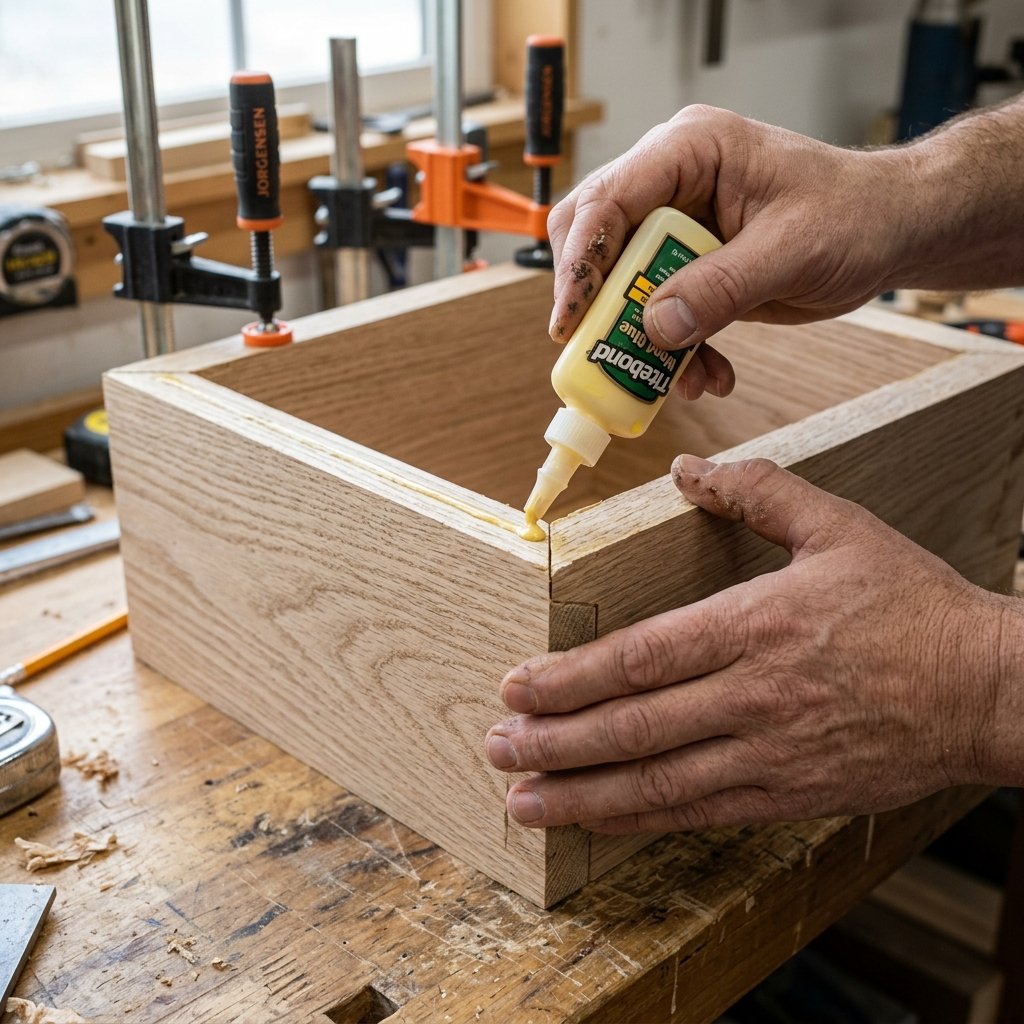
Building the External Frame
A poker case needs to be sturdy. These chips are heavy, and the case will likely be tossed into the back of a truck or moved from house to house. We will use a simple but effective butt-joint reinforced with internal glue blocks for maximum durability. You will need approximately 2 hours for the main construction phase.
Step-by-Step Assembly Guide
- Measure and Cut: Cut your 1×4 boards into four pieces: two at 12 inches (sides) and two at 9 inches (front/back). These dimensions fit a standard 300-chip layout.
- The Grooves: Use a table saw or a router to create a 1/4-inch groove 1/4-inch from the bottom of each board. This is where your plywood base will slide in, creating a professional ‘floating’ bottom.
- Dry Fit: Assemble the pieces without glue first to ensure the plywood base fits snugly.
- Glue and Clamp: Apply a thin bead of wood glue to the joints. Clamp the frame tightly, ensuring it is perfectly square. Let it cure for at least 60 minutes.
- The Lid: Repeat the process for the lid, but use a shallower depth (1 inch) to keep the case sleek.
Pro Tip: If you don’t have a table saw for the grooves, you can simply glue and nail the plywood to the bottom of the frame and cover the edges with thin decorative molding for a ‘bespoke’ look.
The Interior: Custom Chip Dividers and Lining
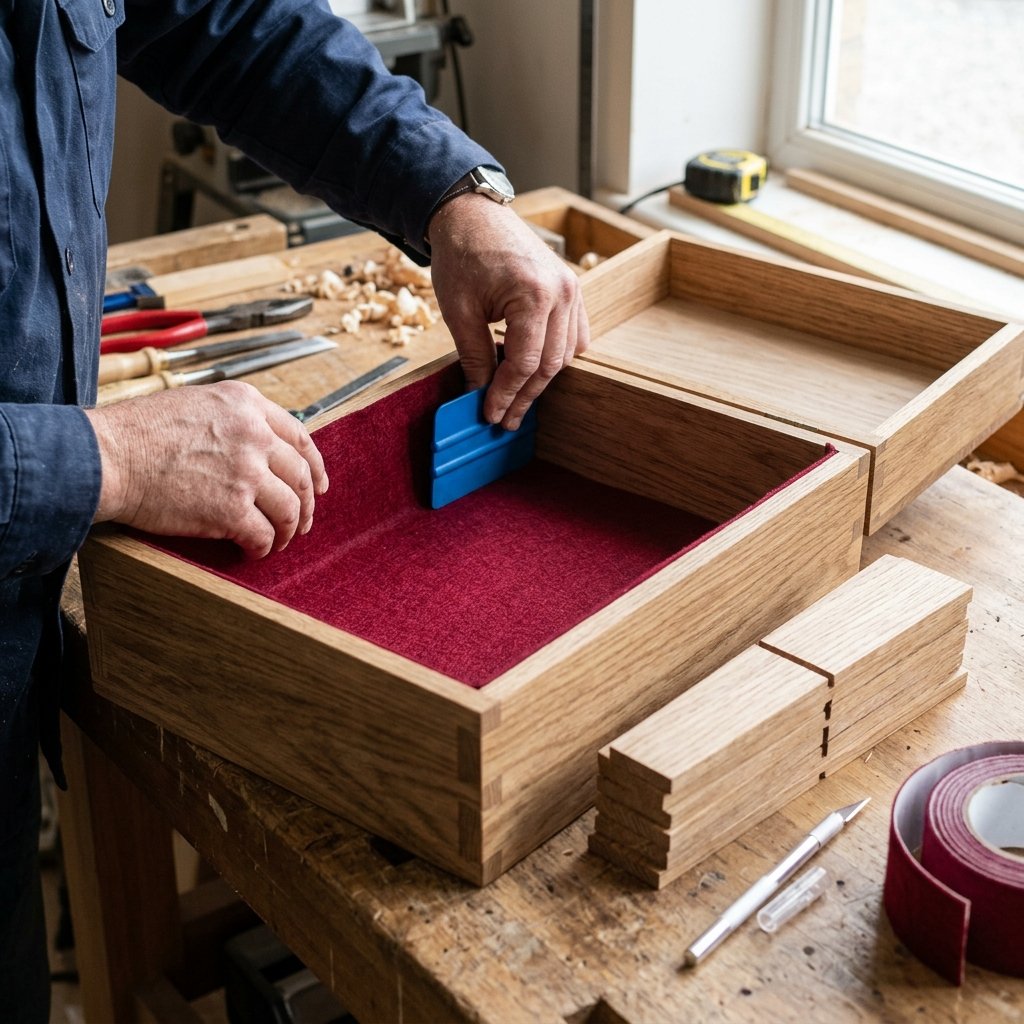
Tailoring the Tactical Interior
This is where the ‘sleek’ part of the title comes into play. We want the chips to sit perfectly without rattling. We will use thin wood dividers and plush felt to create a luxury experience. A standard poker chip is 39mm in diameter, so our channels will be exactly 40mm wide to allow for the felt lining.
Divider Configuration Matrix
| Chip Count | Number of Rows | Divider Width |
|---|---|---|
| 200 Chips | 4 Rows | 40mm |
| 300 Chips | 6 Rows | 40mm |
| 500 Chips | 10 Rows | 40mm |
Lining Instructions
- Measure Twice: Measure the interior floor and walls of the case.
- Cut the Felt: Use a sharp utility knife and a metal ruler to cut your adhesive felt. Avoid scissors, as they can create jagged edges.
- Seamless Application: Start from the center and smooth outward to avoid air bubbles. This provides a soft landing for the chips and prevents scratching.
- Installing Dividers: Cut 1/4-inch thick strips of wood and glue them into place over the felt. This creates a high-contrast, professional look.
The Finish: Staining for Masculine Elegance
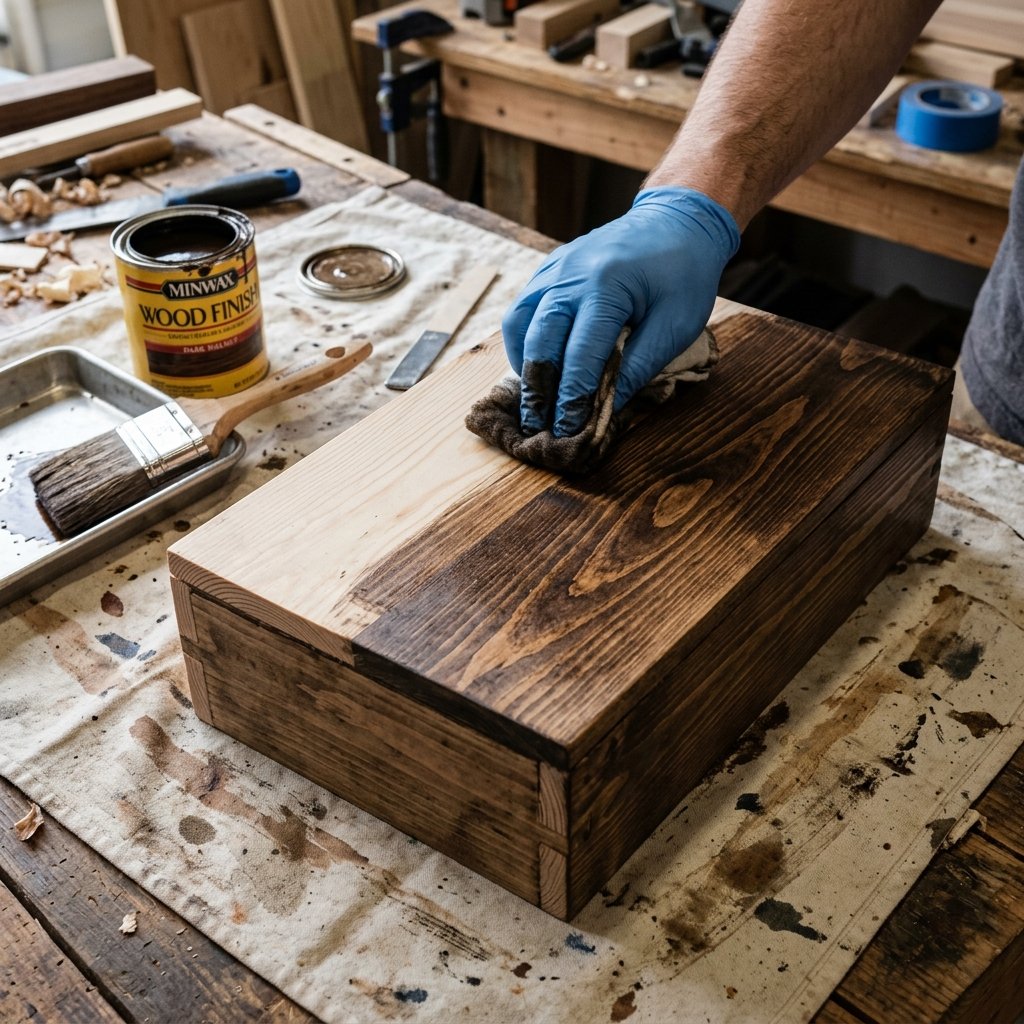
Achieving the ‘High-End’ Aesthetic
To turn pine into a ‘Guy’s Night’ showpiece, we need a finish that is both rugged and sophisticated. I recommend a dark walnut or espresso stain followed by a matte polyurethane. This protects the wood from beer spills and heavy handling while giving it a timeless, antique look.
The Finishing Process
- Sanding: Start with 120-grit sandpaper to remove imperfections, then move to 220-grit for a glass-smooth surface. 15 minutes of sanding makes a world of difference.
- Pre-Stain: If using pine, apply a wood conditioner. This prevents the stain from looking blotchy.
- Staining: Apply the stain with a lint-free rag. Let it sit for 5 minutes before wiping away the excess.
- Sealing: Apply two coats of matte poly. This gives it a ‘hand-rubbed’ look rather than a plastic, shiny appearance.
Safety Note: Always apply stains and sealants in a well-ventilated area. If you are working in a garage, keep the door cracked to ensure proper airflow.
Hardware and Personalization

The Final Flourish
The hardware is the ‘jewelry’ of your project. For a masculine-elegant vibe, avoid shiny chrome. Instead, opt for antiqued brass or matte black hardware. This adds a sense of weight and history to the case. We will also look at a clever way to personalize the gift for the recipient.
Hardware Installation Tips
- Pilot Holes: Always drill pilot holes for your screws. Small brass screws are notorious for snapping if driven directly into hard wood.
- Centering: Use a combination square to ensure your handle and latches are perfectly centered. An off-center latch is the hallmark of an amateur build.
- The Handle: A heavy-duty leather strap handle (upcycled from an old belt) adds a rugged, custom touch that store-bought cases lack.
Personalization Ideas
To make this the ‘Ultimate Gift,’ consider these budget-friendly personalization hacks:
- Wood Burning: Use a simple soldering iron to brand the recipient’s initials into the lid.
- Custom Label: Print a ‘Property of [Name] Poker Club’ label on cardstock and glue it to the inside of the lid before felt-lining.
- Money Origami: If gifting this with cash, fold a $20 bill into a shirt or heart shape and place it in the dealer button slot.
Conclusion
The Winning Hand
Building this sleek DIY wooden poker chip case is more than just a weekend project; it’s an exercise in resourceful craftsmanship. By choosing to build rather than buy, you’ve saved over $40 and created a gift that carries far more sentimental value than anything found on a store shelf. This case is rugged enough for a cabin trip and elegant enough for a high-stakes home office game. Load it up with some heavy clay chips, a fresh deck of cards, and you are ready to present the ultimate guy’s night gift. Remember: the best things in life aren’t just bought; they are built with a bit of grit, a sharp saw, and a clever eye for design. Now, go ahead—call their bluff.

Makenzie is the founder and lead writer at MoneyHackTips.com — a personal finance blog dedicated to delivering street-smart financial wisdom for real people on real budgets. With 300+ published articles covering everything from debt management to investing fundamentals, Makenzie’s mission is to make every dollar work harder. When not writing about money hacks, Makenzie is testing frugal living strategies, optimizing side hustles, and helping readers build financial freedom from scratch.