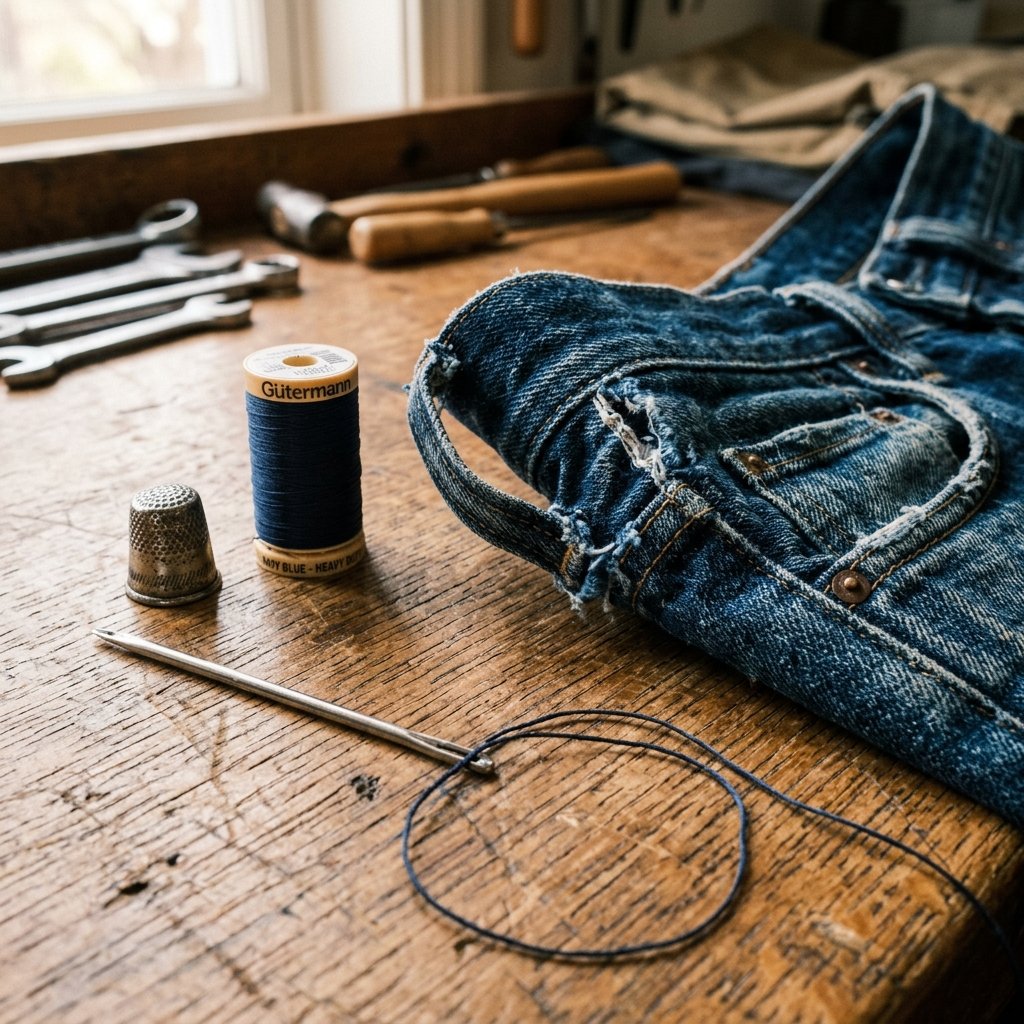

The Frustration of the ‘Pop’
We have all been there. You reach for your belt to hoist up your favorite pair of broken-in denim, and—pop—the top of the belt loop gives way, leaving behind an unsightly hole and a dangling strip of fabric. Most people assume this is the end of the line for their trousers, or at the very least, an expensive trip to a professional tailor. But as a resourceful crafter, you know better. A ripped belt loop isn’t a sign to go shopping; it is an invitation to practice a bit of rugged, practical maintenance. In just 5 minutes, you can perform an invisible, heavy-duty repair that is actually stronger than the machine-stitched original. No sewing machine, no fancy gadgets, and zero dollars spent at the dry cleaners. Let’s get your gear back in the game.
The Master’s Toolkit: Minimalist Materials

When you are mending for longevity, the quality of your materials matters more than the quantity. You don’t need a craft room; you just need a few specific items that every handy adult should have in a kitchen drawer. If you are truly in a pinch, I will even show you how to use unflavored dental floss—the ultimate ‘bushcraft’ tailoring secret for indestructible seams.
| Item | Requirement | Estimated Cost |
|---|---|---|
| Heavy Duty Needle | Size 14 or 16 (Denim Needle) | $0.10 |
| Thread | Upholstery thread or waxed polyester | $0.05 |
| Thimble | Metal or leather (protects your thumb) | $0.00 (Optional) |
| Small Scissors | Sharp snips or a pocket knife | $0.00 |
“A stitch in time saves nine, but a clever stitch saves the whole pair of pants.” — The Frugal Mender’s Mantra
The ‘Bar Tack’ Secret: Why This Fix Lasts
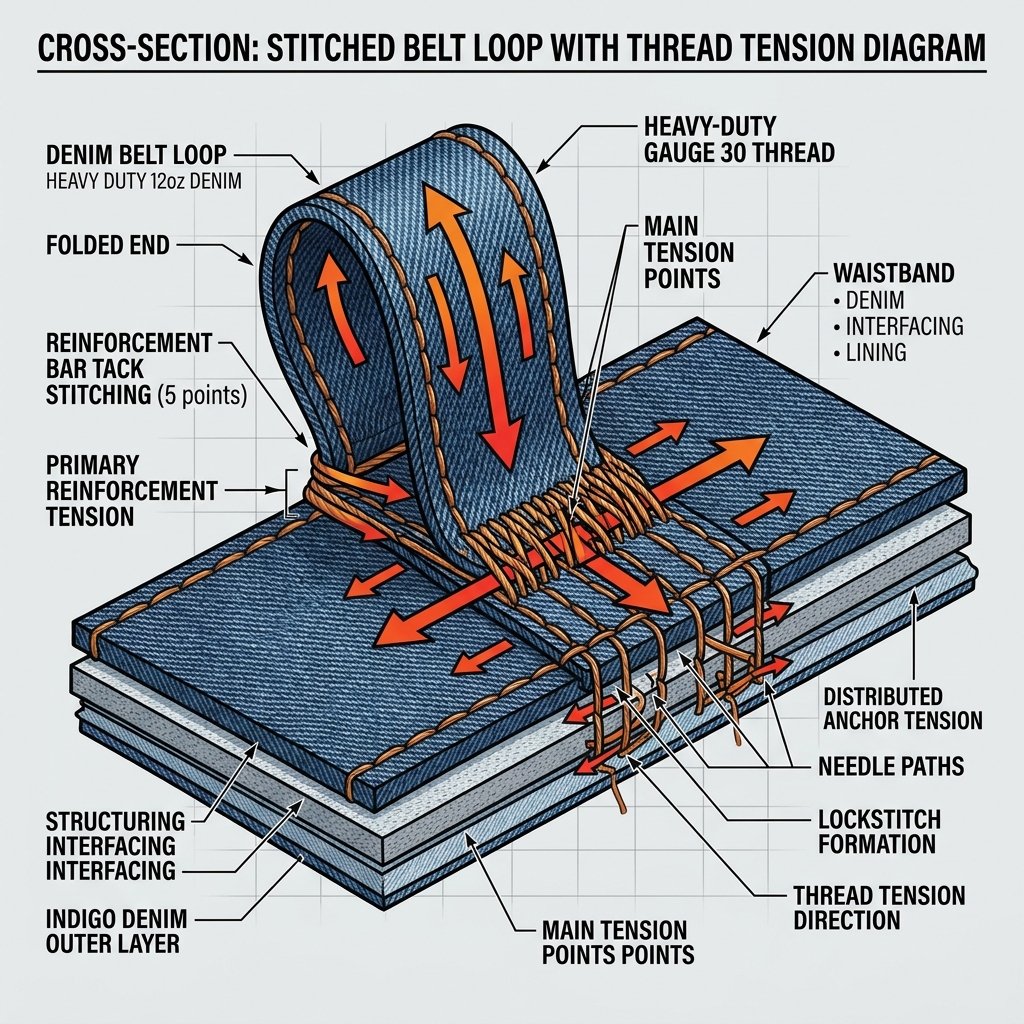
Understanding the Stress Point
The reason belt loops fail is usually because of ‘stress concentration.’ Most factory-made jeans use a simple zigzag stitch called a bar tack. Over time, the constant upward pull of your belt against the downward weight of the denim shreds the horizontal fibers. To fix this, we aren’t just going to ‘sew it back on’; we are going to reconstruct the foundation of the fabric. By using a whip-stitch combined with a vertical reinforcement, we distribute the load across a larger surface area.
| Repair Method | Durability Level | Time Investment |
|---|---|---|
| Iron-on Tape | Low (Temporary) | 2 minutes |
| Standard Tailor | High | 3-5 Days |
| The 5-Minute DIY Trick | Maximum (Permanent) | 5 minutes |
Step-by-Step: The 5-Minute Invisible Repair
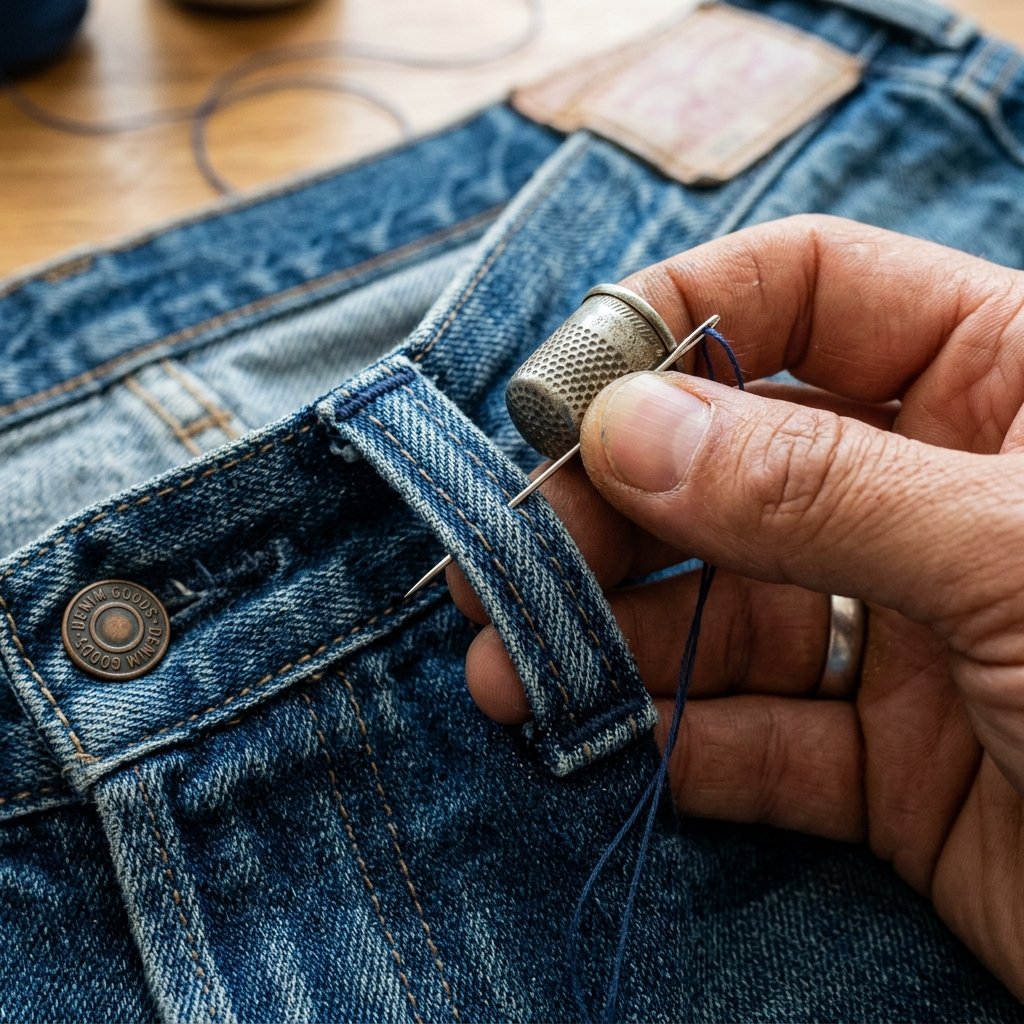
The Process
- Prep the Area: Trim any loose, frayed white threads from the hole in the jeans. Do not cut the belt loop itself!
- Thread Your Needle: Cut about 18 inches of thread. Double-thread the needle and tie a thick knot at the end. For denim, doubling the thread is non-negotiable for strength.
- The Anchor Stitch: Insert the needle from the inside of the pants, poking it out through the center of the hole where the loop originally sat. This hides the knot inside.
- The Bridge: Place the top of the belt loop back over the hole. Pass the needle through the loop fabric, then back down into the denim just above the loop.
- The ‘Loop-de-Loop’ (Whip Stitch): Create 6 to 8 tight horizontal loops over the top edge of the belt loop. Ensure you are catching the ‘meat’ of the denim underneath.
- The Reinforcement: This is the trick. Once the loop is secure, pass the needle vertically through the center of the bar tack you just created. This ‘locks’ the horizontal threads so they cannot slide or fray.
- The Finish: Tie off the thread on the inside of the waistband with a triple surgeon’s knot.
Safety Note: Denim is thick! Always use a thimble or push the needle against a hard surface like a tabletop to avoid pricking your finger. Never force a needle with your bare fingertip.
Budget Comparison: DIY vs. The Tailor
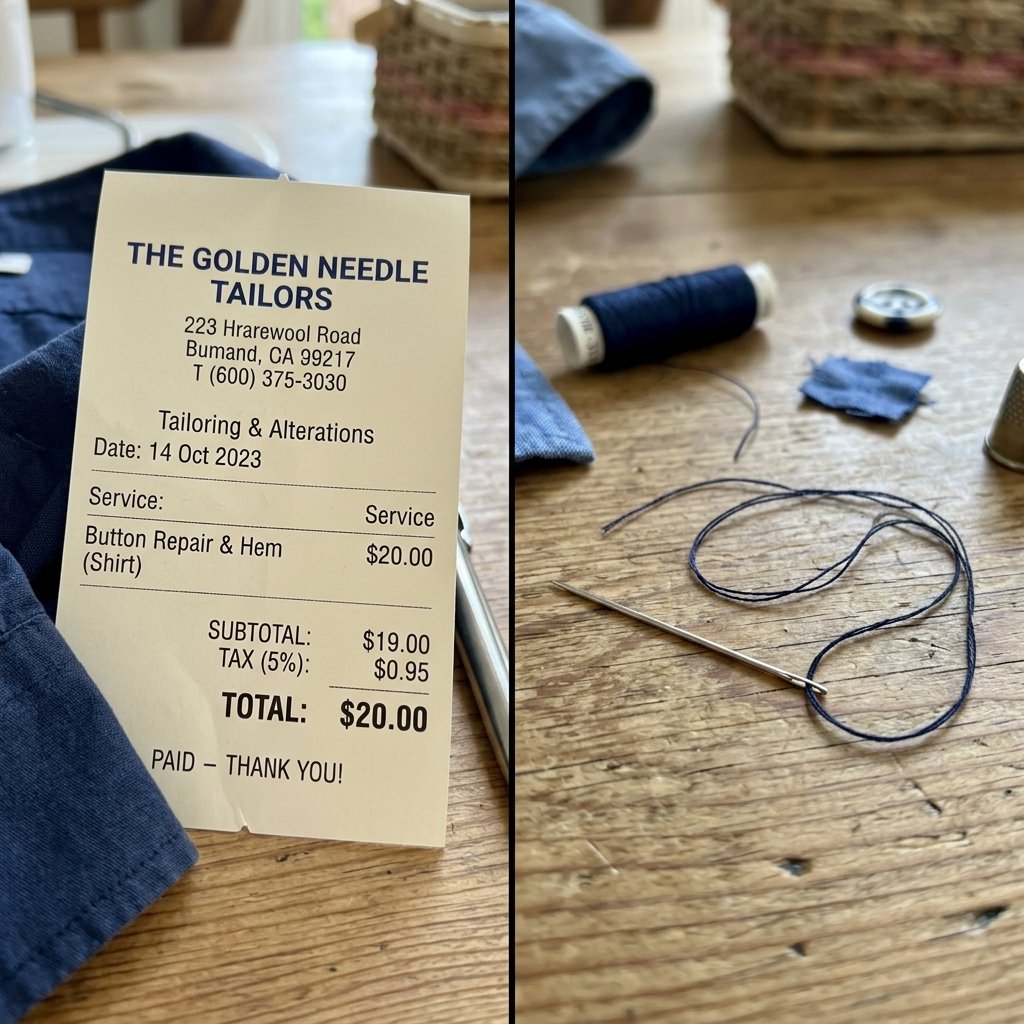
Is it really worth doing yourself? Beyond the satisfaction of being self-reliant, the financial math is staggering when you consider the lifespan of your wardrobe. If you have 5 pairs of jeans and each loses a loop over 3 years, the savings add up quickly.
| Expense Item | Professional Tailor | DIY 5-Minute Trick |
|---|---|---|
| Service Fee | $15.00 – $25.00 | $0.00 |
| Gas/Transportation | $4.00 | $0.00 |
| Wait Time | 48+ Hours | 5 Minutes |
| Total Cost | ~$24.00 | ~$0.15 |
By mastering this one simple skill, you are essentially ‘earning’ a $200/hour wage for those five minutes of work. That is the definition of being budget-savvy.
Conclusion
Wear Your Repair with Pride
In a world of ‘fast fashion’ where clothes are treated as disposable, taking 5 minutes to repair a ripped belt loop is a small act of rebellion. You’ve saved a garment from the landfill, kept $20 in your pocket, and reinforced your gear to be tougher than it was when it left the factory. This isn’t just about a belt loop; it’s about the mindset of a resourceful, crafty expert who knows that with a needle, thread, and a bit of grit, anything can be fixed. Now, cinch that belt tight and get back to work!

Makenzie is the founder and lead writer at MoneyHackTips.com — a personal finance blog dedicated to delivering street-smart financial wisdom for real people on real budgets. With 300+ published articles covering everything from debt management to investing fundamentals, Makenzie’s mission is to make every dollar work harder. When not writing about money hacks, Makenzie is testing frugal living strategies, optimizing side hustles, and helping readers build financial freedom from scratch.