
The War on the Playground: Why We Mend
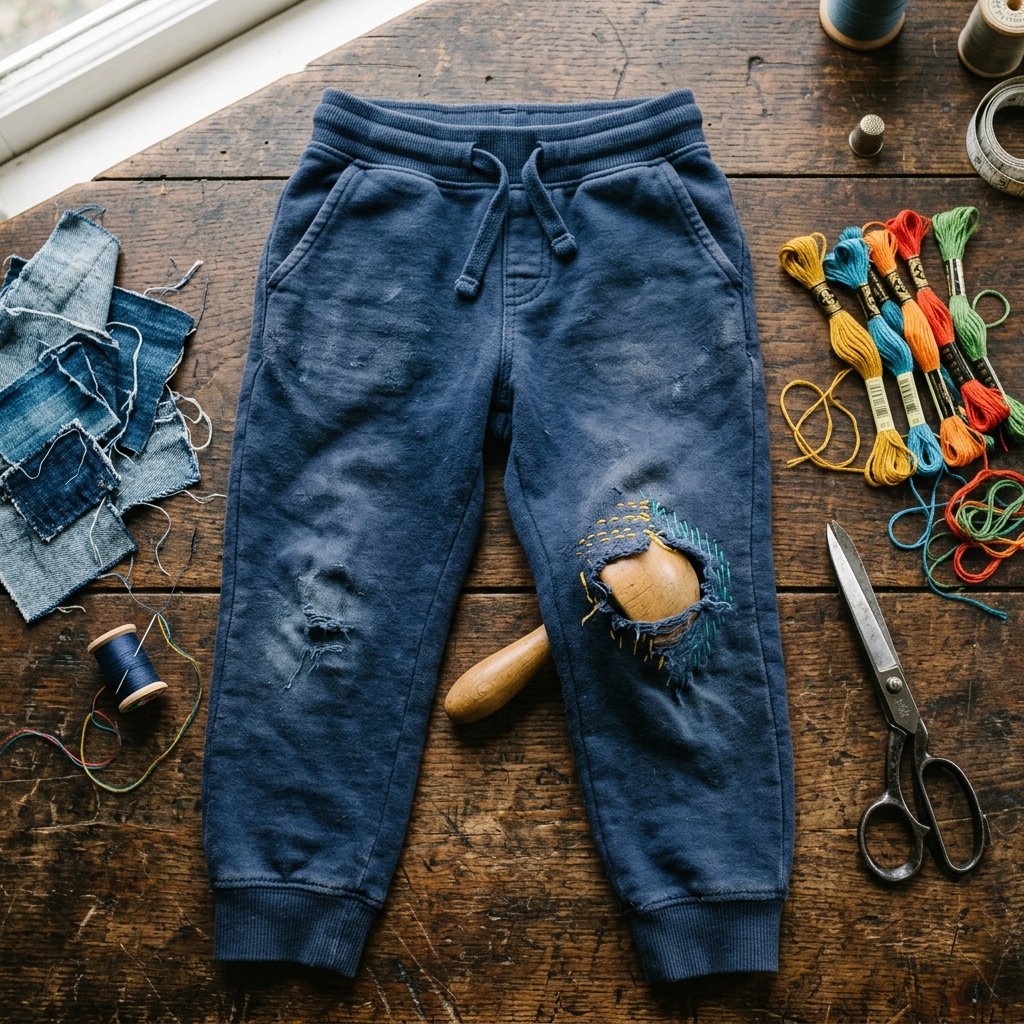
There is a specific kind of heartbreak known only to the budget-conscious parent: seeing a brand-new pair of $25 joggers succumb to the gravel of the playground in less than a week. We’ve all been there. You buy the ‘reinforced’ version, hoping for a miracle, only to find a gaping hole staring back at you by Tuesday. But here’s the clever secret: a hole isn’t a death sentence for a garment; it’s an opportunity for a rugged, custom upgrade. As a frugal DIYer, you don’t just see a tear; you see a chance to make those pants better, stronger, and more stylish than they were on the store shelf. In this guide, we aren’t just ‘fixing’ clothes—we are engineering them to survive the childhood trenches using time-tested tailoring techniques and a bit of crafty grit. Let’s save your wallet and the planet, one stitch at a time.
The Mender’s Arsenal: Budget-Savvy Gear for Bulletproof Knees
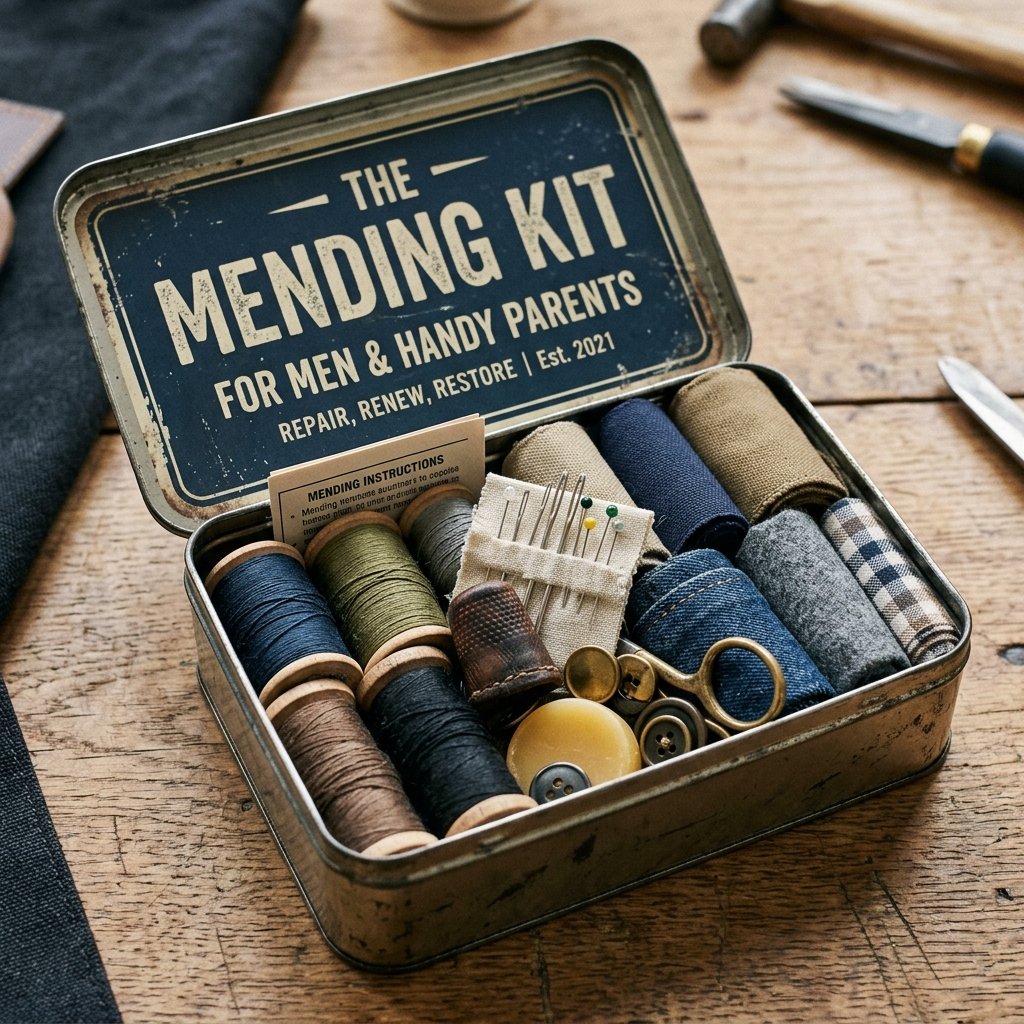
Before we dive into the stitches, we need to gather our supplies. Forget the expensive specialty kits; we are going resourceful and rugged. Most of what you need is likely already in your junk drawer or can be harvested from old adult clothing. The goal is to spend $0 by upcycling what you have.
| Material | Source/Cost | The ‘Rugged’ Benefit |
|---|---|---|
| Denim Scraps | Old jeans (Free) | High abrasion resistance for sliding. |
| Embroidery Floss | $0.50 per skein | Thicker and stronger than standard thread. |
| Interfacing | $1.25 (Dollar Tree) | Prevents the knit fabric from stretching. |
| Curved Needle | $2.00 pack | Easier to navigate inside a narrow pant leg. |
“The secret to a patch that lasts isn’t the thread—it’s the friction management. Always choose a patch material that is slightly more durable than the original sweatpant fleece.”
The ‘Sashiko’ Method: Turning Damage into Design
The Art of Functional Reinforcement
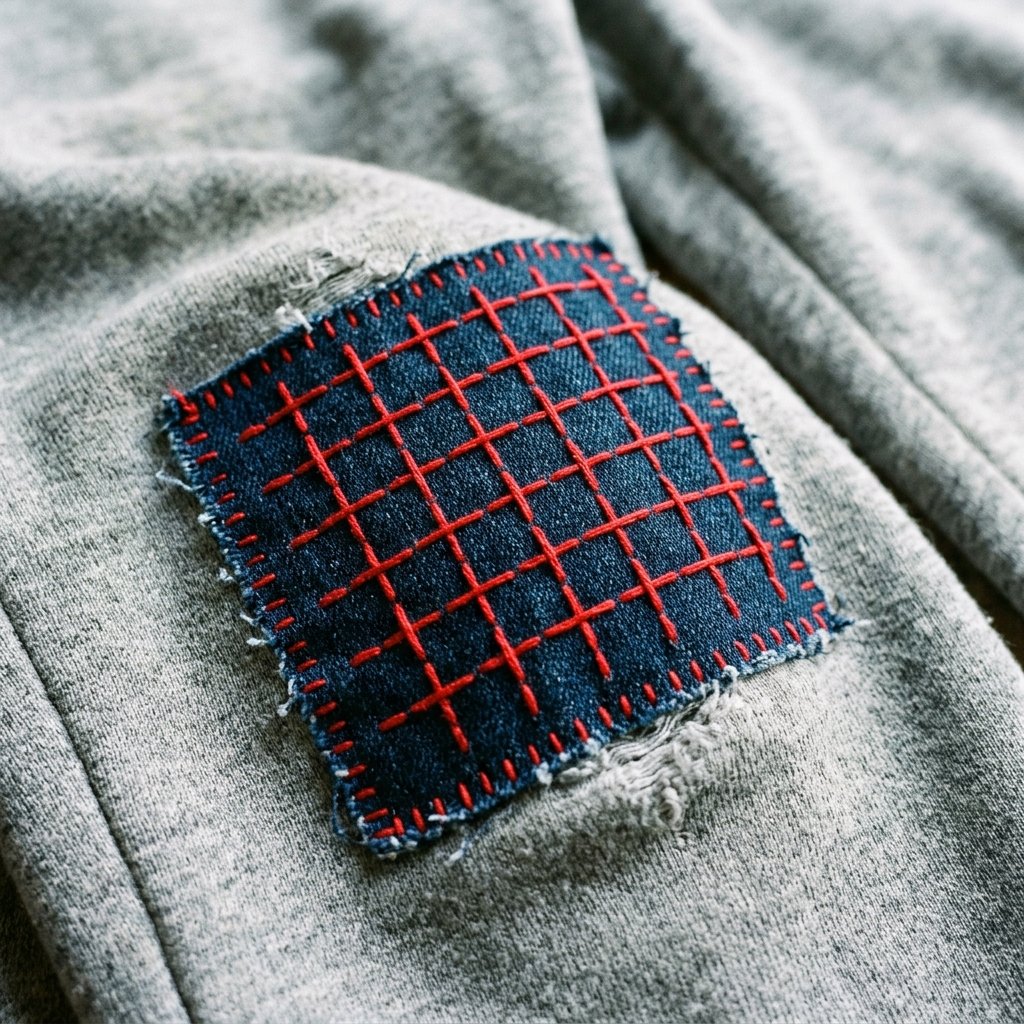
Sashiko is a Japanese mending technique that uses a simple running stitch to create beautiful geometric patterns while reinforcing the fabric. For kids’ sweatpants, this is the gold standard because it adds structural integrity without making the knee feel stiff or uncomfortable. It’s the perfect blend of masculine-elegant utility and crafty expertise.
- Prep the Hole: Trim away any loose, fuzzy threads from the hole so you have a clean edge.
- The Internal Patch: Cut a piece of denim or heavy cotton 2 inches larger than the hole on all sides. Slide it inside the pant leg.
- Pin or Baste: Secure the patch in place. Using a contrasting color of embroidery floss (like bright orange on navy), start your first row of stitches.
- The Grid: Sew horizontal lines across the entire patch area, spaced about 1/4 inch apart. Then, sew vertical lines to create a cross-hatch pattern.
This grid doesn’t just look cool—it binds the new fabric to the old so tightly that the original hole can’t expand. You’ve essentially created a composite material on your child’s knee.
The ‘Double-Up’ Tactical Patch: For the High-Impact Kid

When a Simple Stitch Isn’t Enough
If your child is the type to slide into home base on asphalt, you need a tactical-grade solution. This method involves an external ‘shield’ patch that acts as a sacrificial layer. It’s budget-savvy because it uses scraps, but it looks like a high-end designer detail.
| Step | Action | Pro Tip |
|---|---|---|
| 1. Shape | Cut two identical ovals from canvas. | Use a glass or jar as a template for perfect symmetry. |
| 2. Edge | Fold the edges under 1/4 inch and iron. | Use a bit of glue stick to hold the fold—it’s a crafty-expert shortcut! |
| 3. Placement | Position on the knee while the child is sitting. | Knees need more room when bent; don’t patch them perfectly flat. |
| 4. Stitch | Use a heavy-duty whipstitch around the perimeter. | Double-thread your needle for 2x the strength. |
“Mantra: We don’t hide the repair; we celebrate the history of the garment. A visible patch is a badge of honor for a life well-played.”
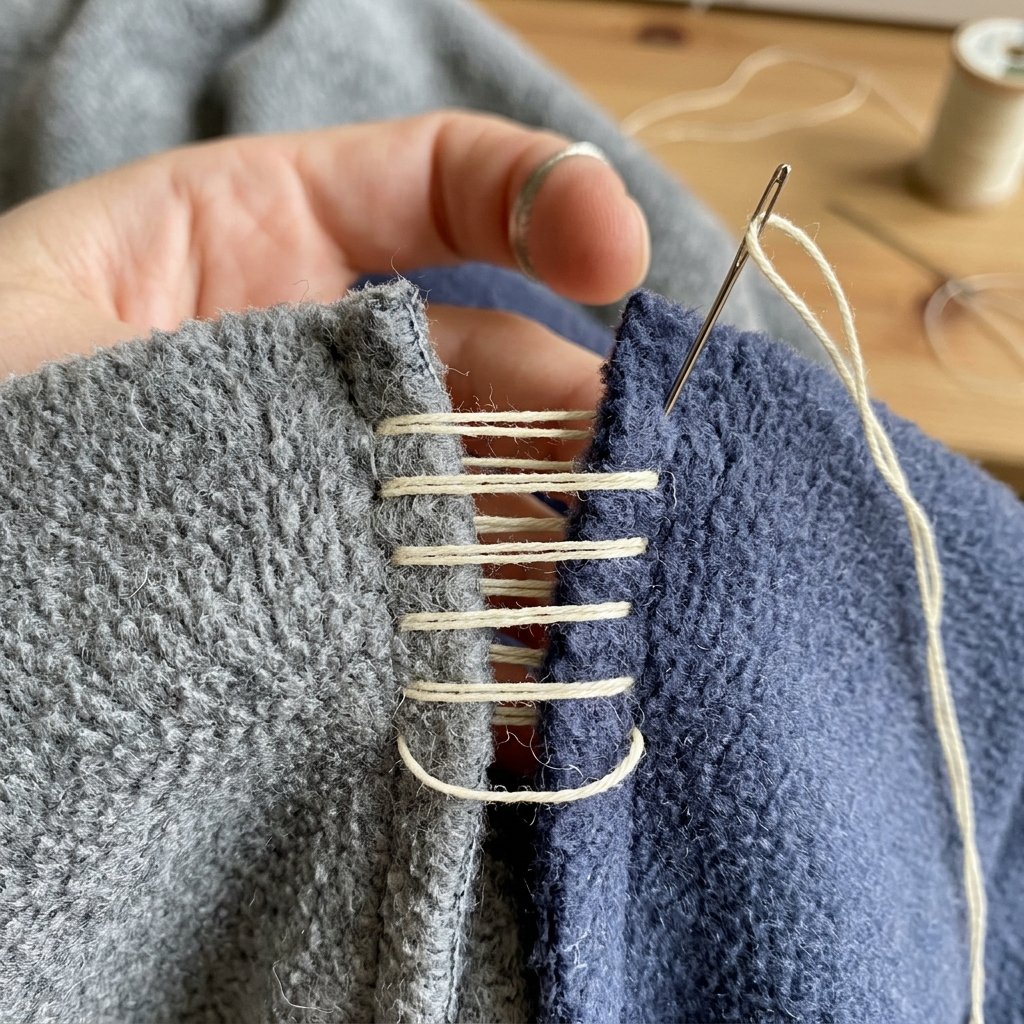
The Invisible Ladder Stitch: Saving the Seams
Grandma’s Secret Tailoring Guide
Sometimes the hole isn’t in the middle of the knee, but a ‘blowout’ at the inner seam. This requires a different approach: the Ladder Stitch. This is the closest you will get to a professional factory finish without a sewing machine. It’s nearly invisible and incredibly strong if done with high-tension polyester thread.
- Turn the pants inside out and align the torn edges.
- Insert the needle from the back to hide the knot.
- Take a small horizontal stitch on the right side, then a small horizontal stitch on the left side, directly across.
- After 5-6 stitches, pull the thread tight. Watch as the gap zips shut like magic!
This method is ideal for frugal DIYers who want their repairs to look like they never happened. It’s perfect for the ‘Masculine-Elegant’ look where you want the repair to be subtle but the construction to be rugged and reliable.
Conclusion
The $100 Savings: Why Mending Matters
By mastering these three simple mending techniques, you aren’t just fixing a pair of pants; you are reclaiming your household budget. If you mend five pairs of sweatpants a year instead of replacing them, you’ve easily saved over $100. More importantly, you are teaching your children a vital lesson in resourcefulness and stewardship. In a world of fast fashion and disposable goods, a hand-patched pair of pants is a statement of care and quality. So, the next time you see a hole, don’t reach for the trash can—reach for your needle. You’ve got this, and those pants have many more miles of playground adventures left in them. Stay crafty, stay frugal, and keep mending!

Makenzie is the founder and lead writer at MoneyHackTips.com — a personal finance blog dedicated to delivering street-smart financial wisdom for real people on real budgets. With 300+ published articles covering everything from debt management to investing fundamentals, Makenzie’s mission is to make every dollar work harder. When not writing about money hacks, Makenzie is testing frugal living strategies, optimizing side hustles, and helping readers build financial freedom from scratch.