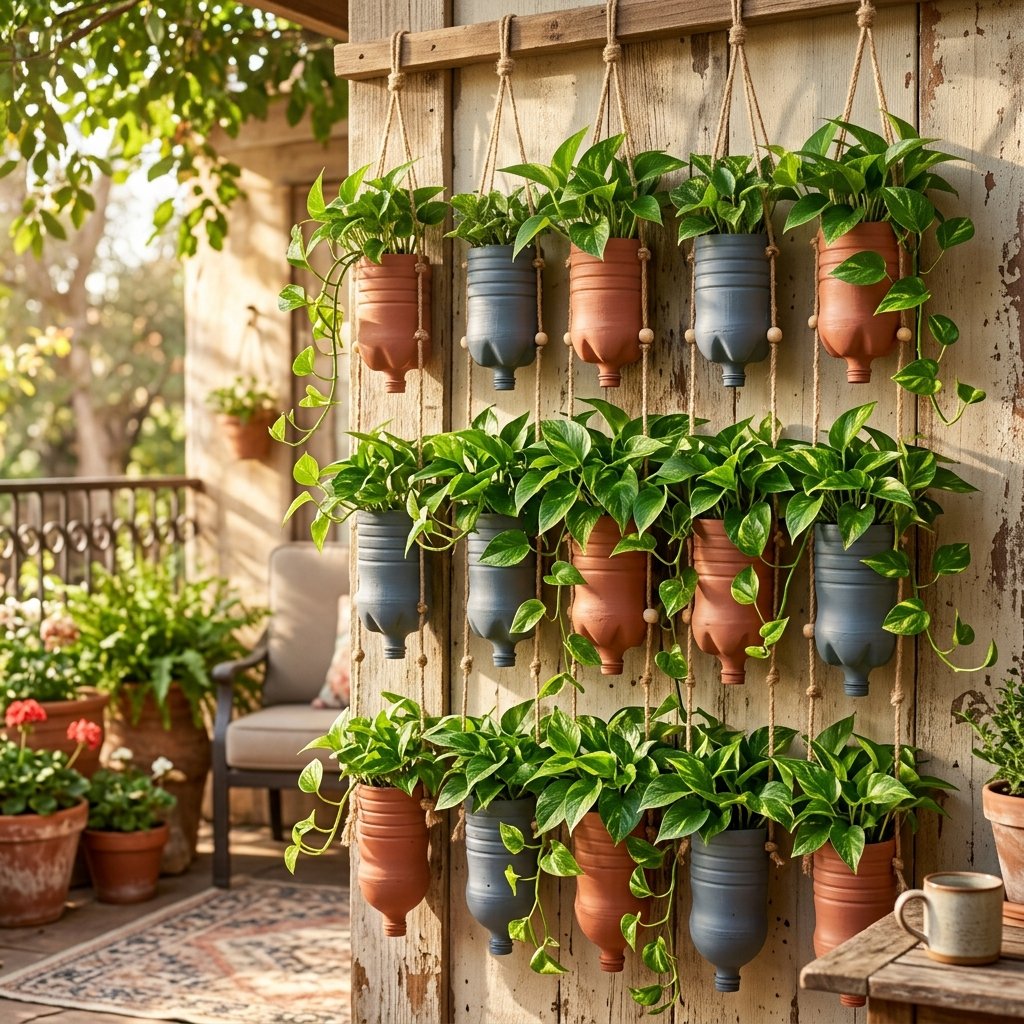

Before you toss that empty two-liter into the blue bin, hold on a second. As frugal DIYers and relentless upcyclers, we know that true creativity isn’t about buying the most expensive craft supplies; it’s about looking at everyday trash and seeing untapped potential. Single-use plastics are a global headache, but in the hands of a resourceful crafter, a simple soda bottle is a blank canvas. Today, we are going to transform that flimsy, discarded plastic into a rugged, elegant, and completely functional hanging planter that looks like it came straight out of a high-end boutique catalog.
Why spend $20 to $40 on a ceramic hanging pot when you can build a custom vertical garden for pennies? This project is the ultimate trash-to-treasure hack. It is perfect for handy parents wanting to teach their kids about sustainability, budget-conscious decorators looking to green up their living space, and anyone who appreciates the rugged satisfaction of making something beautiful out of absolutely nothing. Grab your utility knife, some sturdy twine, and let’s get crafting.
The Anatomy of a Zero-Budget Planter: Materials & Cost Breakdown
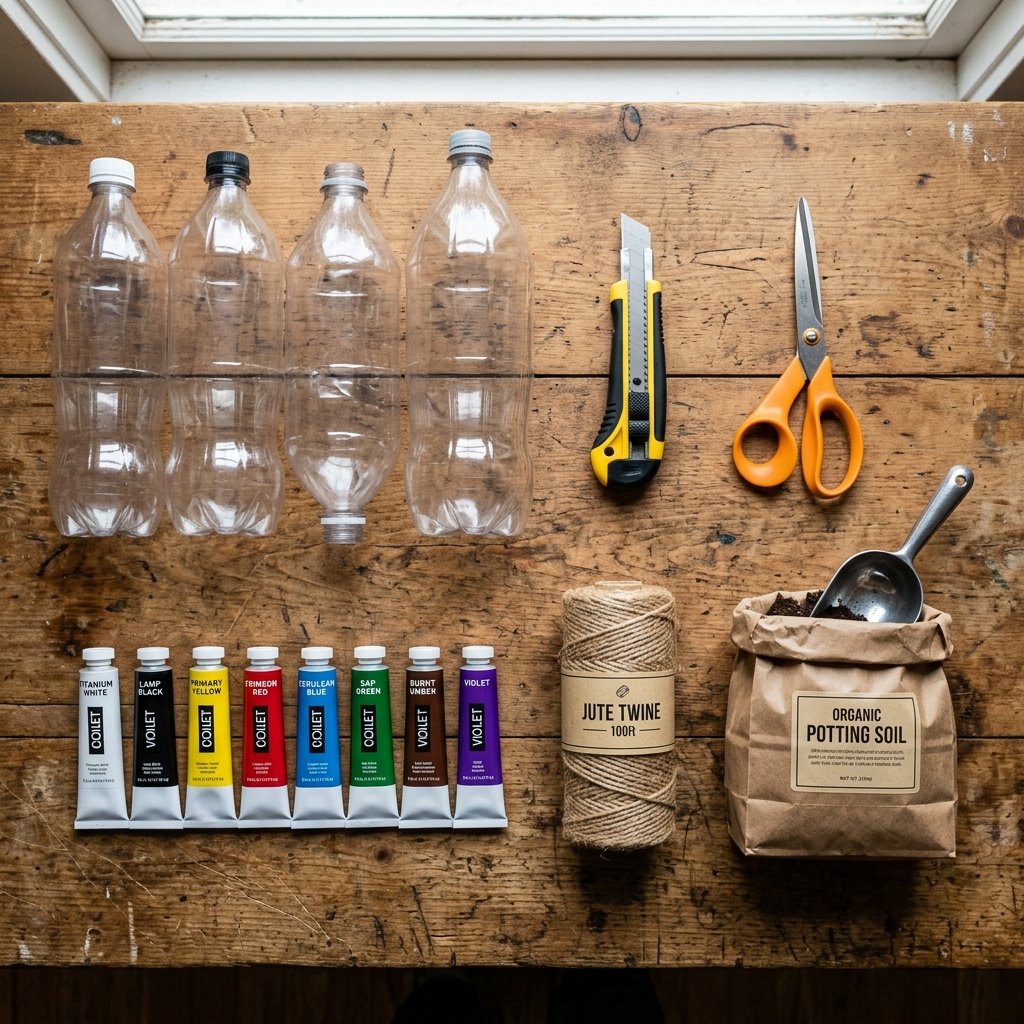
The beauty of this project lies in its extreme frugality. You likely already have every single item needed for this build sitting in your garage, kitchen junk drawer, or craft bin. We are bypassing the garden center entirely and heading straight to the recycling bin. To truly appreciate the savings, let’s look at the financial breakdown of our resourceful approach versus a standard retail purchase.
What You Will Need:
- Empty Plastic Soda Bottles: 1-liter, 2-liter, or even individual 20oz bottles work perfectly. Ensure they are thoroughly rinsed.
- Heavy-Duty Scissors or a Utility Knife: For clean, precise cuts.
- Jute Twine, Paracord, or Macrame Cord: For our rugged hanging mechanism.
- A Hole Punch or Soldering Iron: To create suspension and drainage holes.
- Acrylic Paint & Baking Soda (Optional): To create a faux-terracotta or stone finish.
- Potting Soil & Trailing Plants: Pothos, Ivy, or Spider plants are ideal.
| Planter Component | Store-Bought Cost (Est.) | Our Frugal DIY Cost |
|---|---|---|
| Hanging Pot / Vessel | $15.00 – $30.00 | $0.00 (Upcycled Bottle) |
| Hanging Hardware / Macrame | $10.00 – $20.00 | $0.50 (Scrap Twine) |
| Decorative Finish | $5.00 (Pre-glazed) | $0.25 (Scrap Paint) |
| Drainage System | Included (Usually Poor) | $0.00 (Custom Punched) |
| Total Estimated Cost | $30.00 – $55.00 | $0.75 – $1.00 |
As you can see, the savings are astronomical. By utilizing what we already have, we are not just saving money; we are actively reducing waste and flexing our resourceful muscles.
Prepping Your Plastic Canvas: Cleaning and Cutting
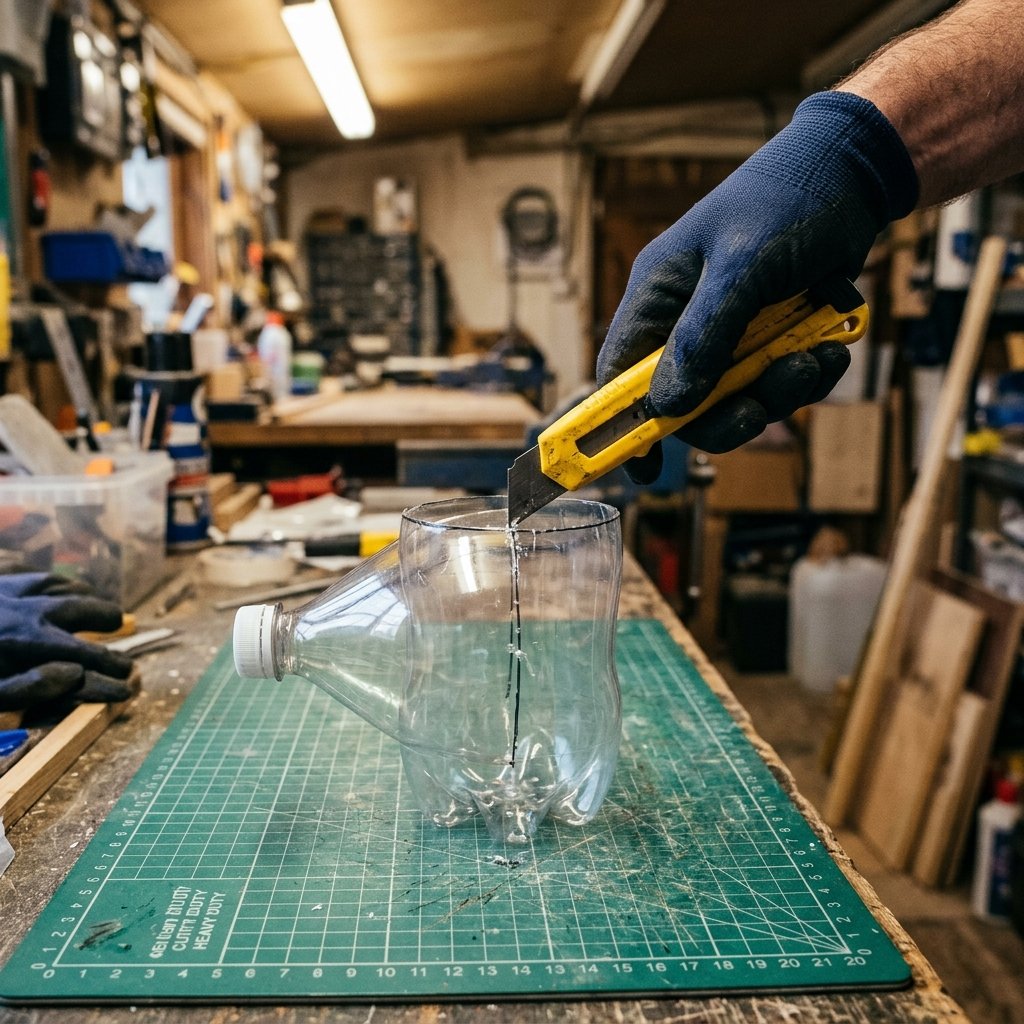
Preparation is what separates a messy craft project from a masterpiece. The first step is to strip the bottle of its former identity. Remove the label completely. If you are left with stubborn, sticky adhesive residue, do not waste money on expensive chemical solvents. Simply mix equal parts baking soda and cooking oil, rub it onto the sticky spot, let it sit for 5 minutes, and wipe it away with warm soapy water. It is a brilliant, budget-friendly trick that works every time.
Executing the Perfect Cut
Once your bottle is clean and dry, it is time to shape our planter. You can choose to use the bottom half for a traditional bowl shape, or invert the top half (keeping the cap on) for a sleek, funnel-like aesthetic.
Safety First: Plastic can be slippery, and utility knives are unforgiving. Always cut away from your body, use a fresh, sharp blade to prevent slipping, and consider wearing work gloves if you are doing a large batch.
- Mark Your Line: Wrap a piece of masking tape around the circumference of the bottle where you want to make your cut. This guarantees a perfectly straight, level edge.
- The Initial Puncture: Use your utility knife to carefully pierce the plastic right on the edge of the tape line.
- Scissor Finish: Insert your heavy-duty scissors into the puncture hole and smoothly cut around the bottle following the tape line. Scissors provide much better control for the continuous cut than a knife.
- Smooth the Edges: If the cut edge feels sharp, lightly run a piece of fine-grit sandpaper over the rim to smooth it out.
The Frugal Gardener’s Secret: Proper Drainage

One of the biggest mistakes novice indoor gardeners make is ignoring drainage. Store-bought hanging planters often lack drainage holes, leading to root rot and dead plants. As practical upcyclers, we engineer our planters for optimal plant health from the ground up.
Creating the Drainage Holes
If you are using the bottom half of the bottle, you must create drainage. The easiest method is using a standard office hole punch around the very bottom edge. However, for thicker plastic, a heated tool is your best friend.
- The Hot Nail Hack: Grip a large nail with a pair of locking pliers. Heat the tip of the nail over a candle or gas stove for about 15 seconds. Gently press the hot nail through the bottom of the plastic bottle. It will melt perfectly round, smooth drainage holes instantly. Repeat this 4 to 5 times around the base.
- The Cap Reservoir: If you are using the inverted top half of the bottle, simply drill a small hole through the plastic screw cap. Fill the cap with a small piece of sponge or gravel before screwing it back on. This allows water to slowly drip out without losing your soil.
Always add a 1-inch layer of small pebbles, broken terracotta shards, or even crushed aluminum cans at the bottom of your planter before adding soil. This keeps the roots elevated above any sitting water and ensures your plants thrive.
From Trash to High-End Decor: The Baking Soda Paint Trick
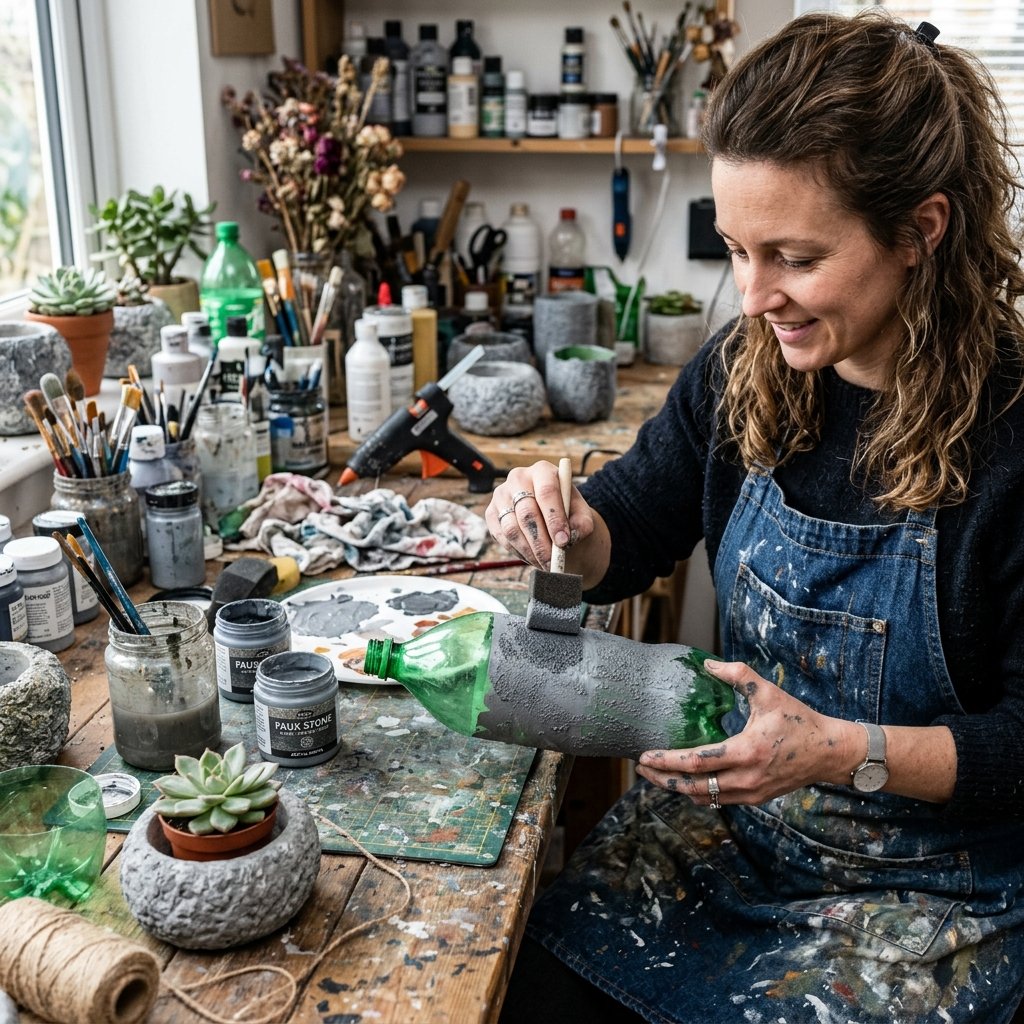
Nobody wants a hanging planter that actually looks like a Sprite bottle. This is where we elevate our craft. To give your smooth plastic bottle the heavy, expensive look of aged terracotta, concrete, or matte ceramic, we are going to use the legendary baking soda paint hack.
The Faux-Stone Recipe
The Golden Ratio: Mix 1 cup of standard acrylic craft paint (or leftover interior latex wall paint) with 1/4 cup of baking soda. Stir thoroughly until the mixture resembles thick pancake batter or frosting.
This textured mixture will adhere beautifully to the plastic, hiding any ridges, manufacturing dimples, or imperfections.
- Prime the Surface: Lightly scuff the outside of your plastic bottle with sandpaper so the paint has something to grip.
- Apply the First Coat: Using a cheap sponge brush or a stiff bristle brush, dab the textured paint onto the bottle. Do not use smooth strokes; stipple it on to create a bumpy, stone-like texture.
- Dry and Repeat: Allow the first coat to dry for at least 1 hour. Apply a second coat for maximum opacity and texture.
- Weathering (Optional): Once dry, lightly dry-brush a darker brown or grey paint over the raised bumps to create an antiqued, rugged, weathered look.
The result is a planter that feels substantial and looks like it costs $40 at a trendy home goods store, all for pennies.
The Hanging Mechanism: Rugged Knots and Twine
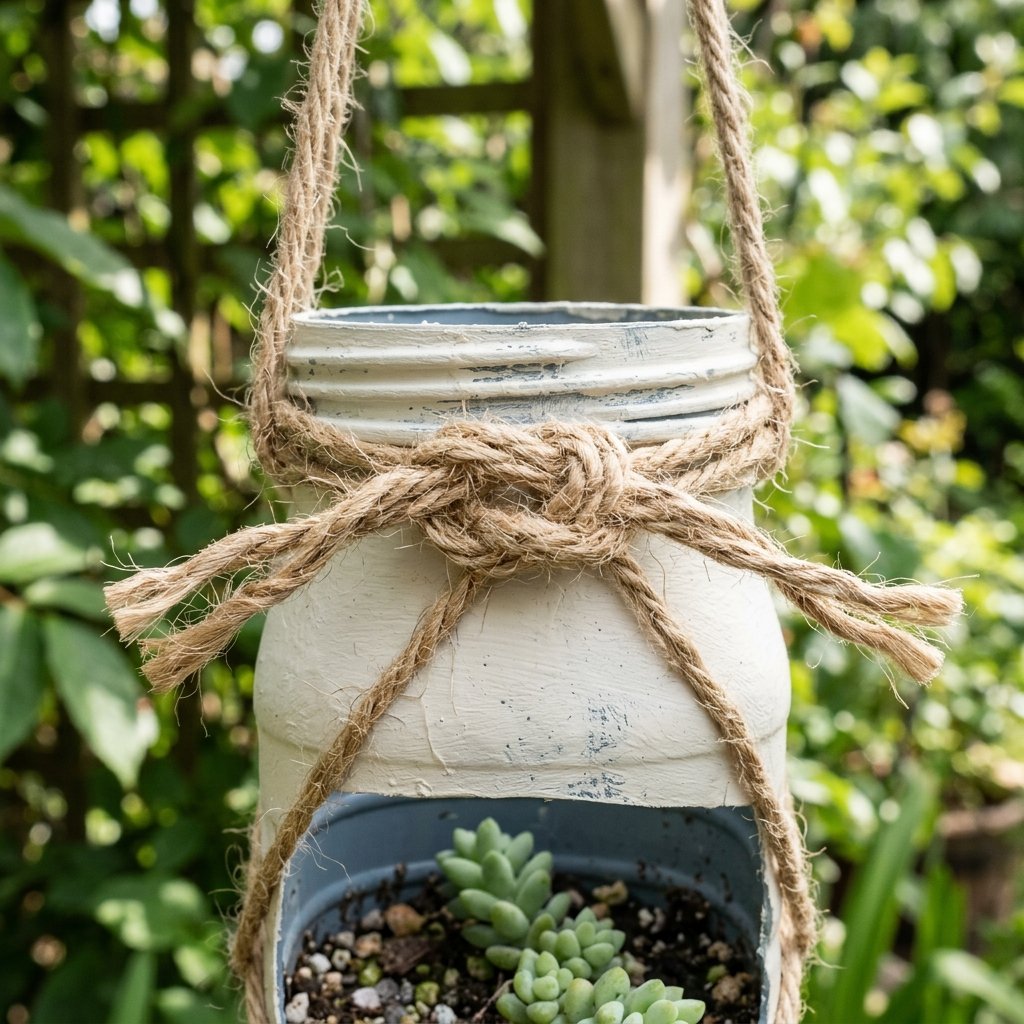
Now that we have a beautiful vessel, we need to get it airborne. You don’t need to buy expensive macrame hangers; a simple spool of jute twine, sisal rope, or 550 paracord will do the trick perfectly.
The Three-Point Suspension System
For a stable, balanced hang, a three-point system is mathematically the most secure.
- Punch the Anchor Holes: Using your hole punch or the hot nail trick, create three holes evenly spaced around the top rim of your painted bottle, about 1/2 inch down from the edge.
- Cut Your Cord: Cut three lengths of twine, each about 36 inches long (adjust based on how low you want the planter to hang).
- Secure the Knots: Thread one end of each twine piece through a hole from the outside in. Tie a sturdy double overhand knot on the inside of the bottle. Pull tight to ensure the knot sits flush against the plastic.
- The Gathering Knot: Bring the three loose ends of the twine together at the top. Make sure the planter is hanging perfectly level, then tie all three strands together in a heavy-duty loop knot.
Pro Upcycler Tip: If you want a more masculine, industrial look, swap the jute twine for thin steel cable and use small aluminum crimping sleeves to secure the loops. It adds a brilliant modern edge to the faux-concrete painted plastic.
Selecting the Best Plants for Your Upcycled Oasis
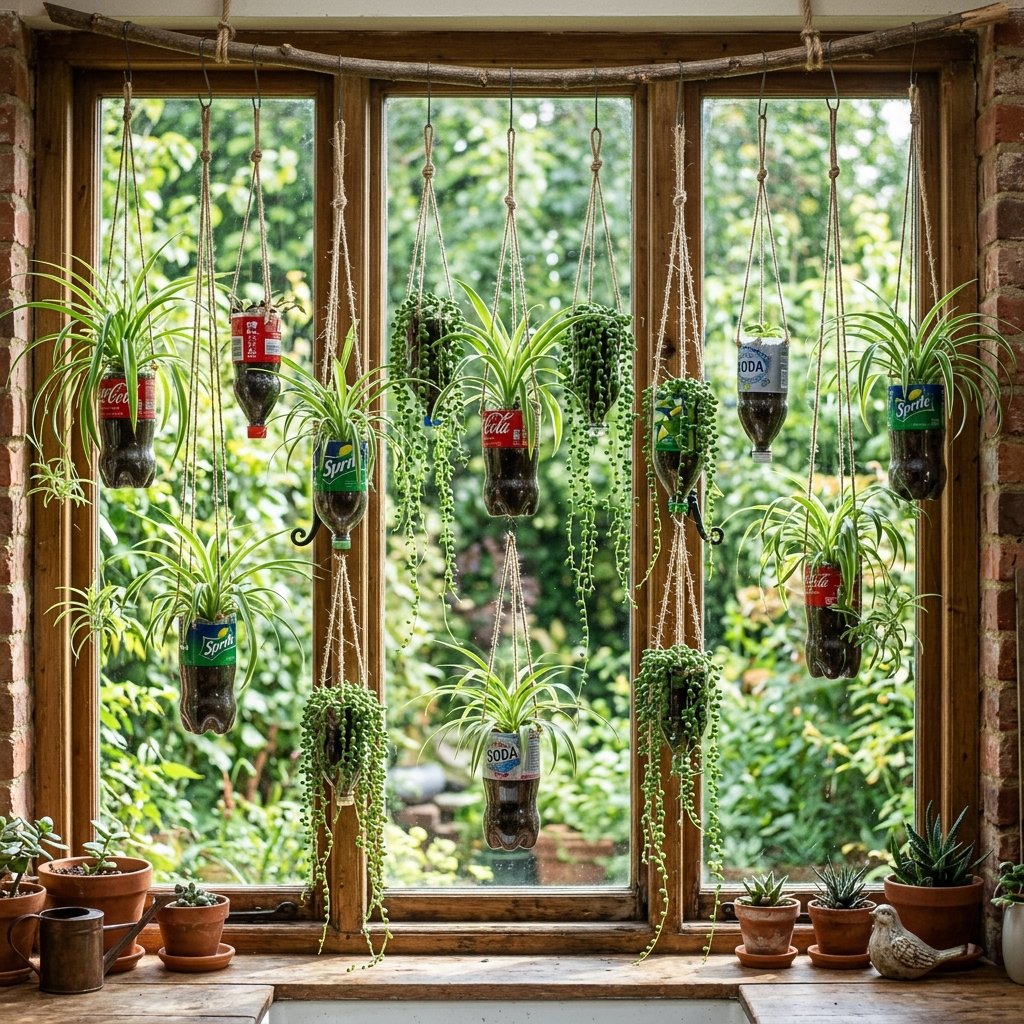
Your beautiful, zero-budget planters are ready. The final step is bringing them to life. Hanging planters look best when filled with trailing or cascading plants that spill over the edges, hiding the suspension cords and creating a lush, jungle vibe.
Top Plant Choices for Small Hanging Planters
- Golden Pothos: The ultimate survivor plant. It grows quickly, requires very little light, and is incredibly forgiving if you forget to water it. Perfect for the low-maintenance gardener.
- Spider Plants: These produce lovely, arching leaves and eventually sprout “babies” that dangle down like little green chandeliers.
- String of Pearls: For a chic, modern look, this succulent is unbeatable. Just ensure your soil is very well-draining (add extra sand to your mix) as they hate wet feet.
- English Ivy: Classic, elegant, and rugged. Ivy adds a touch of old-world charm that pairs beautifully with a faux-stone painted bottle.
Fill your planters with a high-quality potting mix, leaving about 1 inch of space at the top so water doesn’t spill over the sides when you water them. Hang your new creations in a bright window, step back, and admire your handiwork.
Conclusion
There is a profound, rugged satisfaction in taking something destined for the landfill and turning it into a functional piece of art. By upcycling soda bottles into beautiful hanging planters, you have not only saved money and reduced plastic waste, but you’ve also proven that true style relies on creativity, not a fat wallet. This project is a testament to the frugal DIYer’s mindset: look closer, think smarter, and build it yourself. Whether you are crafting a thoughtful, zero-budget gift for a friend or completely revamping your porch decor, these planters are a brilliant victory. Now, go raid your recycling bin and start building your upcycled oasis!

Makenzie is the founder and lead writer at MoneyHackTips.com — a personal finance blog dedicated to delivering street-smart financial wisdom for real people on real budgets. With 300+ published articles covering everything from debt management to investing fundamentals, Makenzie’s mission is to make every dollar work harder. When not writing about money hacks, Makenzie is testing frugal living strategies, optimizing side hustles, and helping readers build financial freedom from scratch.