
We have all been there: the rain is relentlessly drumming against the windows, the kids are bouncing off the walls, and the toy bin has completely lost its magic. As a frugal parent and resourceful upcycler, you know that the answer to afternoon boredom does not lie in an expensive trip to the toy store. It lies waiting in the recycling bin. That pile of corrugated cardboard shipping boxes from your latest online order is not trash—it is the raw material for an entire universe.
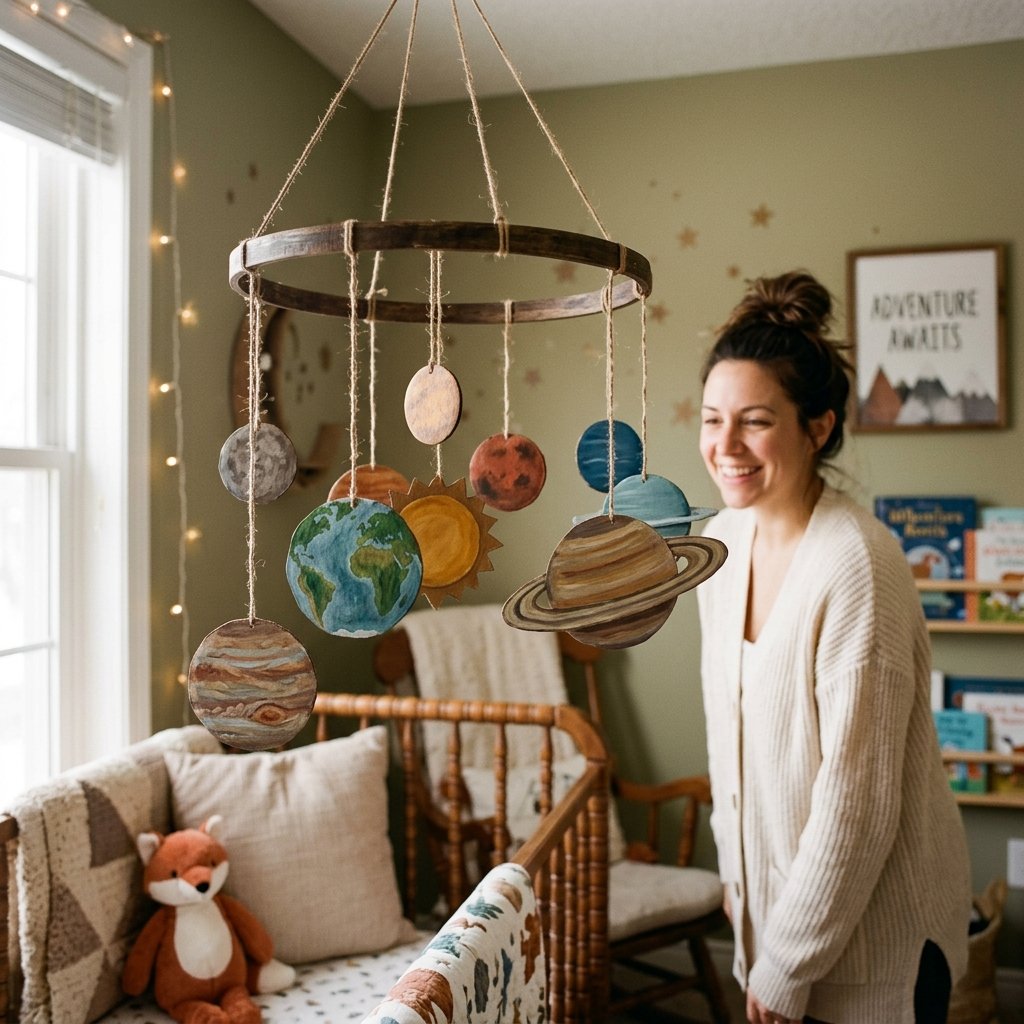
Welcome to the ultimate budget-savvy, crafty-expert solution to a rainy afternoon: the DIY Cardboard Solar System Mobile. This project is the perfect intersection of practical craftsmanship, zero-waste upcycling, and Montessori-inspired education. By utilizing materials you already have lying around the house, you can build a rugged, beautiful, and interactive piece of room decor that will spark your child’s curiosity about the cosmos for $0 out of pocket.
Building this mobile is more than just a craft; it is an exercise in resourceful engineering. We will be cutting, painting, and knot-tying our way to a masterpiece, teaching our kids that with a little elbow grease and imagination, you can build the stars. Roll up your sleeves, grab your trusty utility knife, and let us get to work.
The Zero-Budget Cosmos: Why Cardboard is the Ultimate Crafting Medium
When it comes to frugal DIYing, cardboard is the undisputed king of the workshop. It is structurally sound, incredibly forgiving, easy to manipulate, and best of all, it is 100% free. In a world where educational wooden toys can cost upwards of $50 to $100, mastering the art of cardboard upcycling is a superpower for handy moms and dads.
Cardboard allows for a rugged, textured aesthetic that looks surprisingly high-end when treated correctly. Unlike flimsy paper, corrugated cardboard holds paint beautifully without warping excessively, and it provides enough weight to keep your mobile balanced and spinning smoothly in a gentle breeze.
The Frugal Breakdown: DIY vs. Store-Bought
Let us look at the hard numbers. Why spend your hard-earned cash on a mass-produced plastic mobile when you can craft a custom, eco-friendly version for pennies?
| Item / Material | Store-Bought Educational Mobile | Our Upcycled DIY Mobile |
|---|---|---|
| Base Structure | Plastic or thin metal rings | Scrap cardboard or an old embroidery hoop |
| Planets | Molded plastic or foam | Upcycled corrugated shipping boxes |
| Suspension | Nylon fishing line | Leftover natural jute twine or heavy thread |
| Aesthetic | Generic, neon colors | Custom, rustic, hand-painted charm |
| Total Estimated Cost | $45.00 – $85.00 | $0.00 (Using stash materials) |
The Upcycler’s Mantra: Never underestimate the potential of what others throw away. A box is just a box until you give it a mission. Today, its mission is the Milky Way.
Scavenging Your Stash: Materials and Tools for the Mission
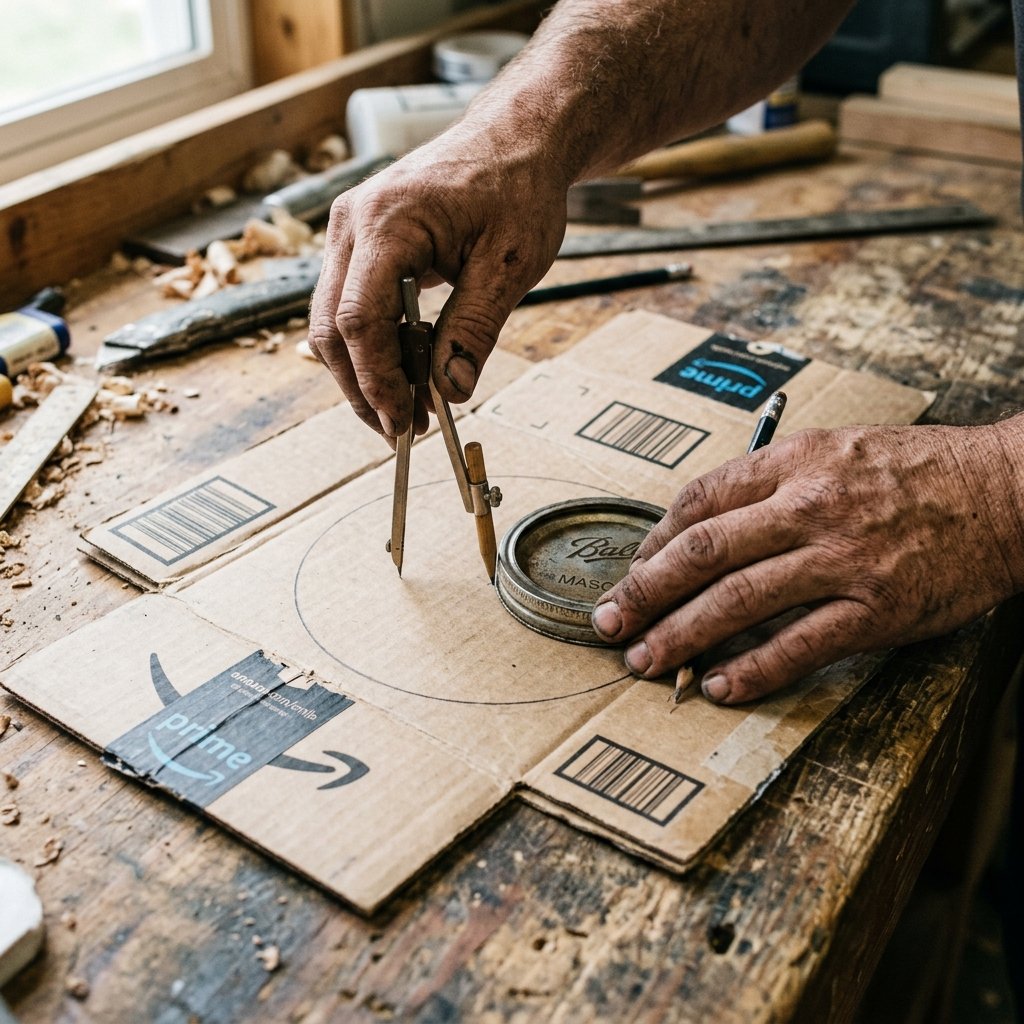
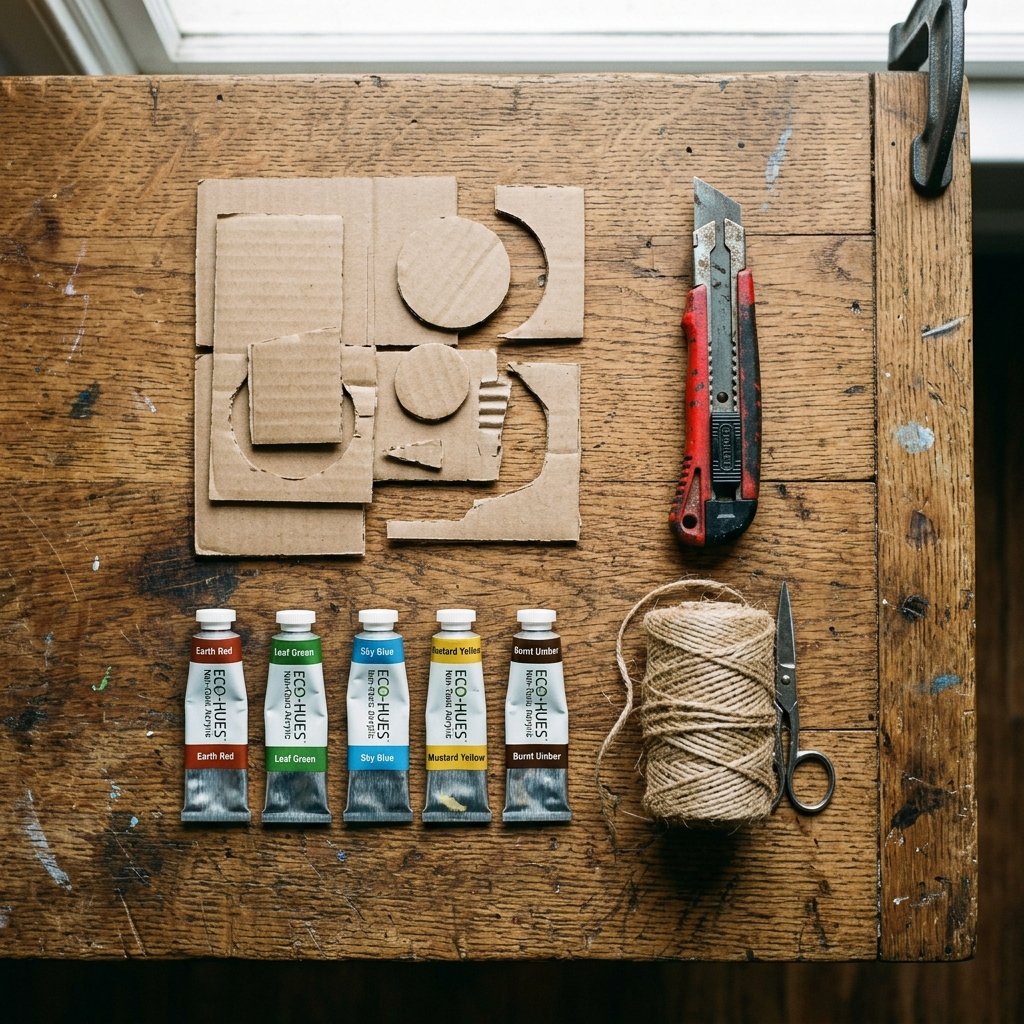
Before we launch into construction, we need to gather our payload. The beauty of this project is that it relies entirely on your existing crafting stash. You do not need a fancy workshop—just a clear kitchen table and a few basic tools. Here is what you need to hunt down in your garage, craft closet, or recycling bin.
The Materials Checklist:
- Corrugated Cardboard: Medium thickness is best. Save the heavy-duty appliance boxes for playhouses; standard shipping boxes are perfect for clean cuts.
- Suspension Base: You can cut a large ring out of heavy cardboard, or upcycle an old wooden embroidery hoop or a straight wooden dowel.
- Natural Twine or Heavy Thread: Jute twine offers a fantastic, rugged, masculine-elegant look, while heavy-duty sewing thread offers a floating, invisible illusion.
- Non-Toxic Acrylic Paints: Dig into your craft stash for white, black, red, yellow, and blue. We will mix all our planetary shades from these basics.
The Tool Kit:
- A Sharp Utility Knife: Essential for clean edges. A dull blade will tear the cardboard and ruin the rustic aesthetic.
- A Self-Healing Cutting Mat: Or a piece of scrap wood to protect your table.
- Circular Templates: Resourcefulness is key here. Grab bowls, mason jar lids, coffee mugs, and coins to trace your planets.
- A Heavy-Duty Hole Punch or Awl: For threading the twine.
Safety First: Utility knives are no joke. Always ensure your blade is locked and sharp. Keep your non-cutting hand well away from the path of the blade, and handle all cutting steps yourself—leave the painting and sorting to the little ones!
Designing the Galaxy: Cutting and Prepping the Planets
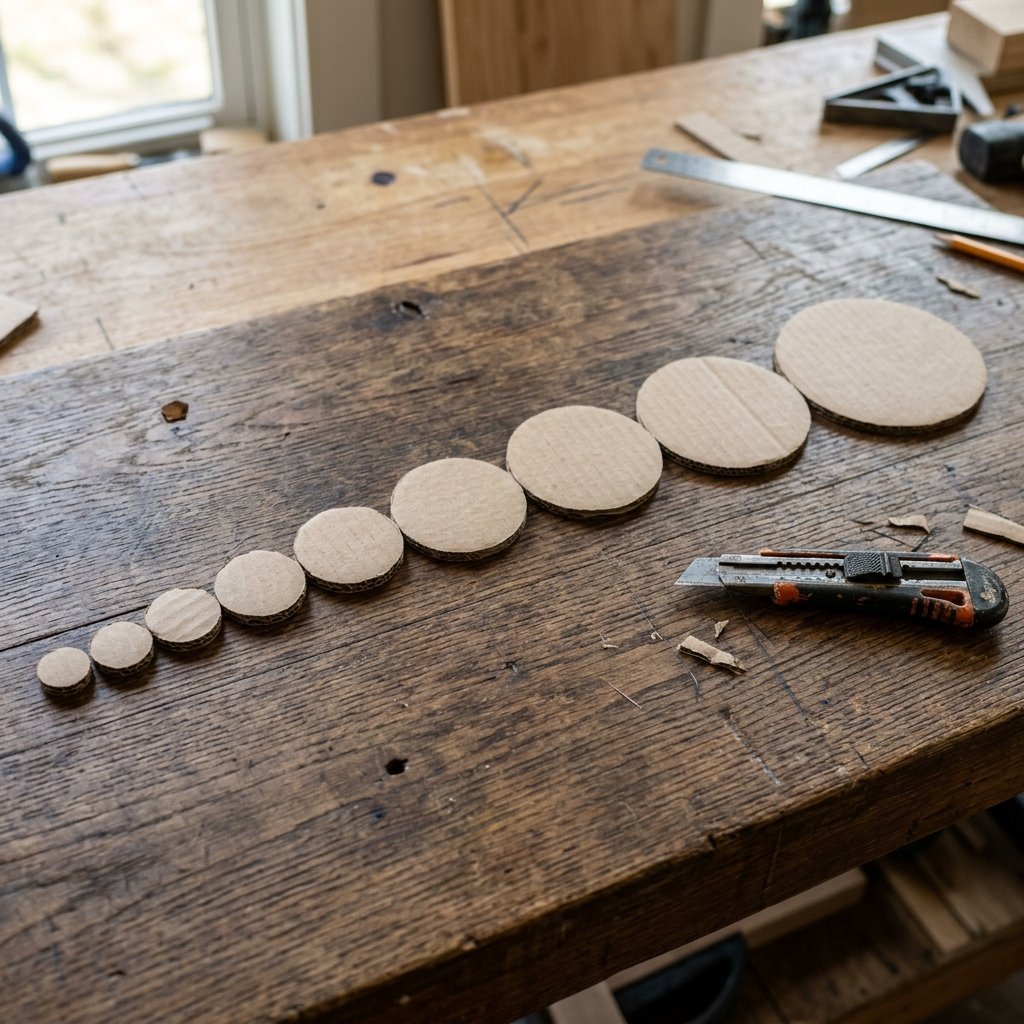
Now comes the engineering phase. To make this a true Montessori-inspired project, we want to focus on relative sizing. While we cannot make a perfectly to-scale solar system (the sun would be the size of your house!), we can create a clear visual distinction between the gas giants and the rocky terrestrial planets.
Step-by-Step Planetary Construction:
- Trace Your Orbits: Lay your cardboard flat. Use your scavenged templates (bowls, cups, lids) to trace nine circles (do not forget the Sun!). Make Jupiter and Saturn your largest circles (about 5 to 6 inches in diameter), and Mercury and Mars your smallest (about 1 to 1.5 inches).
- The Precision Cut: Place your cardboard on your cutting mat. Using your utility knife, carefully score the traced line first, then go back over it with deeper pressure to cut all the way through. This two-pass method prevents the corrugated core from crushing.
- Crafting Saturn’s Rings: For Saturn, cut a larger oval, then carefully cut out the center to create a ring. You can attach the ring to the planet by cutting two small slits on opposite sides of the planet circle and sliding the ring into place. Friction will hold it beautifully!
- Punching the Suspension Holes: Take your awl or a thick needle and punch a small hole at the top edge of each planet. Do this before painting so you do not ruin your finished artwork.
Cardboard Crafting Pro-Tip: If the edges of your cut cardboard look too rough or the corrugated holes are exposed, run a thin bead of standard white school glue along the edge and smooth it with your finger. Once dry, it creates a perfectly smooth, paintable surface!
The Art of the Universe: Painting and Texturing Your Planets
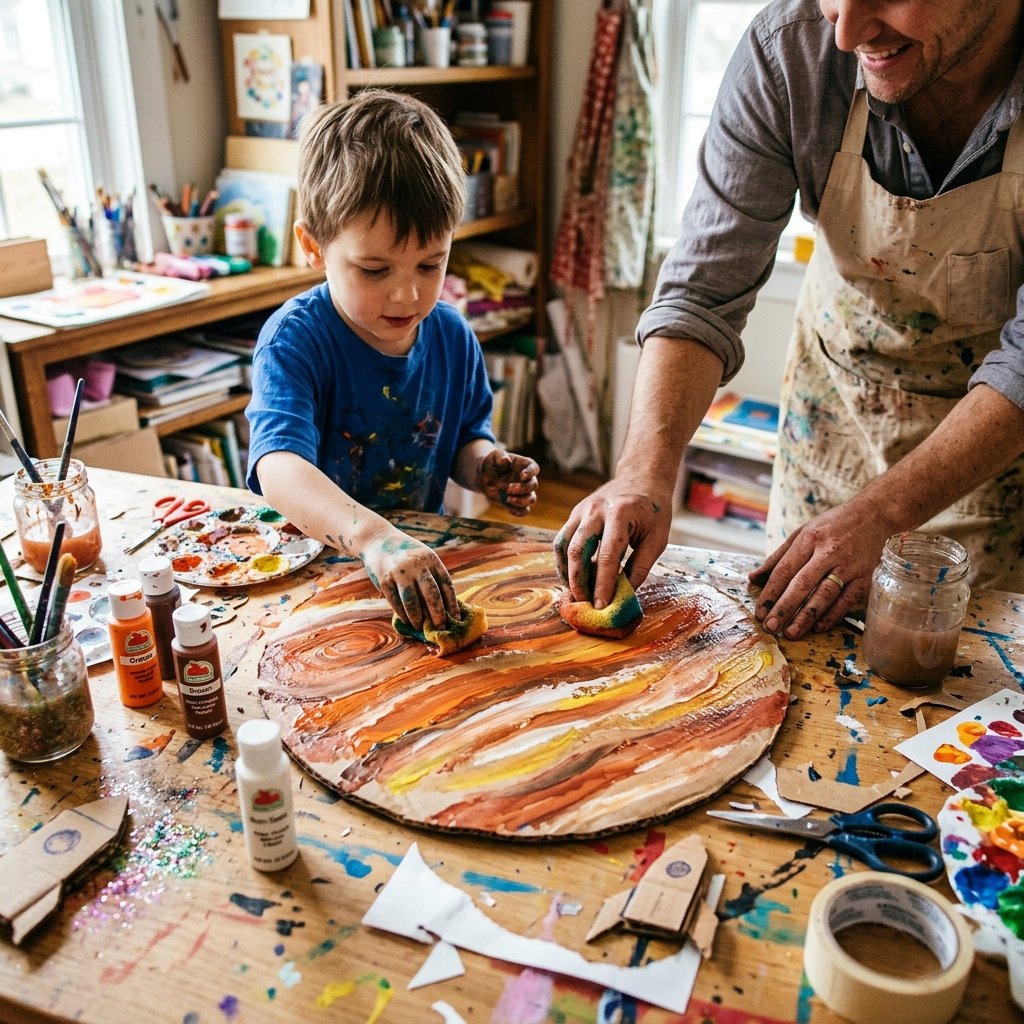
This is where the magic happens and where the kids can take the reins. Painting cardboard is incredibly satisfying. Because it is a porous material, it absorbs acrylic paint well, drying quickly and allowing for fantastic layering techniques.
Budget-Savvy Paint Mixing Guide:
You do not need to buy twenty different colors. Teach your kids the science of color mixing right at the table.
| Planet | Color Recipe & Mixing Ratio | Application Technique |
|---|---|---|
| The Sun | 3 parts Yellow, 1 part White, dash of Red | Sponge dabbing for a fiery, textured solar flare look. |
| Mercury | 1 part Black, 2 parts White | Dry brushing to create a rocky, cratered surface. |
| Venus | Yellow, White, and a tiny drop of Brown | Swirling wet paint with a toothpick for thick clouds. |
| Earth | Blue base, Green and White overlays | Finger painting! Perfect for little hands to dab continents. |
| Mars | 2 parts Red, 1 part Brown, dash of Yellow | Stippling with a stiff bristle brush for dusty terrain. |
| Jupiter | Brown, Orange, White, Red (for the spot) | Horizontal brush strokes to mimic gaseous bands. |
| Saturn | Pale Yellow and Gold/Brown | Smooth washes for the planet, contrasting rings. |
| Uranus & Neptune | Varying shades of Blue and White | Sponging for an icy, atmospheric depth. |
Encourage your little ones to get messy. Use crumbled up paper towels, old sponges, or even their fingers to apply the paint. The more texture, the better. Let the planets dry completely—usually about 20 to 30 minutes for thin acrylic layers.
Engineering the Mobile: Assembly and Suspension Mechanics
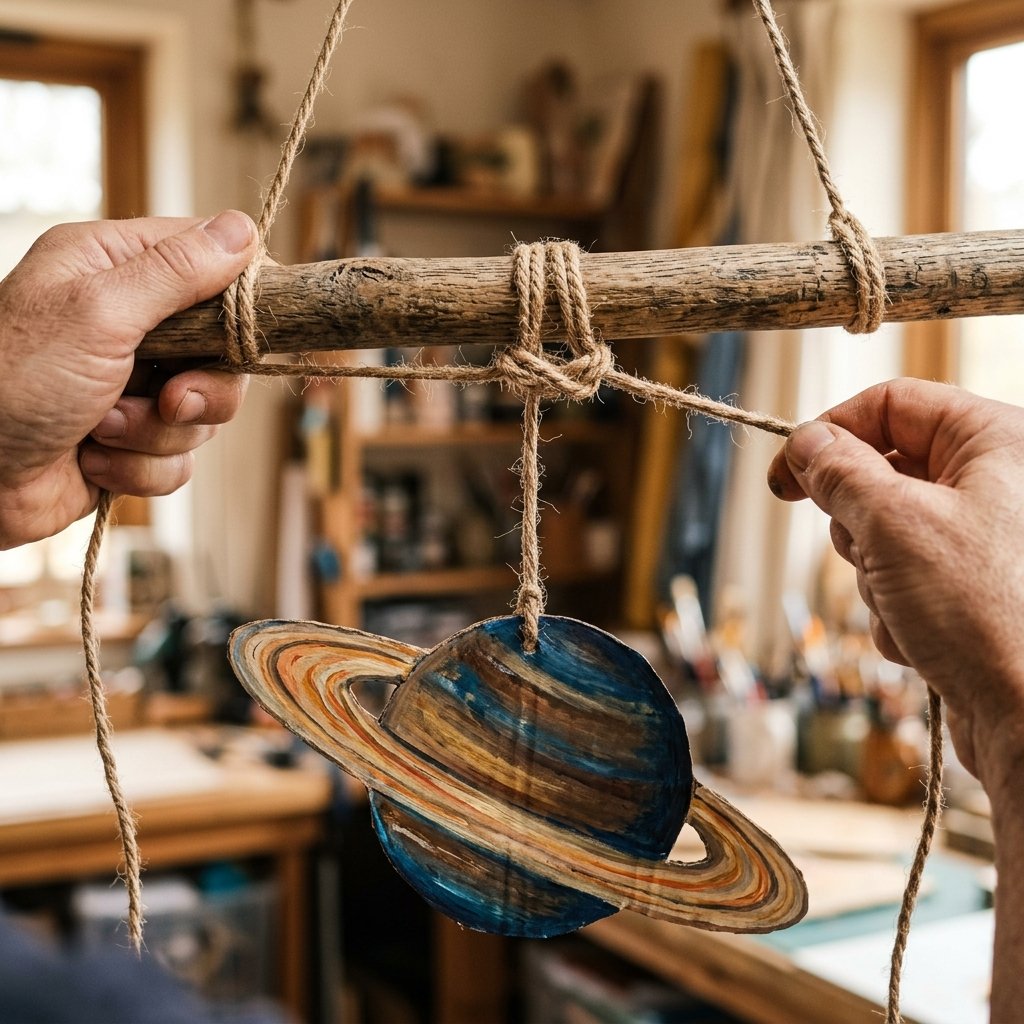
With our planets painted and dried, it is time to assemble the mobile. This requires a bit of practical knot-tying and balancing—a great opportunity to teach older kids about weight distribution and physics.
Step 1: Prepping the Frame
If you are using an upcycled wooden embroidery hoop (the inner ring works best), you have a perfect circular frame. If you are using cardboard, cut two long strips (about 1.5 inches wide and 18 inches long). Cut a slit halfway through the middle of each strip and slide them together to form an ‘X’ shape. Secure the joint with a dab of hot glue.
Step 2: Tying the Knots
Cut varying lengths of your natural jute twine. You want the planets to hang at different heights to create a dynamic, 3D spatial effect.
- Thread the twine through the pre-punched hole in each planet.
- Secure it using a simple square knot or, for a more rugged and reliable hold, a bowline knot. (A great skill to pass down!)
- Leave at least 12 to 18 inches of tail on the twine for tying to the frame.
Step 3: Finding the Balance
Tie the sun directly to the center of your frame so it hangs the lowest. Then, begin tying the planets around the perimeter. Do not tie your knots tight right away! Use a simple slipknot first. Hold the mobile up by its center hanging string to check the balance. If it leans too far to one side, slide the heavier planets (like Jupiter) closer to the center, and lighter planets further out. Once perfectly balanced, tighten the knots and trim the excess twine.
Montessori Learning in Action: Expanding the Play
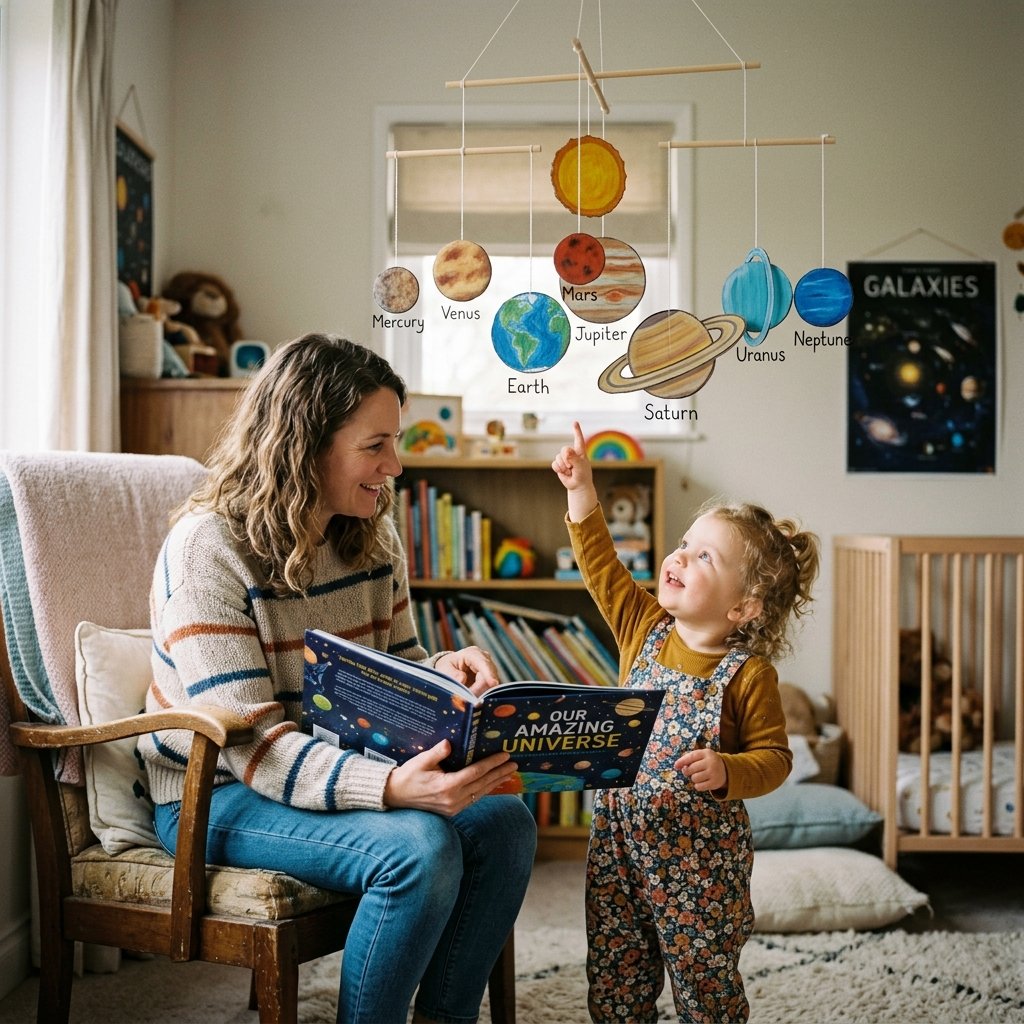
You have just built a stunning piece of nursery or playroom decor for absolutely nothing, but the value of this project extends far beyond aesthetics. In the Montessori philosophy, children learn best through tangible, hands-on experiences. This mobile is a gateway to endless educational discussions.
Interactive Learning Prompts:
- Size Sequencing: Before hanging the mobile, have your child lay the planets out on the floor from smallest to largest. Discuss why Jupiter is so big and Mercury is so small.
- Distance and Order: Teach them the classic mnemonic, “My Very Educated Mother Just Served Us Noodles” to remember the order of the planets from the sun.
- Texture and Sensory Play: Because we used sponges and dry-brushing techniques, the cardboard planets have distinct textures. Blindfold your child and see if they can guess which planet they are touching based on size and texture.
The Frugal Parent’s Promise: The most valuable things we give our children are not bought in a store; they are built at the kitchen table. Time, patience, and creativity are the ultimate currencies.
Hang the mobile securely from a ceiling hook using a sturdy piece of twine. Place a cozy rug underneath it, grab some library books about space, and watch as your child’s imagination takes flight on a rainy afternoon. You have successfully turned a pile of shipping boxes into a galaxy of possibilities.
Conclusion
Tackling a rainy day does not require a wallet full of cash or a trip to the nearest big-box store. By tapping into your resourceful spirit and utilizing the humble cardboard box, you can craft a stunning, educational, and durable solar system mobile that rivals anything you could buy off the shelf. This project proves that with a sharp utility knife, some leftover paint, and a bit of knot-tying know-how, you can build incredible things.
Not only have you saved yourself $50 or more, but you have also spent quality, unplugged time with your kids, teaching them the value of upcycling and the wonders of our universe. Every time they look up at their ceiling, they will not just see planets—they will see the fun, the mess, and the magic you created together. So, save those shipping boxes, keep your utility knife sharp, and never stop building. The universe is literally in your hands!

Makenzie is the founder and lead writer at MoneyHackTips.com — a personal finance blog dedicated to delivering street-smart financial wisdom for real people on real budgets. With 300+ published articles covering everything from debt management to investing fundamentals, Makenzie’s mission is to make every dollar work harder. When not writing about money hacks, Makenzie is testing frugal living strategies, optimizing side hustles, and helping readers build financial freedom from scratch.