
The Art of the Elevated Gift
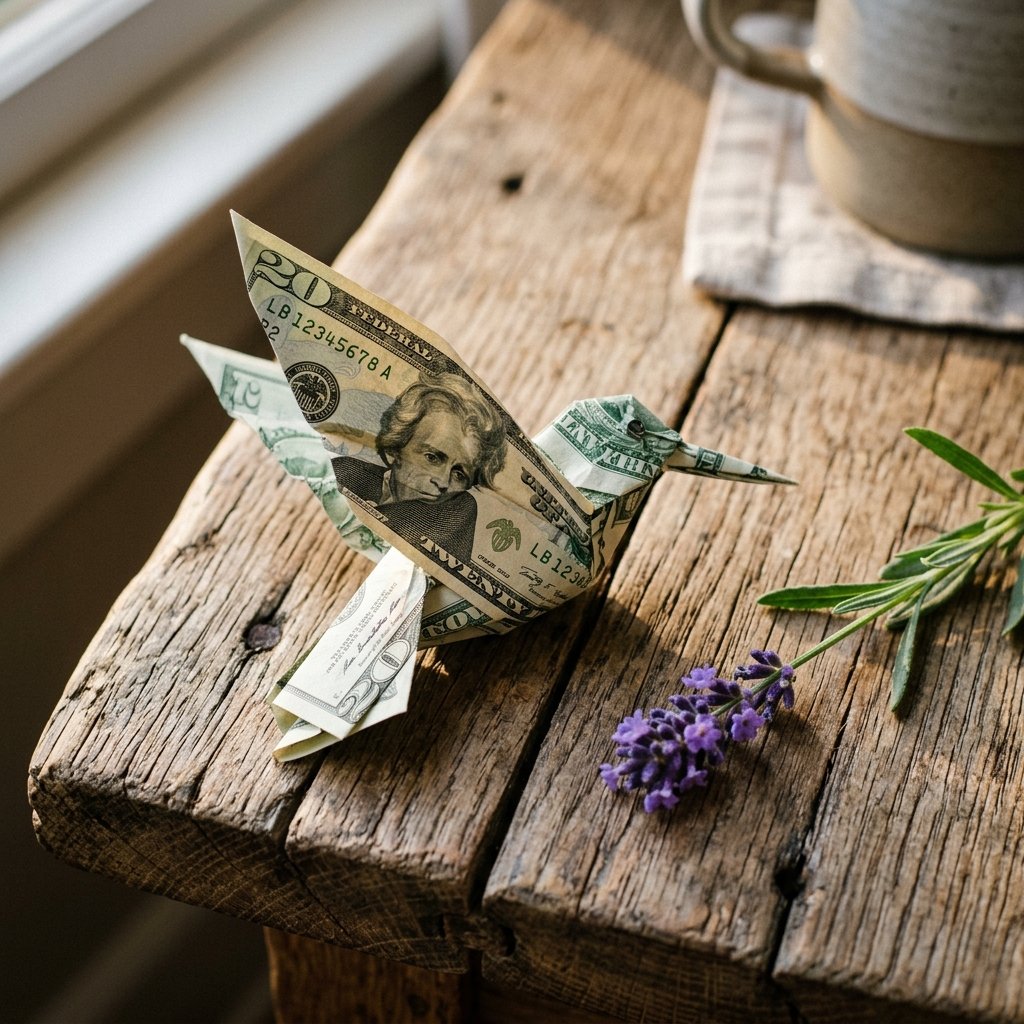
Let’s be honest: giving cash can sometimes feel a bit cold, a bit last-minute. But what if you could take that same $20 or $100 and transform it into a symbol of joy, energy, and meticulous craftsmanship? Enter the Money Origami Hummingbird. This isn’t just a gift; it’s a conversation piece. For the frugal DIYer, it’s the ultimate hack—you’re giving the exact amount of money you intended, but you’re adding the priceless value of your time and skill. Whether you are a handy dad looking for a clever graduation surprise or a budget-savvy bride wanting to thank her bridesmaids with something more creative than a gift card, this guide is your blueprint for success. We’re going to move past simple planes and boats into the realm of sophisticated, masculine-elegant paper engineering.
The Essential Kit: Prepping Your Currency for Flight
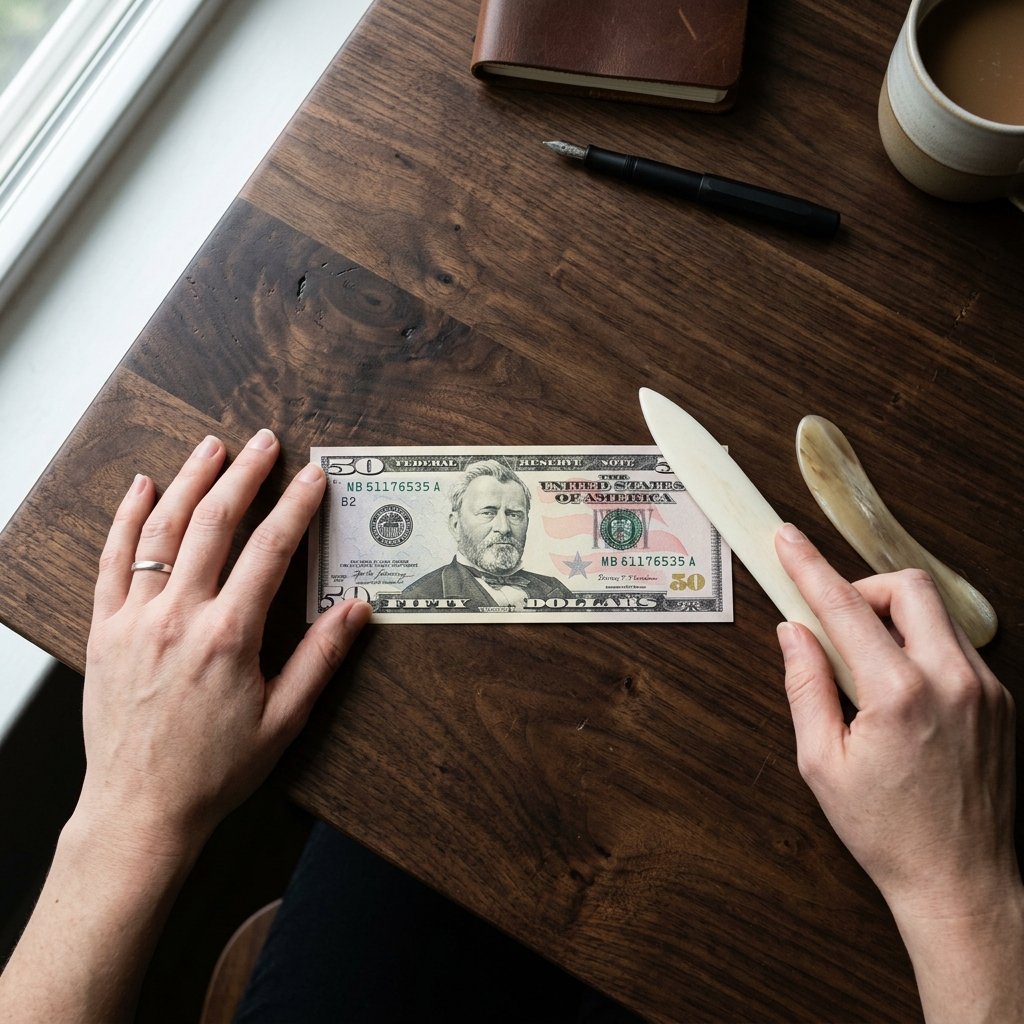
Before we make the first fold, we need to talk about the ‘raw materials.’ Not all bills are created equal when it comes to high-precision origami. To achieve those razor-sharp edges and a bird that actually holds its shape, you need to start with the right foundation. A limp, wrinkled bill from a vending machine change slot just won’t cut it. You want currency that is ‘bank-fresh’—crisp, stiff, and free of vertical tears.
Tools You Might Need
- A Crisp Bill: Any denomination works, but newer is better.
- A Bone Folder (or a Credit Card): Essential for flattening those thick multi-layer folds.
- A Flat, Hard Surface: Avoid working on your lap; a desk or kitchen table is mandatory.
- Patience: The first one will take 15 minutes; your tenth one will take 5 minutes.
Budget Mantra: Precision is free. A sharp crease costs nothing but makes a $1 bill look like a million bucks.
The Bill Denomination & Visual Impact Matrix
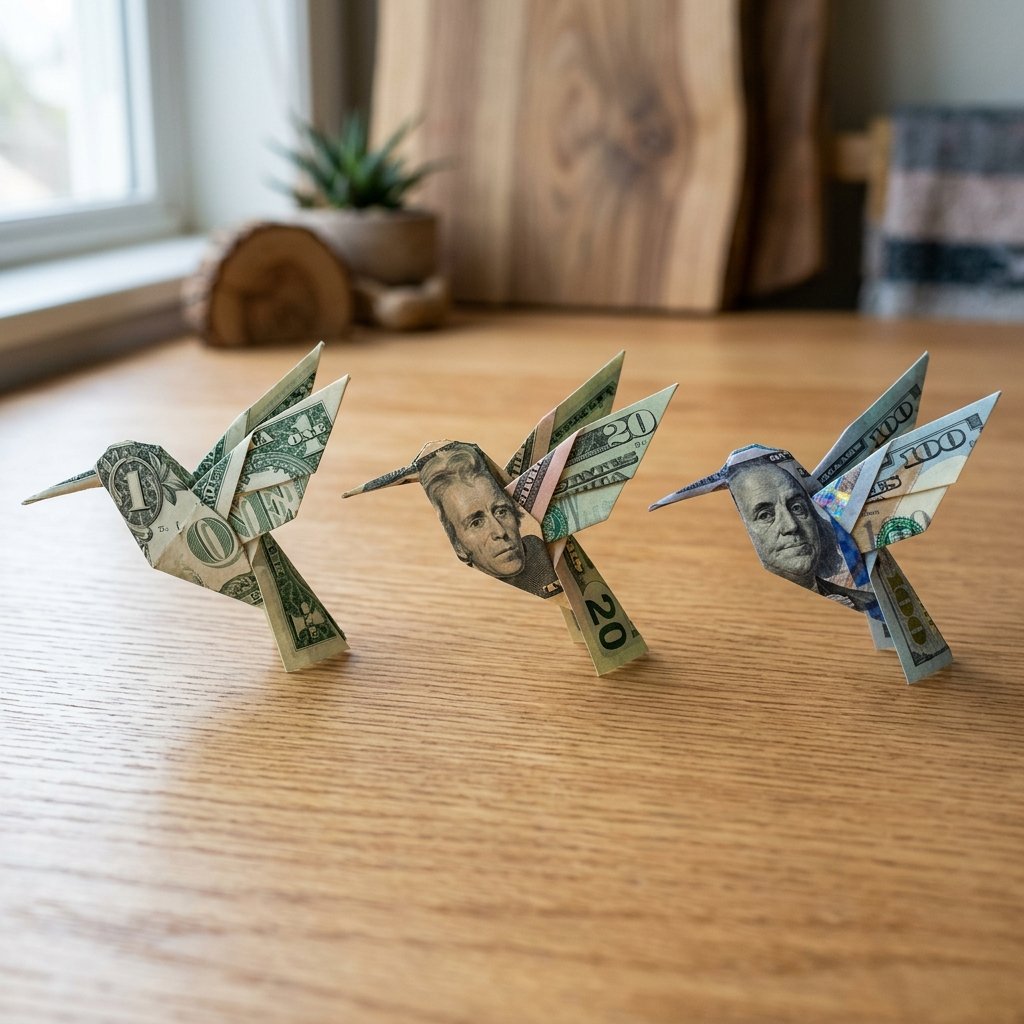
Choosing the right bill isn’t just about the value; it’s about the aesthetic. Different denominations offer different colors and patterns that can enhance the ‘feathers’ of your hummingbird. For instance, the $20 bill offers a beautiful green hue that mimics the natural iridescent feathers of a Ruby-throated Hummingbird.
| Denomination | Color Palette | Visual Impact | Best Occasion |
|---|---|---|---|
| $1 Bill | Classic Green/White | High Detail | Tips, Small Gestures |
| $5 Bill | Muted Purple/Grey | Sophisticated | Birthdays, Just Because |
| $10 Bill | Yellow/Orange Tones | Vibrant | Summer Weddings |
| $20 Bill | Deep Green/Blue | Realistic | Graduations, Father’s Day |
| $50 Bill | Pink/Purple Accents | Luxury | Major Milestones |
| $100 Bill | Teal/Blue Ribbon | Showstopper | Weddings, Grand Prizes |
The Master Class: Step-by-Step Anatomy of a Money Hummingbird
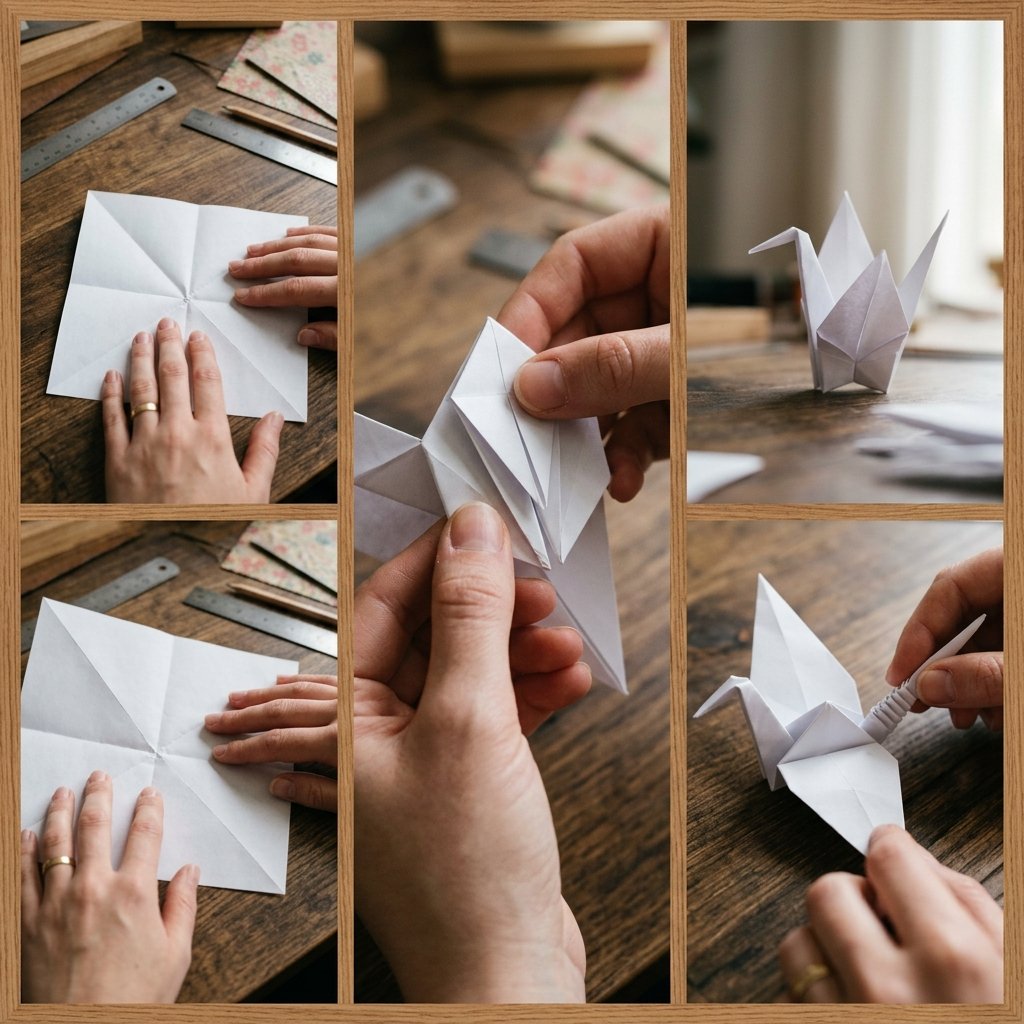
Follow these steps closely. The key to origami is the pre-fold. If your initial creases are accurate, the final assembly will snap together like a well-built piece of furniture.
Phase 1: The Foundation Folds
- The Center Line: Fold the bill in half lengthwise. Crease it firmly with your thumbnail or credit card and then unfold.
- The Cabinet Fold: Fold both long edges inward to meet at that center crease. You now have a long, thin rectangle.
- The Waterbomb Base Prep: Fold the top corners down to the opposite edge to create an ‘X’ crease pattern at the top of the bill.
Phase 2: Forming the Wings and Head
- The Squash Fold: Using the ‘X’ creases, collapse the top of the bill into a triangle (the waterbomb base). This will eventually become the head and beak.
- The Wing Extension: Flip the bill over. Fold the bottom half of the bill upward, tucking it behind the triangle. This creates the bulk for the wings.
- The Narrowing: Fold the outer edges of the ‘body’ toward the center to create a sleek, aerodynamic shape. This requires significant pressure as the paper is now several layers thick.
Phase 3: The Beak and Tail Detail
- The Outside Reverse Fold: At the very top (the triangle), fold the tip downward and then back up to create a long, thin beak. This is the ‘hummingbird signature.’
- The Tail Crimp: At the bottom, fold the tail section into a series of small accordion pleats. This gives the illusion of fanned-out feathers.
- Final Shaping: Gently curve the wings outward to give the bird a 3D, lifelike appearance.
Pro Tip: If the bill keeps popping open, use a tiny, microscopic piece of clear tape or a small dab of a glue stick on the interior hidden folds. It won’t damage the currency but will keep your art ‘flight-ready.’
Elevating the Presentation: From Loose Change to Gallery Art
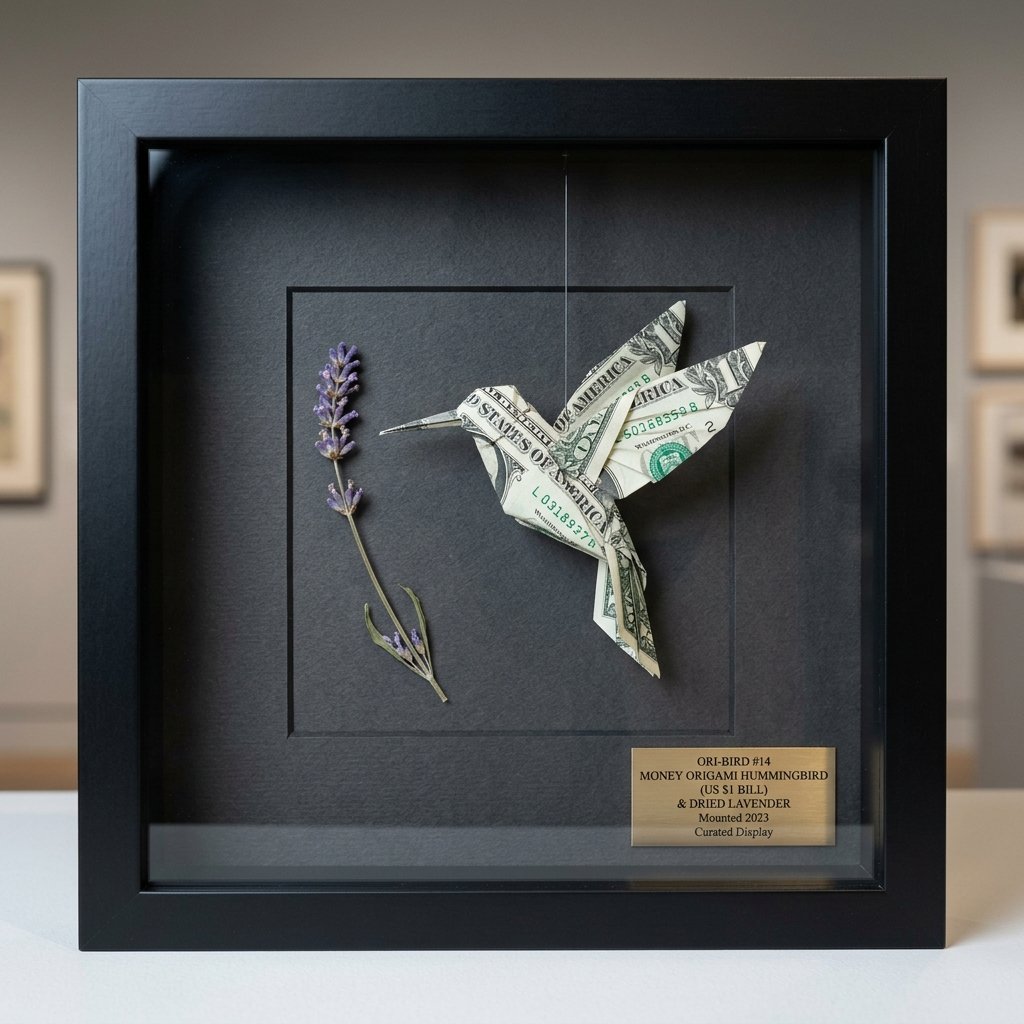
You’ve spent the time to fold a masterpiece; don’t just hand it over. To truly embody the ‘Resourceful & Crafty’ spirit, you need a presentation that matches the effort. A hummingbird in flight looks best when it is suspended or perched.
Creative Gifting Ideas
- The Shadow Box: Purchase a small $5 shadow box from a craft store. Use a thin piece of fishing line to hang the hummingbird inside, making it look like it’s hovering over a silk flower.
- The Pop-Up Card: Glue a small spring or a piece of stiff wire to the inside of a greeting card and attach the bird. When the recipient opens the card, the bird ‘flies’ out.
- The Branch Display: Find a clean, interesting-looking twig from your backyard. Lightly sand it and mount it on a small wooden base. Perch the money bird on the branch for a rugged, masculine-elegant desk accessory.
By using natural elements like wood or simple glass, you create a high-end aesthetic for the cost of the currency plus a few cents in found materials.
The Frugal Giver’s Manifesto: Why Hand-Folded Beats Store-Bought
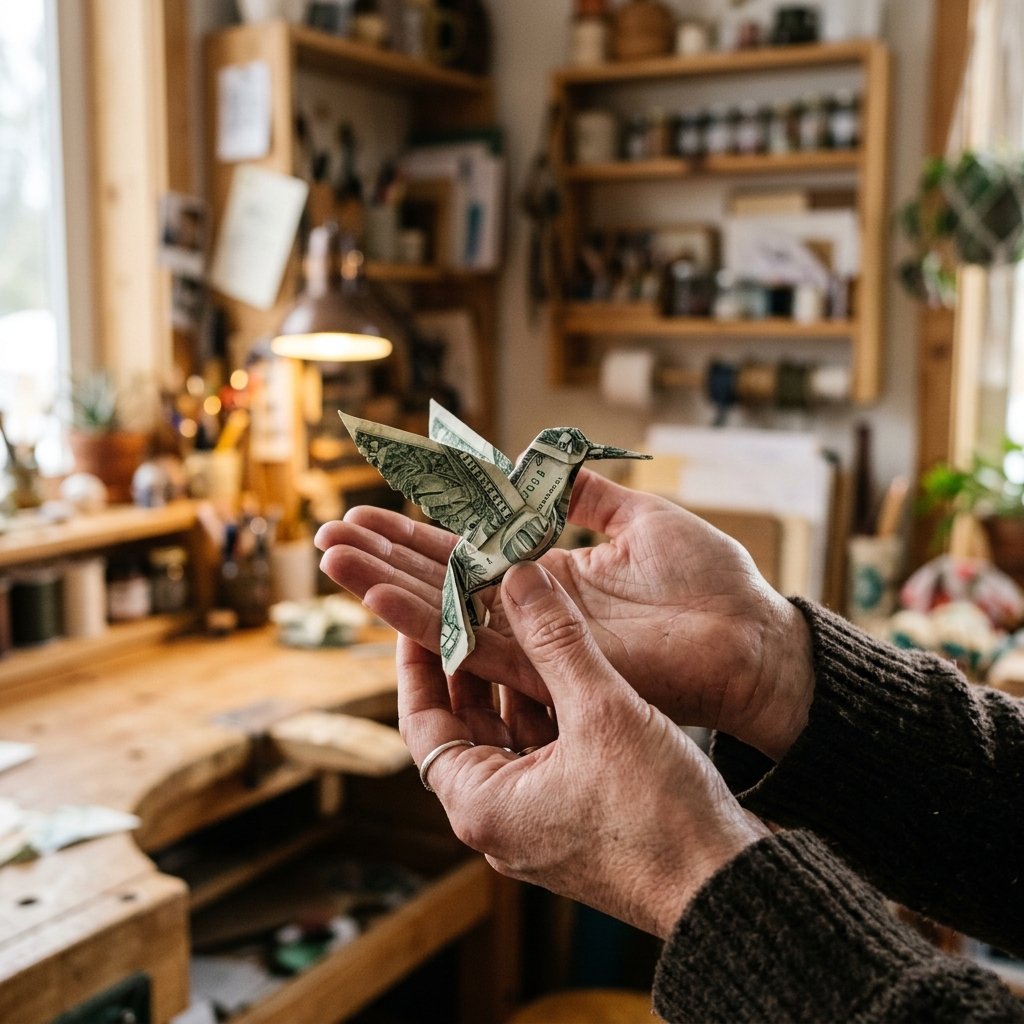
In a world of instant transfers and digital gift cards, taking the time to fold money is a radical act of care. It proves that you didn’t just spend money—you spent life-force. For the budget-savvy giver, this is the ultimate win-win. You avoid the ‘gift tax’ (the extra $10-$20 spent on plastic packaging and filler items that end up in a landfill) and instead put every penny of your budget directly into the recipient’s hands.
Comparison: Store-Bought Gift vs. Money Origami
| Feature | Store-Bought Plastic Trinket | Money Origami Hummingbird |
|---|---|---|
| Cost of Packaging | $5 – $10 | $0 (Upcycled) |
| Time Investment | 10 mins (Shopping) | 15 mins (Crafting) |
| Clutter Factor | High (Ends up in a drawer) | Zero (Spendable Art) |
| Memorable Impact | Low | Extremely High |
This project embodies the ‘Rugged & Practical’ philosophy: it is useful, it is beautiful, and it requires a steady hand and a sharp mind. You aren’t just giving cash; you’re giving a story.
Conclusion
Spread Your Wings
Mastering the Money Origami Hummingbird is a skill that will serve you for a lifetime of gifting. It turns a simple transaction into a memorable moment. Remember, the first few tries might look more like a ‘money pigeon’ than a hummingbird, but don’t give up. Keep your creases sharp, your bills crisp, and your spirit creative. You now have the power to give the most beautiful cash gift ever—one fold at a time. Happy gifting!

Makenzie is the founder and lead writer at MoneyHackTips.com — a personal finance blog dedicated to delivering street-smart financial wisdom for real people on real budgets. With 300+ published articles covering everything from debt management to investing fundamentals, Makenzie’s mission is to make every dollar work harder. When not writing about money hacks, Makenzie is testing frugal living strategies, optimizing side hustles, and helping readers build financial freedom from scratch.