
The Art of the Hidden Vault
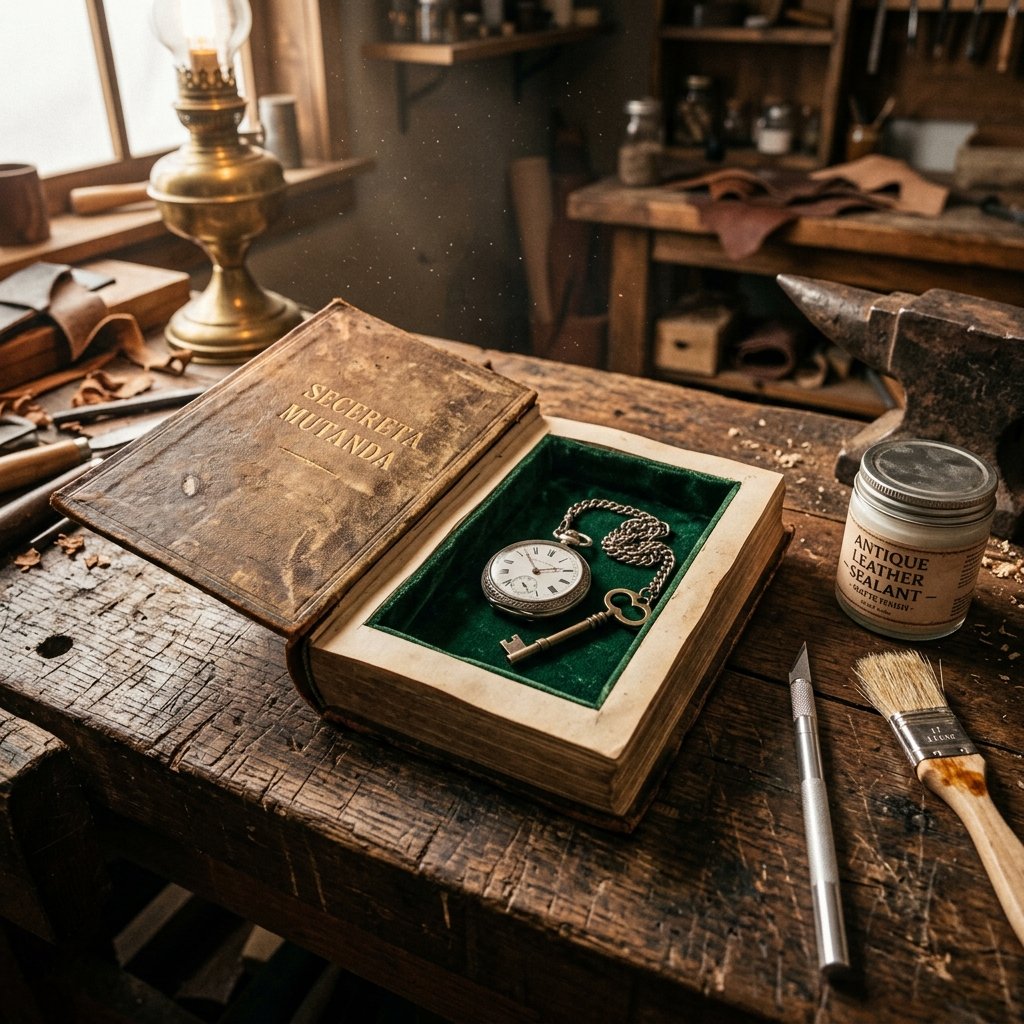
There is something inherently cinematic about a secret compartment hidden in plain sight. Whether it’s the mystery of a classic spy thriller or the practical need to keep a few $100 bills or a sentimental heirloom tucked away from prying eyes, the ‘hollowed-out book’ remains the gold standard of diversion safes. But let’s be honest: most store-bought versions look cheap, feel light, and wouldn’t fool a toddler. If you want to blow his mind, you need to craft something with heft, history, and high-end finish.
In this guide, we are going to take a $1 thrift store hardcover and transform it into a rugged, masculine-elegant vault. We aren’t just cutting a hole in paper; we are engineering a piece of functional art. From mastering the perfect glue-to-water ratio to installing magnetic ‘click’ closures, this project is for the resourceful crafter who values both security and style. Let’s get our hands dirty and build something he’ll actually use.
Phase 1: Scavenging for the Perfect Specimen

Not all books are created equal when it comes to clandestine storage. To make a safe that feels authentic, you need to look for specific physical traits. A lightweight paperback will never survive the gluing process, and a book that is too thin won’t hold more than a few coins. You want a hardcover with a thick spine—at least 1.5 to 2 inches deep.
What to Look For at the Thrift Store
- Solid Spines: Avoid books where the spine is already peeling or cracked. The spine is the hinge of your safe; it needs to be ‘rugged’.
- Paper Quality: Look for cream-colored or ‘deckled’ edges. These hide the glue lines better than bright white, modern paper.
- The Title: Choose something boring enough to be ignored but masculine enough to fit his shelf. Think ‘Principles of Accounting 1974’ or an old, unread biography.
- The ‘Thud’ Factor: A good book safe should have weight. If it feels like a toy, it’s a dead giveaway.
| Book Type | Pros | Cons |
|---|---|---|
| Vintage Encyclopedia | Huge capacity, looks sophisticated | Very heavy, takes 3x longer to cut |
| Modern Hardcover Novel | Easy to find, fits any shelf | Often has a flimsy dust jacket |
| Old Law/Textbook | Inconspicuous, very sturdy | Can be bulky to hide in small spaces |
Phase 2: The Master’s Toolkit and Material Budget
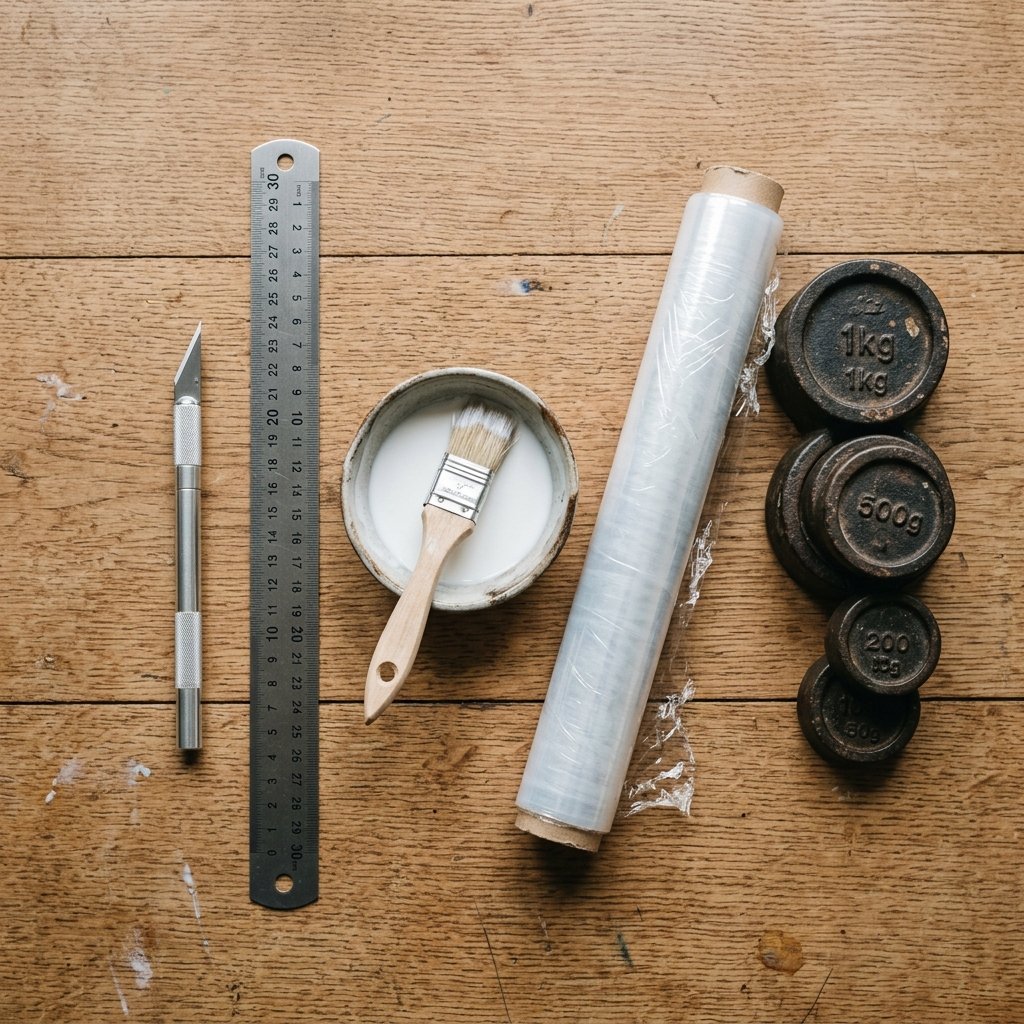
A resourceful crafter knows that the right tools make the difference between a ‘hacked-up book’ and a ‘precision safe.’ You don’t need a workshop full of power tools, but you do need a fresh pack of blades. Never try to complete this project with a dull knife; you’ll end up with jagged, shredded edges that ruin the aesthetic.
“Budget Mantra: Spend your money on the blades, not the book. A $5 pack of high-carbon steel blades is the best insurance policy for a professional finish.”
| Material | Estimated DIY Cost | Store-Bought Equivalent |
|---|---|---|
| Thrifted Hardcover Book | $1.00 | $25.00 |
| White Glue (PVA) | $0.50 (pro-rated) | N/A |
| Craft Knife + 5 Blades | $6.00 | N/A |
| Scrap Fabric/Velvet | FREE (Upcycled) | $10.00 |
| Total | $7.50 | $35.00+ |
The Essential List
- Precision Craft Knife: An X-Acto or a heavy-duty utility knife.
- Metal Straight Edge: Plastic rulers will get sliced; metal is non-negotiable for safety.
- PVA Glue & Water: A 50/50 or 70/30 mix depending on paper thickness.
- Clamps or Heavy Weights: To ensure the pages seal into a solid block.
- Plastic Wrap: To protect the covers from the glue.
Phase 3: The ‘Seal and Slice’ Technique
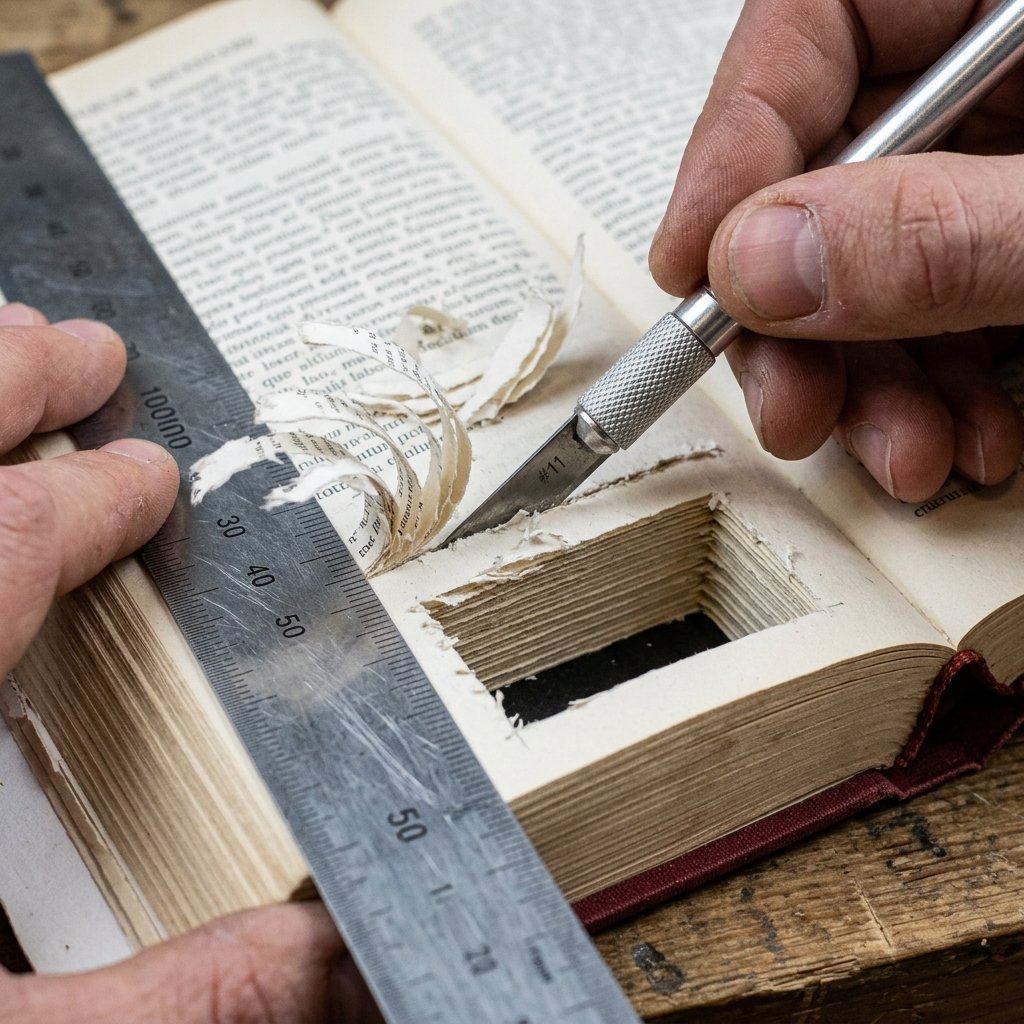
Step 1: Protecting the Exterior
Open the front cover and the first 2-5 pages. These ‘decoy’ pages will remain loose to cover the safe once it’s closed. Wrap the front cover and these decoy pages in plastic wrap to keep them pristine. Do the same for the back cover.
Step 2: The First Glue Seal
Close the remaining pages. Using your glue/water mixture, paint the outside edges of the book (top, bottom, and side). Apply a generous coat but avoid drips. Place a heavy weight on top and let it dry for 30-45 minutes. This turns the pages into a single, solid block of ‘wood’ that is much easier to cut.
Step 3: Mapping the Vault
Open the book to the first ‘sealed’ page. Use your metal ruler to draw a rectangle, leaving at least a 0.75-inch border on all sides. Pro Tip: Round the corners slightly using a coin as a template; it prevents the paper from tearing at the stress points.
Step 4: The Deep Cut
Using your straight edge, begin cutting along your lines. Do not try to cut through the whole book at once! Apply moderate pressure and aim to cut 5-10 pages at a time. After every few layers, remove the paper scraps. Change your blade every 20-30 pages to maintain a surgical edge.
“Safety Note: Always cut away from your body. Keep your non-dominant hand behind the metal ruler at all times. This process takes about 45-60 minutes of patient work.”
Phase 4: Rugged Refinement & Lining
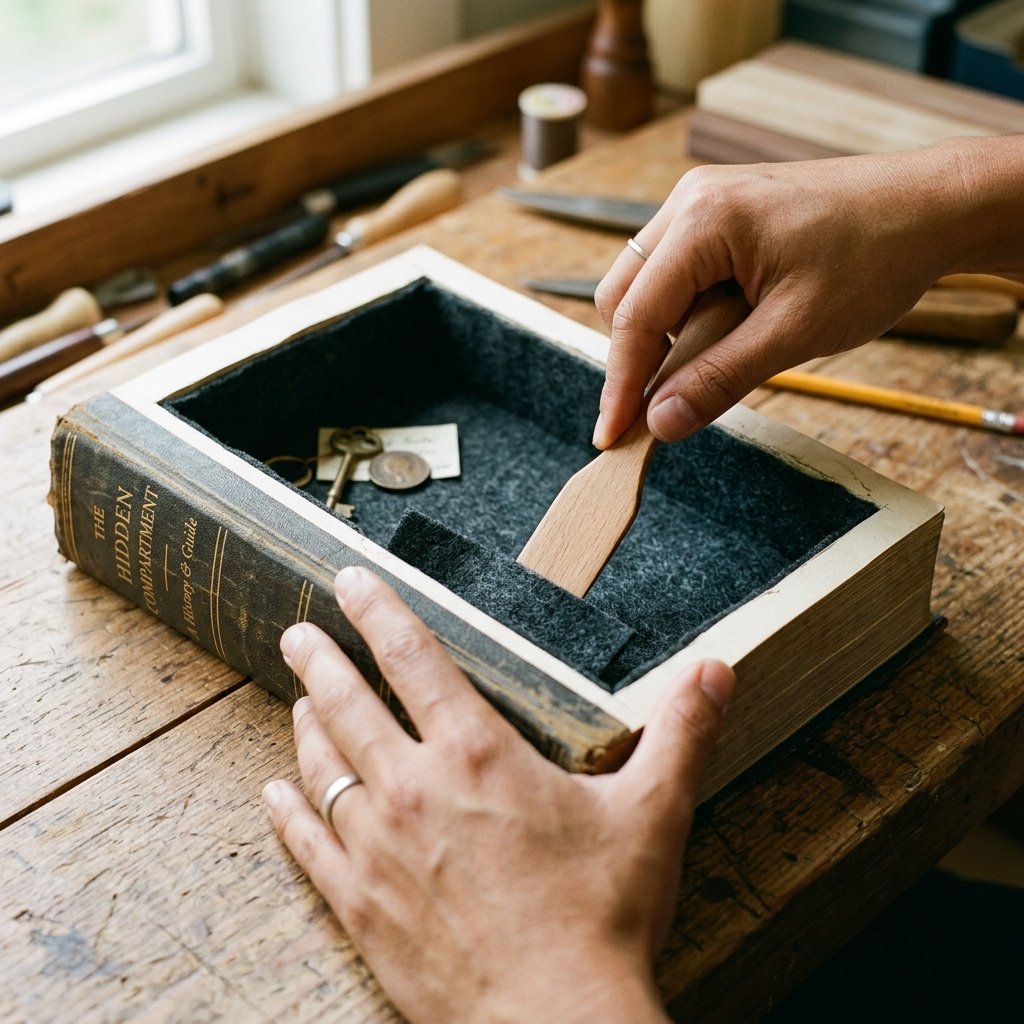
Once you’ve reached your desired depth (leave about 0.25 inches of paper at the bottom), it’s time to turn the raw cavity into a luxury vault. A raw paper interior looks unfinished. We want to line this with something that feels ‘Masculine-Elegant’—think dark felt, faux leather, or even a scrap of an old flannel shirt.
The Interior Finishing Process
- Internal Sealing: Paint the inside walls of the cavity with your glue mixture. This prevents the edges from fraying and adds structural integrity.
- The Fabric Floor: Cut a piece of fabric exactly to the size of the bottom of the hole. Apply a thin layer of full-strength glue to the bottom and press the fabric in.
- The Wall Lining: Measure the perimeter and height of the walls. Cut a single long strip of fabric. Apply glue to the walls and carefully press the strip around the interior, tucking the seam into a corner.
- The Magnetic Snap: For an extra ‘wow’ factor, use a drill bit or your knife to carve a tiny indentation in the top border of the pages and the underside of the decoy page. Glue in two small neodymium magnets. Now, the ‘lid’ will snap shut with a satisfying click.
Phase 5: Customization for the Modern Man
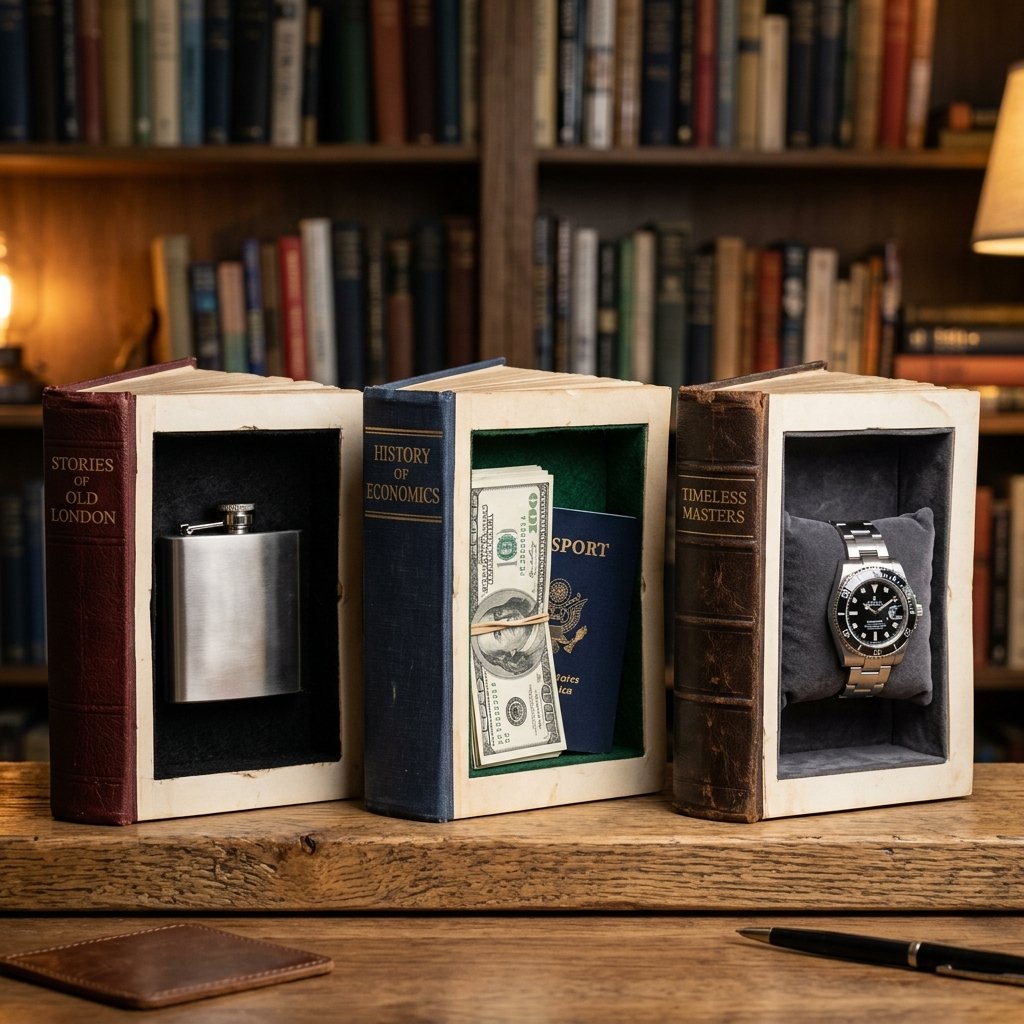
Now that the base safe is complete, you can tailor it to his specific needs. A ‘Secret Book Safe’ can be more than just a box; it can be a specialized organizer.
Three Creative Variations
- The ‘Watch Vault’: Instead of a flat bottom, glue in a small velvet-covered foam cylinder. This allows him to strap his favorite timepiece inside the book, keeping it protected from scratches.
- The ‘Tech Hideout’: Cut a small notch in the bottom of the spine (hidden by the cover) to allow a charging cable to pass through. He can now charge his phone or earbuds while they are ‘hidden’ inside the book.
- The ‘Flask Holder’: If he’s a fan of fine spirits, custom-cut the cavity to the exact silhouette of a 6oz stainless steel flask. It’s the ultimate library accessory.
| Variation | Difficulty | Bonus Material Needed |
|---|---|---|
| Standard Cash Safe | Easy | None |
| Watch Vault | Medium | Foam/Cotton Roll |
| Tech Hideout | Hard | Small Drill/Grommet |
Conclusion
A Gift That Keeps On Giving
You’ve done it. You’ve taken a discarded object and engineered a high-quality, 100% custom diversion safe that looks like a million bucks but cost you less than a fancy coffee. This DIY secret book safe is more than just a container; it’s a conversation piece and a testament to your resourcefulness.
When you present it to him, don’t tell him what it is immediately. Place it on his desk or bookshelf and wait for him to discover the weight and the ‘click’ of the magnetic seal. Whether he uses it for his emergency cash, his wedding ring, or just to hide his favorite snacks from the kids, he’ll be blown away by the craftsmanship. Remember: the best gifts aren’t bought; they are built. Happy crafting!

Makenzie is the founder and lead writer at MoneyHackTips.com — a personal finance blog dedicated to delivering street-smart financial wisdom for real people on real budgets. With 300+ published articles covering everything from debt management to investing fundamentals, Makenzie’s mission is to make every dollar work harder. When not writing about money hacks, Makenzie is testing frugal living strategies, optimizing side hustles, and helping readers build financial freedom from scratch.