
The Art of the Every-Day-Carry (EDC) Stocking Stuffer
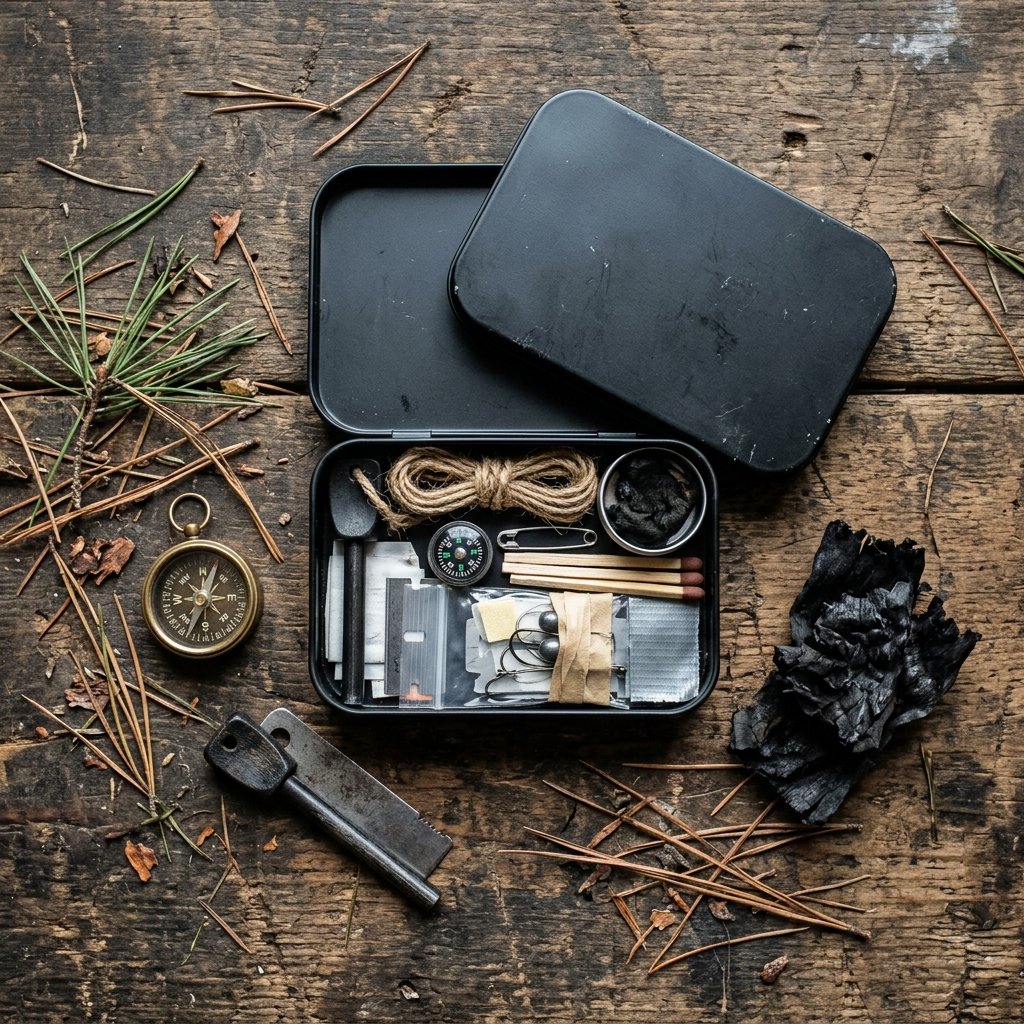
In a world of mass-produced plastic gadgets, there is something profoundly masculine and elegant about a toolset curated by hand. For the frugal DIYer, the goal isn’t just to save money; it is to provide a lifeline that fits in the palm of a hand. This is the Ultimate DIY Pocket Survival Kit. Whether he is hiking the backcountry, camping with the family, or facing an unexpected roadside emergency, this kit represents a father’s foresight, a crafter’s ingenuity, and a gift-giver’s heart. By upcycling common household items and sourcing high-utility components, we can build a kit that rivals professional ‘tactical’ versions costing $50 or more, all for a fraction of the price. We aren’t just packing a tin; we are packing peace of mind. Every item selected for this kit serves at least two purposes, adhering to the survivalist mantra: ‘Two is one, and one is none.’ Let’s dive into the rugged world of micro-survival gear and build a gift that truly matters.
The Foundation: Sourcing and Preparing the Vessel
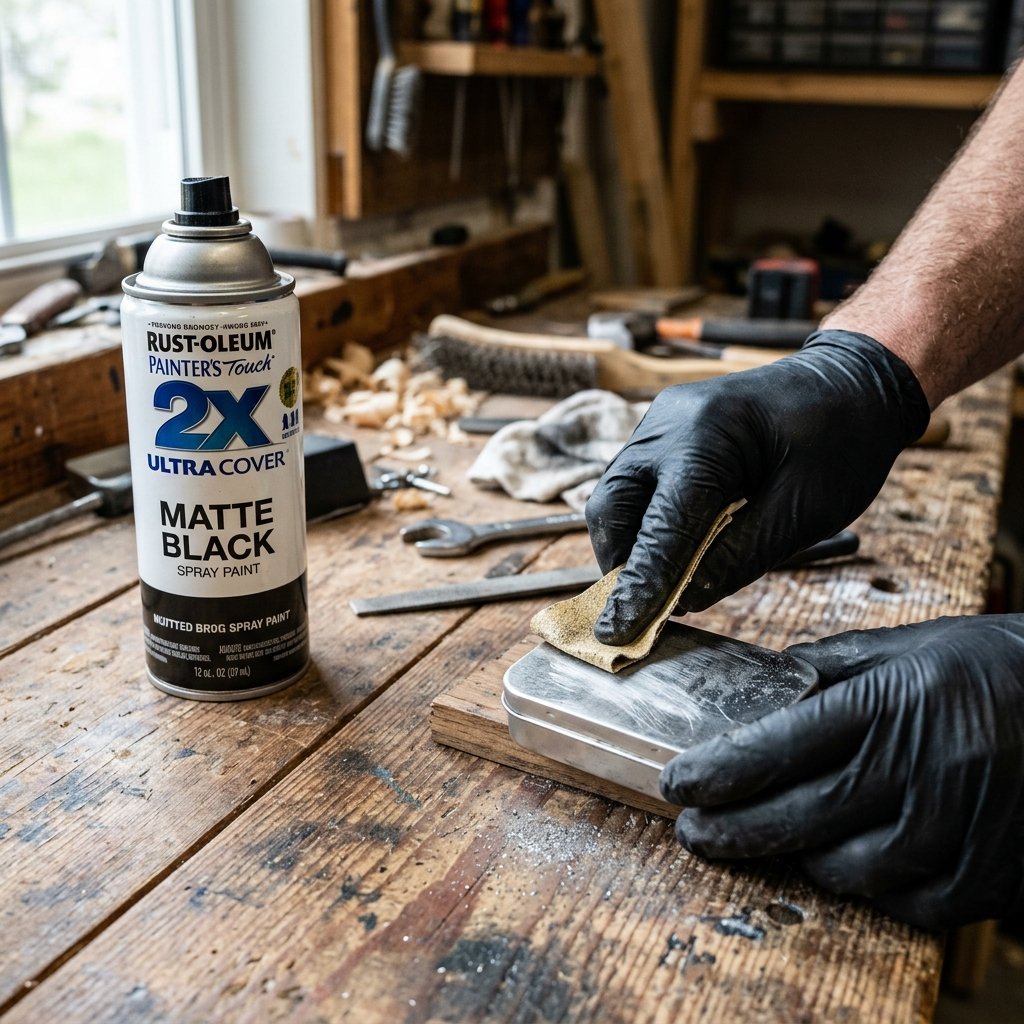
Every great survival kit begins with its container. While you could buy a specialized waterproof box, the true frugal craftsman looks to the pantry. The iconic Altoids tin is the gold standard for pocket kits due to its durability, slim profile, and the classic ‘click’ of its hinged lid. However, to make this stocking stuffer truly ‘Masculine-Elegant,’ we need to elevate the aesthetic.
Upcycling and Prepping the Tin
- Step 1: Clean and Strip. Remove all mint residue. If you want a rugged, tactical look, use a fine-grit sandpaper to scuff the paint and spray it with a matte black or olive drab rust-resistant paint.
- Step 2: The Silent Liner. To prevent the gear from rattling (a cardinal sin in the woods), line the bottom with a small piece of felt or a thin layer of adhesive-backed closed-cell foam.
- Step 3: The Exterior Seal. A survival kit is only as good as its dryness. Include a heavy-duty rubber band (cut from a bicycle inner tube) around the circumference to keep the lid secure and provide a source of high-heat tinder in an emergency.
| Container Type | Pros | Estimated Cost |
|---|---|---|
| Upcycled Mint Tin | Classic, durable, 100% free if recycled | $0.00 – $1.50 |
| Small Tobacco Tin | Slightly deeper, vintage aesthetic | $2.00 |
| Miniature Dry Box | Pre-waterproofed, heavier bulk | $5.00 |
The Budget Mantra: A vessel is just a box until it’s filled with utility. Don’t spend your budget on the container; spend it on what’s inside.
Fire, Light, and Warmth: The Core Survival Trinity
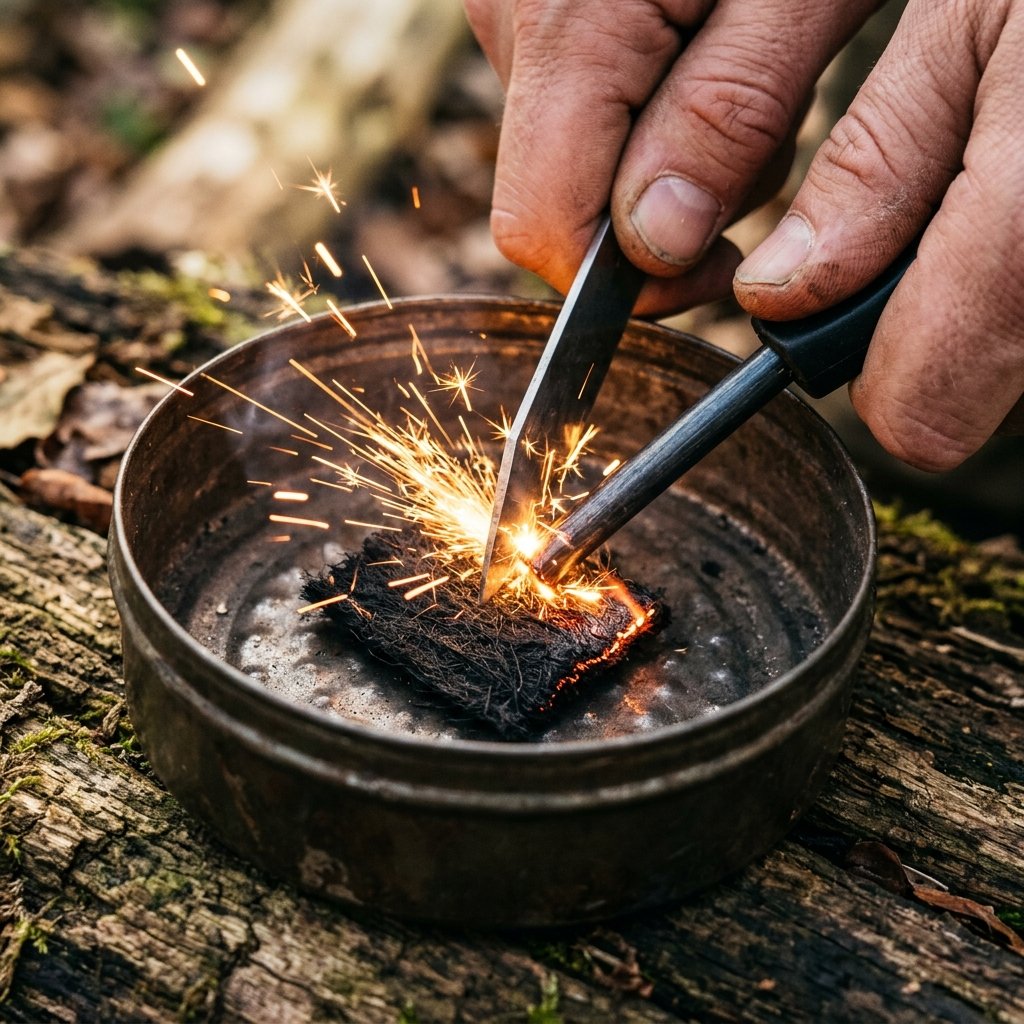
Igniting the Spirit of Survival
Warmth is the difference between a cold night and a dangerous one. Our kit focuses on reliable, multi-stage fire starting. We won’t rely on a simple plastic lighter that might leak or crack in freezing temperatures. Instead, we use the science of pyrolysis and friction.
The Char Cloth Masterclass
Char cloth is a piece of plant-based fabric (like an old 100% cotton T-shirt) that has been thermally decomposed in an oxygen-deprived environment. It catches even the weakest spark from a ferrocerium rod.
- Cut 1-inch squares of 100% cotton scrap fabric.
- Place them in a small metal tin with a single pinhole poked in the top.
- Place the tin on a camp stove or grill. Watch for the smoke.
- When the smoke stops, remove the tin and let it cool completely. You now have highly combustible tinder for pennies.
The Waterproof Fire Starter
Take three cotton balls and saturate them with petroleum jelly. This creates a DIY ‘fuel tab’ that will burn for 3-5 minutes even in damp conditions. Store these in a small craft baggie or wrap them in wax paper to keep the rest of the kit clean.
| Item | DIY Method | Benefit |
|---|---|---|
| Ferrocerium Rod | Buy in bulk (packs of 5) | Sparks at 3,000°F |
| Char Cloth | Upcycled T-shirt scraps | Catches sparks instantly |
| Magnifying Lens | Credit card size Fresnel lens | Infinite fire (solar) |
Hydration and Sustenance: Tiny Tools for Big Needs
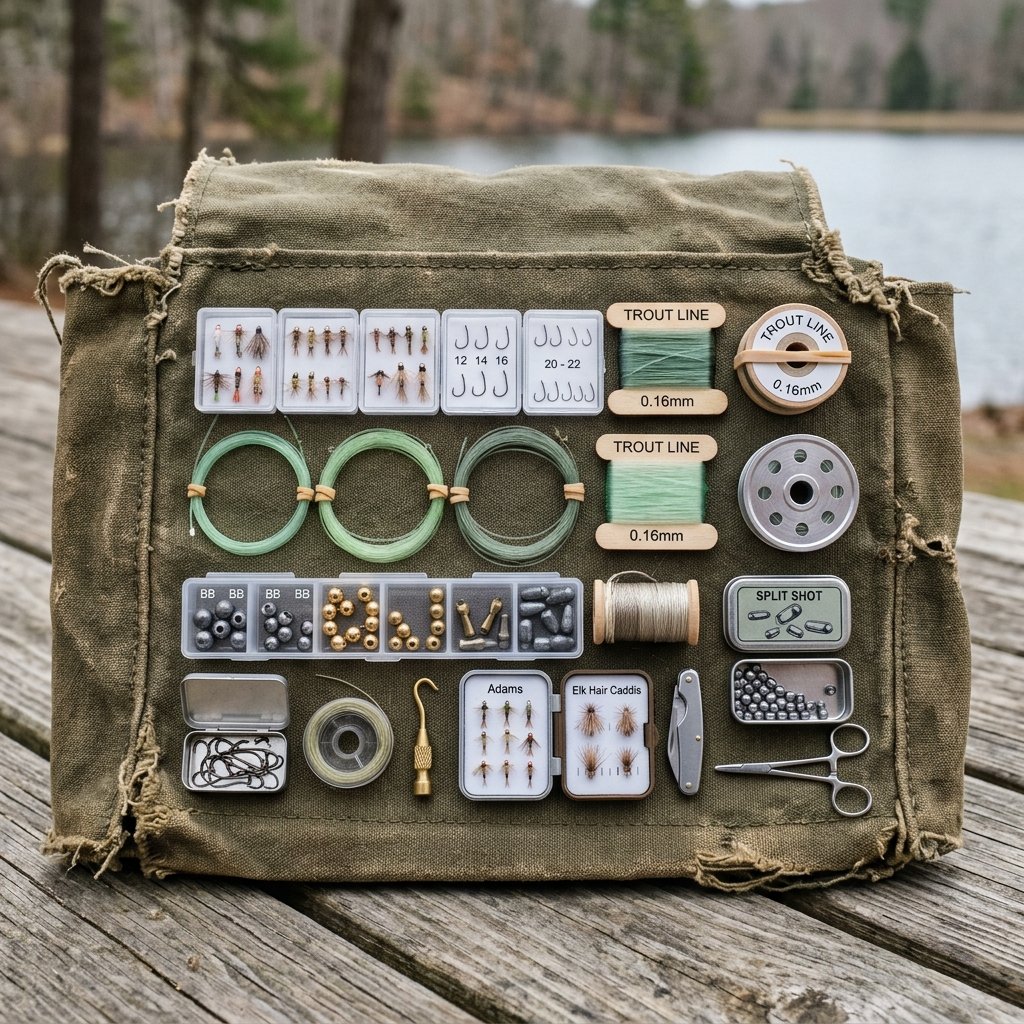
Water Procurement in Your Pocket
You can survive weeks without food, but only days without water. In a pocket kit, space is at a premium, so we must be clever. A 1-liter Whirl-Pak bag can be folded into the size of a postage stamp and used to collect and treat water.
The Micro Fishing Kit
Even for the non-fisherman, a few basic supplies can provide protein in a pinch. Use a small piece of cardboard or a plastic card to wrap 20 feet of 8lb test fishing line. Secure two small hooks and two split-shot sinkers with a piece of electrical tape. This entire setup costs less than $0.50 but offers a way to secure a meal.
Water Purification
Include 2-4 Potable Aqua tablets. Wrap them in a small piece of aluminum foil to protect them from light and moisture. One tablet can typically treat one liter of water in 30 minutes.
Crafty Expert Tip: Use the inside of the tin lid as a signal mirror. Polish it to a high shine with a bit of toothpaste or automotive polish to reflect sunlight to rescue planes or search parties.
The MacGyver Repair Kit: Mending Gear on the Go
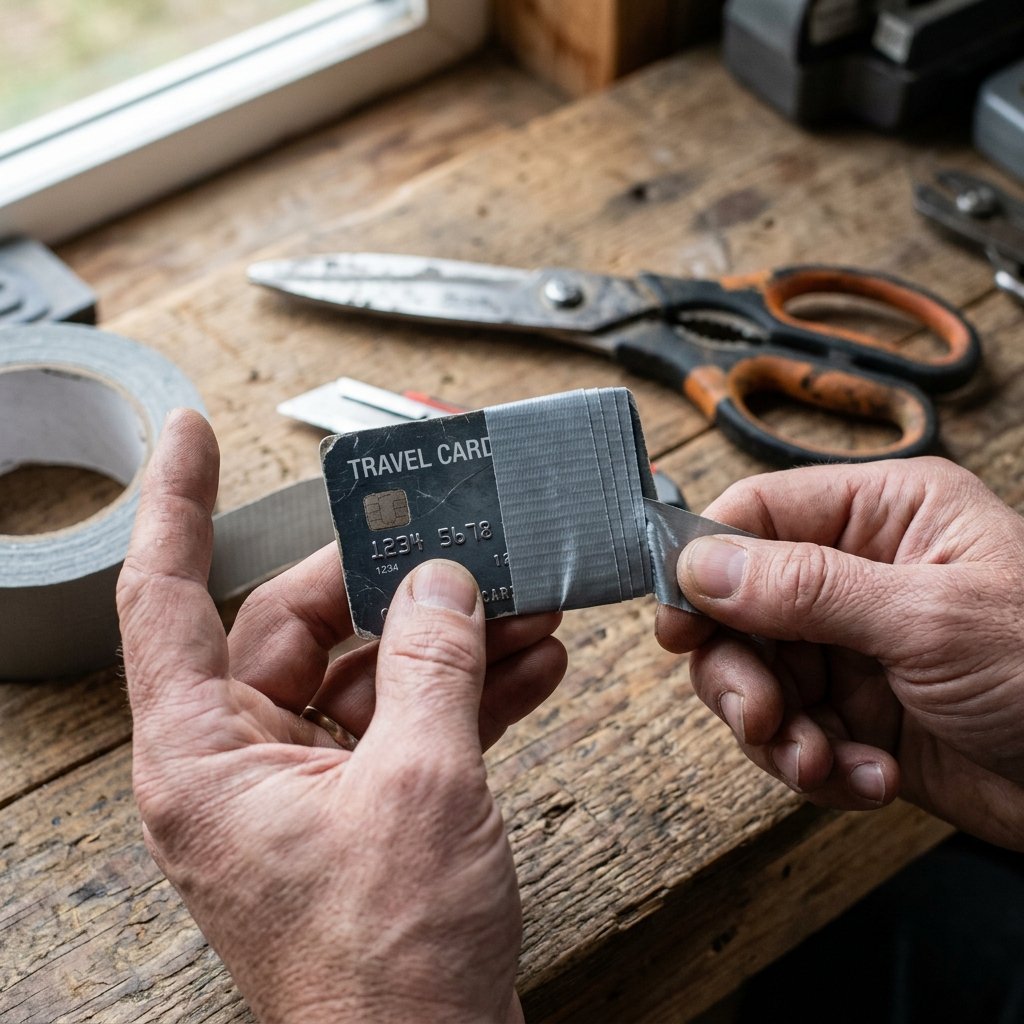
Practical Tailoring for the Rugged Man
Survival isn’t just about fire; it’s about maintaining your equipment. A torn backpack strap or a ripped boot lace can be a major setback. We include a ‘Handy Man’s Mending Mini-Kit’ within the tin.
Duct Tape: The Universal Fix
Instead of carrying a bulky roll, wrap 2-3 feet of heavy-duty duct tape around a discarded gift card or a large safety pin. This provides a flat profile that fits perfectly at the bottom of the tin. It can be used for bandages, gear repair, or even as emergency tinder.
Heavy-Duty Sewing
- Needles: Include two large-eye upholstery needles. They are strong enough to pierce leather or heavy canvas.
- Thread: Use 10 feet of waxed dental floss. It is significantly stronger than standard thread, waterproof, and can be used as emergency fishing line or for stitching wounds in extreme dire straits.
- Safety Pins: Add 3 varied sizes. They are the ‘duct tape of sewing’ and can hold a zipper together or secure a makeshift sling.
| Repair Item | Utility | Space Used |
|---|---|---|
| Duct Tape | Universal Repair | Minimal (Flat Wrap) |
| Waxed Floss | Heavy Sewing/Binding | Negligible |
| Safety Pins | Temporary Fastening | Side Wall |
Navigation and Signaling: Finding the Way Home
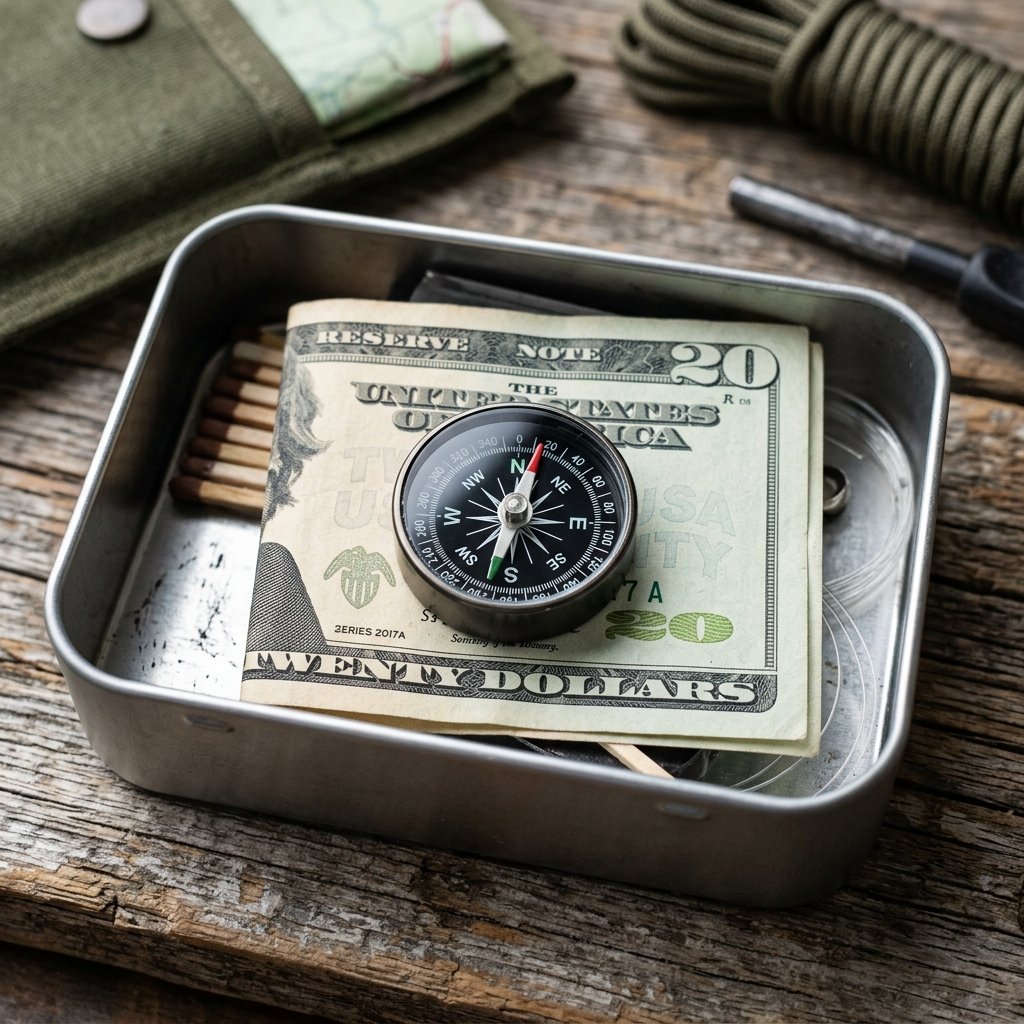
The Compass and the Whistle
Losing one’s bearings is the fastest way to turn a hike into a rescue mission. While a GPS is great, batteries die. A button compass is a low-profile, high-reliability tool that belongs in every pocket kit.
Choosing a Button Compass
Avoid the $0.10 plastic toys. Look for a liquid-filled, grade-A button compass. It should cost around $2.00 to $4.00. Test it against a known good compass before packing it to ensure it hasn’t been ‘polarized’ by other metal gear.
The Micro-Whistle
A human voice gives out quickly. A high-pitched whistle can be heard for miles. Use a slim, ‘pealess’ whistle (which won’t freeze in winter) and tuck it into the corner of the tin. This is the most effective signaling tool for under $2.00.
The Emergency $20 (Money Origami)
Sometimes ‘survival’ means needing a taxi or a gallon of gas. Fold a $20 bill into a tight ‘Z-fold’ or a small square and tuck it under the foam liner. It’s the ultimate backup plan that takes up zero space.
Safety First: Always inform someone of your planned route before heading into the wilderness. A survival kit is a backup, not a replacement for a solid plan.
Final Assembly: Packing for Maximum Efficiency

The Tetris of Survival
How you pack the tin is just as important as what you put in it. We want to eliminate ‘dead space’ and ensure the most critical items are accessible first.
The Packing Order
- Bottom Layer: Flat items like the Fresnel lens, duct tape card, and the emergency $20.
- Middle Layer: The bulkier items like the ferro rod, whistle, and the baggie of petroleum cotton balls.
- Top Layer: The most immediate needs—the button compass and the char cloth.
- The Seal: Close the lid and wrap the Ranger Band (inner tube rubber) around it.
| DIY Kit Component | Store-Bought Equivalent Cost | DIY Cost |
|---|---|---|
| Fire Starter & Tinder | $12.00 | $1.00 |
| Water Treatment & Bag | $8.00 | $1.50 |
| Navigation & Signaling | $15.00 | $4.00 |
| Repair & Multi-tools | $10.00 | $0.50 |
| Total | $45.00 | $8.00 |
By following this guide, you’ve created a $45 value gift for roughly $8.00, while ensuring every component is of higher quality than a generic kit. This is the hallmark of the frugal, clever outdoorsman.
Conclusion
A Gift That Speaks Volumes
Crafting the Ultimate DIY Pocket Survival Kit is more than just an exercise in organization; it is a testament to resourcefulness. For the outdoorsman who receives this in his stocking, it won’t just be another trinket. He will see the hand-charred cloth, the precision-wrapped duct tape, and the carefully selected tools. He will recognize that you didn’t just spend money—you spent time and expertise to ensure he stays safe. This holiday season, skip the overpriced ‘tactical’ aisles and head to your workshop. With a little grit and some budget-savvy creativity, you can build a legacy of preparedness that fits right in his pocket. Happy crafting, and stay safe out there!

Makenzie is the founder and lead writer at MoneyHackTips.com — a personal finance blog dedicated to delivering street-smart financial wisdom for real people on real budgets. With 300+ published articles covering everything from debt management to investing fundamentals, Makenzie’s mission is to make every dollar work harder. When not writing about money hacks, Makenzie is testing frugal living strategies, optimizing side hustles, and helping readers build financial freedom from scratch.