
The Rugged Appeal of Handmade Utility
In a world of mass-produced plastic and disposable foam, there is something undeniably powerful about the weight and scent of real leather. As a frugal DIYer, you know that luxury isn’t about the price tag; it’s about the quality of the materials and the cleverness of the execution. This project is the ultimate ‘trash-to-treasure’ victory. We are going to take a simple scrap of leather—perhaps from an old thrifted jacket, a discarded handbag, or a remnant bin—and turn it into a high-end beverage koozie that looks like it belongs in a boutique for $45. The best part? It takes exactly 5 minutes and requires zero sewing skills. We are leaning into a rugged, masculine-elegant aesthetic that focuses on raw edges, brass hardware, and the natural patina that only comes with use. Whether you are crafting a Father’s Day gift, a groomsman present, or just upgrading your own tailgate gear, this no-sew sleeve is the practical, clever solution you have been looking for.
The Thrifty Scout’s Guide to Sourcing Leather
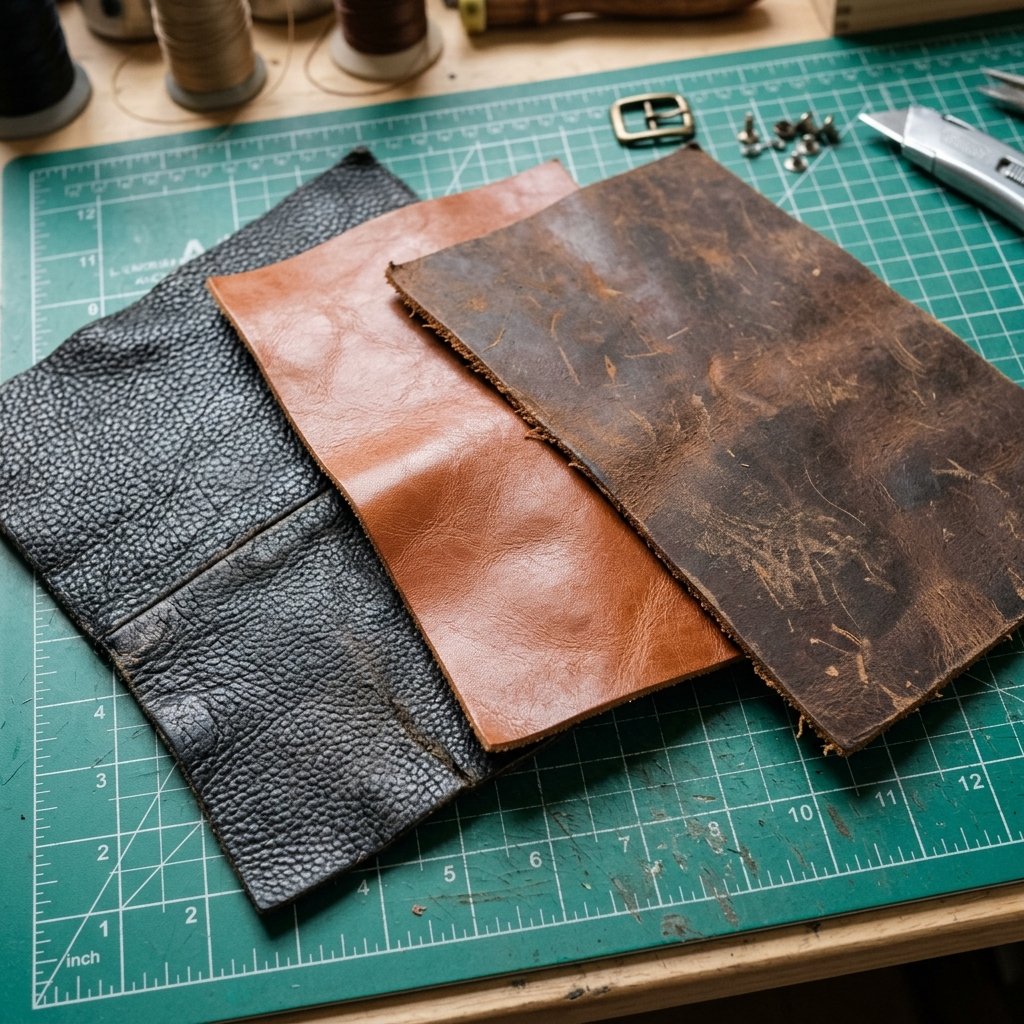
Before we pick up a single tool, we need to talk about the ‘skin in the game.’ Buying a full hide of leather can be expensive, often costing upwards of $100. But for a small project like a beer koozie, a crafty expert knows that the best leather is often hidden in plain sight. Check your local thrift stores for oversized leather coats or skirts; one $5 leather jacket can yield enough material for twenty koozies. Look for ‘top-grain’ or ‘full-grain’ leather for that authentic, rugged feel. If you are starting from scratch, hobby stores often sell ‘remnant bags’ for under $10. These scraps are perfect for this 5-minute build.
Material Quality vs. Cost Analysis
When selecting your material, aim for a thickness of about 3oz to 5oz (roughly 1.2mm to 2mm). Anything thinner will feel flimsy, and anything thicker will be difficult to wrap around a bottle without specialized tools. We are looking for that sweet spot of durability and flexibility. Here is how our DIY approach stacks up against the retail giants:
| Source | Estimated Cost | Yield | Cost Per Koozie |
|---|---|---|---|
| Boutique Leather Brand | $35.00 – $55.00 | 1 Sleeve | $45.00 |
| Thrifted Leather Jacket | $7.00 | 15-20 Sleeves | $0.35 |
| Hobby Store Remnants | $9.00 | 4-6 Sleeves | $1.50 |
The Essential Tool Kit: Budget Alternatives
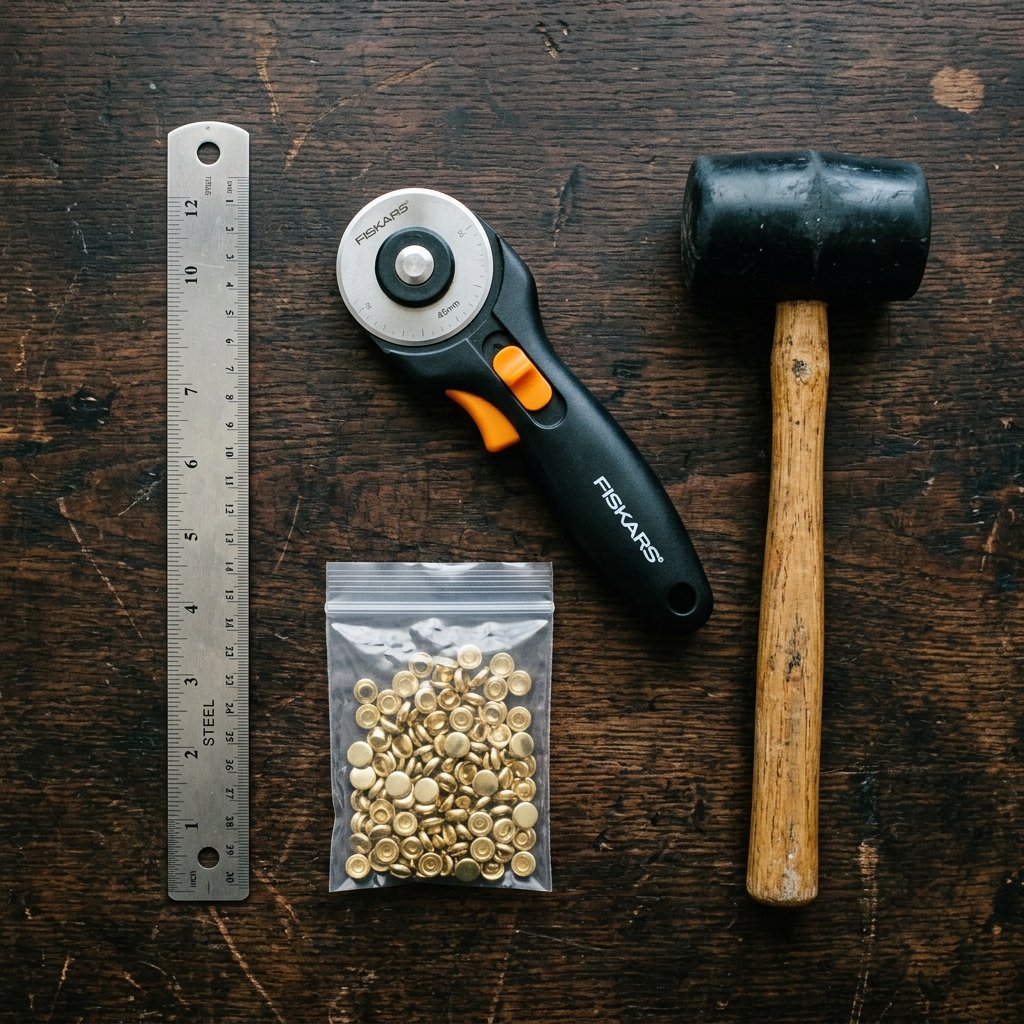
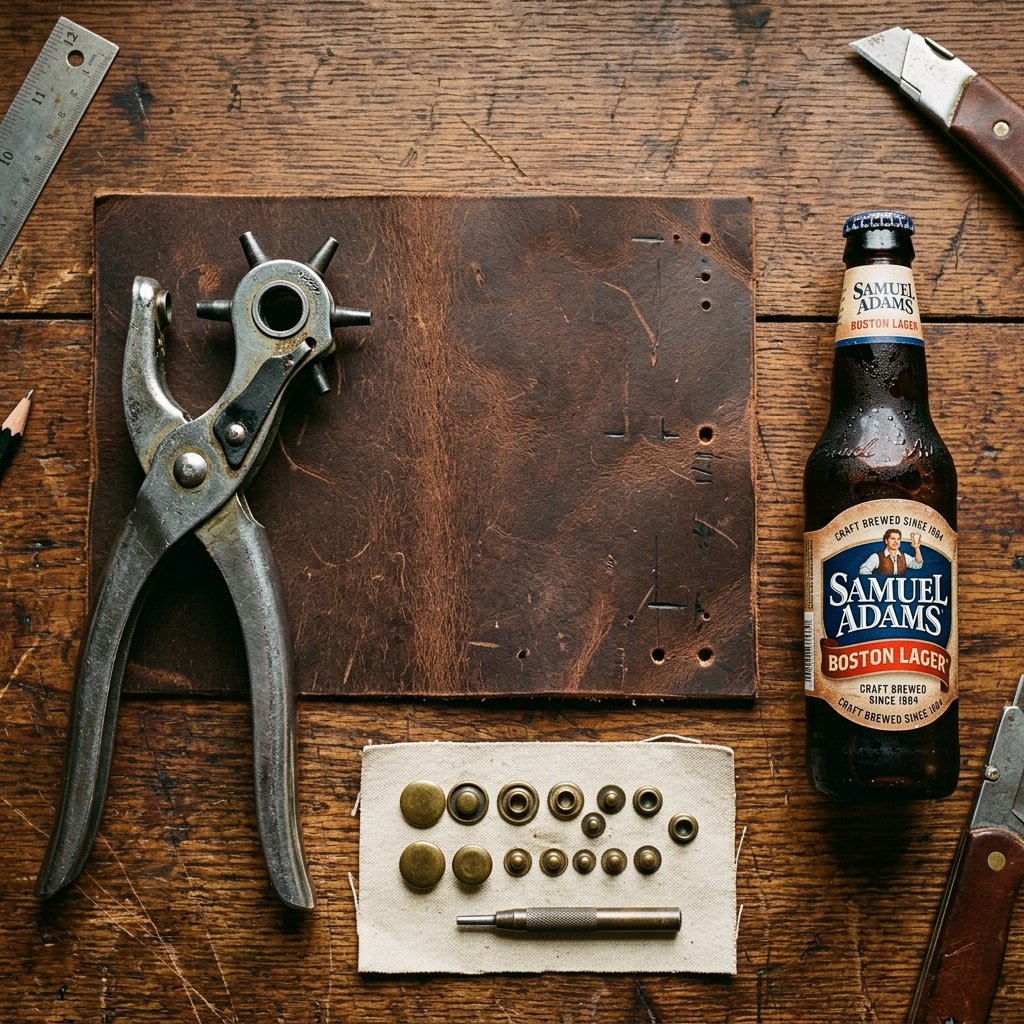
You do not need a professional leather-working studio to achieve a professional result. A resourceful crafter uses what they have. While a dedicated leather hole punch is a great investment (usually $10), you can achieve the same result with a heavy-duty nail and a hammer if you are in a pinch. The key to the ‘no-sew’ magic lies in Chicago screws or rapid rivets. These provide a mechanical bond that is actually stronger than most hand-stitching for this specific application, and they add a beautiful metallic detail that screams ‘custom-made.’
The secret to a rugged finish is not perfection; it is the confidence of the cut and the strength of the hardware. Use brass for a vintage look or stainless steel for a modern, tactical feel.
To ensure your koozie fits perfectly every time, we will use a standard 12oz bottle as our template. Remember, measure twice, cut once. If you are using an old belt for this project, you are already halfway there as the width is often perfect for a ‘shorty’ koozie style.
The 5-Minute Blueprint: Step-by-Step Construction
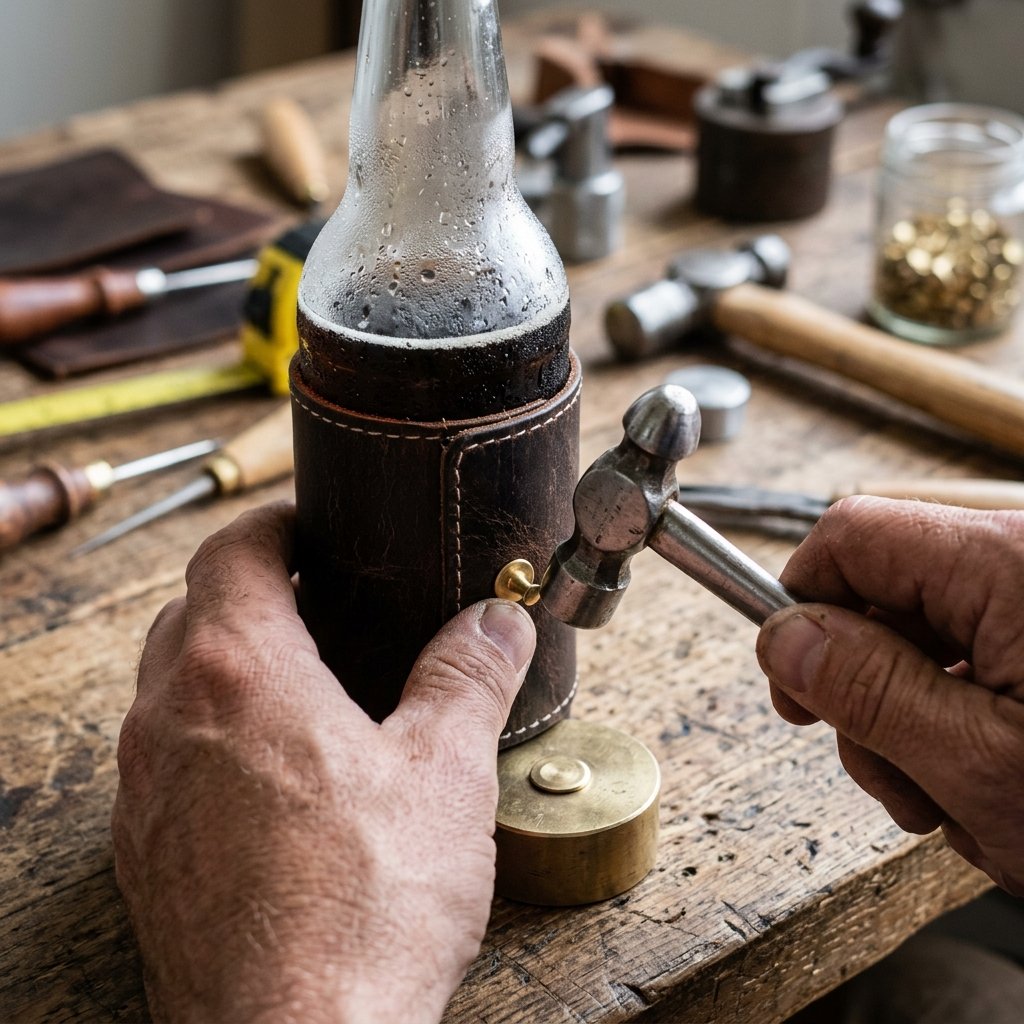
Now, let us get down to the brass tacks. This process is designed for speed without sacrificing style. Follow these steps for a perfect fit every time.
- Measure the Wrap: Cut a rectangle of leather that is 9.5 inches long and 4 inches tall. This size fits almost every standard 12oz beer or soda bottle perfectly.
- The Dry Fit: Wrap the leather around your bottle. The ends should overlap by about 0.75 inches. This overlap is where our rivets will live.
- Punch the Holes: Mark three even spots along the overlap. Using your hole punch (or nail), pierce through both layers of leather simultaneously. This ensures the holes align perfectly.
- Set the Rivets: Insert your rapid rivets or Chicago screws through the holes. If using rivets, place them on a hard surface and give them a firm strike with your hammer to lock them in place.
- Trim and Burnish: (Optional) For a more ‘masculine-elegant’ finish, rub the edges of the leather with a piece of scrap canvas or a wooden dowel. The friction will heat the natural oils and create a smooth, dark edge.
Fitment Guide for Different Containers
| Container Type | Length Requirement | Height Requirement |
|---|---|---|
| Standard 12oz Bottle | 9.5 inches | 4.0 inches |
| 12oz ‘Stubby’ Can | 9.25 inches | 3.5 inches |
| 16oz Tallboy Can | 9.25 inches | 5.0 inches |
Customization: Adding the ‘Maker’s Mark’
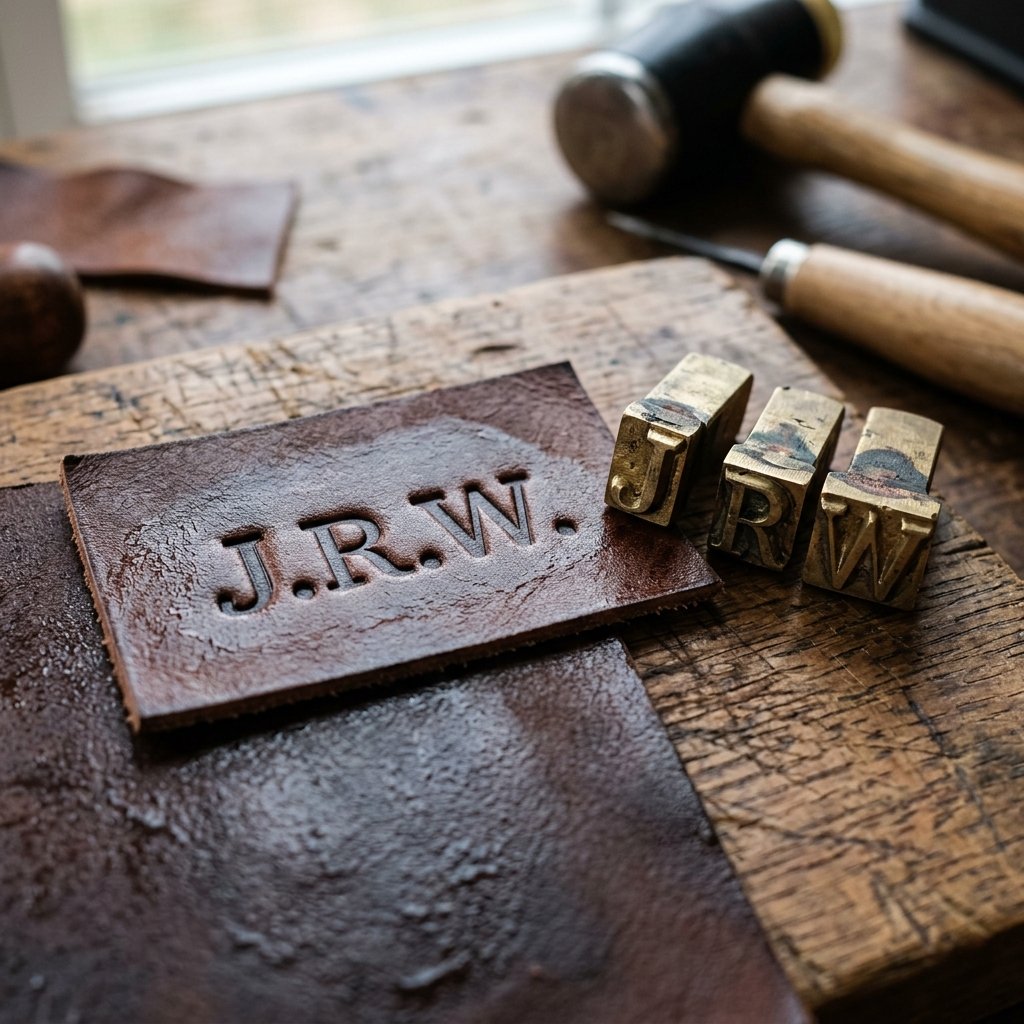
A plain leather sleeve is functional, but a customized one is a heirloom. Because we saved so much money on materials, we can spend a little creative energy on personalization. For a rugged, stamped look, you can use a cheap set of metal alphabet stamps ($12 at most hardware stores) to punch initials or a date into the leather. Simply dampen the leather slightly with a sponge, place the stamp, and give it a sharp whack with your mallet. This is a favorite for budget brides making groomsman gifts.
If you want to go even more ‘clever and crafty,’ try the vinegar-and-steel-wool trick. Soaking a piece of steel wool in white vinegar for 24 hours creates a solution that reacts with the tannins in veg-tan leather, turning it a deep, permanent ebony black instantly. This ‘ebonizing’ technique costs pennies and looks like a professional dye job. You can also use a wood-burning tool to etch designs or logos directly into the surface for a scorched, outdoorsy vibe.
Care and Longevity: The 10-Year Koozie
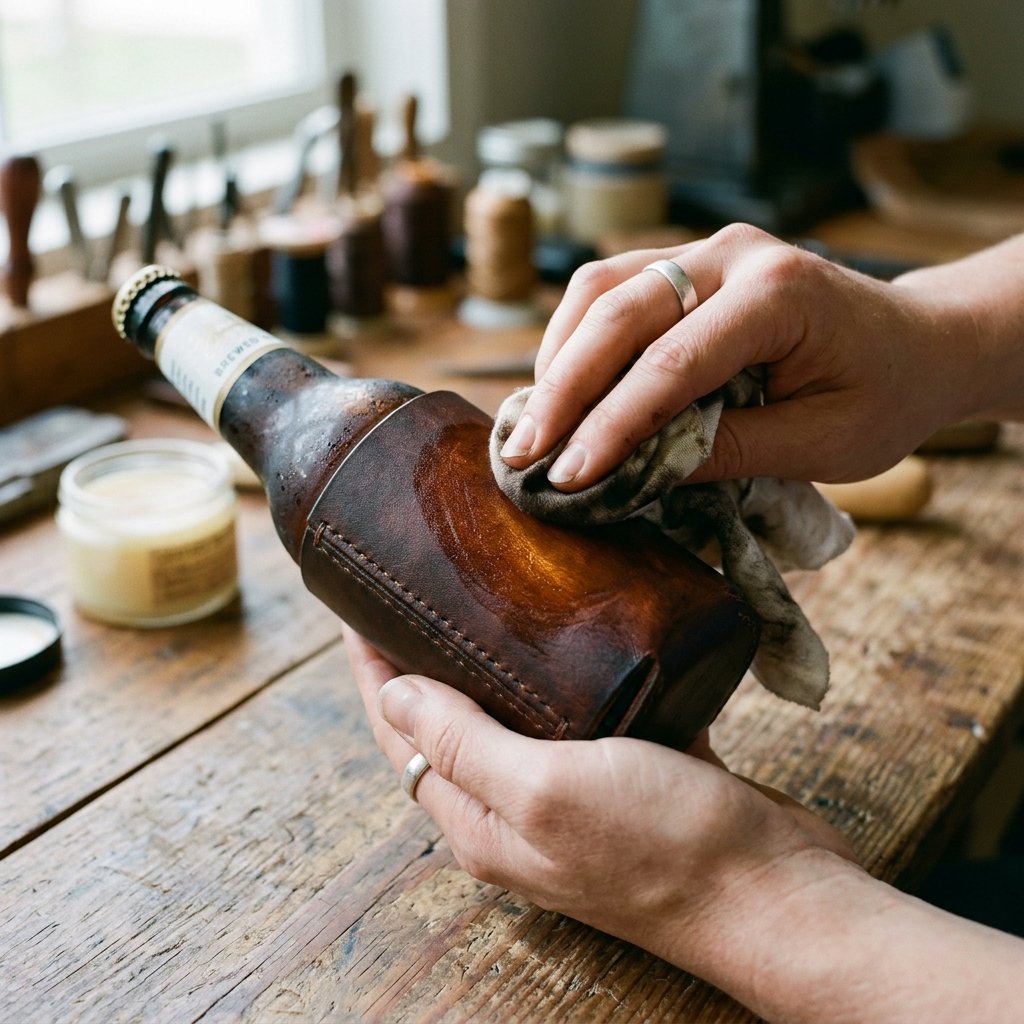
The beauty of leather is that it improves with age. Unlike foam koozies that tear and fade, your hand-crafted leather sleeve will develop a unique patina based on how it’s handled. To keep the leather from drying out—especially since it will be exposed to bottle condensation—apply a light coat of mink oil or even a bit of leftover olive oil from the kitchen. This creates a water-resistant barrier that keeps the leather supple.
Budget Mantra: Buy it once, or build it better. A 5-minute project today is a lifetime of style tomorrow.
If the koozie gets wet, simply slide it off the bottle and let it air dry at room temperature. Avoid placing it on a radiator, as high heat can cause the leather to shrink and crack. With just a tiny bit of care, this $1.50 project will outlast every other item in your bar drawer.
Conclusion
The Master Crafter’s Final Word
You have just completed a project that perfectly balances rugged utility with frugal ingenuity. In less time than it takes to finish a single drink, you’ve created a functional piece of art from what others might consider waste. This no-sew leather koozie isn’t just about keeping a beverage cold; it’s a testament to the fact that with a few simple tools and a bit of ‘trash-to-treasure’ spirit, you can create high-end, masculine gifts that people will actually use and cherish. So, go ahead—scour those thrift stores, grab your hammer, and start building. Your pocketbook and your beverage will both thank you. Happy crafting!

Makenzie is the founder and lead writer at MoneyHackTips.com — a personal finance blog dedicated to delivering street-smart financial wisdom for real people on real budgets. With 300+ published articles covering everything from debt management to investing fundamentals, Makenzie’s mission is to make every dollar work harder. When not writing about money hacks, Makenzie is testing frugal living strategies, optimizing side hustles, and helping readers build financial freedom from scratch.