
The Rugged Charm of a Handmade Masterpiece
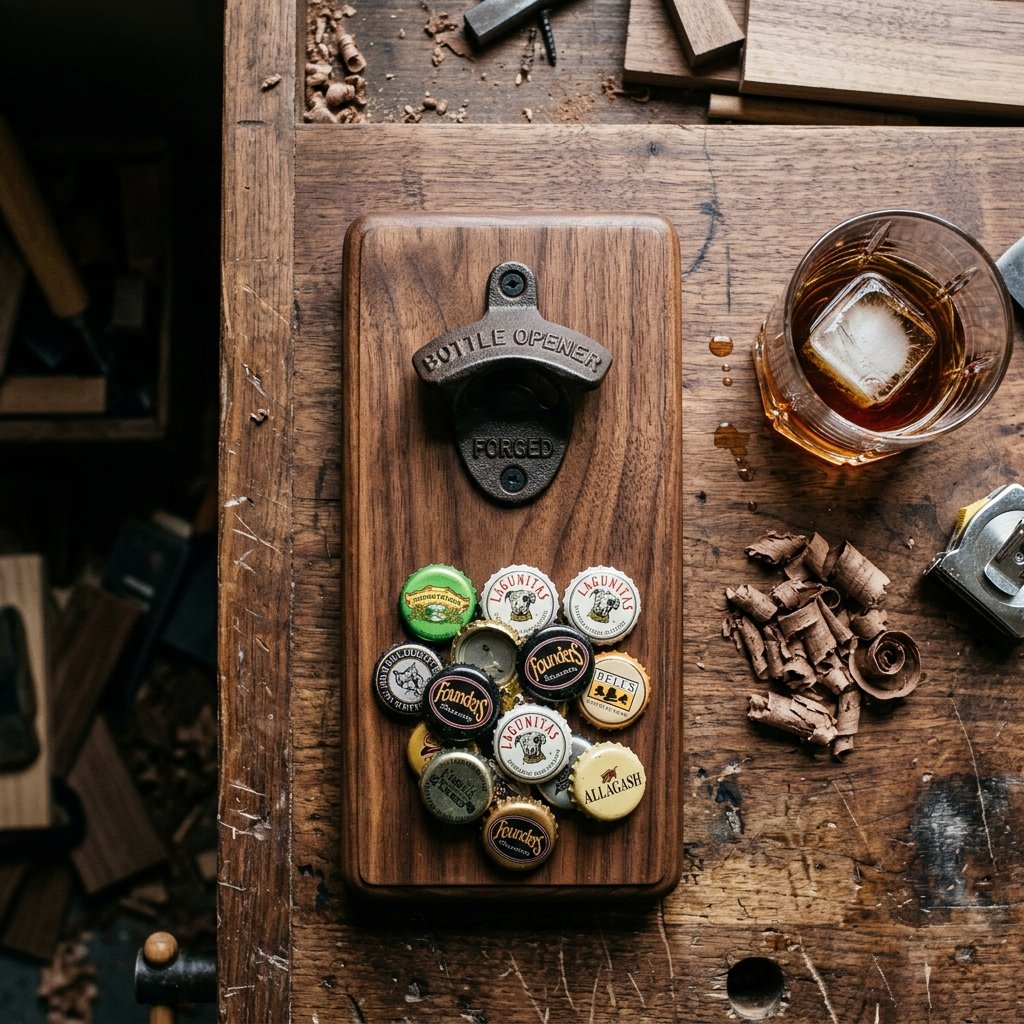
There is something inherently satisfying about the sound of a crisp bottle cap being pried off a cold beverage, but the real magic happens when that cap doesn’t clatter to the floor. Instead, it snaps—as if by sorcery—to the wood itself. We are talking about the magnetic wall bottle opener, a staple of high-end gift shops and artisanal boutiques that often carry a price tag north of $50. But here is the secret: with a bit of scrap wood, a few powerful magnets, and a dash of weekend grit, you can craft one that looks even better for a fraction of the cost. This isn’t just a project; it is a lesson in resourceful elegance. Whether you are outfitting a basement bar, a garage workshop, or looking for that elusive ‘perfect gift’ for a hard-to-buy-for dad, this project hits the sweet spot of practicality and style. We are going to take raw materials and turn them into a conversation piece that feels heavy in the hand and looks professional on the wall. Best of all, we are doing it the frugal way, utilizing upcycled materials and clever techniques to ensure your budget stays intact while your craftsmanship shines.
The Blueprint: Materials and Budget Breakdown
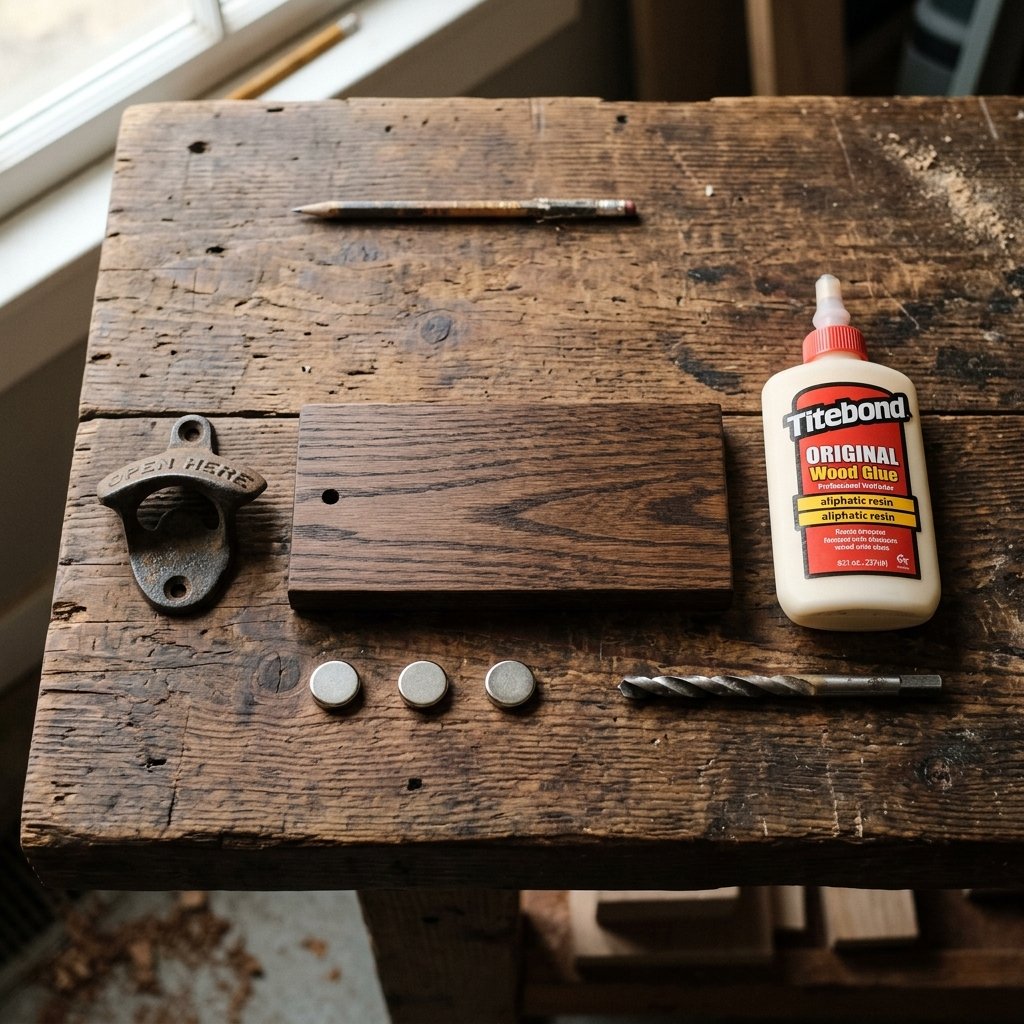
Sourcing Your Supplies with a Savvy Eye
The beauty of this project lies in its simplicity. You do not need a massive workshop or expensive hardwoods to achieve a premium look. In fact, some of the best openers are made from reclaimed pallet wood or offcuts from a local lumber yard. The ‘magic’ component is the Neodymium (rare-earth) magnet. These are significantly stronger than your standard refrigerator magnets and are essential for catching the caps through the thickness of the wood. To keep costs low, I recommend buying magnets in small bulk packs online. For the opener itself, look for cast iron vintage-style openers which can be found at hardware stores or online for just a few dollars. Below is a breakdown of how the DIY route compares to those pricey ’boutique’ versions you see in malls.
| Item | DIY Estimated Cost | Store-Bought Price |
|---|---|---|
| Base Wood (Scrap/Upcycled) | $0.00 | $15.00 (Included) |
| Cast Iron Opener | $3.50 | $10.00 (Included) |
| Rare-Earth Magnets (2-3) | $4.00 | $5.00 (Included) |
| Finish (Stain/Oil) | $1.00 | $5.00 (Included) |
| Mounting Hardware | $1.00 | $5.00 (Included) |
| Total | $9.50 | $45.00 – $65.00 |
The Maker’s Mantra: “Don’t buy what you can build; don’t build with new what you can find for free.” This project is the embodiment of that philosophy.
Step 1: Selecting and Prepping Your Timber

Finding the Soul in the Grain
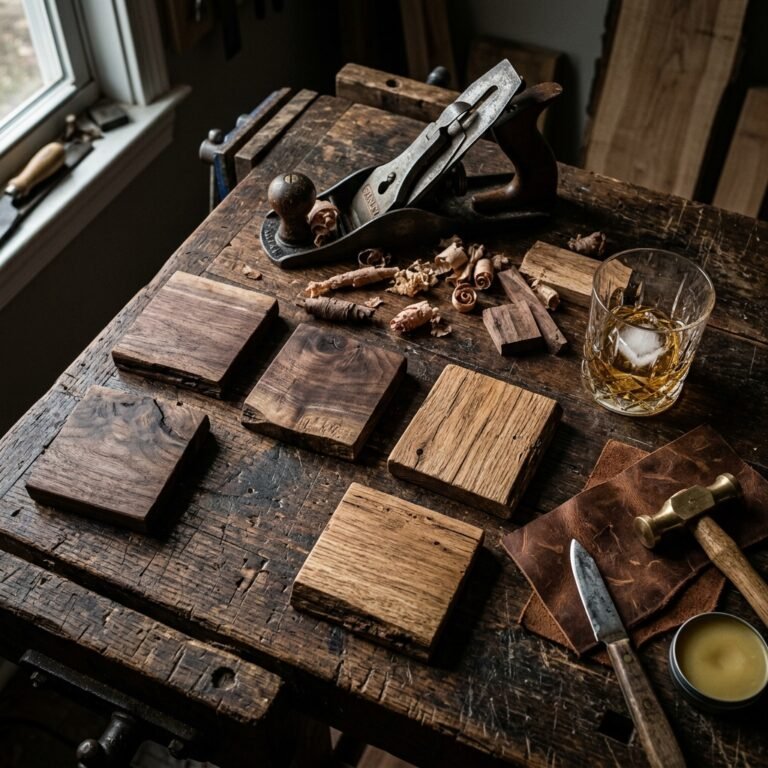
For a truly masculine-elegant aesthetic, the wood is your canvas. If you have access to a scrap pile, look for pieces with character—knots, interesting grain patterns, or even old nail holes from a previous life as a pallet. The ideal dimensions are roughly 8 to 10 inches long and 3 to 4 inches wide. The thickness is crucial: you want at least 3/4 of an inch to ensure you have enough depth to embed the magnets without drilling all the way through.
- Sanding: Start with 80-grit sandpaper to remove any splinters or rough patches, then move to 120-grit and finally 220-grit for a smooth-as-glass finish.
- Squaring: Ensure your top and bottom edges are perfectly straight so the opener sits flush against the wall.
- Safety First:
Always wear a dust mask when sanding, especially if you are using reclaimed wood, as you don’t know what old finishes or treatments might be in the dust.
Once your wood is prepped, you have a blank slate. If you want a darker, more sophisticated look, a walnut stain works wonders. If you prefer the rugged, industrial look, leave the wood natural and simply apply a coat of linseed oil to make the grain pop.
Step 2: The Secret Science of Magnet Placement
Engineering the Perfect ‘Catch’
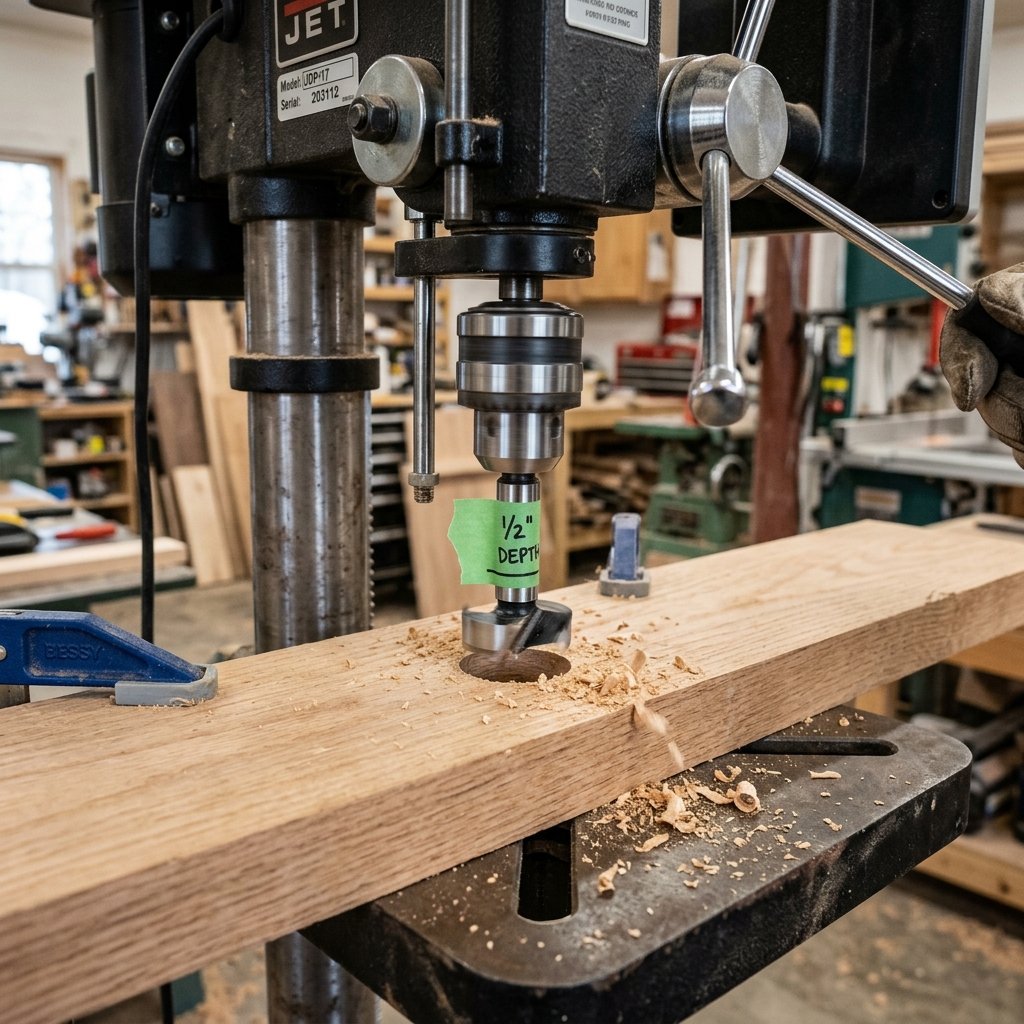
This is where the ‘clever’ part of the project comes in. We want the magnets to be invisible from the front, so we drill into the back of the wood. The goal is to get the magnet as close to the front surface as possible—ideally leaving only 1/8 of an inch of wood remaining. This allows the magnetic field to penetrate through the wood and grab the falling cap.
- Marking: Measure about 1 to 2 inches from the bottom of your board on the backside. This is where the ‘catch zone’ will be.
- The Forstner Bit: Use a Forstner bit that matches the diameter of your magnets (usually 1 inch). These bits create a flat-bottomed hole, which is essential for the magnet to sit flush.
- Depth Control: This is the most critical step. Drill slowly. Check your depth frequently. Pro Tip: Wrap a piece of painter’s tape around your drill bit as a depth gauge so you know exactly when to stop.
- Polarity Check: Before gluing, ensure all your magnets are facing the same direction. If you use multiple magnets, they should attract each other, not repel.
Secure the magnets into the holes using a heavy-duty epoxy or a strong construction adhesive. Let them cure for at least 2 hours before moving to the next step. This ensures they won’t be pulled out of the wood by the sheer force of the bottle caps over time.
Step 3: Mounting the Hardware and Finishing Touches
The Final Assembly
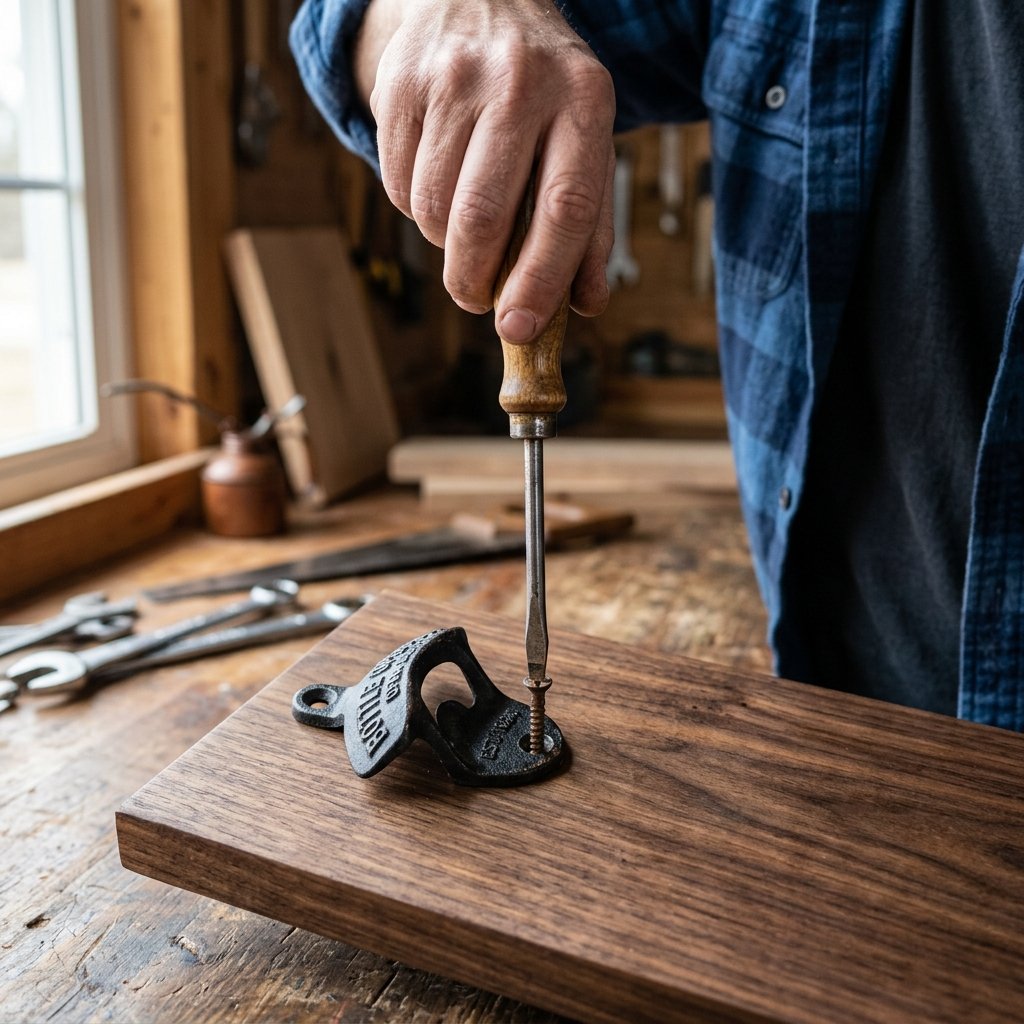
With your magnets hidden away, it is time to attach the star of the show: the cast iron opener. Center the opener at the top of the board, roughly 1.5 inches from the top edge. This leaves plenty of room for the bottle to be tilted and the cap to fall naturally toward the magnetic ‘sweet spot’ at the bottom.
- Pilot Holes: Always drill pilot holes for your screws. Cast iron openers often come with wood screws, but if you are using a hard wood like oak, you risk snapping the screw head off if you don’t pre-drill.
- Leveling: Use a small level to ensure the opener is perfectly vertical. A crooked opener is the hallmark of a rushed job!
- The Finish: For a truly professional look, apply a clear polyurethane or a handmade beeswax polish. This protects the wood from moisture (cold bottles sweat!) and gives it a sophisticated sheen.
For mounting the entire unit to the wall, you have two budget-friendly options: keyhole slots drilled into the back for a floating look, or simple pre-drilled countersunk holes through the front that allow you to screw it directly into a wall stud or use heavy-duty anchors.
Step 4: Customization for the Ultimate Man Cave Gift
Adding That Personal Touch
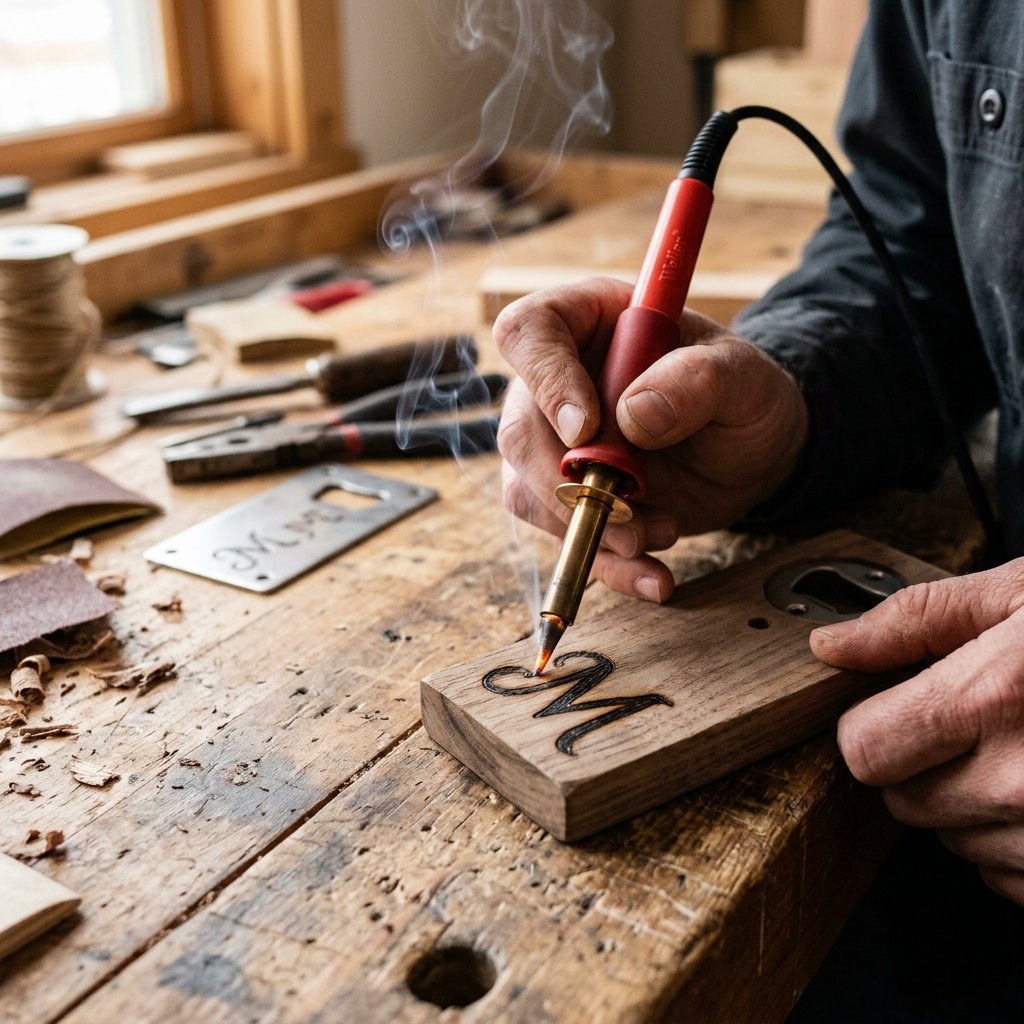
Since you saved so much money by DIYing, you can spend a little extra time on personalization. This is what transforms a ‘gadget’ into an ‘heirloom.’ There are several crafty ways to customize your opener without breaking the bank.
| Technique | Difficulty | Vibe |
|---|---|---|
| Wood Burning (Pyrography) | Medium | Rustic & Traditional |
| Custom Stencils & Paint | Easy | Modern & Bold |
| Chisel Carving | Hard | Artisanal & Rugged |
| Leather Wrap | Medium | Sophisticated & Tactile |
Consider wood-burning the recipient’s initials, a favorite sports team logo, or a significant date (like a wedding anniversary or the opening of their ‘Man Cave’). If you aren’t confident with a wood-burning tool, high-quality vinyl decals or even a simple permanent marker technique—where you trace a design and then seal it under the topcoat—works wonders. You could even add a small ‘cap catcher’ tray at the bottom made from a repurposed tin can or a leather pouch, though the magnets usually do a fine job on their own!
Conclusion
A Gift That Sticks Around
Congratulations! You have just created a piece of functional art that is as rugged as it is refined. By choosing to build instead of buy, you have not only saved roughly $40, but you have also created a gift with a story. Every time a friend pops a bottle and watches the cap snap to the wood, they will be reminded of your resourcefulness and craft. This project proves that you don’t need a massive budget to produce high-end results—you just need the right plan and a bit of DIY spirit. So, go ahead, mount it on the wall, crack open a cold one, and enjoy the satisfying click of success. You’ve earned it!

Makenzie is the founder and lead writer at MoneyHackTips.com — a personal finance blog dedicated to delivering street-smart financial wisdom for real people on real budgets. With 300+ published articles covering everything from debt management to investing fundamentals, Makenzie’s mission is to make every dollar work harder. When not writing about money hacks, Makenzie is testing frugal living strategies, optimizing side hustles, and helping readers build financial freedom from scratch.