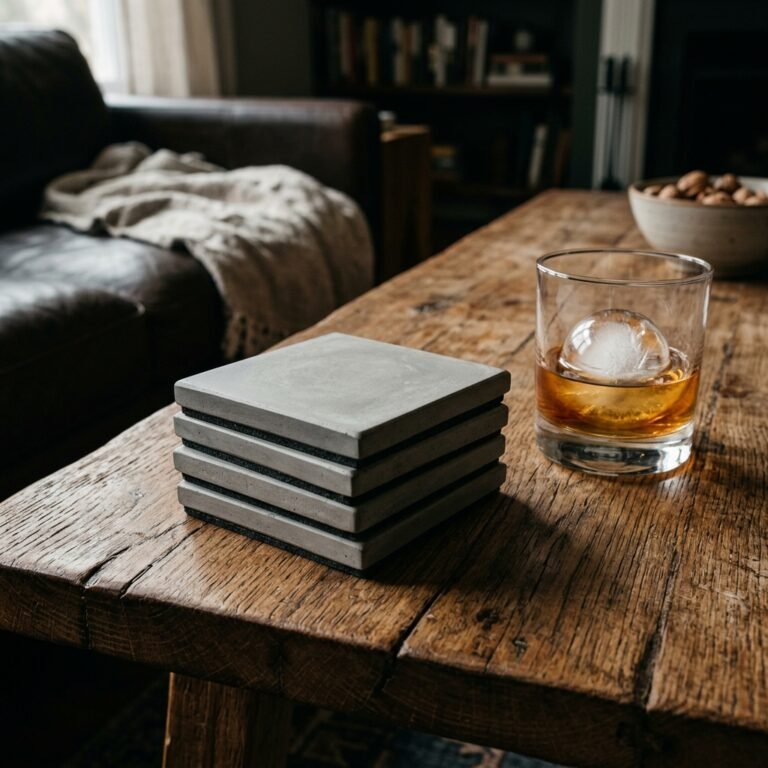
In the world of craft cocktails, bitters are often referred to as the salt and pepper of the bar. Just a few drops can transform a flat, one-dimensional drink into a complex, aromatic masterpiece. However, if you have ever browsed the aisles of a high-end liquor store, you have likely seen those tiny 4-ounce bottles retailing for $15 to $25 each. For the frugal DIYer, that price tag is a bitter pill to swallow.
As a resourceful crafter, you know that luxury doesn’t have to come with a premium price. Making your own bitters is not just a way to save 90% or more on your bar tab; it is an exercise in home alchemy. By using high-proof alcohol, common kitchen spices, and foraged or bulk-bought herbs, you can create bespoke flavor profiles that rival the most expensive boutique brands. This guide will show you how to master the art of the infusion, turning everyday ingredients into the ultimate rugged, masculine-elegant gift for the cocktail lover in your life—all for literally pennies per batch.
The Anatomy of Bitters: Understanding the Three Pillars
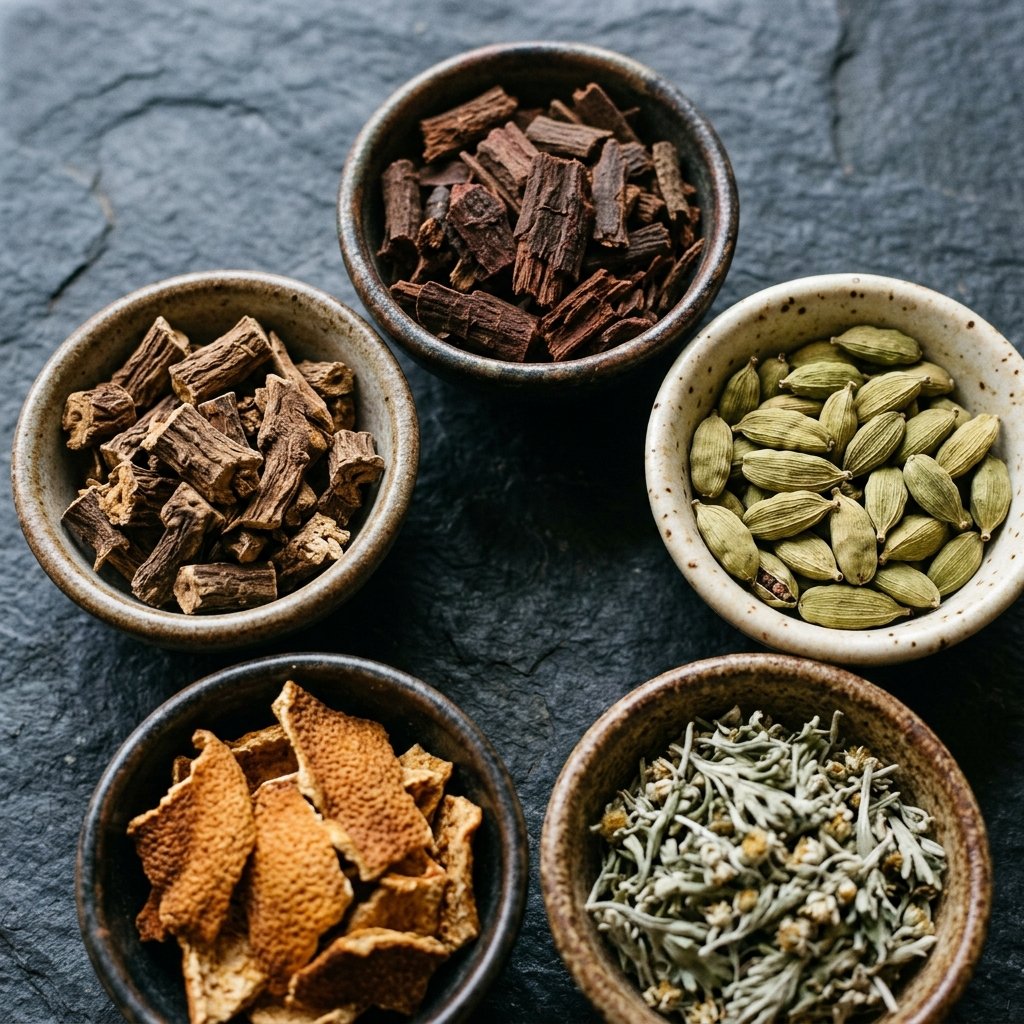
To craft a professional-grade bitter, you must understand the structural components. You aren’t just making flavored vodka; you are creating a concentrated extract designed to provide balance and depth. Every batch of bitters relies on three essential elements: the Bittering Agent, the Aromatics, and the Menstruum (the alcohol base).
1. The Bittering Agent (The Foundation)
This is what gives the bitters their name. These are roots, barks, or leaves that contain intense bitter compounds. Common choices include Gentian Root, Cinchona Bark, or Wild Cherry Bark. A small bag of these from an herbalist costs about $5 and will last for dozens of batches.
2. The Aromatics (The Personality)
This is where you get creative. Aromatics provide the primary flavor profile—think citrus peels, spices like cardamom and cloves, or even dried fruit and coffee beans. Most of these can be found in your spice rack or upcycled from your kitchen (like drying out your own orange peels).
3. The Menstruum (The Solvent)
To extract the most flavor in the shortest amount of time, you need high-proof alcohol. While professional bitters often use 100-proof grain alcohol, you can use budget-friendly 100-proof Bourbon or Rye whiskey to add a rugged, woody undertone that pairs perfectly with Old Fashioneds and Manhattans.
Pro-Tip: Never use expensive top-shelf liquor for bitters. The botanicals will completely overwhelm the subtle notes of the spirit. A $15 bottle of high-proof bottom-shelf bourbon is your best friend here.
The Budget Breakdown: DIY vs. Store-Bought

Before we dive into the recipe, let’s look at the math. When you realize how inexpensive these ingredients are when bought in bulk or repurposed, you will never buy a commercial bottle again. Here is how the costs stack up for a standard 4-ounce bottle.
| Component | Store-Bought Bitters (4oz) | DIY Bitters (4oz) |
|---|---|---|
| Alcohol Base | Included | $0.80 |
| Botanicals/Spices | Included | $0.45 |
| Bittering Roots | Included | $0.25 |
| Packaging/Bottle | Included | $0.00 (Upcycled) |
| Total Cost | $18.00 – $22.00 | $1.50 |
By mastering this craft, you are achieving a 92% cost reduction while creating a superior, preservative-free product. This makes it an ideal project for budget-savvy gift-givers who want to provide a high-value item without the high-value expense.
The ‘Old Fashioned’ Master Recipe: Step-by-Step Infusion
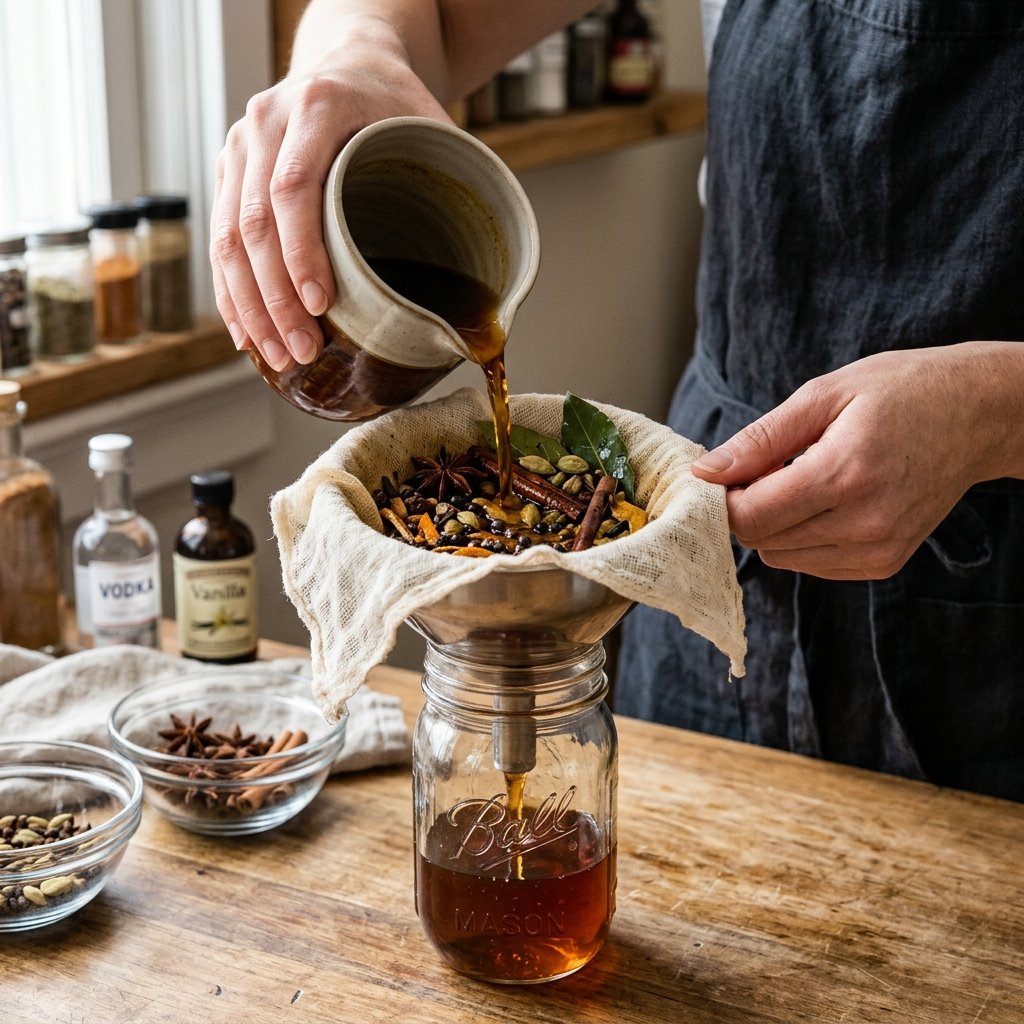
This recipe creates a classic, aromatic bitter with notes of cinnamon, clove, and bright citrus. It is the ‘Little Black Dress’ of the cocktail world—it goes with everything.
Step 1: The Dry Mix
Combine the following in a clean wide-mouth mason jar:
- 2 tablespoons dried orange peel (pith removed)
- 1 teaspoon Gentian root (the bittering powerhouse)
- 2 cinnamon sticks, cracked
- 4 whole cloves
- 1 teaspoon black peppercorns
- 1 star anise pod
Step 2: The Maceration
Pour 2 cups of 100-proof bourbon over the spices. Seal the jar tightly and store it in a cool, dark place. You must shake the jar once per day for 14 days. This movement ensures the alcohol reaches every surface area of the botanicals for maximum extraction.
Step 3: The Straining & Dilution
After two weeks, strain the liquid through a fine-mesh sieve lined with a coffee filter. This ensures your bitters are crystal clear. If the liquid is too intense, you can dilute it with a 1:1 ratio of distilled water and a splash of simple syrup to round out the edges.
“Patience is the secret ingredient in bitters. You cannot rush the chemistry of extraction. Two weeks is the sweet spot where the rugged spices meet the mellowing alcohol.”
Upcycled Packaging: Turning Trash into Treasure
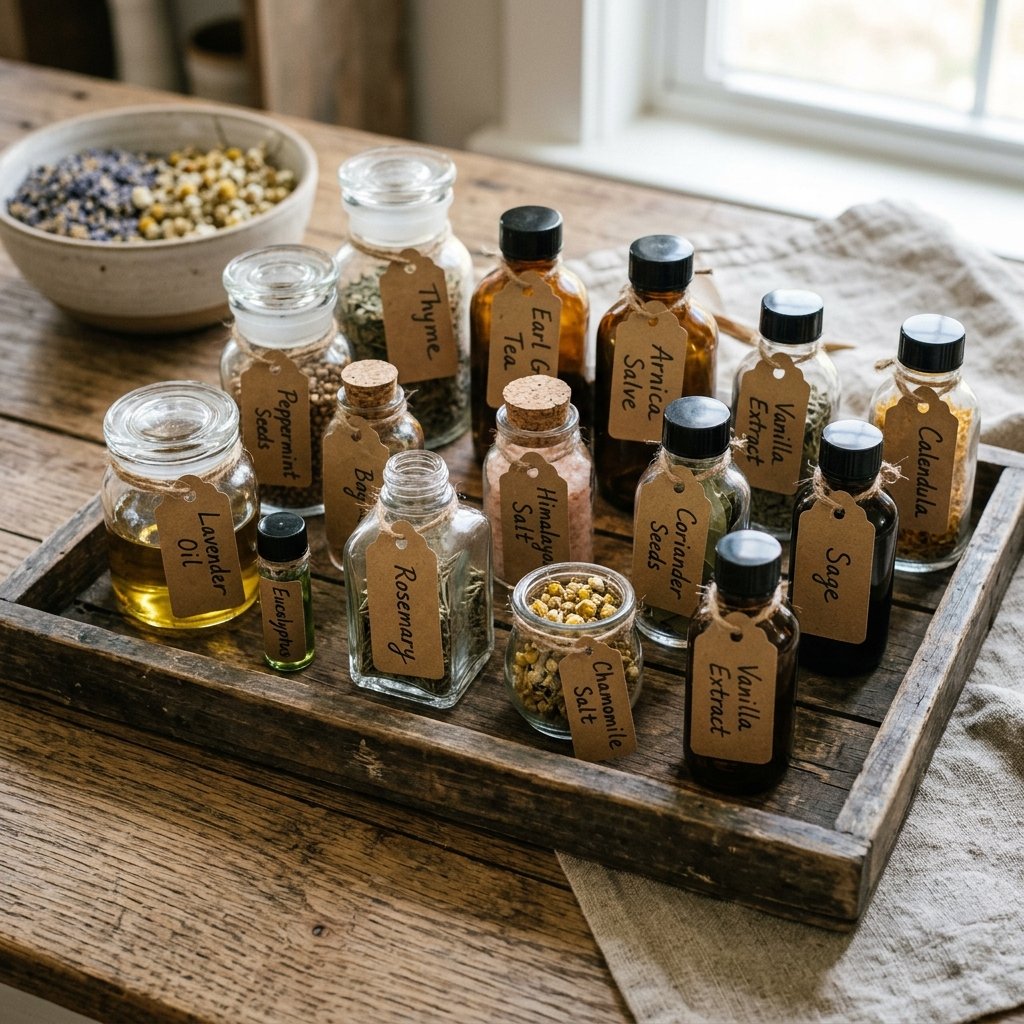
A gift is only as good as its presentation. To keep this project budget-friendly, look to your recycling bin. Small glass bottles from hot sauce, vanilla extract, or even maple syrup can be sterilized and reused. To give them that rugged, masculine-elegant look, follow these steps:
- Remove Labels: Soak bottles in hot water and baking soda to remove adhesive.
- The Cap Hack: If the original plastic cap looks cheap, replace it with a tapered cork (available for pennies at craft stores).
- The Label: Use brown kraft paper or even a piece of a brown paper grocery bag. Hand-write the flavor profile and date with a fine-liner pen.
- The Seal: Wrap the neck of the bottle in jute twine or use a bit of leftover candle wax to create a faux-distilled look.
This upcycling process ensures your packaging costs are $0.00, while the finished product looks like it was plucked from a 1920s apothecary shelf.
Flavor Profiles for Every Palate
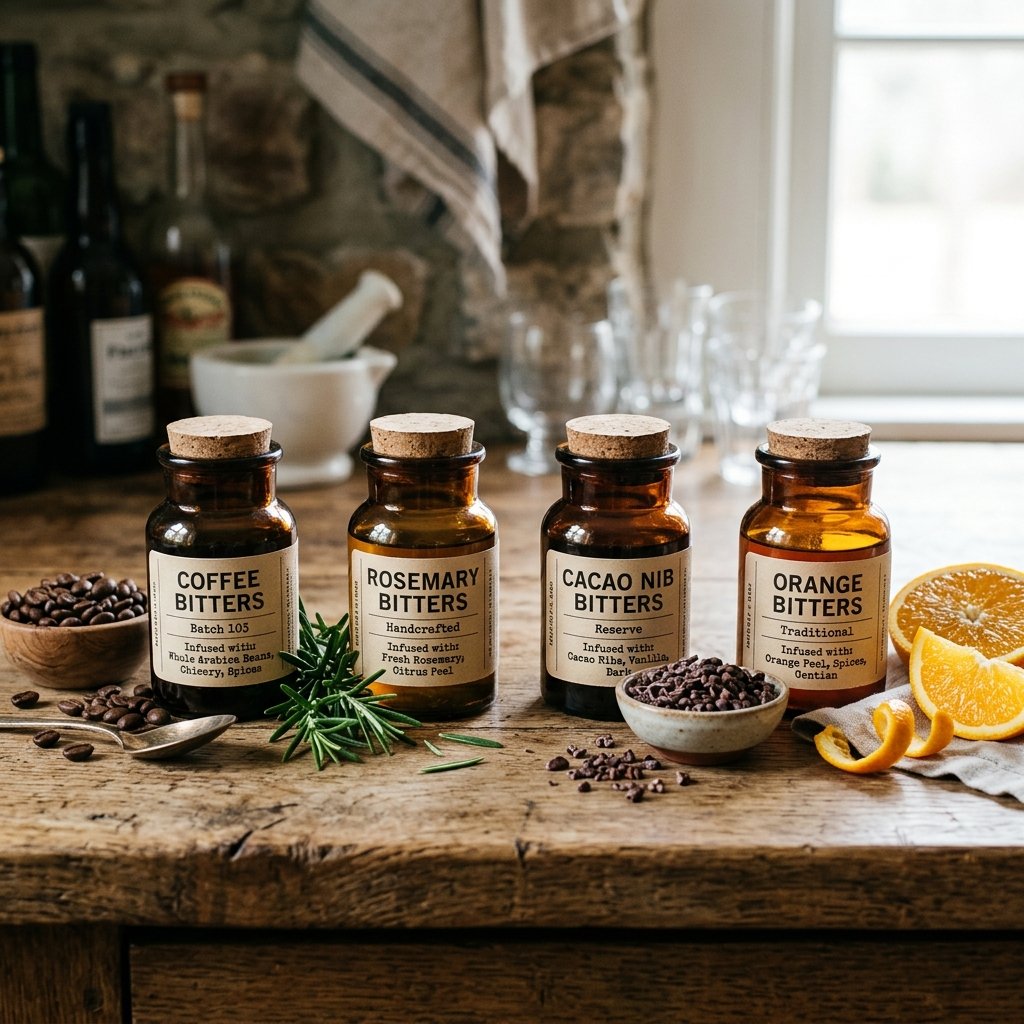
Once you master the base recipe, you can branch out into specialized variations. Use this table to guide your creative experiments based on what you have in your pantry.
| Bitters Style | Key Ingredients | Best Pairing |
|---|---|---|
| Spiced Chocolate | Cacao nibs, vanilla bean, cinnamon | Tequila or Aged Rum |
| Coffee & Smoke | Dark roast beans, smoked sea salt | Mezcal or Scotch |
| Garden Herbal | Dried rosemary, thyme, grapefruit peel | Gin & Tonic |
| Winter Spice | Allspice, ginger, nutmeg | Hot Toddies |
Each of these variations follows the same 14-day infusion timeline. Experimenting with these ratios allows you to tailor the gift specifically to the recipient’s favorite spirit.
Conclusion
Making your own herbal whiskey bitters is the ultimate “flex” for the frugal DIYer. It proves that with a little bit of time, a few recycled bottles, and some basic pantry staples, you can create a gift that is both deeply personal and incredibly high-end. Whether you are stocking your own home bar or crafting a rugged gift for a friend, these bitters represent the best of resourceful creativity. You’ve turned $1.50 worth of materials into a $20 luxury item. Now, pour yourself a drink—you’ve earned it!

Makenzie is the founder and lead writer at MoneyHackTips.com — a personal finance blog dedicated to delivering street-smart financial wisdom for real people on real budgets. With 300+ published articles covering everything from debt management to investing fundamentals, Makenzie’s mission is to make every dollar work harder. When not writing about money hacks, Makenzie is testing frugal living strategies, optimizing side hustles, and helping readers build financial freedom from scratch.