
The Frugal Parent’s Secret to Deep Toddler Concentration
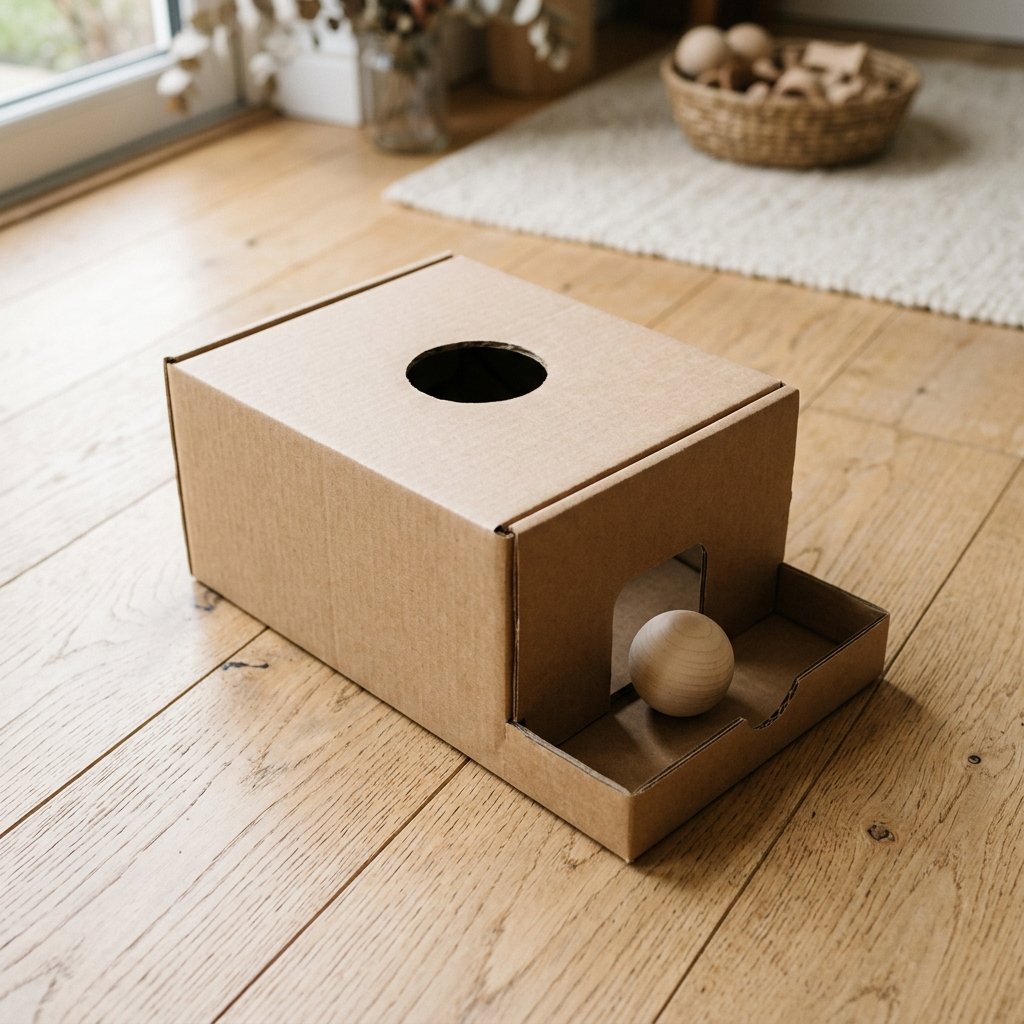
We have all been there: staring at a sleek, wooden ‘Object Permanence Box’ online that costs a staggering $40 plus shipping, wondering if a piece of wood and a ball is really worth the investment. As resourceful DIYers, we know better. The magic of the Montessori method isn’t in the price tag or the brand name; it is in the mechanical simplicity and the tactile feedback of the task. Today, we are going to channel our inner master-craftsman and turn a humble shipping box into a rugged, functional, and aesthetically pleasing Montessori Drop Box. This project is the epitome of ‘Trash-to-Treasure,’ requiring nothing more than a sharp blade, some wood glue, and the cardboard currently sitting in your recycling bin. Not only will this save you 100% of the retail cost, but it will also provide your toddler with a focused, screen-free activity that develops hand-eye coordination and the fundamental understanding of cause and effect.
The Blueprint: Understanding the Science of the Drop
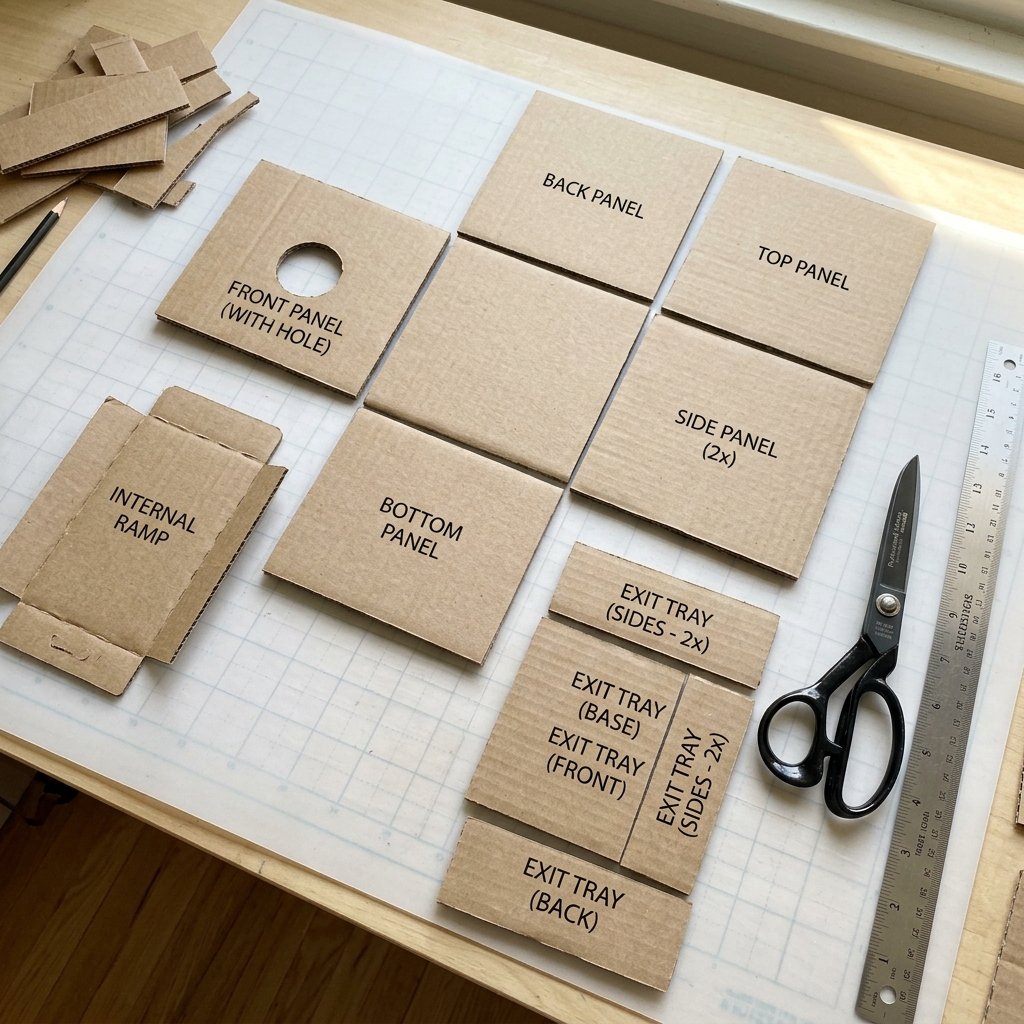
Why This Toy Works
Before we start cutting, it is essential to understand the ‘why’ behind this design. In the Montessori world, this is often called an ‘Object Permanence Box.’ For a toddler, an object that disappears from sight is effectively gone from the universe. This toy teaches them that even when the ball is out of sight (inside the box), it still exists and will reappear. This builds cognitive resilience and focus. By using cardboard, we are creating a lightweight yet durable version that has a unique, satisfying sound—a ‘thump’ that provides immediate auditory feedback.
Store-Bought vs. Zero-Budget DIY
| Feature | Store-Bought Wooden Box | Our DIY Cardboard Version |
|---|---|---|
| Cost | $25 – $50 | $0.00 |
| Build Time | N/A (Shipping 3-5 days) | 20 Minutes |
| Customization | Fixed Design | Fully Adjustable for Ball Size |
| Eco-Impact | New Lumber/Shipping Fuel | 100% Upcycled |
“The goal of the Montessori material is not to entertain, but to invite the child to work. A homemade box made with care is just as inviting as a store-bought one.”
The Workshop Inventory: Scavenging Your Materials
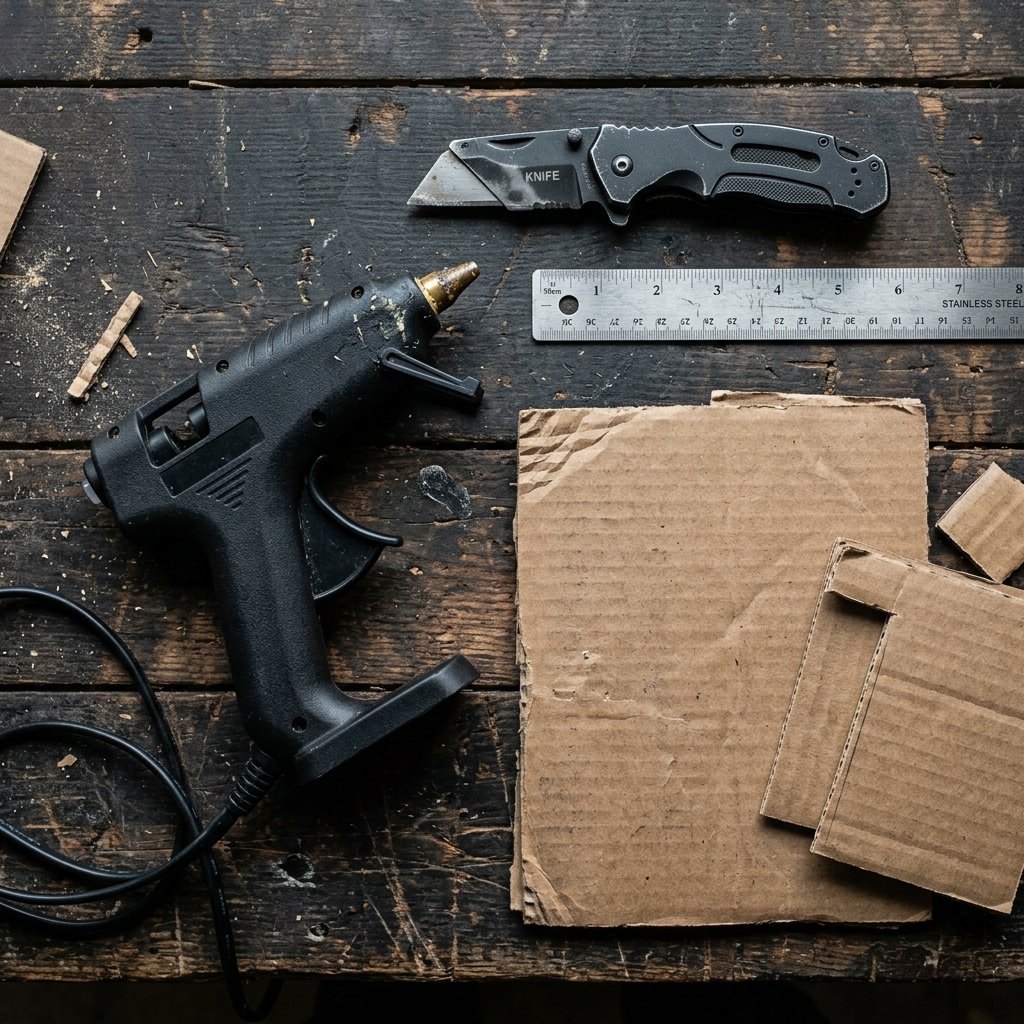
Gathering the Essentials
To build a box that stands up to the ‘rugged’ play of a 14-month-old, you need quality cardboard. Look for double-walled corrugated cardboard if possible, as it offers superior structural integrity. If you only have thin cereal boxes, you can laminate them together with glue to create a sturdier ‘ply-cardboard’ material.
- 1 Medium Shipping Box: The cleaner the better.
- A Sharp Utility Knife: Precision is key for those clean, masculine-elegant edges.
- Hot Glue Gun or Wood Glue: Use heavy-duty glue for a permanent bond.
- A Ruler or Straight Edge: To ensure your box doesn’t look like a ‘craft project’ but a ‘designed piece.’
- The ‘Object’: A golf ball, a ping pong ball, or even a large wooden bead.
Safety First: A Note for the Maker
Make sure all cut edges are sanded down with a bit of sandpaper or covered with masking tape to prevent cardboard ‘paper cuts.’ Always ensure the ball used is large enough to pass the ‘choke tube test’—it should not fit through a toilet paper roll.
Step-by-Step Construction: Engineering the Perfect Drop
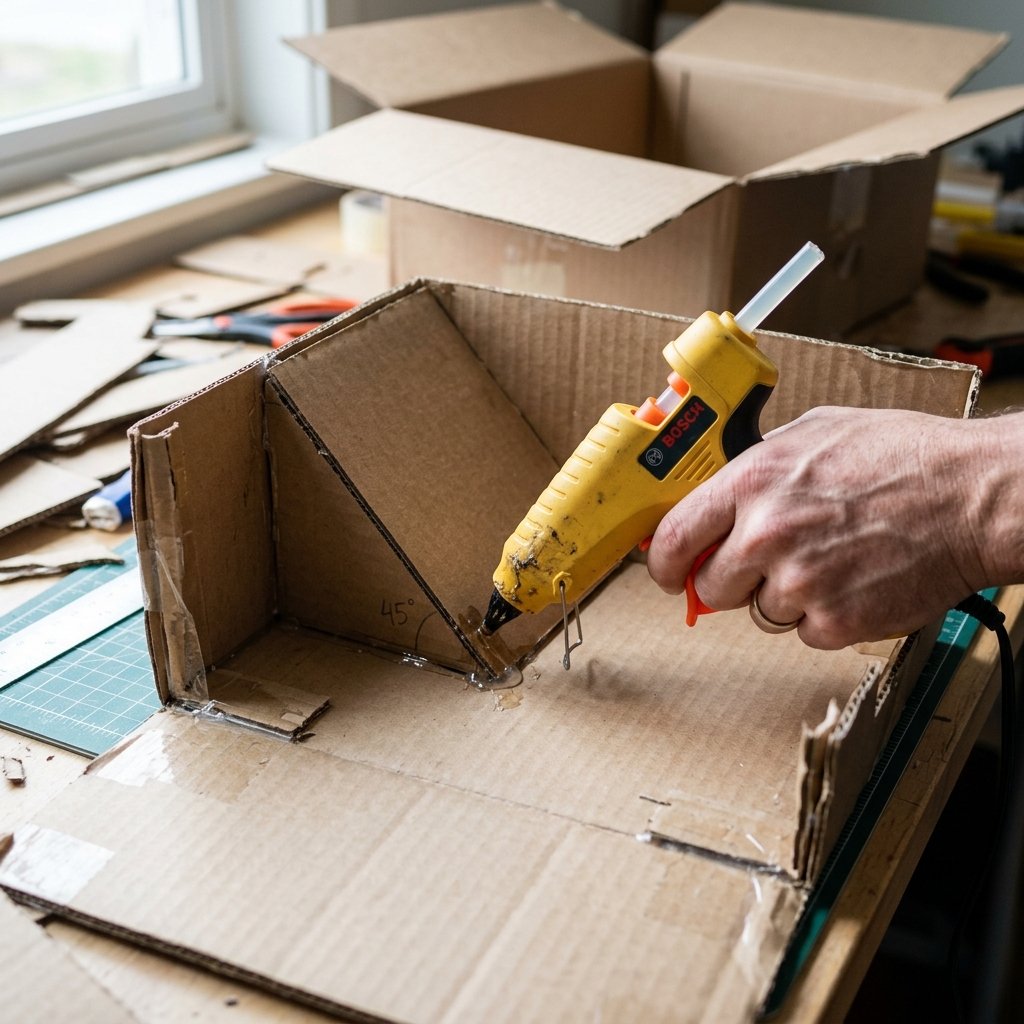
Phase 1: The Outer Shell
Start by cutting your cardboard into six identical squares. For a standard toddler box, 6 inches by 6 inches is the sweet spot. This size is large enough to be stable but small enough for little hands to reach over easily.
- Cut the Entrance: On one square (the top), trace your ball and cut a hole slightly larger (about 1/4 inch wider) than the ball.
- Cut the Exit: On the front-facing square, cut a wide archway at the very bottom. This is where the ball will roll out.
- The Internal Ramp: This is the ‘secret sauce.’ Cut a piece of cardboard that fits diagonally from the back-top to the front-bottom. This ensures the ball doesn’t just sit inside but rolls back to the child immediately.
Phase 2: Assembly
Using your hot glue gun, assemble the sides and the back. Before adding the top, glue your internal ramp at a 45-degree angle. Test it! Drop the ball in. If it rolls out the front archway smoothly every time, you’ve nailed the engineering.
“Precision in the internal ramp is the difference between a toy that frustrates and a toy that fascinates. Aim for a smooth, unobstructed path.”
Refining the Aesthetic: From ‘Recycling’ to ‘Designer’
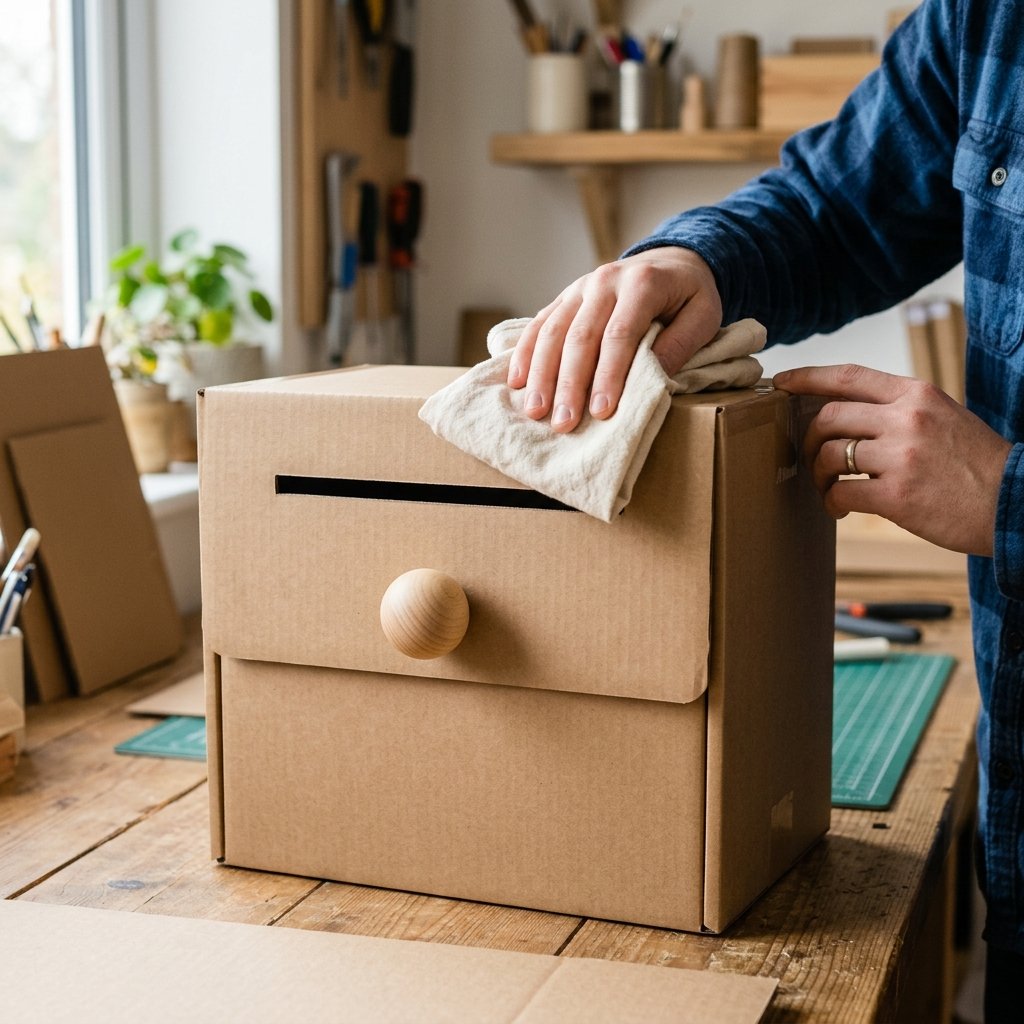
The Masculine-Elegant Finish
Just because it’s cardboard doesn’t mean it has to look like trash. To give it that ’boutique’ feel, we can apply a few crafty-expert tricks. You can leave the raw cardboard for a rugged, industrial look, or you can elevate it with simple finishes.
- Edge Banding: Use brown paper tape or masking tape to cover the ‘open’ corrugated edges. This makes the box look like a solid piece of wood.
- Contact Paper: Apply a wood-grain or matte white contact paper before assembly for a high-end replica look.
- Beeswax Finish: Believe it or not, rubbing a bit of beeswax onto raw cardboard can give it a slight sheen and a water-resistant layer that feels premium to the touch.
Estimated Cost Breakdown
| Material | Source | Cost |
|---|---|---|
| Cardboard | Amazon/Shipping Box | $0.00 |
| Hot Glue | Workshop Stash | $0.15 |
| Precision Blade | Toolbox | Owned |
| Total Project Cost | $0.15 |
Leveling Up: Variations for Continued Focus
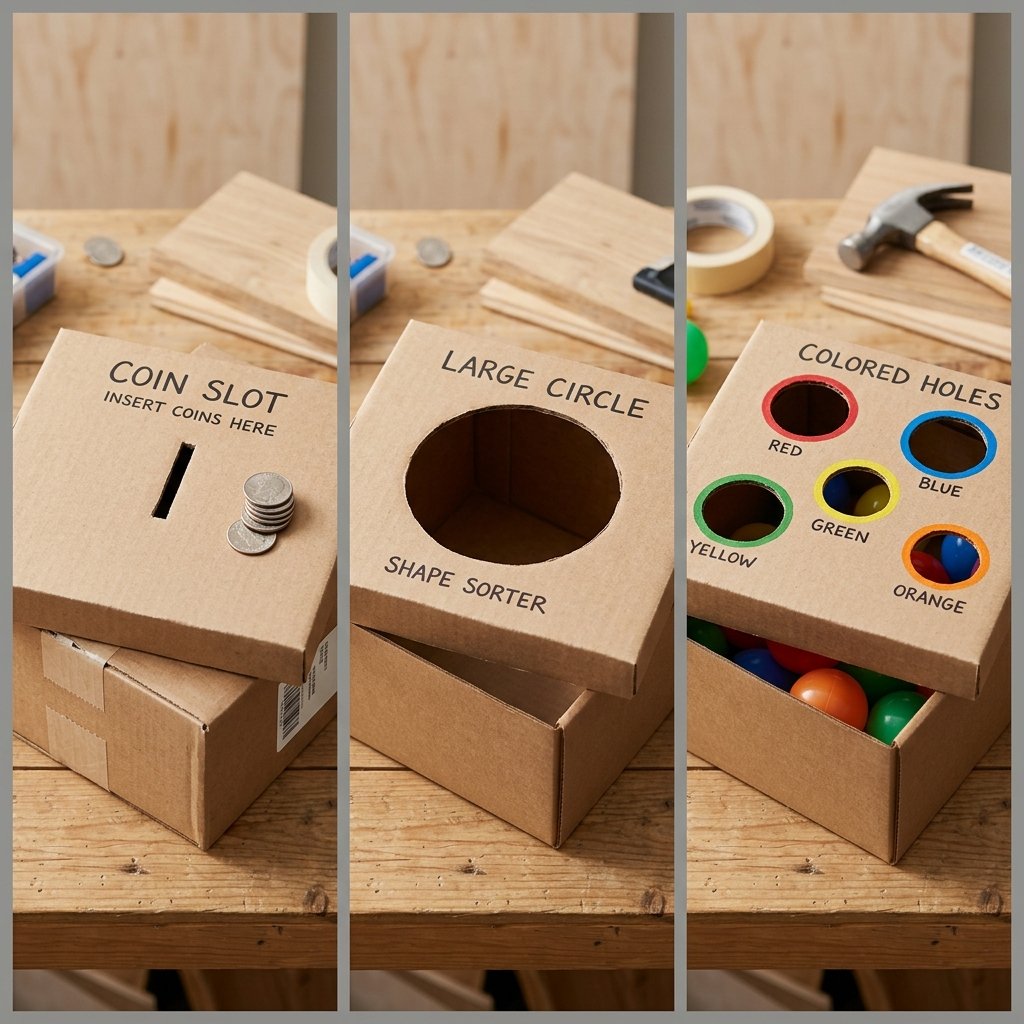
Adapting for Different Ages
Once your toddler masters the basic ball drop, don’t toss the box! A clever DIYer knows how to iterate. You can modify the top plate to keep the challenge fresh and the focus intense.
- The Coin Drop: Replace the circular hole with a thin slit. Give the toddler large plastic poker chips or ‘coins’ cut from extra cardboard. This requires wrist rotation and higher precision.
- The Scarf Pull: Instead of a ball, stuff the box with colorful silk scarves (or old fabric scraps). The toddler will love the resistance of pulling them through the hole.
- The Color Match: Paint the top of the box three different colors with three corresponding holes. This turns a motor skill task into a cognitive sorting game.
The 5-Minute Maintenance Check
Cardboard is durable, but toddlers are ‘rugged.’ Every few weeks, check the structural integrity. If the ramp starts to sag, a quick 30-second bead of hot glue will have it back in service. This is the beauty of DIY—you are the manufacturer, the repairman, and the hero.
Conclusion
The Reward of Resourceful Parenting
By choosing to build instead of buy, you have done more than just save $30 or $40. You have modeled resourcefulness, reduced waste, and created a custom tool tailored to your child’s development. This DIY Cardboard Montessori Drop Box is a testament to the fact that the best toys aren’t found in a plastic aisle; they are built at the kitchen table with a bit of ingenuity and a ‘can-do’ spirit. Watch your toddler drop that ball for the first time, see their eyes light up as it reappears, and take pride in knowing that those hours of focus were made possible by your own two hands. Now, go find that spare box and start cutting—your toddler’s new favorite toy is waiting in your recycling bin!

Makenzie is the founder and lead writer at MoneyHackTips.com — a personal finance blog dedicated to delivering street-smart financial wisdom for real people on real budgets. With 300+ published articles covering everything from debt management to investing fundamentals, Makenzie’s mission is to make every dollar work harder. When not writing about money hacks, Makenzie is testing frugal living strategies, optimizing side hustles, and helping readers build financial freedom from scratch.