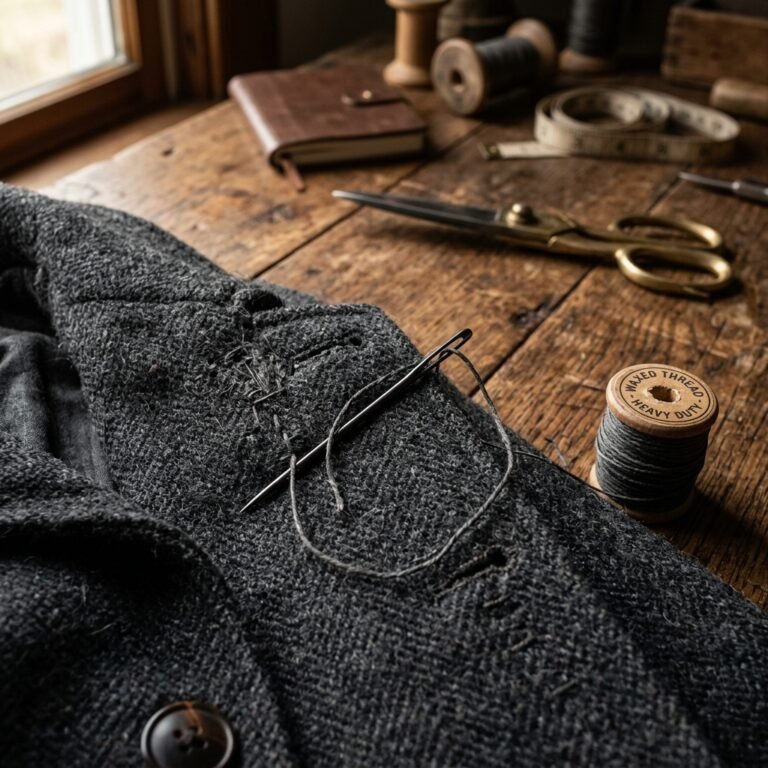
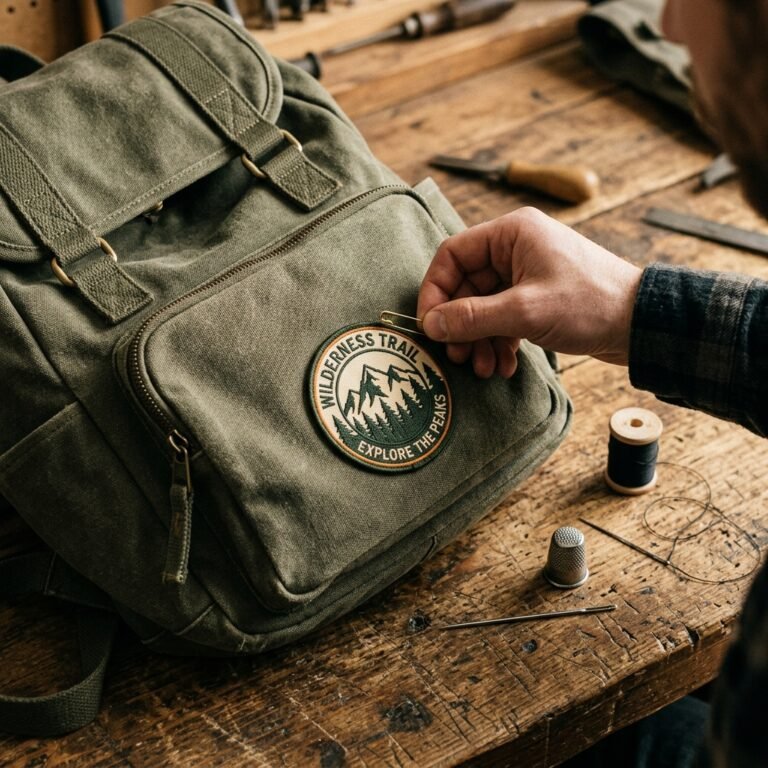
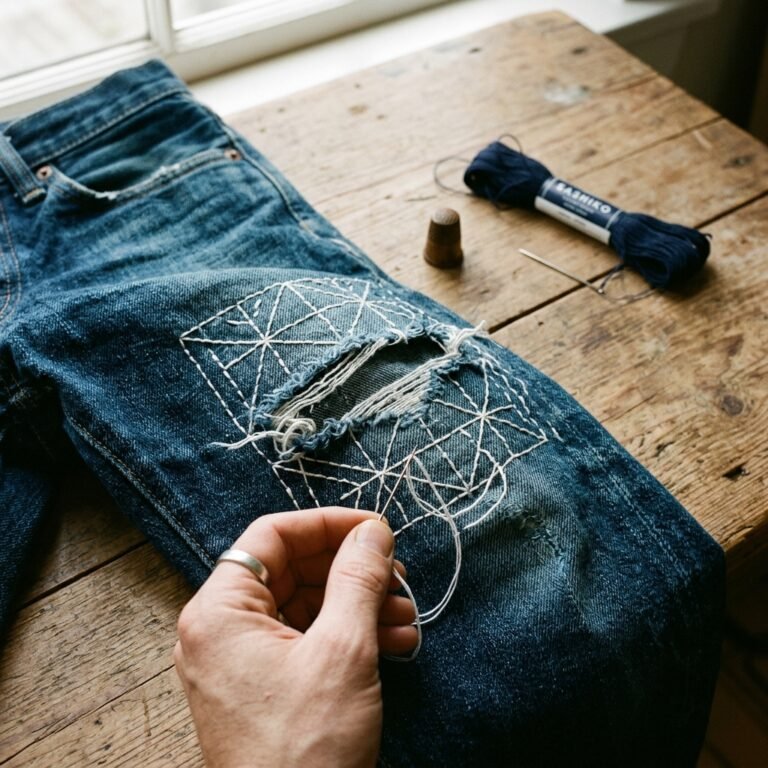
There is nothing quite as frustrating as reaching for your favorite heavy-knit cardigan on a crisp morning, only to realize a button is dangling by a single, exhausted thread. For the frugal DIYer, this isn’t just a minor annoyance; it is a call to action. In a world of fast fashion and disposable garments, the ability to perform a 2-minute repair is a superpower that saves you from the $15 to $25 fee a professional tailor might charge—or worse, the cost of replacing the entire garment. This guide isn’t just about utility; it is about the rugged elegance of maintaining what you own. We are going to dive into the ‘Shank Technique,’ a professional secret that ensures your buttons don’t just stay on, but they actually function better with the thickness of knit fabrics. Whether you are a busy parent or a style-conscious minimalist, this quick fix is the ultimate budget-savvy skill to add to your arsenal. Let’s get that cardigan back in the rotation.
The Mender’s Arsenal: Low-Cost Tools for High-Value Results
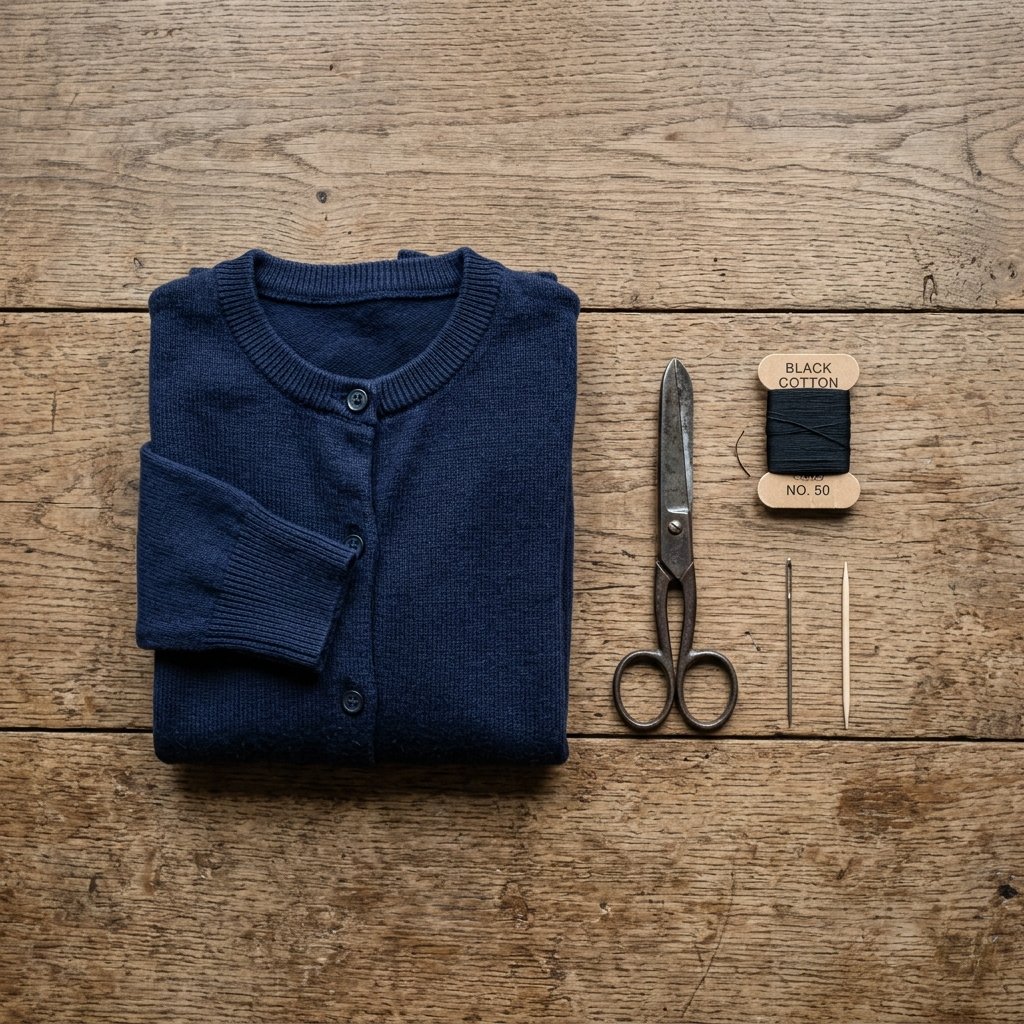
Before we dive into the stitch, we need to gather our tools. The beauty of hand-mending is that the overhead is nearly $0 if you already have a basic kit, or under $5 if you are starting from scratch. You don’t need a sewing machine or a dedicated studio—just a small corner of a table and a few minutes of focus. For cardigans, specifically those with chunky or textured knits, the choice of thread and needle is paramount. You want a needle with an eye large enough for heavier thread but sharp enough to glide through the knit without snagging the fibers.
| Tool Item | Purpose | Estimated Cost |
|---|---|---|
| Hand Sewing Needle | Sharp point for precision; larger eye for knits. | $0.10 |
| All-Purpose Polyester Thread | High tensile strength to prevent future snapping. | $0.05 |
| Toothpick or Matchstick | The secret tool for creating a ‘thread shank’. | FREE |
| Small Scissors | For clean snips and preventing frayed ends. | $1.00 |
| The Loose Button | The original hardware (or a spare from the side seam). | FREE |
Choosing the Right Thread
While cotton thread is classic, polyester or nylon-wrapped polyester is the savvy choice for knits. Why? Because knitwear moves. It stretches, breathes, and puts tension on every seam. Polyester has a slight ‘give’ that prevents the thread from snapping when you’re buttoning up a tight sweater. If you are working with a particularly heavy wool coat-cardigan, consider using buttonhole twist or doubling your standard thread for maximum durability.
The Physics of the Cardigan: Why Knits Require a Different Approach
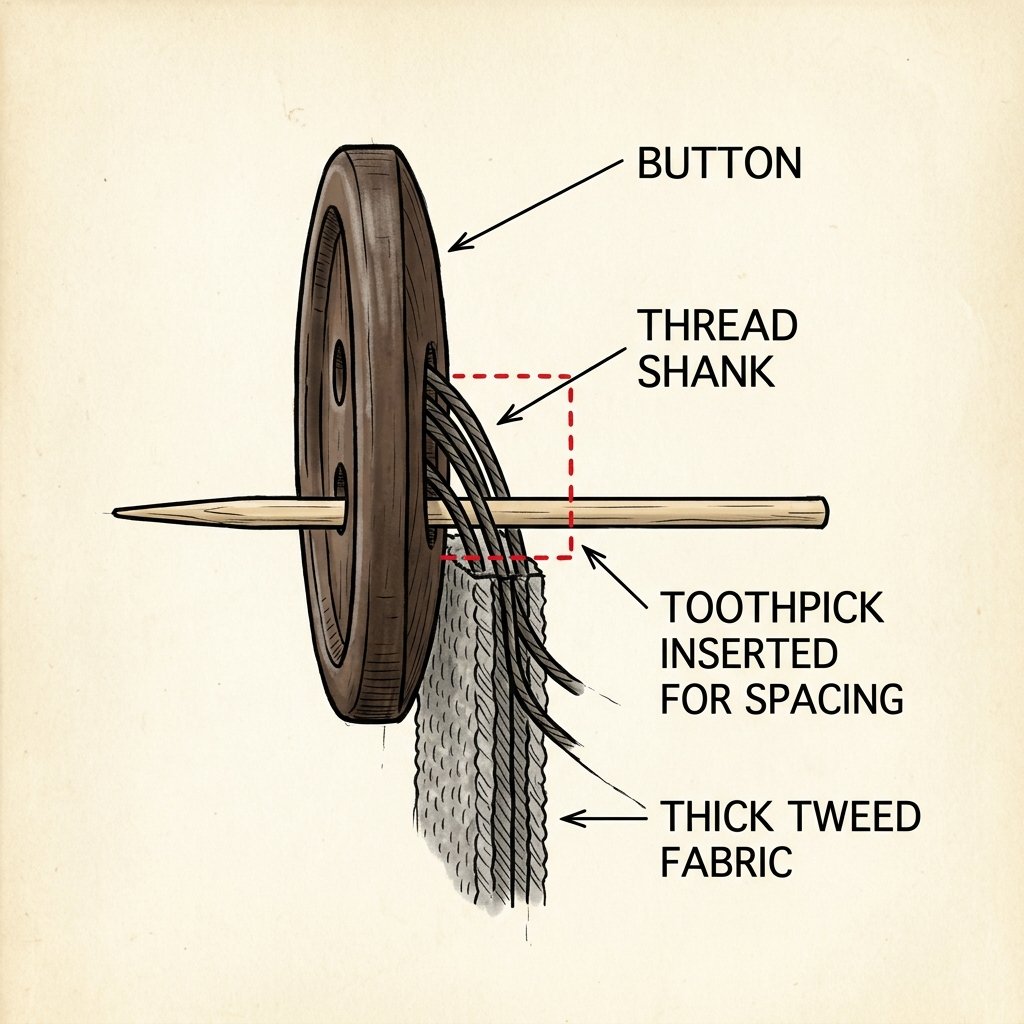
Most people make the mistake of sewing a button flush against the fabric. On a thin dress shirt, this is fine. On a cardigan, it is a recipe for disaster. Knit fabrics are thick. When you button the garment, that thickness needs a place to go. If the button is too tight against the fabric, it will pull on the knit, eventually creating a hole or causing the button to pop off again. This is where the thread shank comes in.
The Golden Rule of Knit Mending: Never sew a button flat. Always build a bridge of thread to give the fabric room to breathe.
By using a spacer (like our trusty toothpick), we create a small pillar of thread. This pillar, or shank, allows the button to sit slightly above the surface of the knit. This not only makes it easier to actually push the button through the buttonhole but also protects the delicate knit fibers from being pinched and weakened over time. It is a small detail that separates a ‘home job’ from a professional-grade repair.
Understanding Fabric Tension
When working with wool or acrylic blends, you must be careful not to pull your stitches too tight. If you distort the ‘grid’ of the knit, the repair will be visible from the outside. The goal is to anchor the thread into the structural yarn of the sweater, not just the fuzzy surface fibers. This ensures that the weight of the button is distributed across the fabric’s weave.
The 2-Minute Masterclass: A Step-by-Step Guide to the Perfect Shank
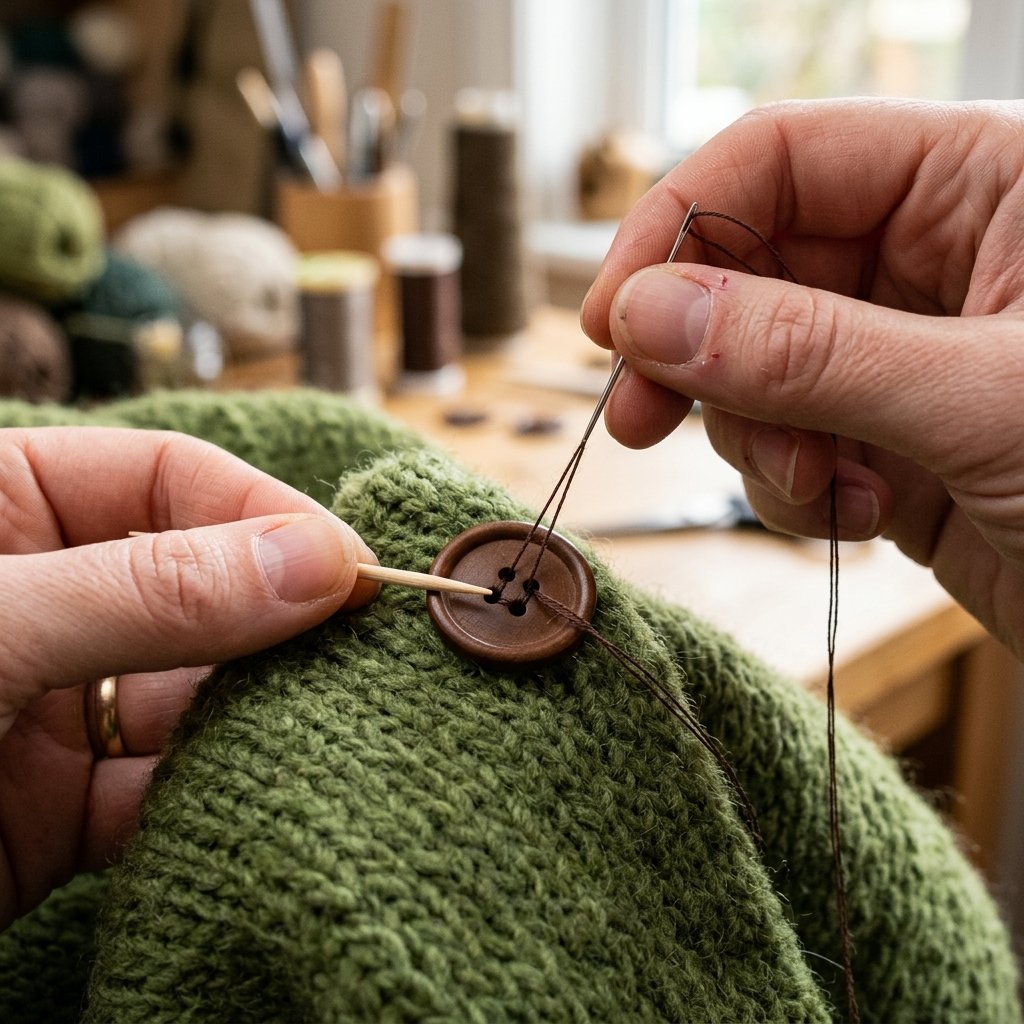
Ready to execute? Follow these steps with precision. The entire process should take you less time than it takes to brew a cup of coffee. We are aiming for a repair that is 100% secure and looks better than the original factory stitch.
- Thread the Needle: Cut about 18 inches of thread. Double it through the needle and tie a sturdy knot at the end. Doubling the thread provides 2x the strength and cuts your sewing time in half.
- The Anchor Stitch: Start from the front of the cardigan. Poke the needle into the spot where the button belongs, catch a few sturdy fibers, and bring the needle back up. This hides the knot underneath the button.
- The Spacer Placement: Place your button over the anchor stitch. Pass the needle through one hole. Now, lay your toothpick or matchstick across the top of the button, between the holes.
- The Loop: Stitch over the toothpick and down through the opposite hole. Repeat this 5 to 6 times. The toothpick ensures you aren’t pulling the thread too tight.
- The Shank Creation: Remove the toothpick. Pull the button upward so the slack thread is visible underneath. Bring your needle up between the button and the fabric.
- The Wrap: Firmly wrap your thread around the vertical strands of thread 3 to 4 times. This creates a solid ‘post’ or shank. This is the secret to a rugged, long-lasting repair.
- The Final Lock: Push the needle through the shank you just created, tie a small knot, and bury the thread tail back into the knit before snipping.
| Step Name | Time Required | Critical Tip |
|---|---|---|
| Preparation | 30 Seconds | Double your thread for speed. |
| Stitching | 60 Seconds | Use a toothpick spacer! |
| Shanking | 30 Seconds | Wrap tightly for a solid post. |
Reinforcement Secrets: How to Prevent Future Pops
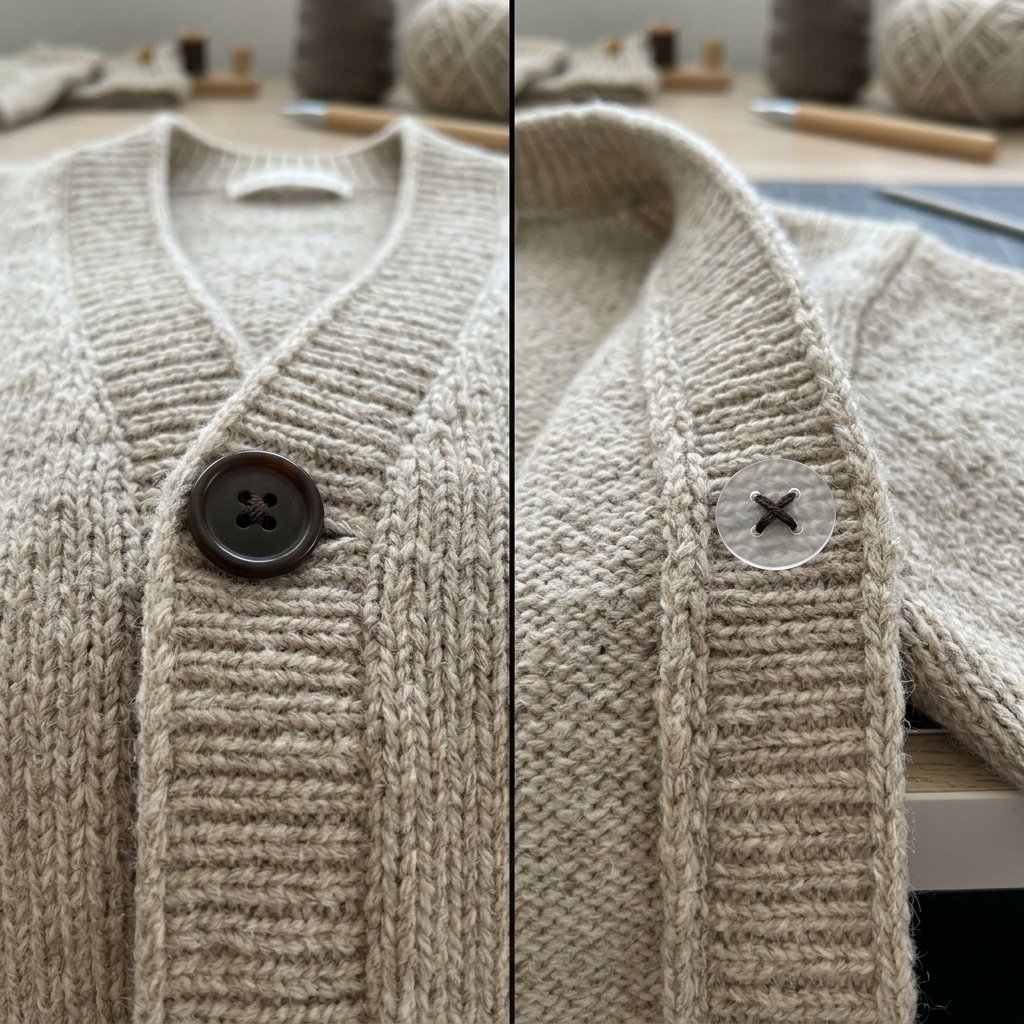
If you find that your buttons are constantly falling off, the issue might not be your sewing—it might be the weight of the button relative to the knit. For heavy cardigans, savvy menders use a backing button. This is a tiny, clear, or flat button placed on the inside of the garment. You sew through the main button, through the fabric, and through the backing button simultaneously.
Why Use a Backing Button?
- Stress Distribution: It prevents the thread from pulling a hole in the knit.
- Professional Finish: It looks incredibly clean on the inside of the garment.
- Longevity: It is nearly impossible for a button reinforced this way to tear out.
| Repair Type | Durability Level | Best For… |
|---|---|---|
| Standard Stitch | Low | Lightweight t-shirts or decorative buttons. |
| Shank Stitch | High | Standard cardigans and everyday knits. |
| Backing Button Method | Extreme | Heavy wool coats, pea coats, and chunky cable knits. |
Pro Tip: If you don’t have a backing button, a small square of grosgrain ribbon or even a sturdy piece of felt hidden on the inside can act as a reinforcement ‘anchor’ for the thread.
The Frugal Wardrobe Philosophy: Mending as a Masculine-Elegant Art

Mending is often seen as a chore, but for the resourceful individual, it is an act of stewardship. Every time you pick up a needle, you are rebelling against a culture of waste. There is a rugged satisfaction in knowing that your clothes don’t just fit you—they are maintained by you. This 2-minute button fix is a gateway into the broader world of upcycling and garment care.
The Cost of Neglect vs. The Value of Care
Consider the math: A high-quality wool cardigan can cost anywhere from $80 to $200. Losing a button and letting the garment sit in the back of the closet is a 100% loss of that investment. Spending 2 minutes and $0.15 worth of materials to restore it to 100% utility is the highest ROI (Return on Investment) task you can perform in your home today. It’s not just about the money; it’s about the pride of craftsmanship.
- Check your buttons: Once a month, give every button on your favorite knits a gentle tug.
- Tighten early: A loose thread is a 10-second fix; a lost button is a 2-minute search and repair.
- Carry a kit: Keep a pre-threaded needle in your wallet or travel bag for emergency field repairs.
Conclusion
Saving your knits doesn’t require a degree in tailoring or a massive budget. By mastering the 2-minute shank technique, you have effectively extended the life of your wardrobe by years. You’ve moved from being a consumer to a creator—someone who knows how to handle a needle with the same precision as a hammer or a wrench. Remember, the most stylish people aren’t those with the most expensive clothes, but those who take the best care of what they have. So, the next time you see a button wobbling on your favorite cardigan, don’t toss it aside. Grab a toothpick, a needle, and 120 seconds of your time. Your wallet, and your wardrobe, will thank you. Happy mending!

Makenzie is the founder and lead writer at MoneyHackTips.com — a personal finance blog dedicated to delivering street-smart financial wisdom for real people on real budgets. With 300+ published articles covering everything from debt management to investing fundamentals, Makenzie’s mission is to make every dollar work harder. When not writing about money hacks, Makenzie is testing frugal living strategies, optimizing side hustles, and helping readers build financial freedom from scratch.