
Welcome to the Cardboard Laboratory
In a world of flashing plastic toys and expensive Montessori wooden sets that can easily cost upwards of $50 to $100, there is a rugged, practical alternative sitting right in your recycling bin. As a frugal DIYer, you know that a shipping box isn’t just trash—it is the raw material for a world-class educational tool. Today, we are going to dive into shipping box alchemy to create a multi-layered anatomy puzzle that teaches your toddler the wonders of the human body without spending a single dime at a big-box retailer.
This isn’t just about saving money; it is about the crafty-expert satisfaction of building something durable, beautiful, and intellectually stimulating for your child. By the end of this guide, you will have mastered the art of layered cardboard construction, creating a ‘Junior Biologist’ station that rivals any high-end boutique toy store. Let’s sharpen our blades and get to work.
The Anatomy of Savings: Why DIY Beats Store-Bought
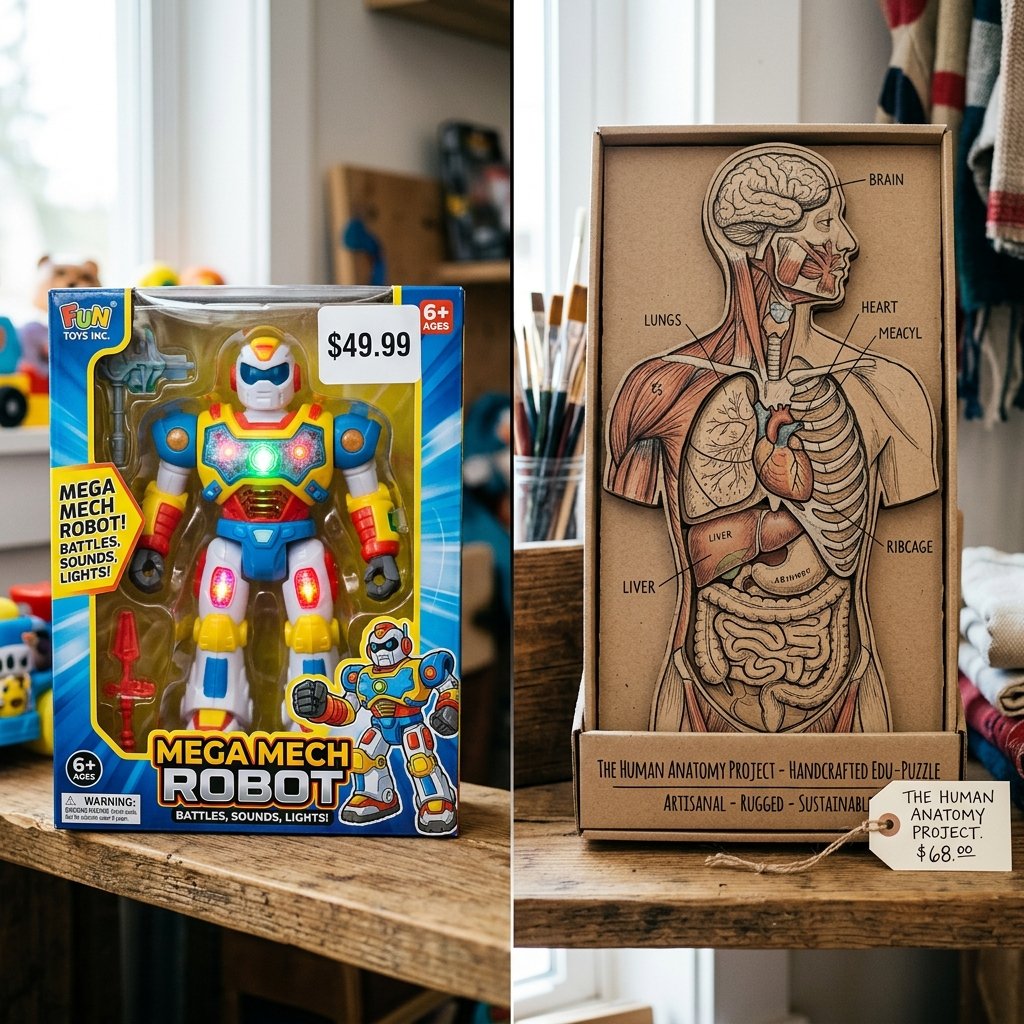
Before we make the first cut, let’s look at the hard numbers. Why should you spend 60 minutes of your evening building this instead of clicking ‘Buy Now’ on Amazon? The answer lies in the quality of the materials and the customization of the learning experience.
| Feature | Store-Bought Plastic Puzzle | DIY Upcycled Cardboard Puzzle |
|---|---|---|
| Total Cost | $25.00 – $65.00 | $0.00 – $1.50 |
| Durability | Brittle Plastic / Thin Wood | Heavy-duty Double-wall Corrugated |
| Customization | Generic / Non-adjustable | 100% Tailored to Child’s Interest |
| Environmental Impact | High (New Plastic/Shipping) | Zero Waste (Upcycled) |
| Educational Depth | Fixed Layers | Expandable (Add more layers later) |
By choosing the DIY route, you are practicing resourceful creativity. You are teaching your toddler that we don’t just consume; we create. Plus, the tactile feel of thick, corrugated cardboard is often more satisfying for little hands than slippery, cold plastic.
The Master Builder’s Toolkit: Gathering Your Supplies
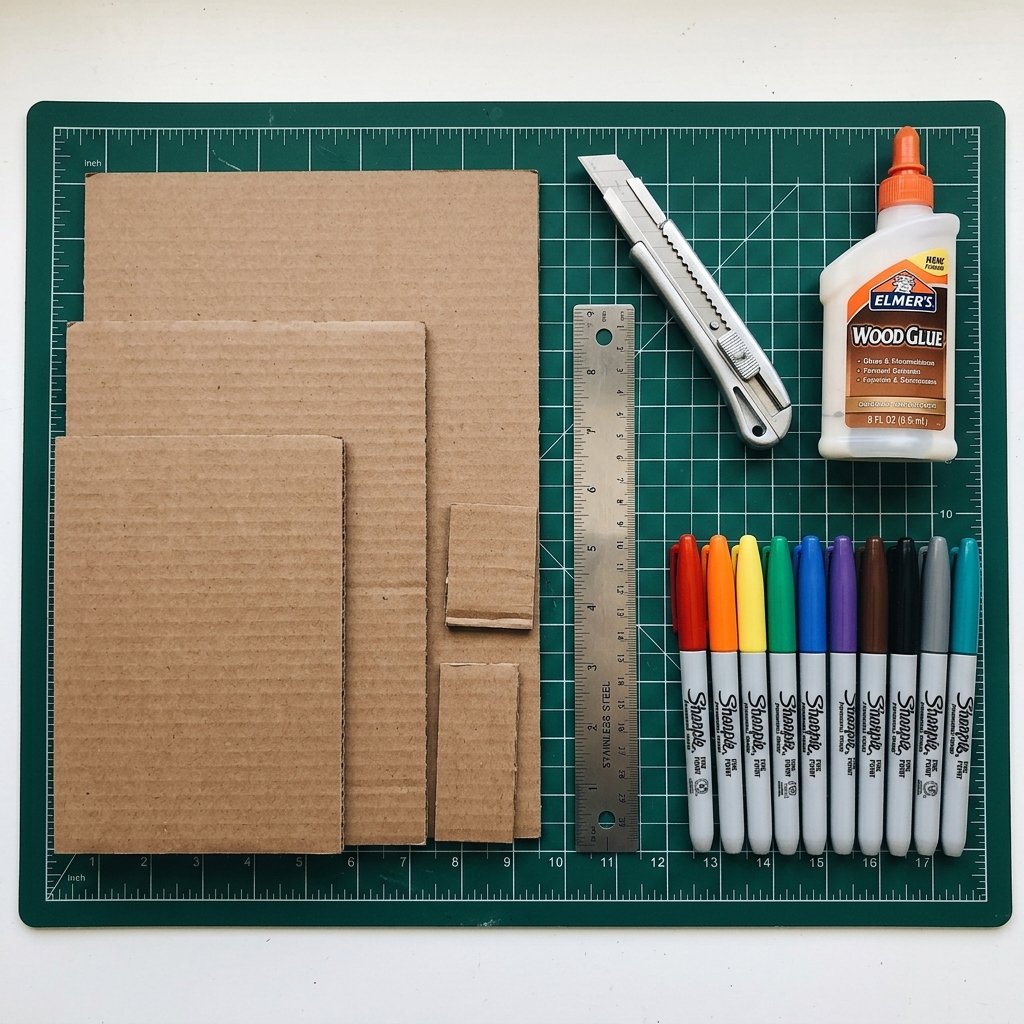
To build a puzzle that lasts through the ‘toddler-testing’ phase, you need the right gear. We are looking for rugged, practical materials that offer structural integrity. Forget the flimsy cereal boxes; we need the heavy hitters.
- Double-wall Corrugated Cardboard: The ‘gold standard’ for cardboard builds. Look for shipping boxes from heavy appliances or furniture.
- Precision Utility Knife: A sharp blade is essential for clean, professional edges.
- Non-Toxic Wood Glue or Heavy-Duty Glue Stick: For laminating layers without warping.
- Paint Pens or Permanent Markers: To define the organs and skeletal structure with masculine-elegant precision.
- Self-Healing Cutting Mat: To protect your workbench (or kitchen table).
Safety First: Always use a fresh, sharp blade. A dull blade requires more pressure, which leads to slips. Keep all cutting tools out of reach of children and perform the ‘surgical’ cuts yourself in a dedicated workspace.
Phase 1: Designing the Blueprint and Base
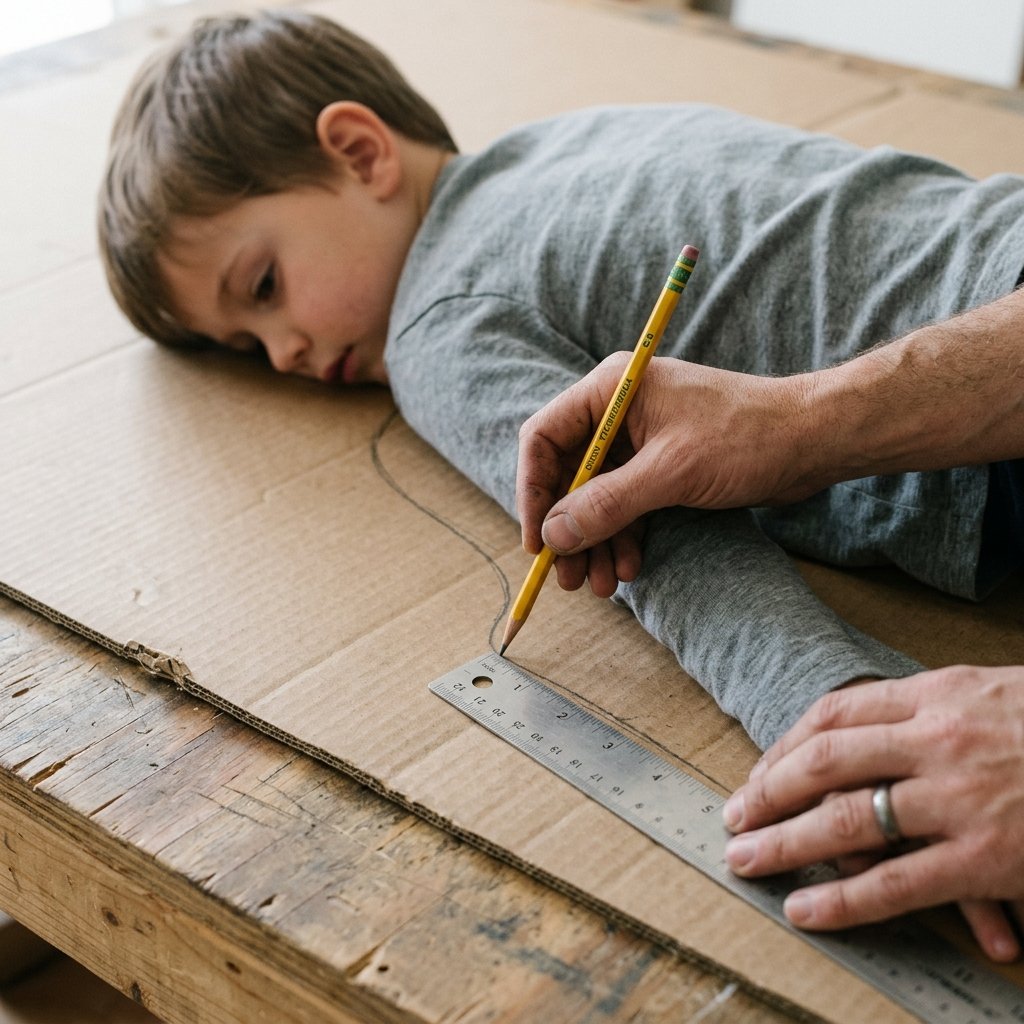
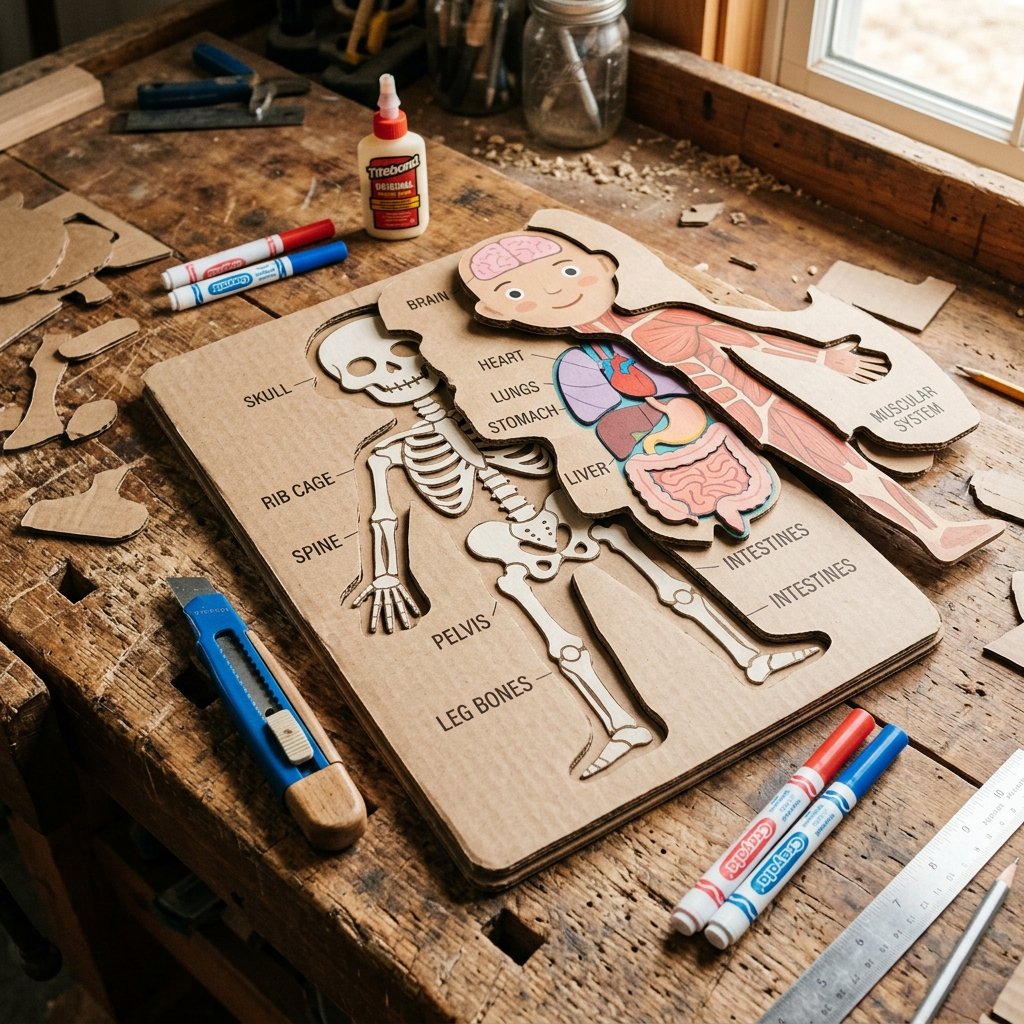
The secret to a successful multi-layered puzzle is the frame. You aren’t just making pieces; you are building a ‘nest’ for them to sit in. We will be creating four distinct layers: The Skeleton, The Organs, The Muscles, and The Skin.
Step-by-Step Blueprinting:
- Trace the Base: Cut a large rectangle (approx. 12″ x 18″) to serve as your foundation.
- The Silhouette: On a separate piece of cardboard, draw the outline of a human body. Ensure the limbs are wide enough for a toddler to handle easily.
- Cutting the Window: Use your utility knife to cut this silhouette out of the center of a second cardboard sheet. This ‘negative space’ sheet will be glued to your base, creating the well where all the pieces will sit.
This creates a sturdy, recessed tray. It’s a clever bit of engineering that ensures the pieces don’t slide off the table during an intense preschool science session.
Phase 2: The ‘Surgical’ Layering Process
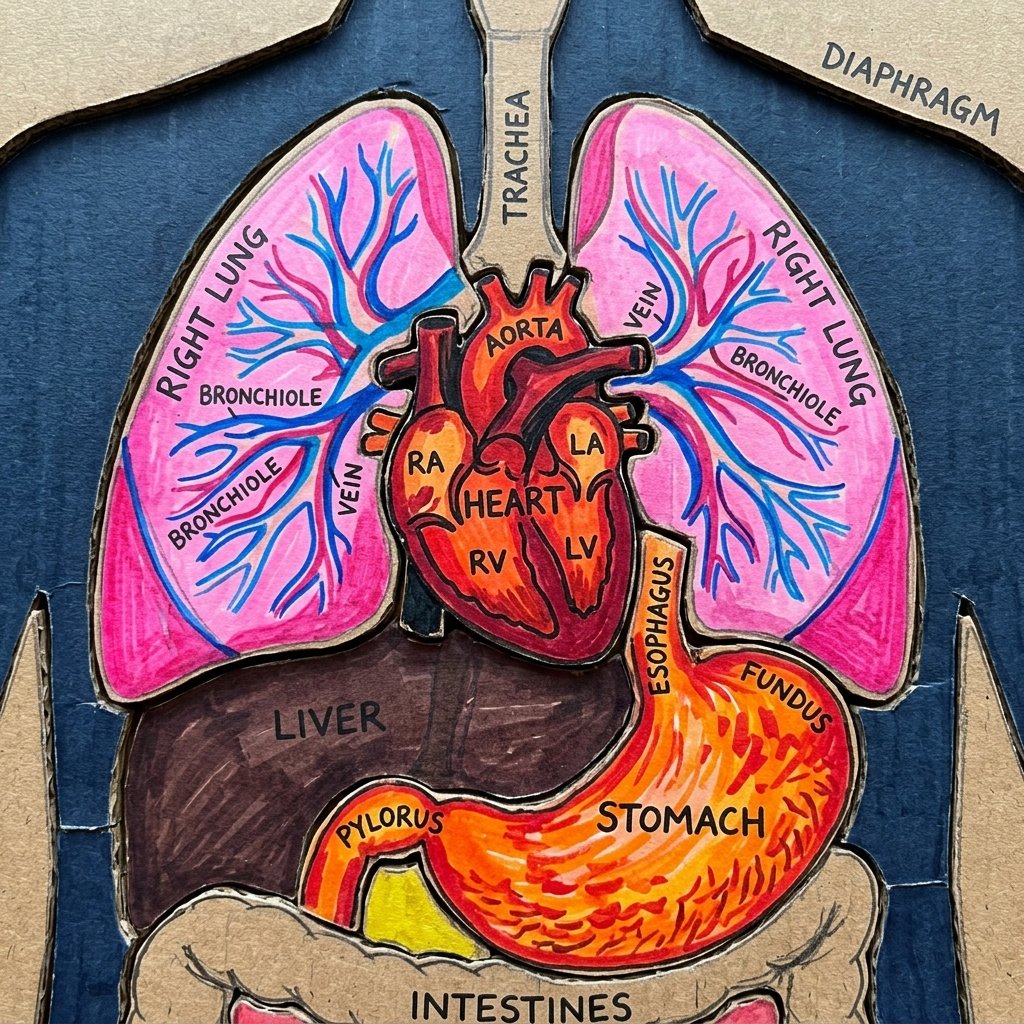
Now we get into the crafty-expert details. Each layer must fit perfectly inside the previous one. We will work from the inside out.
Layer 1: The Skeletal System
On your base layer (inside the silhouette), draw the skeleton. Use a white paint pen for the bones and a black marker for the gaps. This layer stays fixed to the bottom and is never removed.
Layer 2: The Internal Organs
Cut a new silhouette that fits into the frame. Divide this into ‘organ pieces’—the lungs, heart, stomach, and intestines. Pro-Tip: Make the heart a bright red ‘hero’ piece to grab attention.
Layer 3: The Skin and Clothes
This is the final cover. You can draw your child’s favorite outfit on this layer. This makes the puzzle personal and encouraging for them to engage with.
| Layer Order | Educational Focus | DIY Tip |
|---|---|---|
| Bottom (Fixed) | Skeletal (Bones) | Use white chalk markers for a ‘real’ X-ray look. |
| Middle (Removable) | Vital Organs | Color-code each organ for easy identification. |
| Top (Removable) | Skin / Exterior | Add ‘tabs’ for easy lifting by small fingers. |
Reinforcing for the ‘Toddler Tornado’
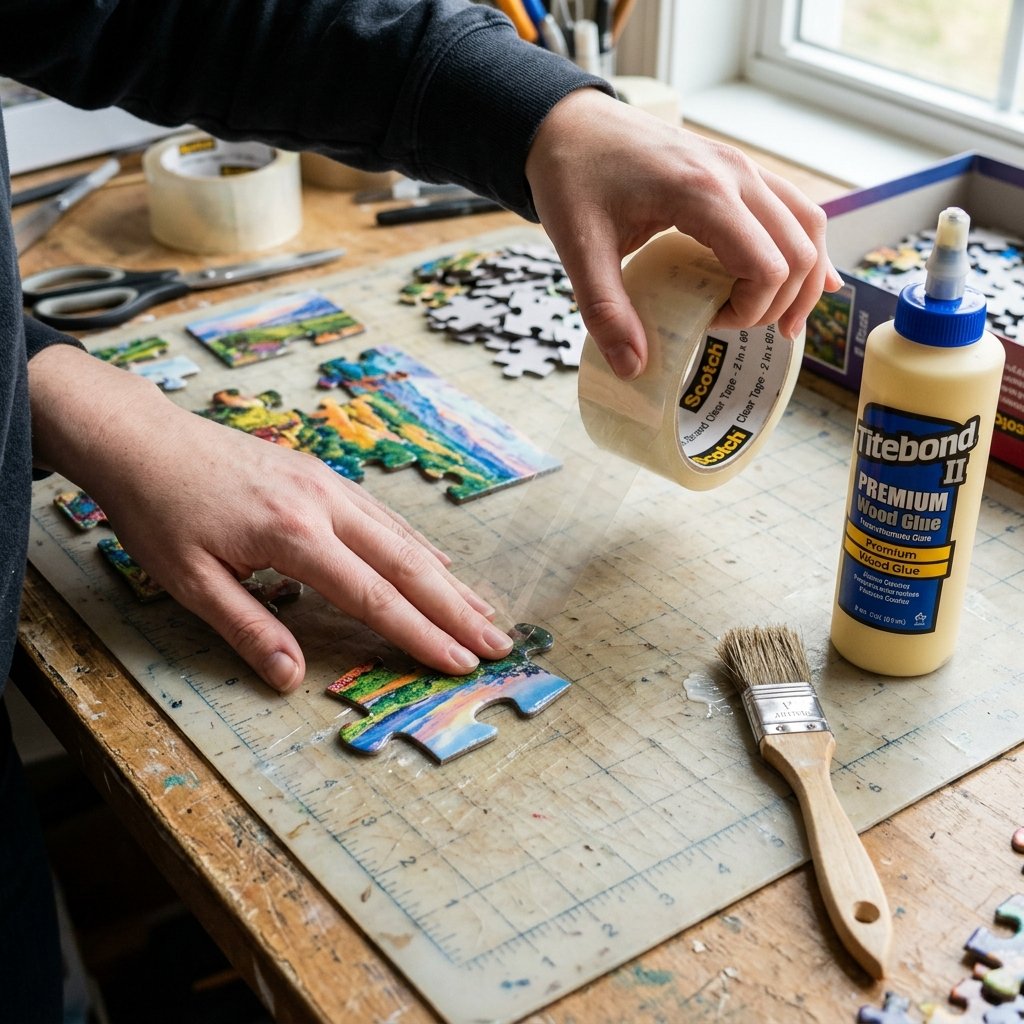
Toddlers are notoriously rugged with their toys. To ensure your budget-savvy creation lasts longer than a week, we need to apply some ‘industrial’ DIY finishes. Cardboard can fray at the edges, but we can prevent that with a few simple tricks.
- Edge Sealing: Run a thin bead of wood glue along the exposed corrugated edges of each piece. Once dry, it creates a hard, plastic-like seal that prevents peeling.
- Lamination Hack: If you don’t have a laminator, use wide clear packing tape to cover the top of each piece. This makes them 100% waterproof against spills or sticky fingers.
- The Finger-Tab Trick: Glue a small scrap of cardboard or a piece of ribbon to the edge of each layer. This allows the toddler to lift the pieces easily without prying at the edges with their fingernails.
The Budget Mantra: “A little glue today saves a whole lot of cardboard tomorrow.” Spend the extra 10 minutes reinforcing, and this toy will become a hand-me-down.
How to Teach: The Junior Biologist Lesson Plan
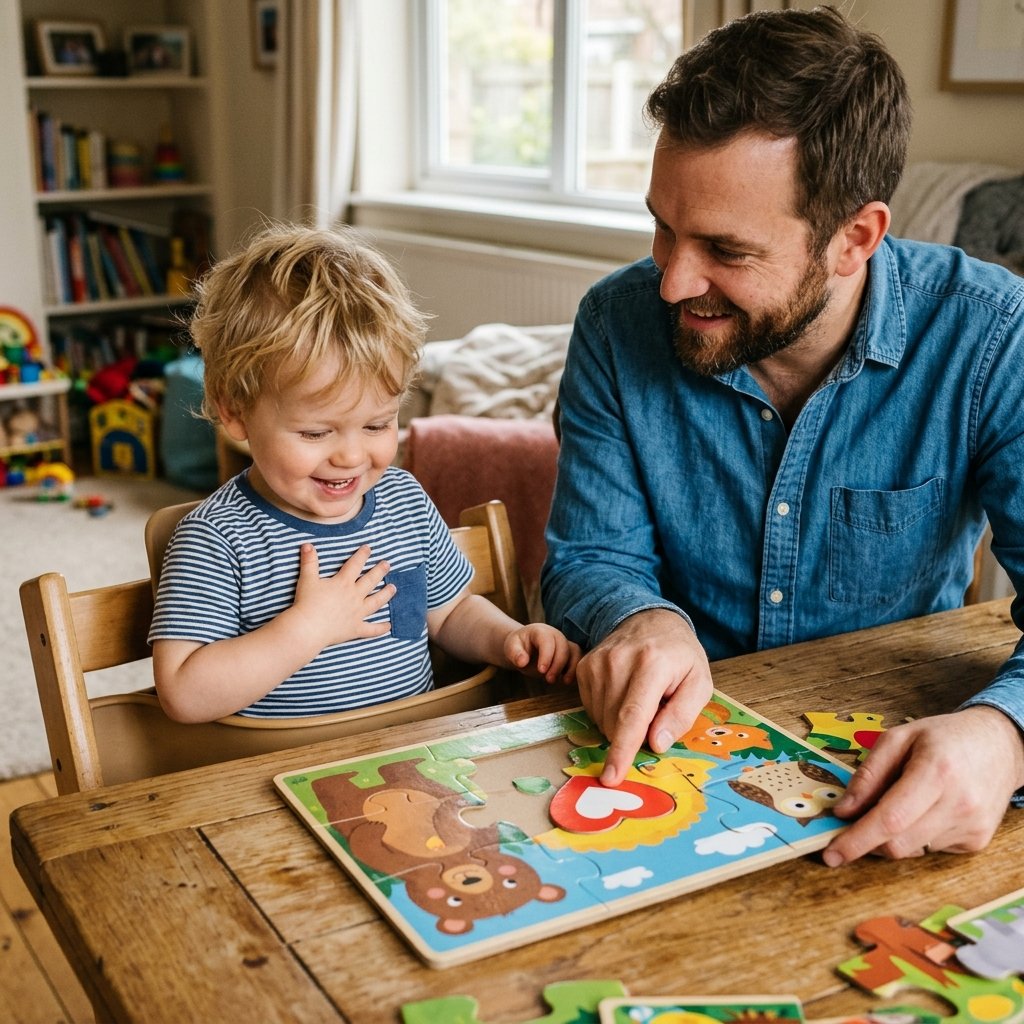
Now that your masterpiece is finished, it’s time for the tactical teaching. This puzzle is a gateway to complex STEM concepts. Here is how to introduce it to a 3-year-old:
- The ‘Where is My…?’ Game: Ask the child to point to their own heart, then find the heart piece in the puzzle. This builds somatic awareness.
- The Layer Reveal: Start with the skin on. Say, ‘What’s inside us?’ and have them lift the layer to reveal the organs. The ‘wow factor’ of the hidden layers is what makes this toy so engaging.
- Bones and Bridges: Explain that bones are like the ‘sticks’ that hold up a tent. Without them, we would be like jelly!
By using this resourcefully-creative approach, you aren’t just giving them a toy; you are giving them a biology 101 lecture disguised as a fun afternoon activity.
Conclusion
The Power of the Cardboard Box
You have successfully turned ‘trash’ into a high-level educational tool. This DIY Cardboard Anatomy Puzzle is a testament to what a handy parent can achieve with a bit of focus and a sharp utility knife. You’ve saved $50, kept waste out of the landfill, and provided your child with a tactile, science-based learning experience that they will return to again and again.
Remember, the best toys aren’t the ones with the loudest batteries; they are the ones built with clever, budget-savvy intention. Keep your eyes on the recycling bin—your next great teaching tool is probably waiting in there right now. Happy building!

Makenzie is the founder and lead writer at MoneyHackTips.com — a personal finance blog dedicated to delivering street-smart financial wisdom for real people on real budgets. With 300+ published articles covering everything from debt management to investing fundamentals, Makenzie’s mission is to make every dollar work harder. When not writing about money hacks, Makenzie is testing frugal living strategies, optimizing side hustles, and helping readers build financial freedom from scratch.