
The Ultimate Gift for the King of the Cave
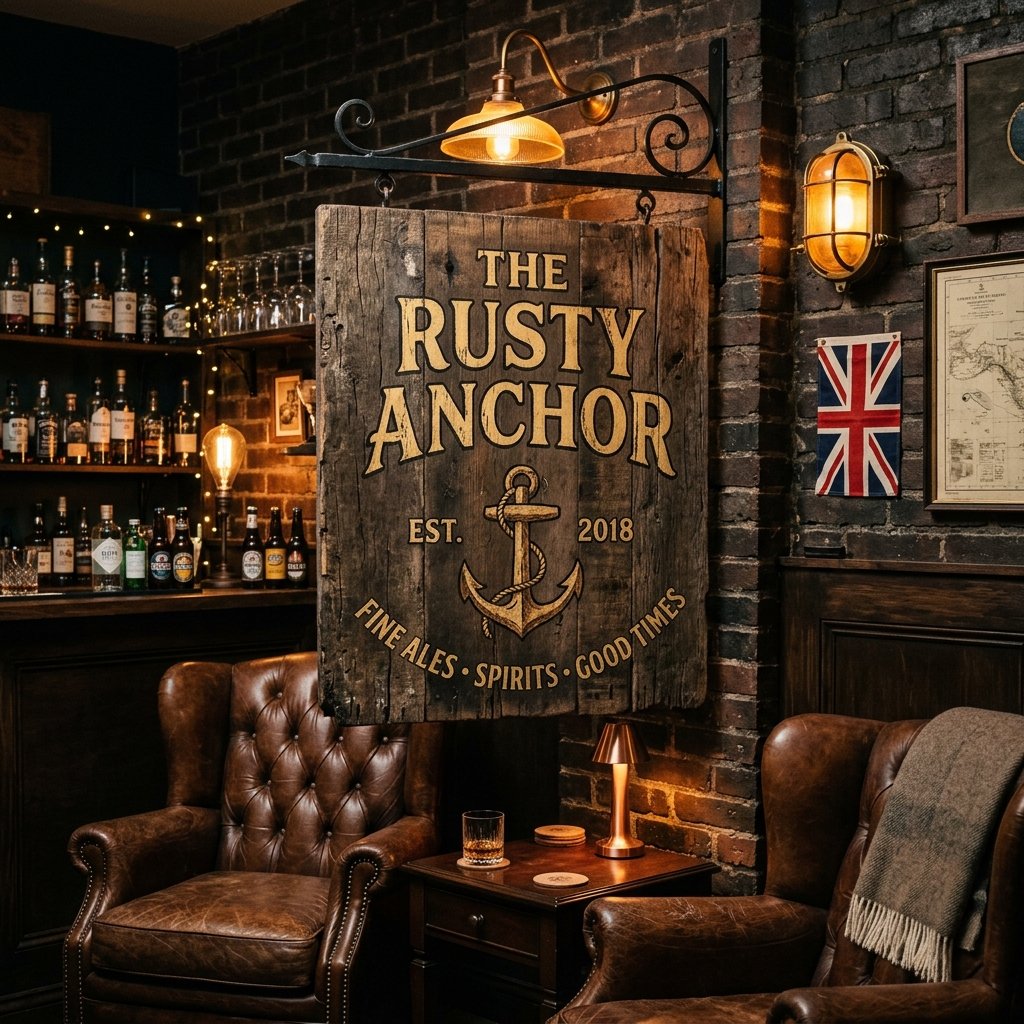
Every man cave needs a focal point—a piece of decor that says, ‘This is my sanctuary.’ While you could easily spend $150 or more on a custom-carved wooden sign from a boutique online shop, a resourceful DIYer knows that the most meaningful gifts are built, not bought. Creating a custom DIY wooden pub sign for your husband isn’t just about saving money; it’s about crafting a legacy piece that reflects his personality, his favorite hobbies, or even a long-standing family joke. In this guide, we are going to channel our inner master craftsman to transform a basic 1×12 board or a piece of salvaged pallet wood into a rugged, masculine-elegant masterpiece. Whether he’s into classic British pubs, rustic hunting lodges, or modern industrial breweries, this project is designed to be budget-friendly, using clever tricks to achieve that professional ‘hand-painted’ look without needing an art degree. Get ready to dive into the world of wood grain, distressing techniques, and creative branding as we build a gift he will cherish for decades.
Scavenging for Soul: Sourcing Your Wood on a Dime
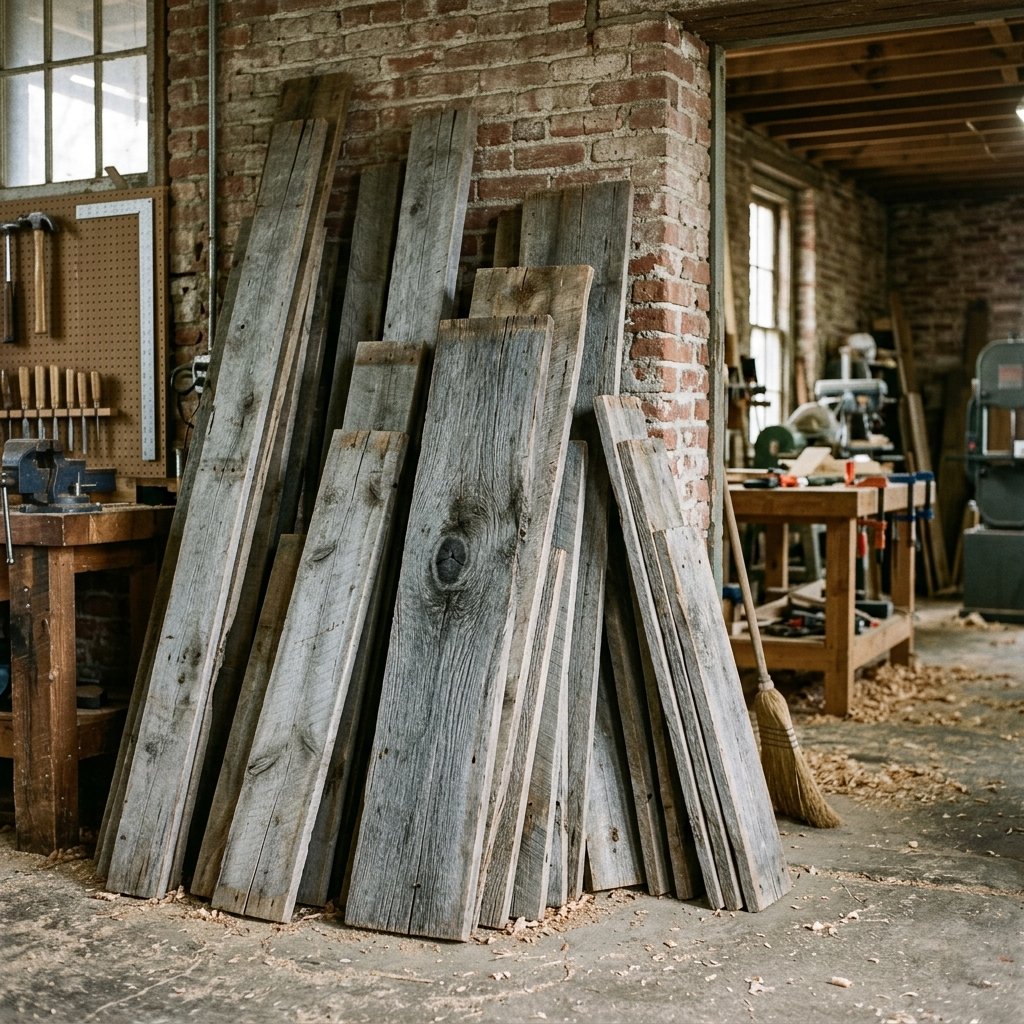
The foundation of any great pub sign is the wood itself. To keep this project 100% budget-friendly, we aren’t heading to the big-box hardware store first. Instead, we are looking for wood with ‘character.’ Character means knots, slight warping, and a history. Old fence pickets, discarded shipping pallets, or even the remnants of a broken bookshelf are perfect candidates for this upcycling mission.
The Best Free Wood Sources
- Shipping Pallets: Often available for $0 behind local businesses. Look for the ‘HT’ (Heat Treated) stamp to ensure it’s safe for indoor use.
- Old Fence Pickets: Cedar fence boards age beautifully to a silver-grey. If a neighbor is replacing their fence, offer to haul away the old boards for free.
- Construction Scraps: Visit a local construction site and ask the foreman for 2-foot offcuts of 2×10 or 2×12 lumber.
| Wood Type | Aesthetic Goal | Estimated Cost |
|---|---|---|
| Pallet Oak | Rugged & Industrial | $0 |
| Pine 1×12 (New) | Clean & Modern | $8 – $12 |
| Reclaimed Barn Wood | Vintage & Authentic | $0 – $15 |
Budget Guru Tip: If you find a piece of wood that is too ‘new’ looking, don’t worry. We can age it in 10 minutes using a wire brush and a few common household chemicals.
Designing the Legend: Naming and Layout
What’s in a Name?
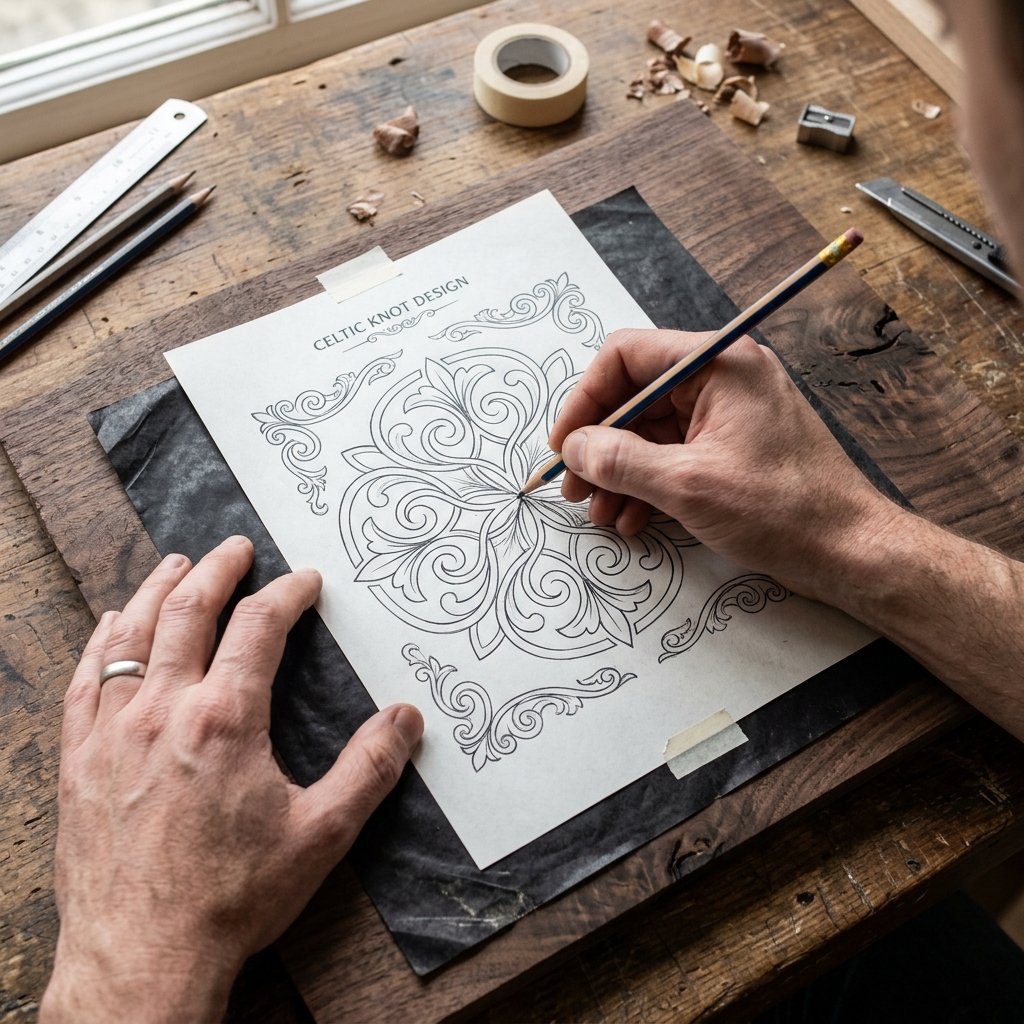
Before we touch a saw, we need a design. A pub sign is only as good as its branding. Think about your husband’s interests. Does he love fishing? Try ‘The Salty Angler.’ Is he a classic car enthusiast? ‘The Gasket & Gear’ might fit. Once you have a name, the layout is key. For a professional look, we want to mix fonts—a bold, serif font for the main name and a clean, smaller sans-serif for the subtitle like ‘Est. 2024’ or ‘Cold Beer & Good Times.’
The Transfer Trick
You don’t need to be a master calligrapher. Use the Carbon Paper Method or the Pencil Rub Trick. Print your design in reverse (mirror image) if using a chemical transfer, or simply print it normally and rub the back of the paper with a heavy layer of graphite pencil. Tape the paper to your wood and trace the letters with a ballpoint pen to leave a faint, perfect outline on the wood surface.
| Design Style | Font Recommendation | Icon Idea |
|---|---|---|
| Traditional Pub | Old English or Caslon | Beer Mug or Lion |
| Modern Brewery | Montserrat or Bebas Neue | Hop Cone or Minimalist Line |
| Rugged Cabin | Copperplate or Stencil | Deer Antlers or Pine Tree |
Rugged Techniques: Shaping and Distressing the Wood
Cutting the Profile
Most pub signs are rectangular, but adding a slight curve to the top or ‘dog-earing’ the corners can elevate the look from ‘piece of wood’ to ‘custom signage.’ Use a jigsaw to cut a simple arch or a decorative bevel. Once cut, sand the edges aggressively. We want the edges to look worn down by years of being handled in a busy tavern.
Creating Instant History
To make new wood look 100 years old, use these distressing techniques:
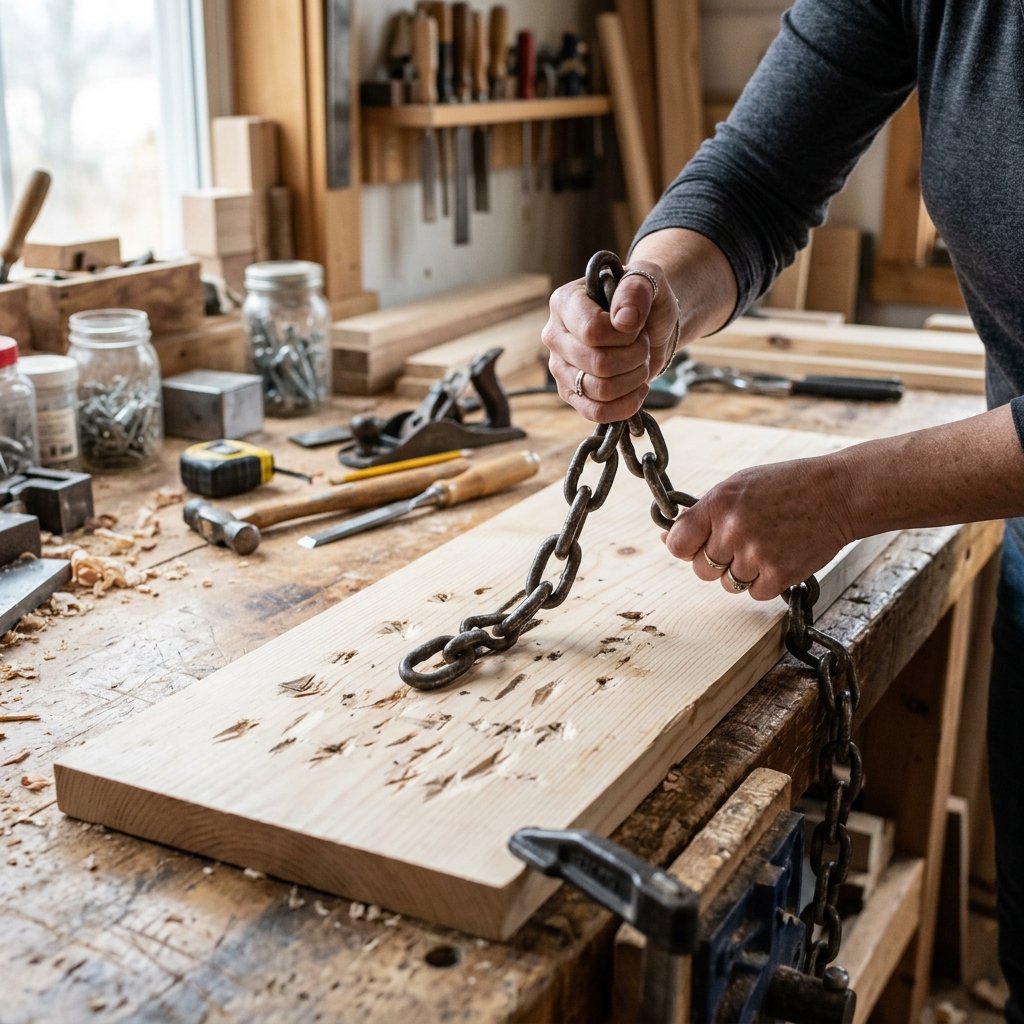
- The Chain Reaction: Whack the wood surface with a heavy metal chain to create random dents and dings.
- The Woodworm Effect: Use a small nail to tap clusters of tiny holes into the surface, mimicking the look of old insect damage.
- The Wire Brush: Scrub the wood in the direction of the grain to pull out the softer fibers, leaving a raised, textured grain.
Safety First: Always wear safety goggles and a dust mask when sanding or distressing wood, especially if using reclaimed materials which may contain old nails or debris.
The Master’s Finish: Staining and Hand-Painting
The Secret Sauce: Steel Wool and Vinegar
For a truly rugged finish that costs pennies, soak a pad of 0000 grade steel wool in a jar of white vinegar for 24 hours. When you brush this liquid onto your wood, it reacts with the tannins to create a beautiful, weathered grey or deep charcoal color instantly. It’s a chemical reaction that looks far more authentic than store-bought stain.
Painting the Lettering
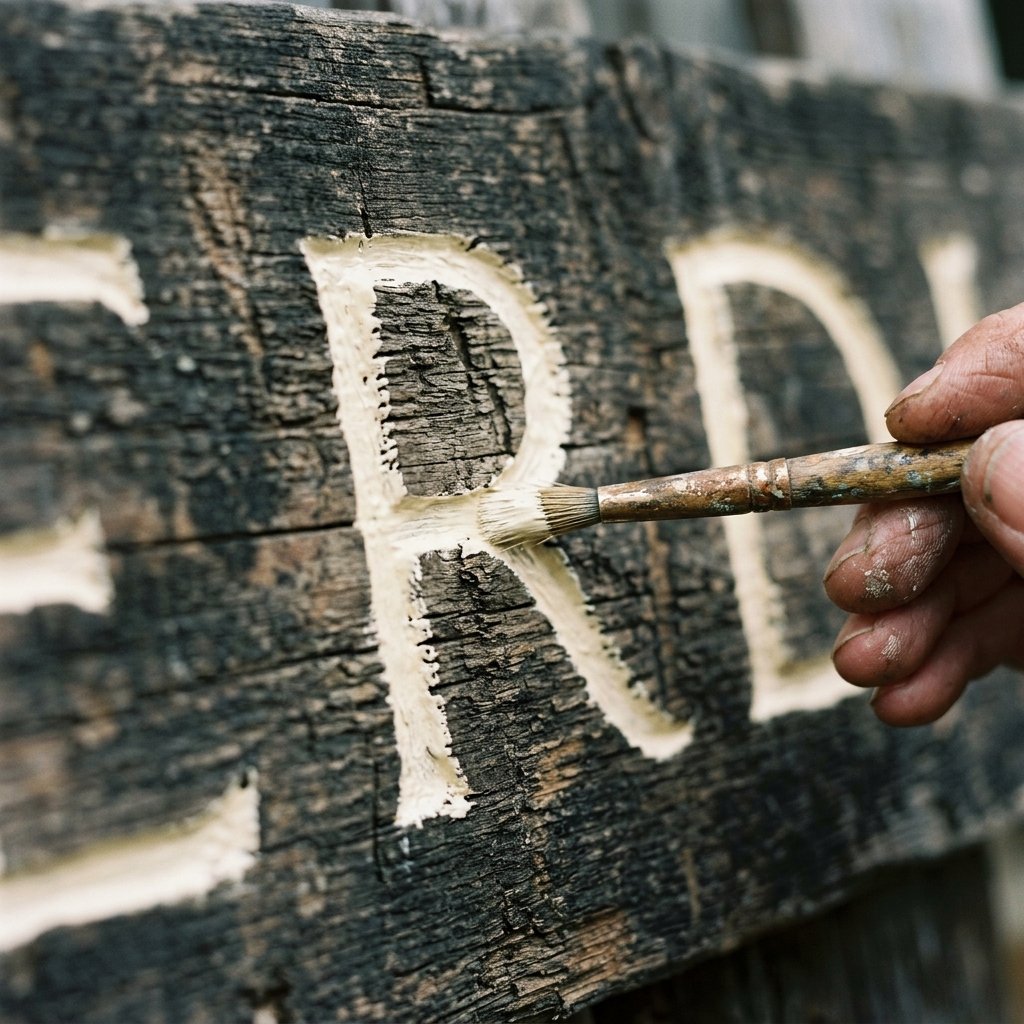
Once your stain is dry (give it at least 4 hours), it’s time to paint. Use acrylic craft paint or even a $3 paint pen for maximum control. Pro-Tip: Use a slightly ‘off-white’ or cream color instead of stark white for a vintage feel. If you make a mistake, wait for it to dry and lightly sand it away.
| Step | Action | Time Required |
|---|---|---|
| Base Coat | Apply Vinegar/Steel Wool Solution | 15 Minutes |
| Lettering | Hand-paint or use Paint Pens | 1 Hour |
| Weathering | Lightly sand the painted letters | 5 Minutes |
| Sealing | Apply Matte Polyurethane spray | 10 Minutes |
Mounting for the Ages: Hardware and Presentation
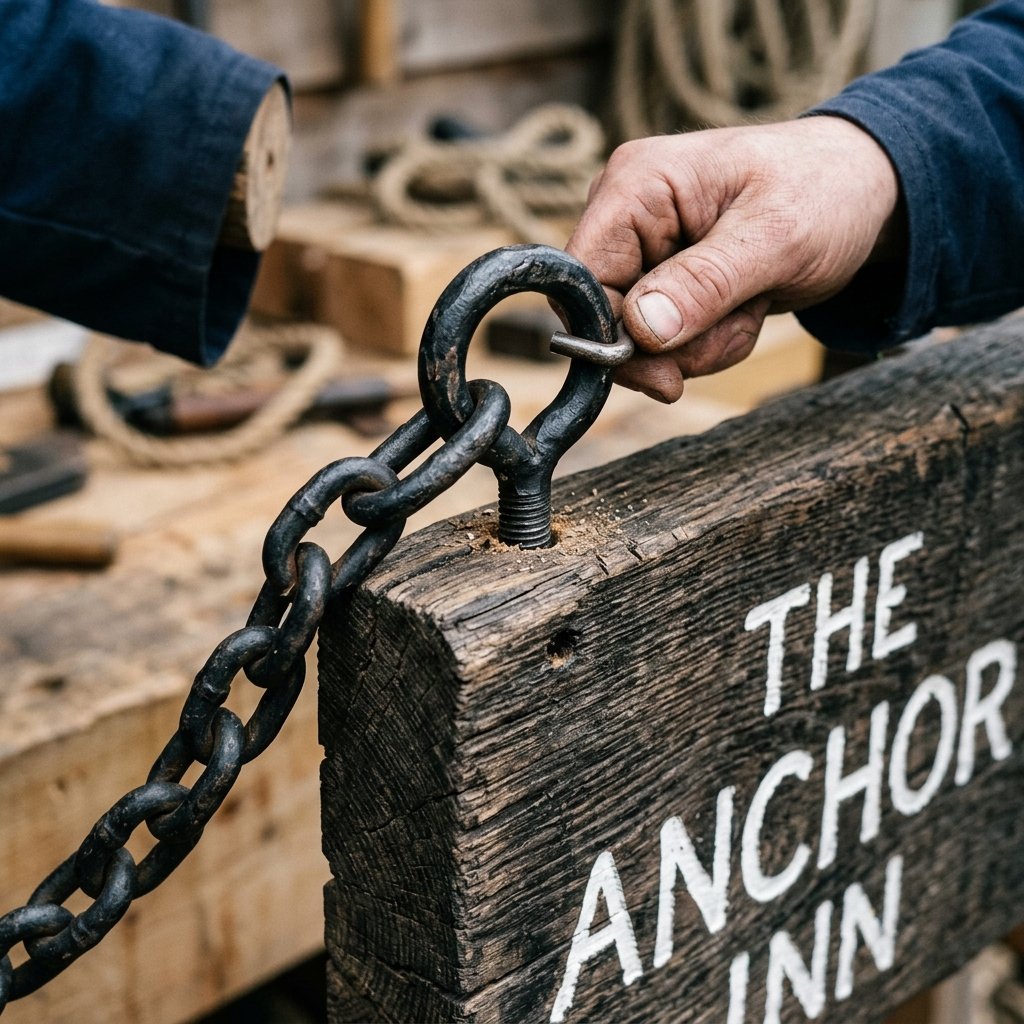
Heavy-Duty Hardware
To give the sign that ‘pub’ feel, don’t just nail it to the wall. Use hardware that adds to the aesthetic. Wrought iron hooks, heavy-duty black chains, or even rustic rope can make the installation look professional. If the sign is going in a garage or workshop, consider a ‘swinging’ mount using an L-bracket so it hangs perpendicular to the wall.
Cost Comparison: DIY vs. Store-Bought
| Item | Boutique Custom Sign | Our DIY Version |
|---|---|---|
| Material Cost | $45 | $5 |
| Labor/Markup | $100+ | $0 |
| Personalization | Limited | Infinite |
| Total Cost | $145 – $250 | $5 – $20 |
By sourcing your own wood and doing the hand-lettering yourself, you are saving nearly 90% of the retail cost while creating a one-of-a-kind piece that cannot be found in any store.
Conclusion
A Toast to Your Craftsmanship
Congratulations! You’ve just turned a humble piece of scrap wood into a professional-grade custom pub sign that will serve as the crown jewel of your husband’s man cave. This project proves that with a little resourcefulness and a few clever techniques, you don’t need a massive budget to create high-end, masculine-elegant decor. The beauty of this DIY lies in its imperfections—the dents, the hand-painted strokes, and the history of the wood all contribute to a piece that feels authentic and full of heart. Whether he hangs it over his bar, his workbench, or his favorite recliner, every time he looks at it, he’ll be reminded of the time and creativity you poured into his space. Now, grab a cold beverage, present your masterpiece, and enjoy the well-deserved praise for being the ultimate ‘Trash-to-Treasure’ guru!

Makenzie is the founder and lead writer at MoneyHackTips.com — a personal finance blog dedicated to delivering street-smart financial wisdom for real people on real budgets. With 300+ published articles covering everything from debt management to investing fundamentals, Makenzie’s mission is to make every dollar work harder. When not writing about money hacks, Makenzie is testing frugal living strategies, optimizing side hustles, and helping readers build financial freedom from scratch.