
The Photography Tax: Why DIY is the Ultimate Power Move
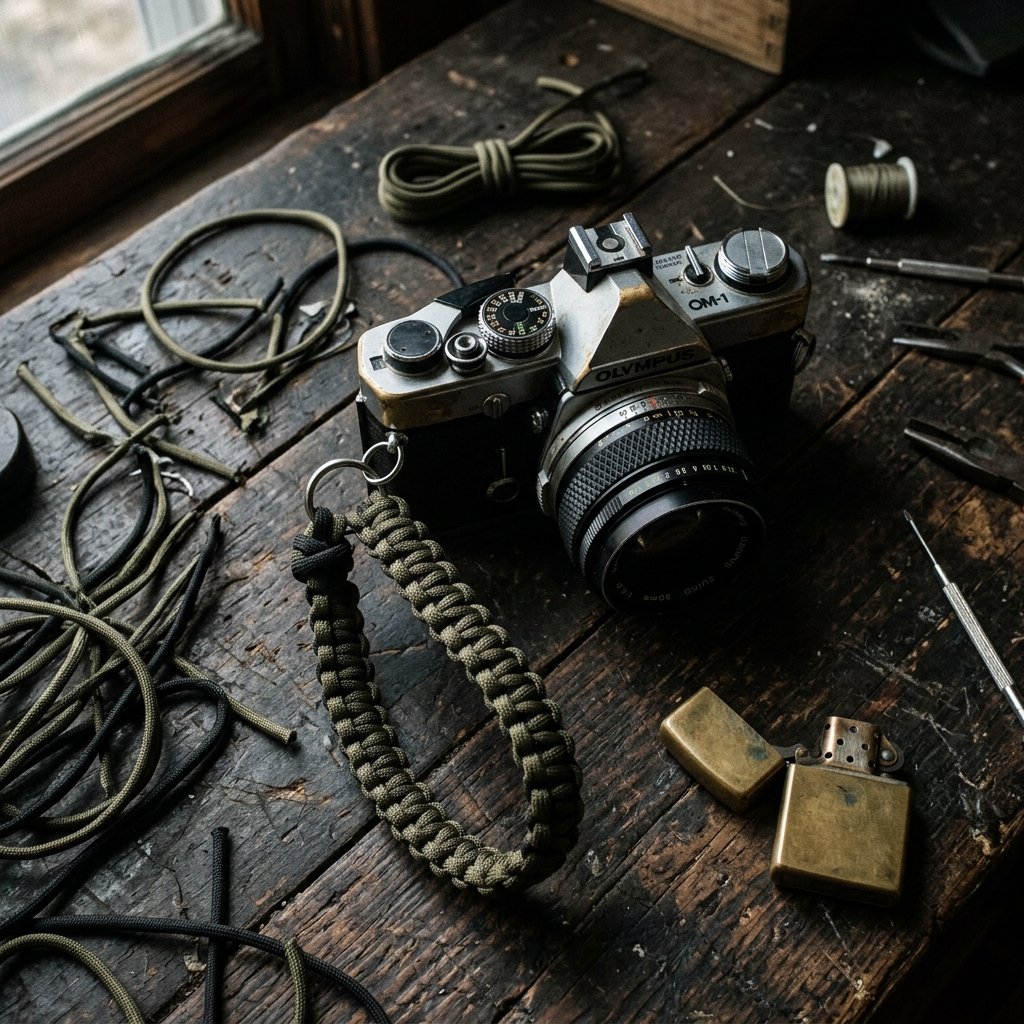
If you have ever stepped foot into a professional camera shop, you know exactly what the ‘photography tax’ looks like. A simple piece of nylon webbing with a brand logo can easily retail for $40 to $60. As a resourceful DIYer, you know better. Why pay for a brand name when you can manufacture a piece of gear that is more durable, more personalized, and significantly more rugged? Today, we are diving into the world of 550 paracord—a material originally used in the suspension lines of parachutes during WWII—to create a camera wrist strap that is virtually indestructible. Whether you are building this for your own rig or crafting a thoughtful, masculine gift for the photographer in your life, this project is the epitome of budget-savvy elegance. We are talking about a total material cost of less than $5 for a product that looks like it belongs in a high-end tactical boutique.
The Tactical Advantage: Materials and Cost Breakdown

Before we get our hands dirty, let’s look at the logistics. The beauty of paracord is its accessibility. You can find high-quality 550 cord at hardware stores, craft shops, or online in hundreds of colors. For this project, we are focusing on the Cobra Weave (also known as the Solomon Bar), which provides a wide, comfortable surface area that won’t dig into your wrist during long shoots.
Required Materials
- 10-12 feet of 550 Type III Paracord (Two colors look best for beginners).
- 1 Small metal split ring or a 1/2-inch plastic side-release buckle.
- 1 Heavy-duty swivel lobster claw or a simple ‘O’ ring.
- Sharp scissors or a craft knife.
- A lighter (jet flame works best for precision melting).
- A ruler or measuring tape.
Let’s compare the damage to your wallet. When you go the DIY route, you aren’t just saving pennies; you are saving 90% or more compared to retail prices.
| Item | Store-Bought Pro Strap | DIY Paracord Version |
|---|---|---|
| Material Quality | Basic Nylon/Thin Leather | 550lb Tensile Strength Cord |
| Customization | None (Mass Produced) | Infinite (Custom Fit & Colors) |
| Total Cost | $45.00 – $85.00 | $2.50 – $4.75 |
| Production Time | N/A (Shipping 3-5 days) | 20 – 30 Minutes |
Budget Mantra: A man is only as good as his gear, but a wise man makes his own gear for the price of a cup of coffee.
The Core Foundation: Measuring and Setting the Anchor
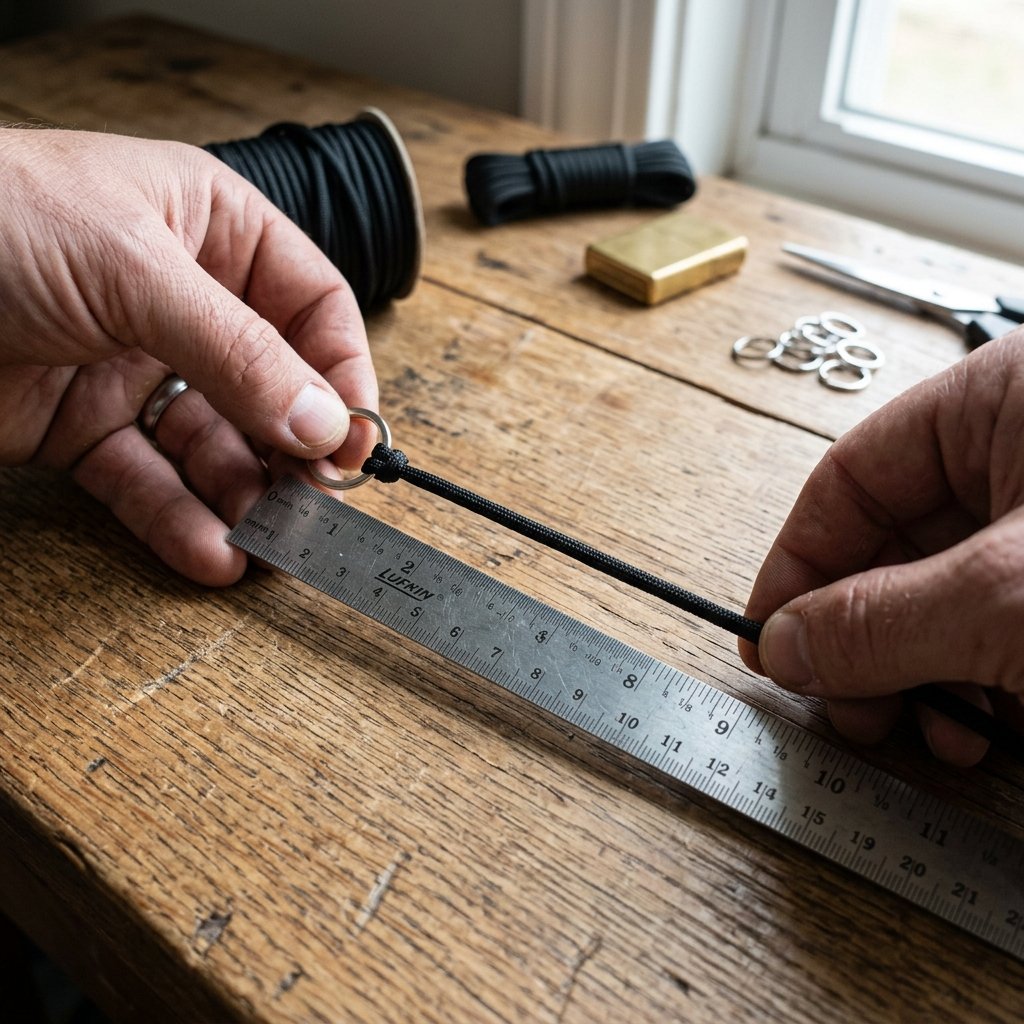
The most common mistake in DIY strap making is getting the length wrong. A camera strap that is too tight is useless, and one that is too loose risks a $1,000 drop. We want a ‘goldilocks’ fit that allows the hand to slide in easily but cinches slightly under the weight of the camera.
Step-by-Step Sizing
- Wrap a piece of scrap string around your wrist comfortably. Add 2 inches to that measurement to account for the thickness of the weave. This is your ‘Core Length’.
- Typical core lengths range from 7 to 9 inches.
- Fold your 10 feet of paracord in half. Thread the looped end through your attachment hardware (the split ring or buckle).
- Pull the loose ends through the loop to create a Lark’s Head Knot. Pull it tight against the hardware.
- Measure down from the hardware to your desired Core Length and mark this spot; this is where your weave will terminate.
Pro Tip: If you are making this as a gift and don’t know the recipient’s wrist size, 8 inches is the standard ‘large’ size that fits most men comfortably.
Mastering the Cobra Weave: The Step-by-Step Tutorial
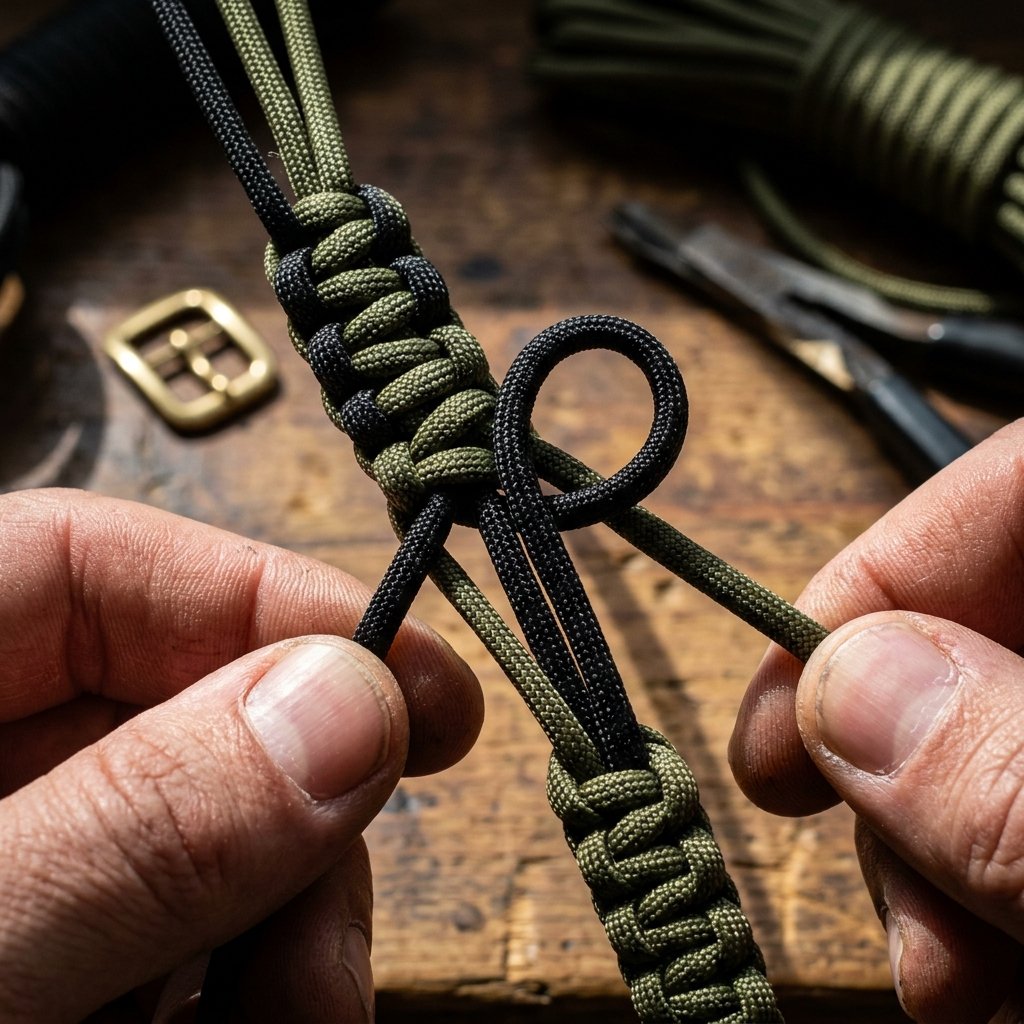
This is where the magic happens. The Cobra Weave is a series of square knots that creates a flat, rugged texture. If you can tie your shoes, you can master this weave in 5 minutes.
The Weaving Process
- Separate your two long ends to the left and right of the center core strands.
- The Left Lead: Take the left cord and lay it over the center core, forming a ‘P’ shape.
- The Right Lead: Take the right cord and lay it over the tail of the left cord.
- Now, take that same right cord, go under the center core strands, and poke it up through the loop of the ‘P’ on the left side.
- Pull both ends horizontally with equal tension. This is your first half-knot.
- The Switch: Now, repeat the process starting from the right side. Form a backwards ‘4’ with the right cord over the core.
- Bring the left cord over the right tail, under the core, and up through the right loop.
- Repeat this alternating pattern (Left, Right, Left, Right) until you reach the end of your core.
Weaving Formula: Remember ‘Over, Over, Under, Through.’ If the weave starts to twist, you forgot to alternate sides!
The Finish Line: Cutting, Cauterizing, and Safety
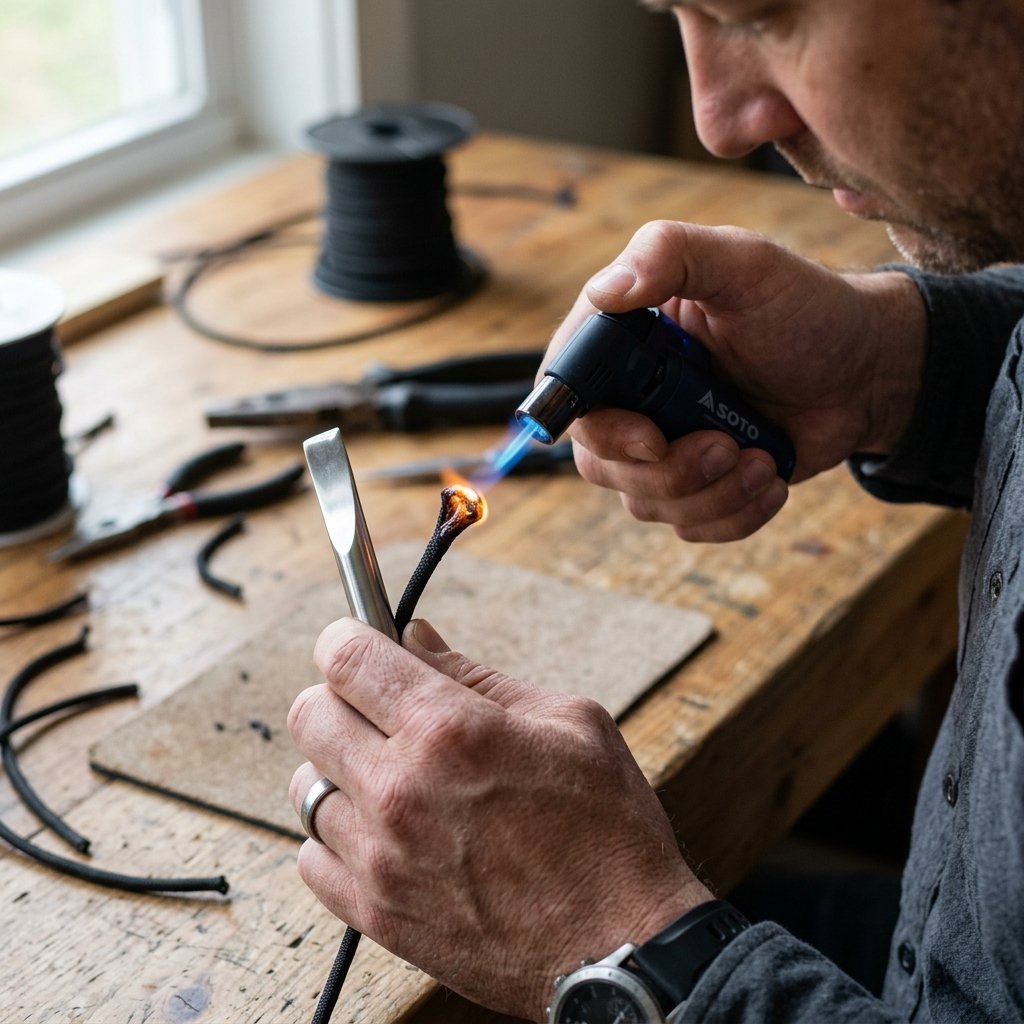
Finishing a paracord project is a test of patience. You want the ends to be invisible and, more importantly, permanent. Since paracord is synthetic, we use heat to fuse the fibers together.
The ‘Cut and Melt’ Technique
Once you reach the end of your weave, you will have two remaining tails. Don’t just cut them flush immediately. Follow these steps for a professional finish:
- Trim the excess cord leaving about 1/8th of an inch (3mm) protruding from the weave.
- Use the blue part of the lighter flame (the hottest part) to slowly melt the tip of the cord until it turns into a molten ‘mushroom’ head.
- Safety Note: Do not touch the molten plastic with your fingers! Use the flat side of your lighter or a metal spoon to press the melted end flat against the surrounding weave. This ‘welds’ it in place.
- Repeat for the second tail.
Safety Disclaimer: Always work in a well-ventilated area when melting synthetic cords. The fumes can be irritating, and the molten plastic sticks to skin like lava. Work slowly and keep a bowl of water nearby just in case.
Rugged Customization: Hardware and Color Theory
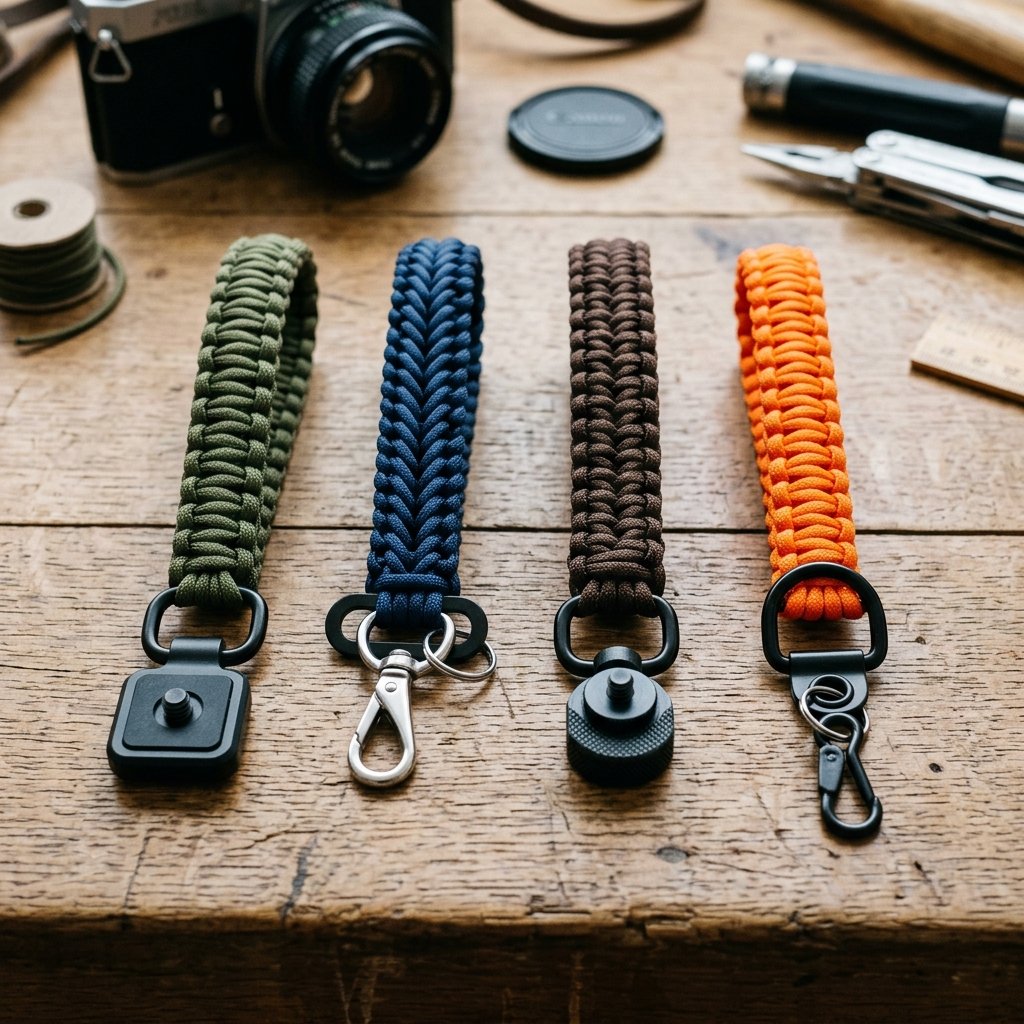
To make this gift truly ‘masculine-elegant,’ consider the color palette and the hardware. A neon pink strap might be easy to find in a bag, but a Charcoal Grey and Burnt Orange combo screams ‘Professional Outdoor Photographer.’
| Style Archetype | Color Combination | Hardware Choice |
|---|---|---|
| The Tactical Pro | Olive Drab / Black | Matte Black Steel Ring |
| The Urban Minimalist | Navy Blue / Slate | Stainless Steel Shackle |
| The Heritage Explorer | Coyote Brown / Tan | Brass Quick-Release |
| The High-Vis Adventurer | Safety Orange / Grey | Heavy-Duty Plastic Buckle |
When attaching the strap to the camera, ensure you are using a triangular split ring if your camera lugs are small. For heavier DSLR setups, consider adding a secondary ‘safety tether’ made of a thinner 275-lb paracord for double protection.
Presentation: Elevating a $5 Gift to a $50 Experience
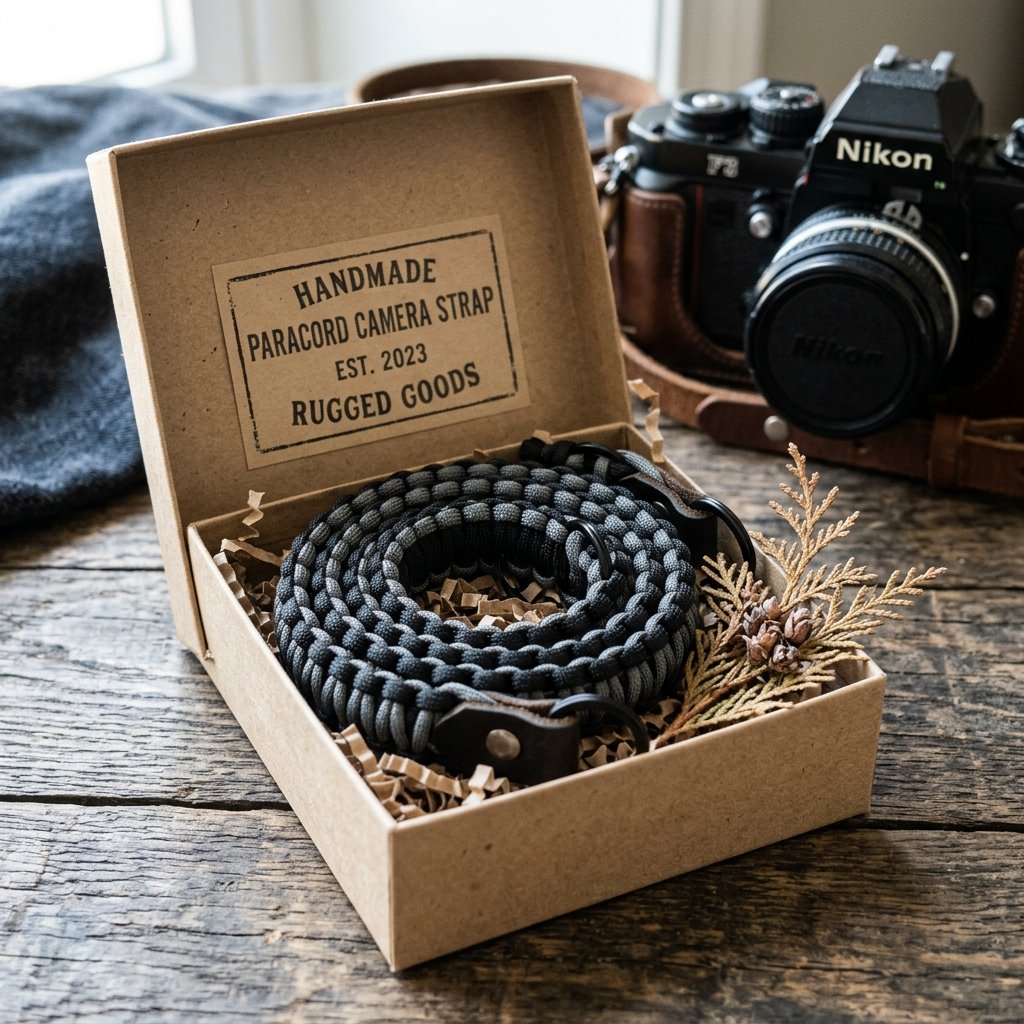
Since this is the ‘Perfect Cheap Gift,’ the secret is in the presentation. A loose strap in a plastic bag looks like a DIY project; a strap mounted on a custom card inside a tin looks like a boutique purchase.
The ‘Pro-Giver’ Checklist
- The Packaging: Use a small hinged mint tin or a recycled kraft paper box.
- The Insert: Print a small card that says ‘Hand-Woven 550 Tactical Grade Camera Lead’ with a list of the cord’s specs (e.g., 550lb break strength).
- The Personal Touch: Include a small microfiber cleaning cloth (another $1 Dollar Tree find) to round out the ‘Camera Care Kit.’
By spending an extra 10 minutes on the packaging, you increase the perceived value of the gift exponentially. Your recipient won’t see a ‘cheap’ gift; they will see a custom, rugged tool built specifically for their passion.
Conclusion
The DIY Advantage: More Than Just Savings
Crafting your own paracord camera wrist strap is about more than just saving $50. It is about the satisfaction of creating something functional with your own two hands. In a world of disposable plastic and overpriced accessories, a hand-woven 550-cord strap stands as a testament to durability and resourcefulness. You’ve now mastered the Cobra Weave—a skill that can be applied to keychains, dog leashes, and emergency bracelets. So, the next time you see a ‘must-have’ camera accessory with a triple-digit price tag, take a breath, head to your craft bin, and remember: You can build it better, stronger, and cheaper. Happy crafting, and keep those shutters clicking!

Makenzie is the founder and lead writer at MoneyHackTips.com — a personal finance blog dedicated to delivering street-smart financial wisdom for real people on real budgets. With 300+ published articles covering everything from debt management to investing fundamentals, Makenzie’s mission is to make every dollar work harder. When not writing about money hacks, Makenzie is testing frugal living strategies, optimizing side hustles, and helping readers build financial freedom from scratch.