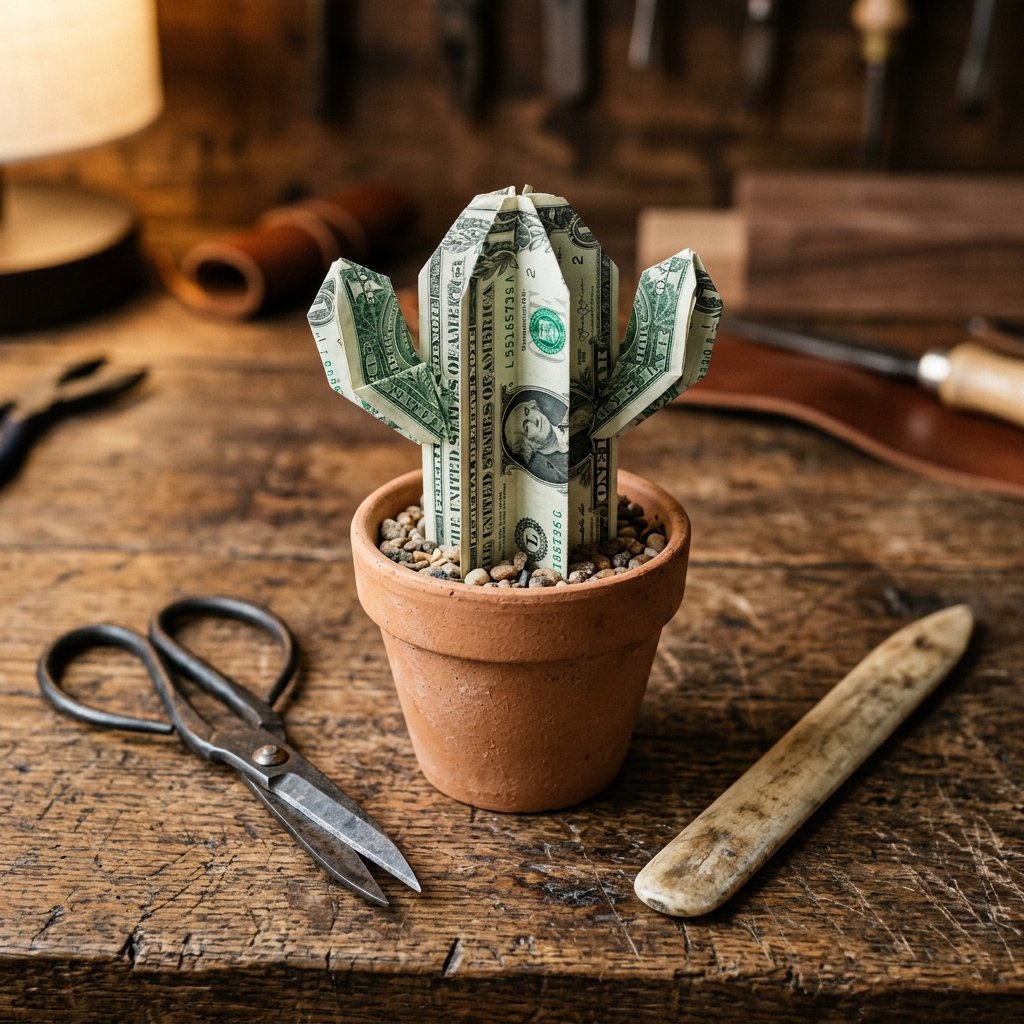

Let’s be honest: giving cash in a plain white envelope is about as exciting as receiving a pair of plain white socks. You’re a resourceful creator, a budget-savvy strategist, and someone who knows that presentation is 50% of the value. Why give a plant that might die in a week when you can give a ‘succulent’ gift that actually helps pay the bills? The money origami potted cactus is the ultimate ‘trash-to-treasure’ hack, turning a few crisp bills and a tiny pot into a conversation piece that will have every guest at the graduation or housewarming party asking, ‘How did you do that?’
In this guide, we aren’t just folding paper; we are engineering a rugged and practical piece of art. Whether you are a handy parent looking for a clever way to gift an allowance or a frugal DIYer wanting to impress a friend, this 10-minute project is your ticket to being the most memorable gift-giver in the room. We will use simple accordion folds and clever assembly techniques to ensure the money remains 100% spendable and undamaged. Let’s get to work.
The Strategy of the Green Gift: Why Money Origami Beats a Card
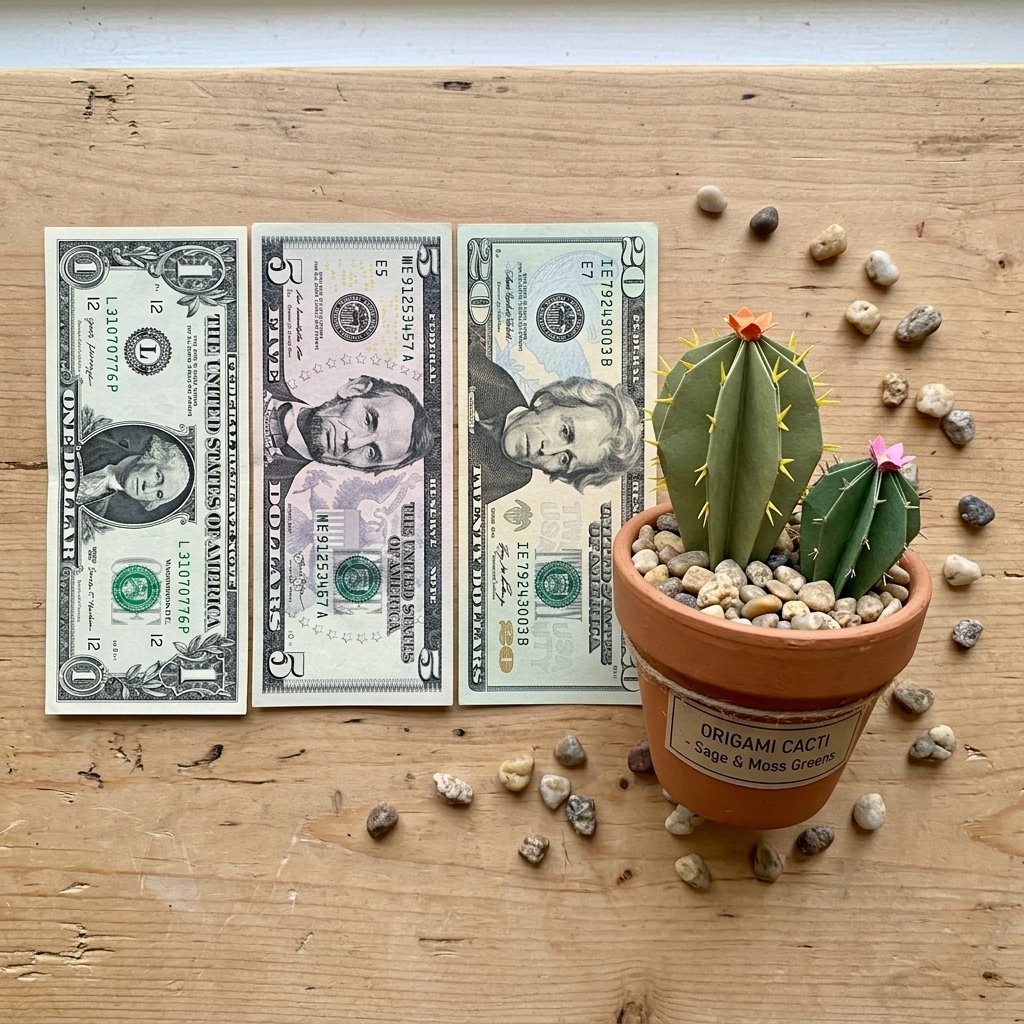
When you choose to fold currency into a shape, you are adding intellectual value to the monetary value. It shows you took the time to craft something unique. For a cactus, the green hue of US currency is the perfect natural fit. But which bills should you use? The visual impact changes depending on the ‘greenery’ you choose to plant.
| Bill Denomination | Visual Impact | Best Occasion |
|---|---|---|
| $1 Bills | Classic green, great for ‘filler’ arms. | Small ‘Thinking of You’ gifts. |
| $5 Bills | Slightly more blue-green tint, adds depth. | Teenager birthdays. |
| $20 Bills | Rich, detailed engraving looks high-end. | Graduations or Weddings. |
| $100 Bills | The ‘Golden Saguaro’ of gifts. | Major milestones or 21st Birthdays. |
Always aim for crisp, uncirculated bills if possible. You can request these specifically at your local bank. If you’re working with ‘seasoned’ (wrinkled) cash, a quick pass with a low-heat hair straightener or a heavy book can help flatten them out for sharper, more professional folds.
The Master Plan: Essential Tools for the Frugal Folder
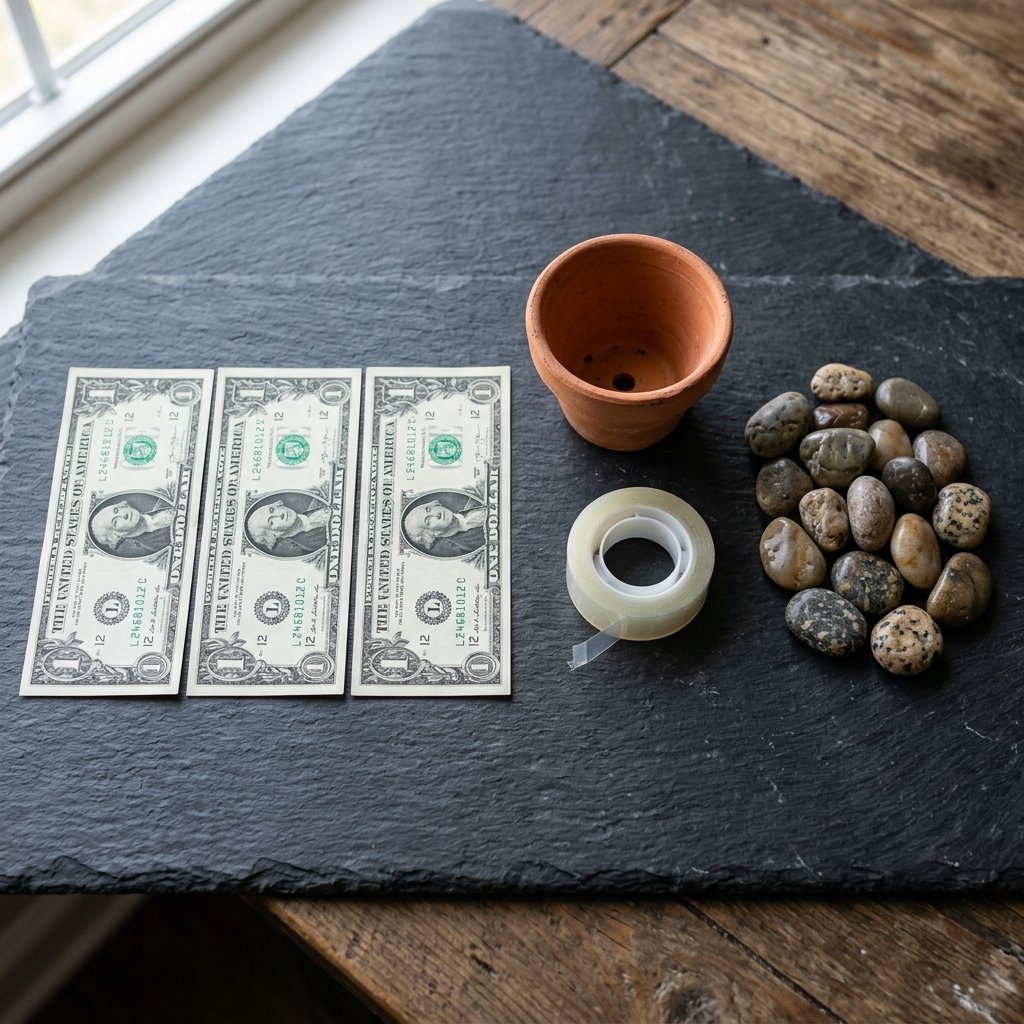
You don’t need a professional studio to pull this off. As a crafty expert, you likely have most of these items lying around your workshop or junk drawer. The goal here is maximum impact for minimum spend.
- 3-5 Crisp Bills: The more bills you use, the ‘plusher’ the cactus looks.
- Small Terracotta Pot: You can find these at the Dollar Tree for about $1.25 for a pack of three.
- Floral Foam or Cardboard Scraps: To act as the ‘soil’ and hold the cactus upright.
- Double-Sided Removable Tape: This is crucial. It must be removable so the recipient can spend the money without tearing it.
- A Bone Folder or Credit Card: Used to make those rugged, sharp creases that give the cactus its structure.
- Decorative Stones or Shredded Brown Paper: To cover the ‘soil’ and add that final masculine-elegant touch.
Budget Mantra: A gift’s worth isn’t measured by the price of the wrapping, but by the cleverness of the presentation. A $1.25 pot can hold $100 of style.
The Fold-by-Fold Blueprint: Crafting the Money Cactus

We are going to use a modular accordion fold. This is the most efficient way to get that ‘ribbed’ look of a real barrel cactus or saguaro. Follow these steps precisely to ensure a 10-minute finish.
- The Foundation Fold: Lay the bill flat horizontally. Fold it in half lengthwise to create a center crease, then unfold.
- Accordion Pleating: Starting from the short side, create 1/4 inch pleats (like a paper fan) along the entire length of the bill. Use your bone folder or credit card to press these folds rock-solid.
- The Arc: Once the entire bill is a thin pleated strip, fold the strip in half to find the center.
- The Fan Out: Use a tiny piece of removable tape to join the two inner edges of the folded strip. This creates a semi-circle fan.
- Repeat and Join: Repeat steps 1-4 with two more bills. Once you have three fans, tape their outer edges together to form a 360-degree pleated sphere. This is your main cactus body.
- The ‘Arm’ (Optional): If you want a saguaro look, fold a fourth bill into a tighter, thinner accordion and bend it into a ‘U’ shape, tucking it into one of the pleats of the main body.
Pro Tip: If the tape isn’t holding, use a small paperclip hidden inside the pleats. It adds weight and keeps the bills 100% undamaged.
The Final Assembly: Potting Your Currency Without Damage
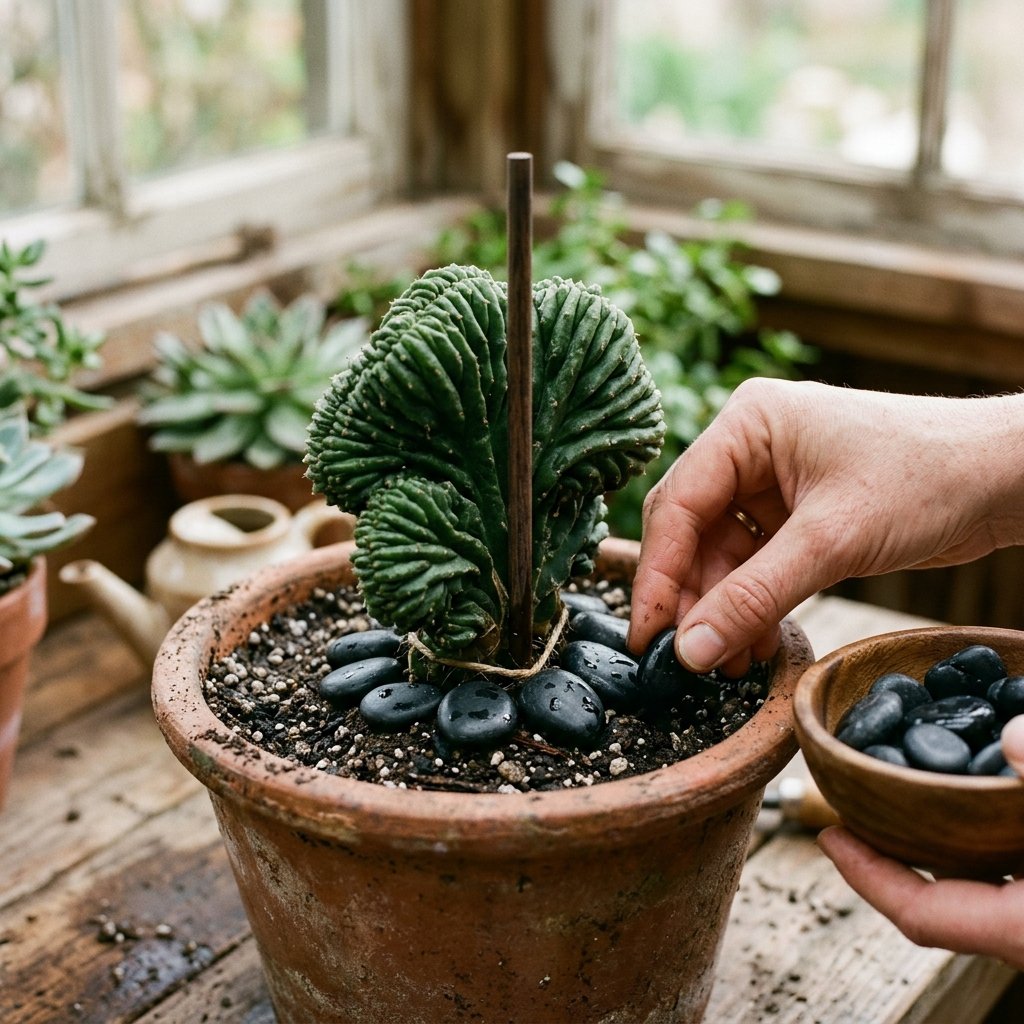
Now that your ‘plant’ is grown, it needs a home. This is where the upcycling magic happens. We need to create a stable base that won’t tip over but also won’t stick to the money.
Take your floral foam or a crumpled piece of brown paper bag and wedge it firmly into the bottom of the terracotta pot. It should sit about half an inch below the rim. If you are using cardboard, cut several circles and stack them until they fit snugly.
| Base Material | Pros | Cons |
|---|---|---|
| Floral Foam | Easiest to pin into. | Can be messy/dusty. |
| Crumpled Paper | 100% Free and eco-friendly. | Less stable for heavy bills. |
| Cardboard Discs | Very sturdy and rugged. | Requires more cutting time. |
Once the base is in, place a small toothpick or a straightened paperclip into the foam. Slide the center of your money origami cactus onto this ‘spike.’ This holds the cactus in place without using any glue. Finally, pour your decorative stones or dried beans around the base to hide the foam. The weight of the stones adds a premium, heavy feel to the gift.
The Savvy Giver’s Playbook: Presentation and Variations
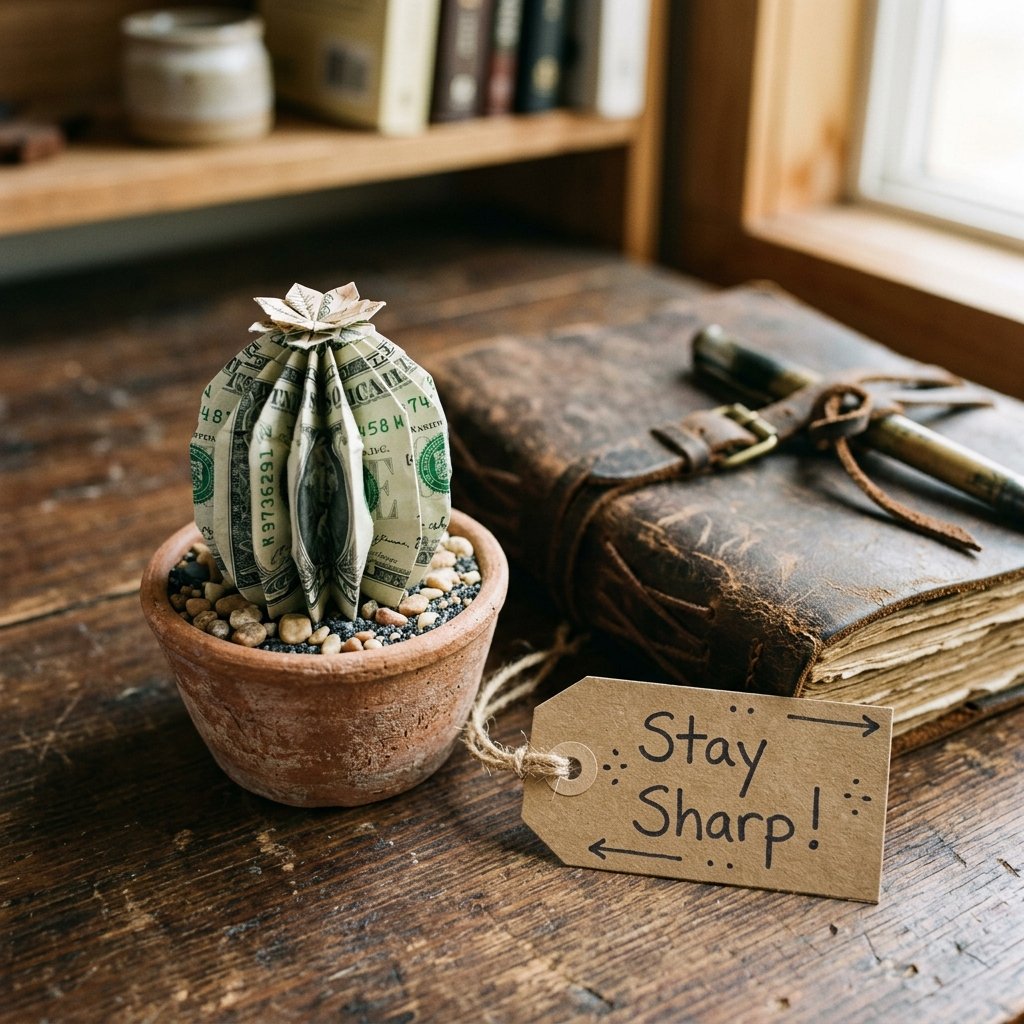
To truly elevate this gift to the masculine-elegant level, consider the ‘extra mile’ details. A gift is a story, and you are the author. Here are three ways to customize your money cactus:
- The Desert Bloom: Take a $1 bill (or a piece of pink tissue paper if you’re being extra frugal) and fold a tiny origami flower to perch on top of the cactus.
- The Punny Tag: Attach a small kraft paper tag with a clever phrase like, ‘Hope your savings don’t get stuck!’ or ‘Watch your wealth grow.’
- The Shadow Box: If you don’t want to use a pot, mount the money cactus inside a Dollar Tree shadow box with a desert-themed scrapbook paper background. This makes it a piece of wall art that doubles as an emergency fund.
Remember, the beauty of this project is its versatility. You can scale it up by using more bills for a larger ‘barrel’ cactus or use different currencies for a world-traveler themed gift. It’s practical, it’s clever, and it shows you have the crafty-expert touch.
Safety and Care: Keeping the Cash Spendable
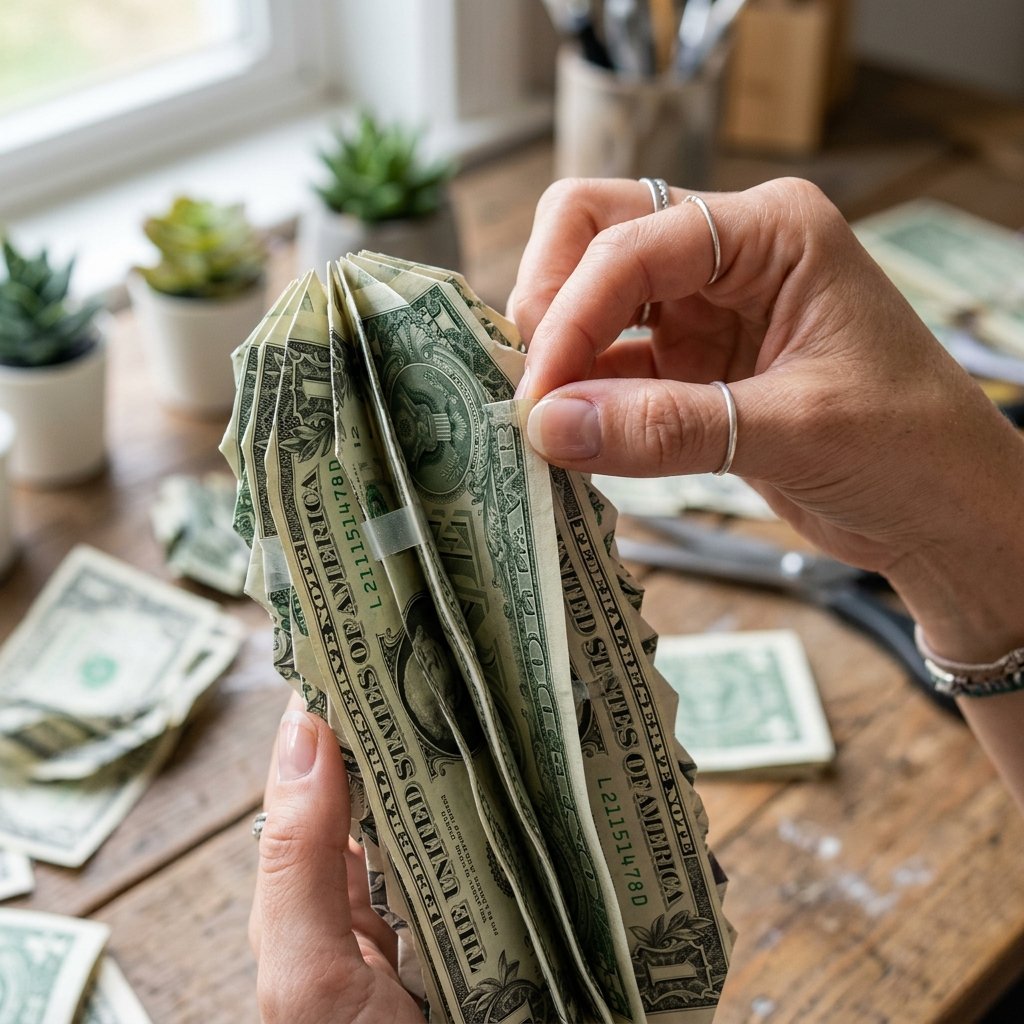
As a handy and responsible crafter, you must ensure the recipient can actually use the gift. Here are a few ‘maintenance’ tips for your money origami:
Safety Note: Never use hot glue, super glue, or permanent adhesive on currency. It is technically illegal to deface currency to the point of being unspendable, and it’s just bad gifting etiquette! Stick to removable tape or friction fits.
If you are transporting the gift, place it in a small cellophane bag tied with twine. This prevents the decorative stones from falling out in your car and keeps the ‘needles’ (pleats) of your cactus from getting crushed. If the cactus loses its shape, a quick pinch and pull on the pleats will restore its rugged structure.
Conclusion
And there you have it—a high-end, thoughtful gift created in the time it takes to brew a pot of coffee. By combining the precision of origami with the resourcefulness of upcycling, you’ve turned a simple cash gift into a memorable experience. You’ve saved money on expensive cards and plastic packaging while giving something that is 100% functional and 100% creative. Whether it’s sitting on a graduate’s desk or a new homeowner’s mantel, your money cactus stands as a testament to your budget-savvy brilliance. Now go forth, grab some bills, and start folding—your next ‘green’ masterpiece is just 10 minutes away!

Makenzie is the founder and lead writer at MoneyHackTips.com — a personal finance blog dedicated to delivering street-smart financial wisdom for real people on real budgets. With 300+ published articles covering everything from debt management to investing fundamentals, Makenzie’s mission is to make every dollar work harder. When not writing about money hacks, Makenzie is testing frugal living strategies, optimizing side hustles, and helping readers build financial freedom from scratch.