
The Art of the Resourceful Workshop
In an era of disposable plastic and skyrocketing toy prices, the truly clever maker knows that the most valuable materials aren’t found in a store aisle—they are currently sitting in your recycling bin. Welcome to the ultimate guide on turning the humble shipping box into a set of Montessori-inspired stacking blocks. We aren’t talking about flimsy, taped-together cubes; we are talking about engineered, structurally sound, and aesthetically pleasing educational tools that rival the $60 to $100 sets found in high-end boutiques. As a budget-savvy crafter, you understand that true luxury is the result of precision and craftsmanship, not a high price tag. By the end of this guide, you will have mastered the technique of cardboard joinery and reinforcement, creating a durable toy that facilitates spatial reasoning, fine motor skills, and open-ended play for your little ones—all while keeping your hard-earned money in your pocket.
The Strategic Blueprint: Materials and Cost Comparison
Equipping Your Crafting Arsenal
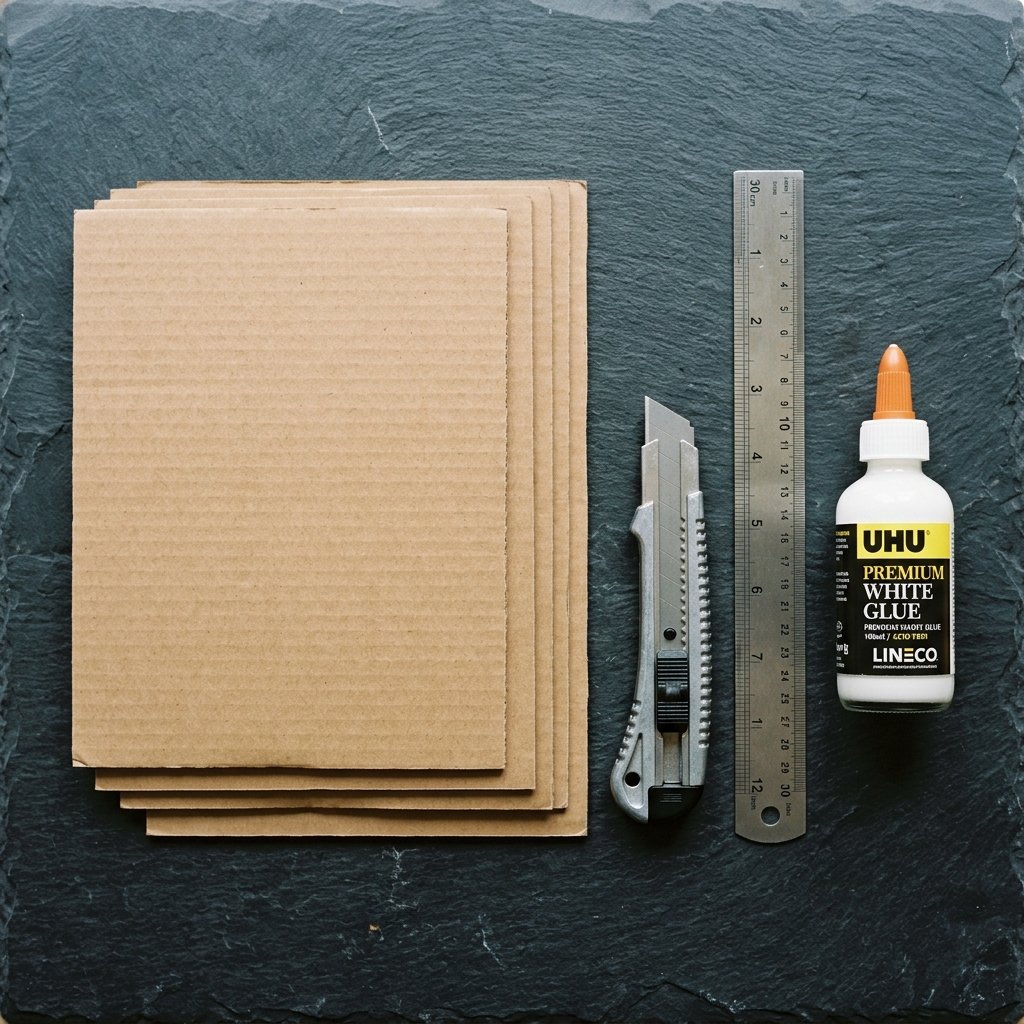
Before we make the first cut, we must gather our supplies. The beauty of this project lies in its zero-budget potential. Most of these items are already in your junk drawer or workshop. We are looking for high-quality, double-walled corrugated cardboard for the best results, as it provides the rugged durability needed for years of play. Below is a breakdown of what you need and how much you are about to save.
| Material / Tool | Source | Estimated Cost |
|---|---|---|
| Corrugated Cardboard | Recycled Shipping Boxes | $0.00 |
| Utility Knife / Box Cutter | Existing Tool Kit | $0.00 |
| Metal Straight Edge | Workshop Essential | $0.00 |
| Non-Toxic Wood Glue | Craft Supplies | $1.25 |
| Kraft Paper or Contact Paper | Optional Scraps | $0.00 |
| Total Investment | Resourceful DIY | $1.25 |
The Financial Win: DIY vs. Store-Bought
Why spend a fortune on brand-name wooden blocks when you can achieve the same educational outcome with upcycled materials? Let’s look at the numbers.
| Product Type | Retail Price | Durability | Customizable? |
|---|---|---|---|
| Premium Wooden Set | $85.00 | High | No |
| Plastic Stacking Cups | $15.00 | Medium | No |
| Our Cardboard Blocks | $0.00 – $2.00 | High (Reinforced) | Yes |
The frugal maker sees a box not as trash, but as a raw material waiting for a vision. Precision is your only currency here.
Engineering the Perfect Cube: Step-by-Step Construction
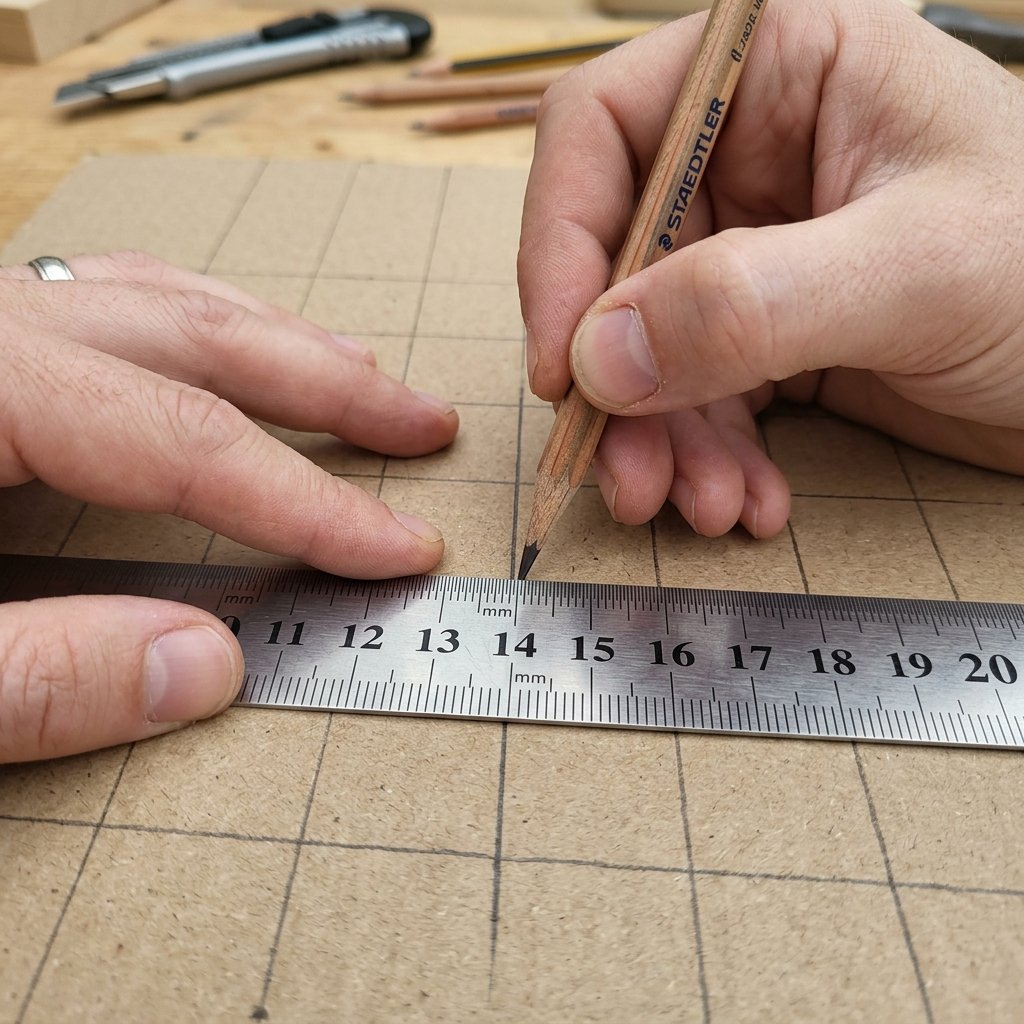
The Geometry of Play
To create blocks that stack perfectly, your measurements must be exact. We will use a classic 6-panel cross template. For a standard set, I recommend creating blocks in graduated sizes: 2-inch, 3-inch, 4-inch, and 5-inch cubes.
- Measure and Mark: Using your metal ruler, draw a cross shape consisting of four squares in a vertical line and two squares flanking the second one from the top. Accuracy is vital; even a 1/16th of an inch error will cause the block to wobble.
- Add the Tabs: Draw 0.5-inch tabs on the outer edges of the side panels. These tabs are the secret to a rugged, seamless finish.
- The Score and Fold: Do not cut all the way through the cardboard on the fold lines. Use the back of your utility knife or a bone folder to score the lines. This allows for a crisp, professional edge that looks like it was made in a factory.
- The Internal Skeleton: To ensure these blocks can withstand a toddler’s weight, cut extra squares of cardboard slightly smaller than the cube’s interior. Glue 3 to 4 layers of these squares together and place them inside before sealing the cube. This creates a solid core.
- The Final Seal: Apply a thin, even layer of wood glue to the tabs. Fold the cube together and hold each side for 30 seconds. For a truly professional look, use masking tape to hold the edges tight while the glue cures for 24 hours.
Build for strength, measure for beauty. A block that stands the test of a toddler is a block built with integrity.
Refining the Aesthetic: From Cardboard to High-End Decor
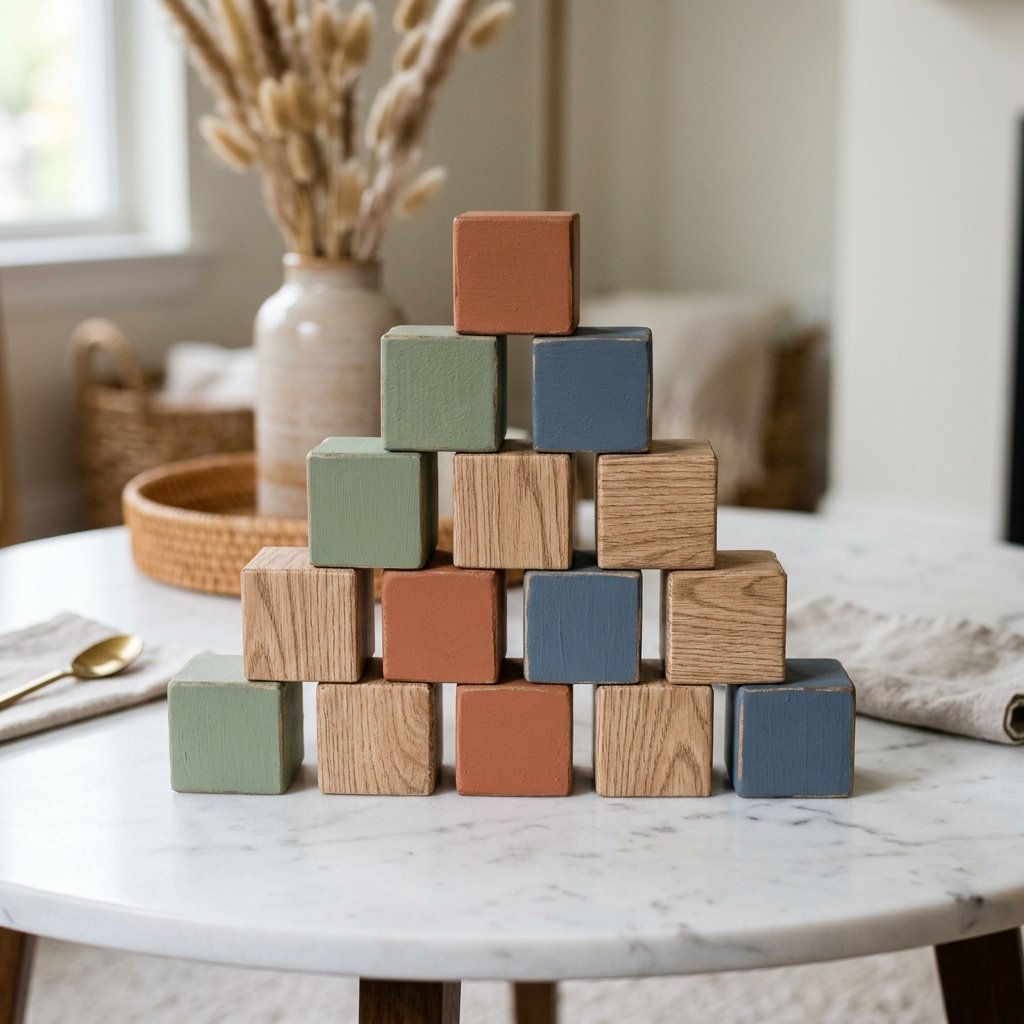
The Finishing Touches
Just because it is made of cardboard doesn’t mean it has to look like a shipping container. We want these blocks to fit into a modern, masculine-elegant home aesthetic. There are several budget-savvy ways to finish your blocks.
- The Natural Look: Leave the kraft brown cardboard exposed, but sand the edges lightly with fine-grit sandpaper to remove any burrs. This emphasizes the raw, honest materials.
- The Contact Paper Hack: Use wood-grain or marble-patterned contact paper from the Dollar Tree to wrap each block. This gives the illusion of heavy, expensive materials for pennies.
- The Baking Soda Paint Trick: Mix acrylic paint with a teaspoon of baking soda. This creates a stone-like texture that is matte and sophisticated, perfect for a modern nursery.
- The Minimalist Numbering: Use a black permanent marker or a stencil to add clean, sans-serif numbers or letters. This transforms the blocks into a functional learning tool.
Safety First in the Workshop
Always use a sharp blade; a dull blade requires more force and is more likely to slip. If you are crafting with children nearby, ensure all adhesives are non-toxic and solvent-free. Sanding edges is not just for looks—it prevents paper cuts during vigorous play.
Montessori Methodology: How to Facilitate Purposeful Play

More Than Just Stacking
In the Montessori philosophy, toys are referred to as ‘work.’ These blocks are designed to help a child develop their ‘Stereognostic Sense’—the ability to perceive the size and weight of objects through touch. Because you have reinforced these blocks with internal layers, they have a satisfying heft that plastic toys lack.
Suggested Play Patterns
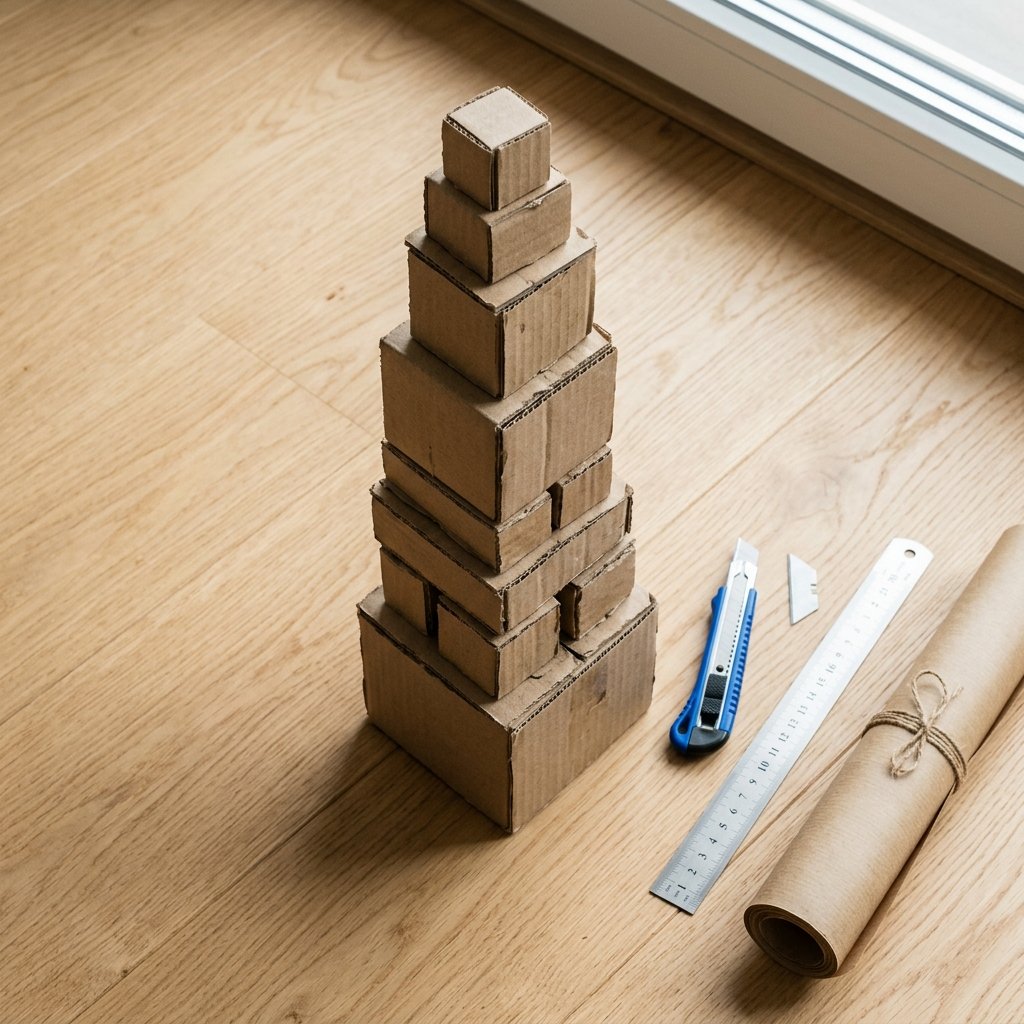
- Graduated Stacking: Encourage the child to build a tower from the largest base to the smallest peak. This teaches visual discrimination of dimensions.
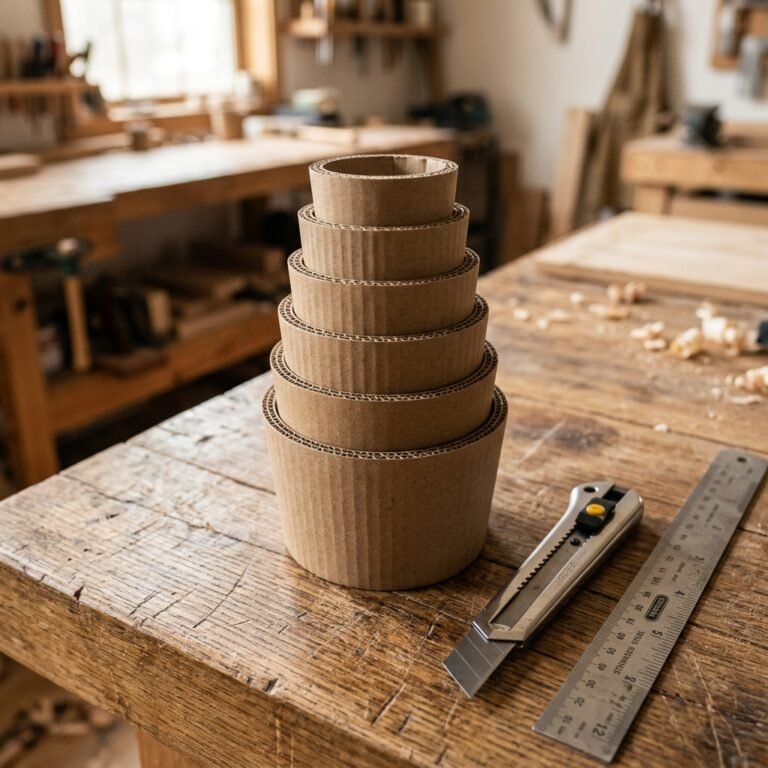
- Nested Sorting: If you build your blocks with open bottoms, they can be nested inside one another, saving space and teaching spatial volume.
- Weight Comparison: Try adding different amounts of internal cardboard to different blocks. Ask the child to identify which 4-inch block is ‘heavy’ and which is ‘light.’
By providing these handmade tools, you are giving your child the gift of concentration and coordination without the overstimulation of flashing lights and loud noises. You are also modeling the value of resourcefulness—showing them that we don’t need to buy things to have fun; we can build them.
Long-Term Maintenance and Upcycling Evolution
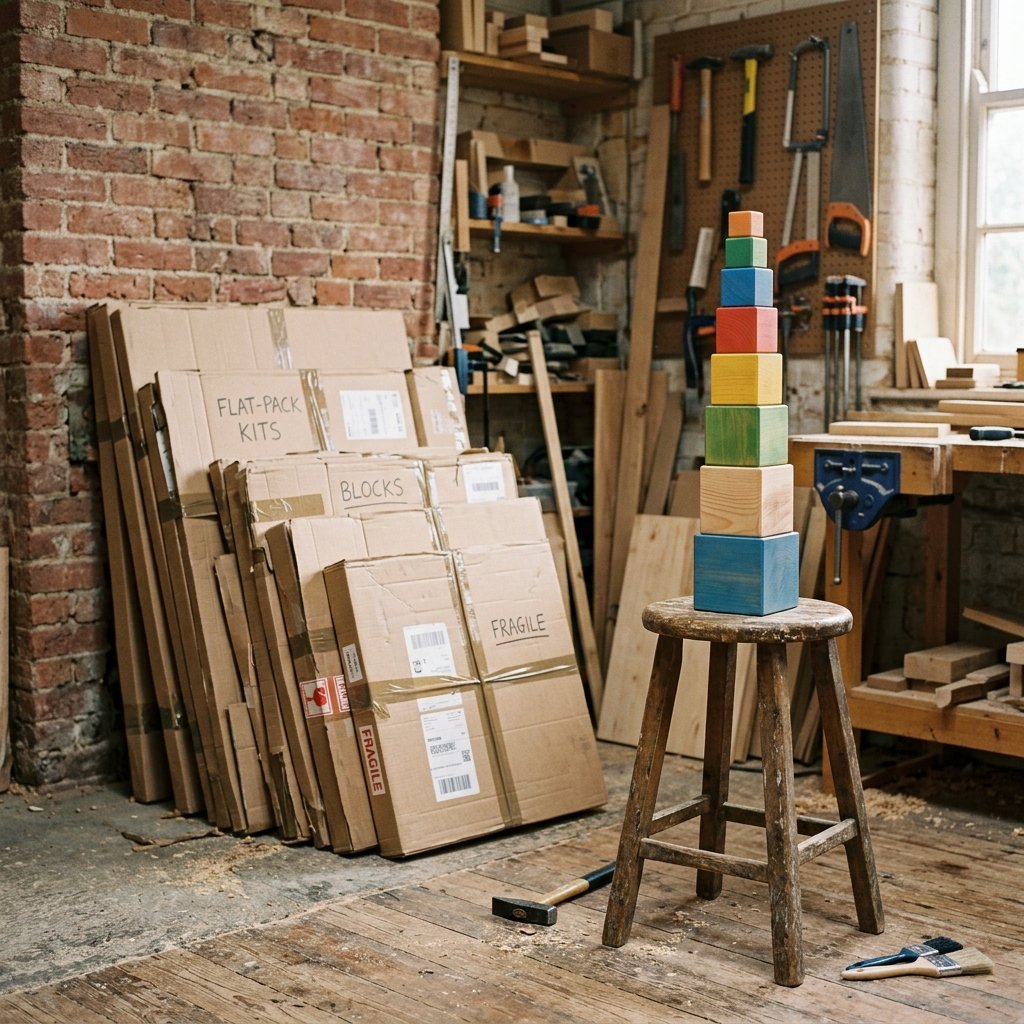
Sustainability of the Build
The beauty of cardboard is that it is 100% recyclable. If a block eventually meets its end after years of heavy use, you can simply toss it in the blue bin and build a replacement in 15 minutes. To extend the life of your blocks, consider a quick coat of water-based polyurethane or even a simple rub-down with beeswax. This creates a moisture barrier against spills and sticky hands.
The Next Project
Once you have mastered the cube, the world of cardboard engineering is yours to explore. Use these same techniques to create:
- Cardboard marble runs with paper towel tubes.
- A rugged play kitchen using large appliance boxes.
- Geometric shadow boxes for wall decor.
Your workshop is a place of infinite possibility. Every box that arrives at your door is an opportunity to save money, reduce waste, and create something truly remarkable.
Conclusion
The Reward of the Frugal Maker
Building your own Montessori stacking blocks is more than just a DIY project; it is a statement of intent. It proves that with a little cleverness and craft, you can provide a high-quality, educational environment for your family without the financial strain of modern consumerism. You have turned ‘trash’ into a treasured heirloom that carries the scent of wood glue and the spirit of handmade excellence. So, the next time a package arrives at your door, don’t just see the product inside—see the potential in the packaging itself. Keep your tools sharp, your measurements precise, and your budget intact. Happy building!

Makenzie is the founder and lead writer at MoneyHackTips.com — a personal finance blog dedicated to delivering street-smart financial wisdom for real people on real budgets. With 300+ published articles covering everything from debt management to investing fundamentals, Makenzie’s mission is to make every dollar work harder. When not writing about money hacks, Makenzie is testing frugal living strategies, optimizing side hustles, and helping readers build financial freedom from scratch.