
The Secret to Hamptons Style on a Shoestring Budget
Dreaming of a coastal wedding that whispers ‘old money’ but working with a ‘newlywed’ budget? You aren’t alone. The high-end coastal aesthetic—often characterized by organic textures, metallic accents, and breezy elegance—usually comes with a staggering price tag at boutique rental houses. However, as a resourceful DIYer, you have a secret weapon hiding in the most unlikely of places: the discard bin of your local seafood restaurant. We are talking about oyster shells. These rugged, calcium-rich treasures are the perfect canvas for creating ultra-luxurious centerpieces that look like they were plucked from a high-end gallery in Nantucket. In this masterclass, we will guide you through the process of sourcing, cleaning, and transforming these raw elements into sophisticated works of art for less than $10 per table.
Phase 1: Sourcing and Sanitizing Your Raw Materials
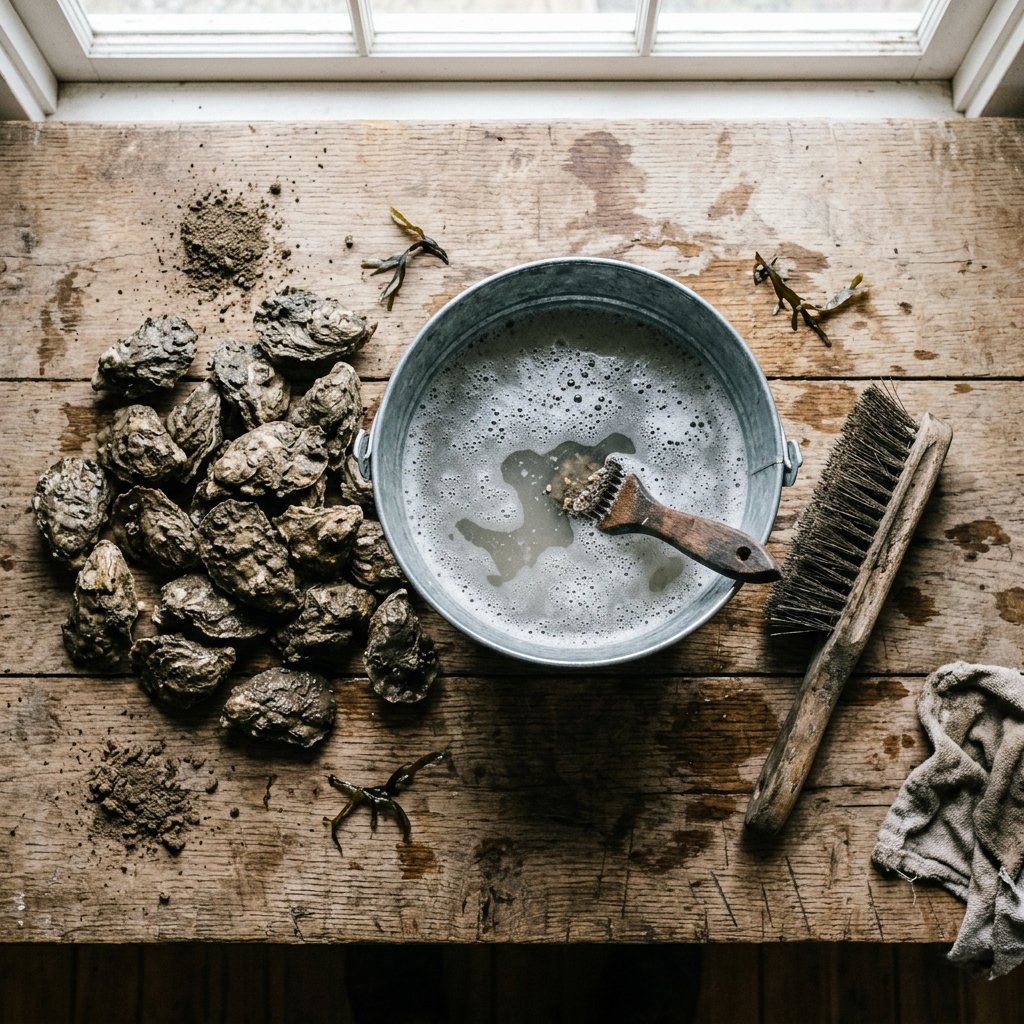
The first step in our journey from trash to treasure is securing the shells. While you can buy cleaned oyster shells online, the savvy crafter knows that free is always better. Visit local seafood bars or oyster houses and ask if they can set aside a few buckets of shells for you. Most are happy to let you take them, as it reduces their waste disposal costs. Once you have your haul, the real work begins: sanitizing. You cannot skip this step, or your beautiful wedding will be remembered for the smell of the docks rather than the decor.
The Deep-Clean Protocol
To ensure your shells are pristine and scent-free, follow this rigorous cleaning method:
- Scrubbing: Use a stiff wire brush to remove any barnacles, seaweed, or grit from the exterior of the shell.
- Bleach Soak: Submerge the shells in a solution of 1 part bleach to 4 parts water for at least 24 hours. This kills bacteria and helps whiten the shells.
- Sun Drying: Lay the shells out in direct sunlight for another 48 hours. The UV rays act as a natural bleaching agent and ensure every ounce of moisture is gone.
“A truly resourceful crafter knows that the best materials aren’t bought; they are discovered and refined with a bit of elbow grease.”
| Supply | Source | Estimated Cost |
|---|---|---|
| Oyster Shells | Seafood Restaurant | $0.00 |
| Bleach | Dollar Store | $1.25 |
| Wire Brush | Hardware Store | $3.00 |
| Total | $4.25 |
Phase 2: The Midas Touch—Gilding the Edges
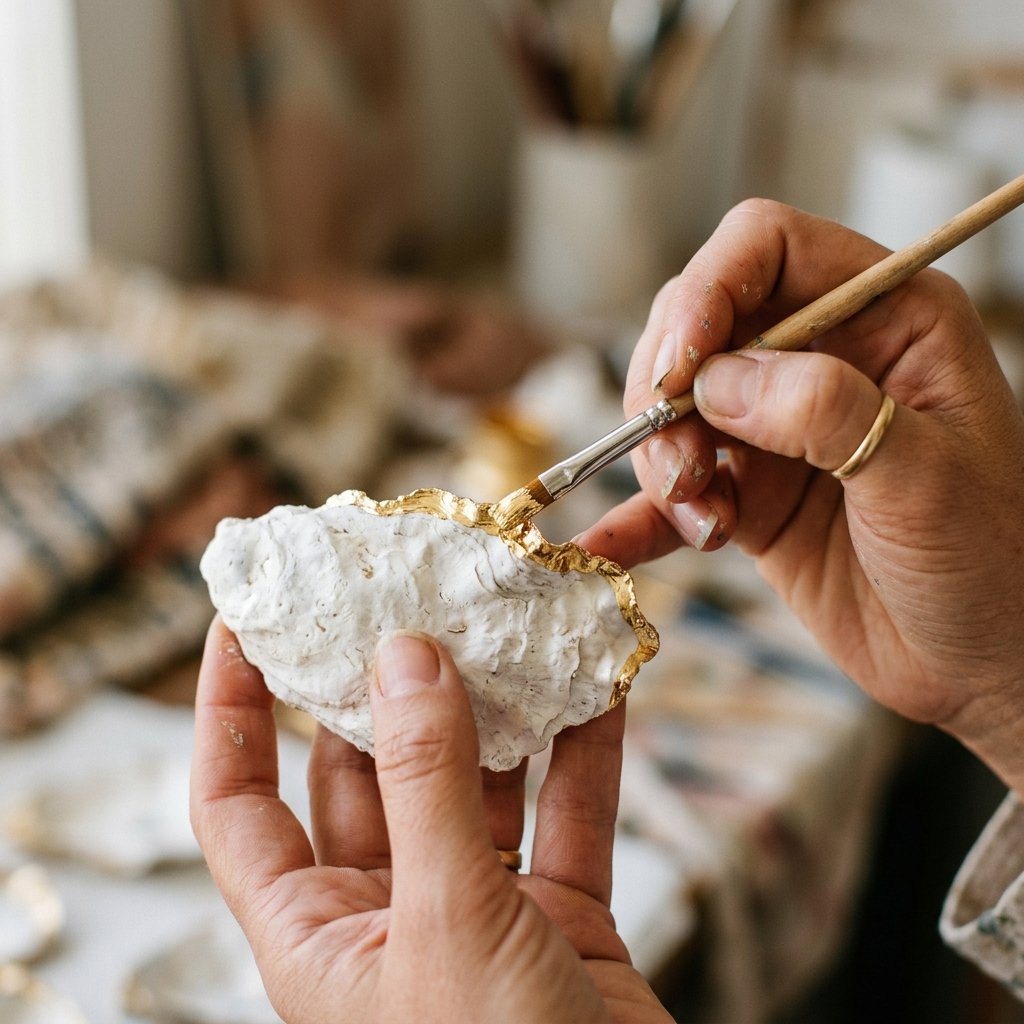
To elevate the shell from a beach find to a luxury item, we use the ‘Midas Touch’—gilding. Gold-leafed edges provide that masculine-elegant contrast between the rugged, textured exterior of the shell and a refined, polished finish. This is where the ‘ultra-luxurious’ transformation truly happens.
Materials for the Gilded Look
You have two main options for gilding: Liquid Gold Leaf or Gold Foil Sheets. For large-scale wedding production (50+ shells), liquid gold leaf is faster and more cost-effective. Use a small, synthetic-bristle brush to carefully trace the naturally irregular rim of the shell. Don’t aim for perfection; the beauty lies in the organic flow of the gold against the calcium ridges.
- Pro Tip: Paint the back of the shell with a matte white acrylic paint first to create a uniform base before adding the gold.
- Drying Time: Allow 2 hours for liquid gilding to dry completely before handling.
- Sealant: Use a clear spray sealer to prevent the gold from tarnishing or chipping during transport to the venue.
Phase 3: Decoupage Artistry—Adding Designer Patterns
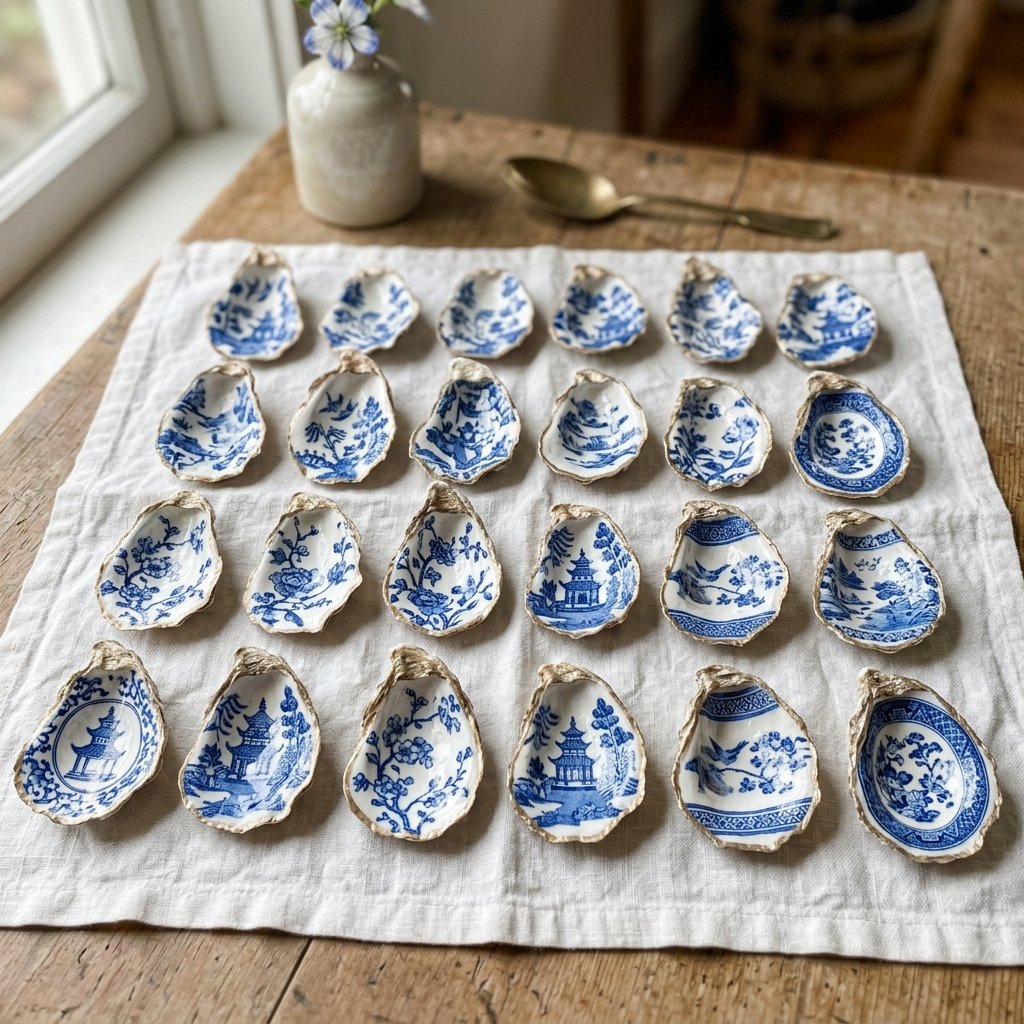
For an even more sophisticated look, we can incorporate patterns. Chinoiserie (blue and white) or botanical prints are currently trending in high-end coastal weddings. This technique uses high-quality paper napkins to ‘print’ designs directly onto the smooth interior of the shell.
The Decoupage Process
- Select Your Napkin: Look for 3-ply napkins with small, repeating patterns. Separate the layers so you are only using the top thin, printed layer.
- Apply Mod Podge: Brush a thin layer of matte Mod Podge onto the hollow ‘cup’ of the shell.
- Press and Smooth: Gently lay the napkin over the shell, pressing it into the curves. Use a damp sponge to smooth out air bubbles.
- Trim the Excess: Once dry, use fine-grit sandpaper to gently rub the edges of the shell. The excess paper will fall away perfectly at the rim.
- Final Glaze: Apply a top coat of gloss Mod Podge to give the interior a porcelain-like finish.
“The goal is to make the shell look like a piece of fine china that was washed up by the sea.”
Phase 4: Architectural Assembly—Building the Centerpiece

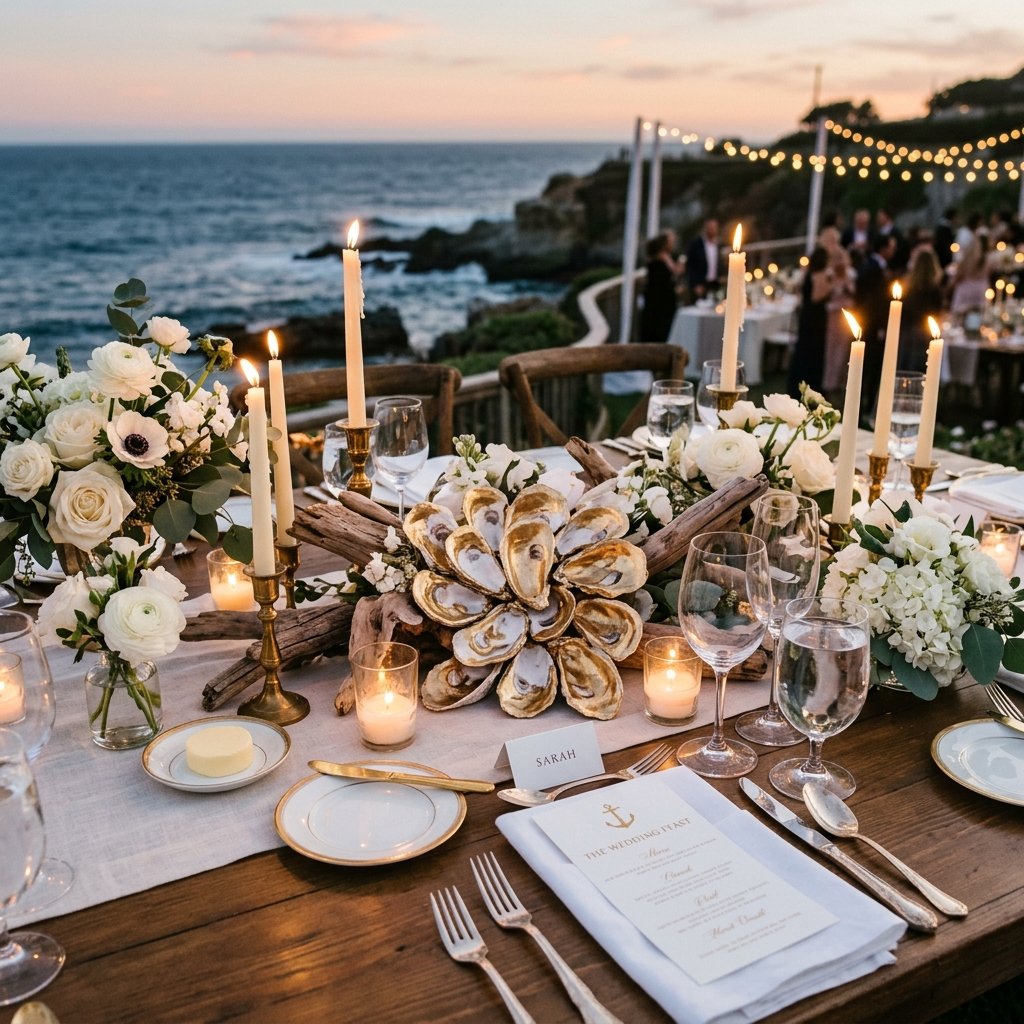
A single shell is a trinket; a curated collection is a centerpiece. To create a high-end look, you need to think about layers, height, and texture. We recommend grouping the shells in odd numbers (3, 5, or 7) and pairing them with other low-cost organic elements.
The ‘Coastal Grandmillennial’ Formula
To assemble a professional-grade table setting, follow this structural guide:
- The Base: Start with a cheesecloth runner (dyed in a soft tea or dusty blue). Bunch it up to create ‘waves’ of fabric.
- The Anchor: Place a piece of weathered driftwood or a cluster of white pillar candles in the center.
- The Detail: Scatter your gilded and decoupaged shells around the candles. Use some as salt-and-pepper cellars or as unique place card holders by writing guest names in calligraphy on the gilded rim.
- The Greenery: Tuck in a few sprigs of dried eucalyptus or bleached ruscus for a touch of life.
| Item | Boutique Rental Price | DIY Cost |
|---|---|---|
| Gilded Shell Place Card | $12.00 each | $0.15 |
| Driftwood Centerpiece | $85.00 | $0.00 (Foraged) |
| Hand-dyed Runner | $45.00 | $4.00 |
| Total per Table | $142.00+ | $4.15 |
Practical Logistics: Transport and Setup
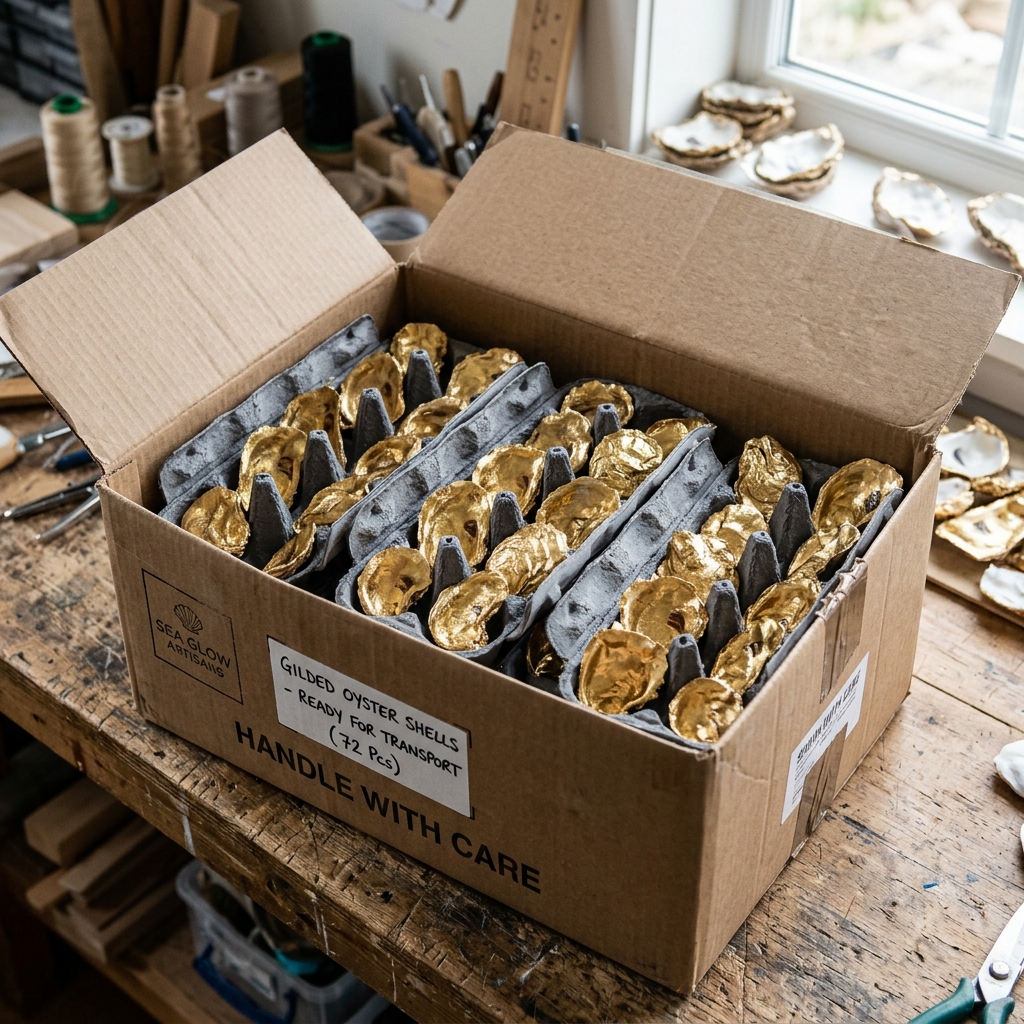
When you are a budget-savvy bride or groom, you are often your own roadie. Oyster shells are durable, but the gilded edges can be delicate. To ensure your hard work arrives at the venue in one piece, follow these rugged packing tips:
- Egg Cartons: Large oyster shells fit perfectly into cardboard egg cartons. This keeps them separated and prevents the gold leaf from rubbing off.
- Microfiber Cloths: Wrap decoupaged shells in microfiber cloths rather than paper towels to avoid sticking if the humidity is high.
- The ‘Touch-Up Kit’: Always bring a small vial of your liquid gold leaf and a brush to the venue for last-minute repairs.
“Success is in the details, but survival is in the preparation.”
Conclusion
Coastal Luxury Within Reach
Creating your dream wedding doesn’t require a six-figure bank account; it requires a resourceful spirit and a bit of creative grit. By taking something as humble as an oyster shell and applying these expert techniques, you’ve created a bespoke decor element that is both environmentally conscious and aesthetically elite. Your guests won’t see ‘trash’—they will see a curated, coastal masterpiece that reflects your cleverness and style. Now, grab those buckets, head to the coast (or the local bistro), and start crafting your ultra-luxurious wedding, one shell at a time. Happy crafting!

Makenzie is the founder and lead writer at MoneyHackTips.com — a personal finance blog dedicated to delivering street-smart financial wisdom for real people on real budgets. With 300+ published articles covering everything from debt management to investing fundamentals, Makenzie’s mission is to make every dollar work harder. When not writing about money hacks, Makenzie is testing frugal living strategies, optimizing side hustles, and helping readers build financial freedom from scratch.